Body parts restoration and engine trial fit
Again some time has passed by and some of the progress was achieved. To be honest I left this blog a little bit abandoned. If you look at previous post of this build I left car standing on it's own wheels and started to work on removable body parts like doors, front bonnet, rear trunk lid, front wings and lower front panel at the same not limiting myself from restoring solid parts like rear arches. To get back to removable parts they were sourced in quite good condition which means only small fixes are required before priming and putting on car. So lets take a look on a progress!
I'm start from front wings which asked quite a lot of attention:
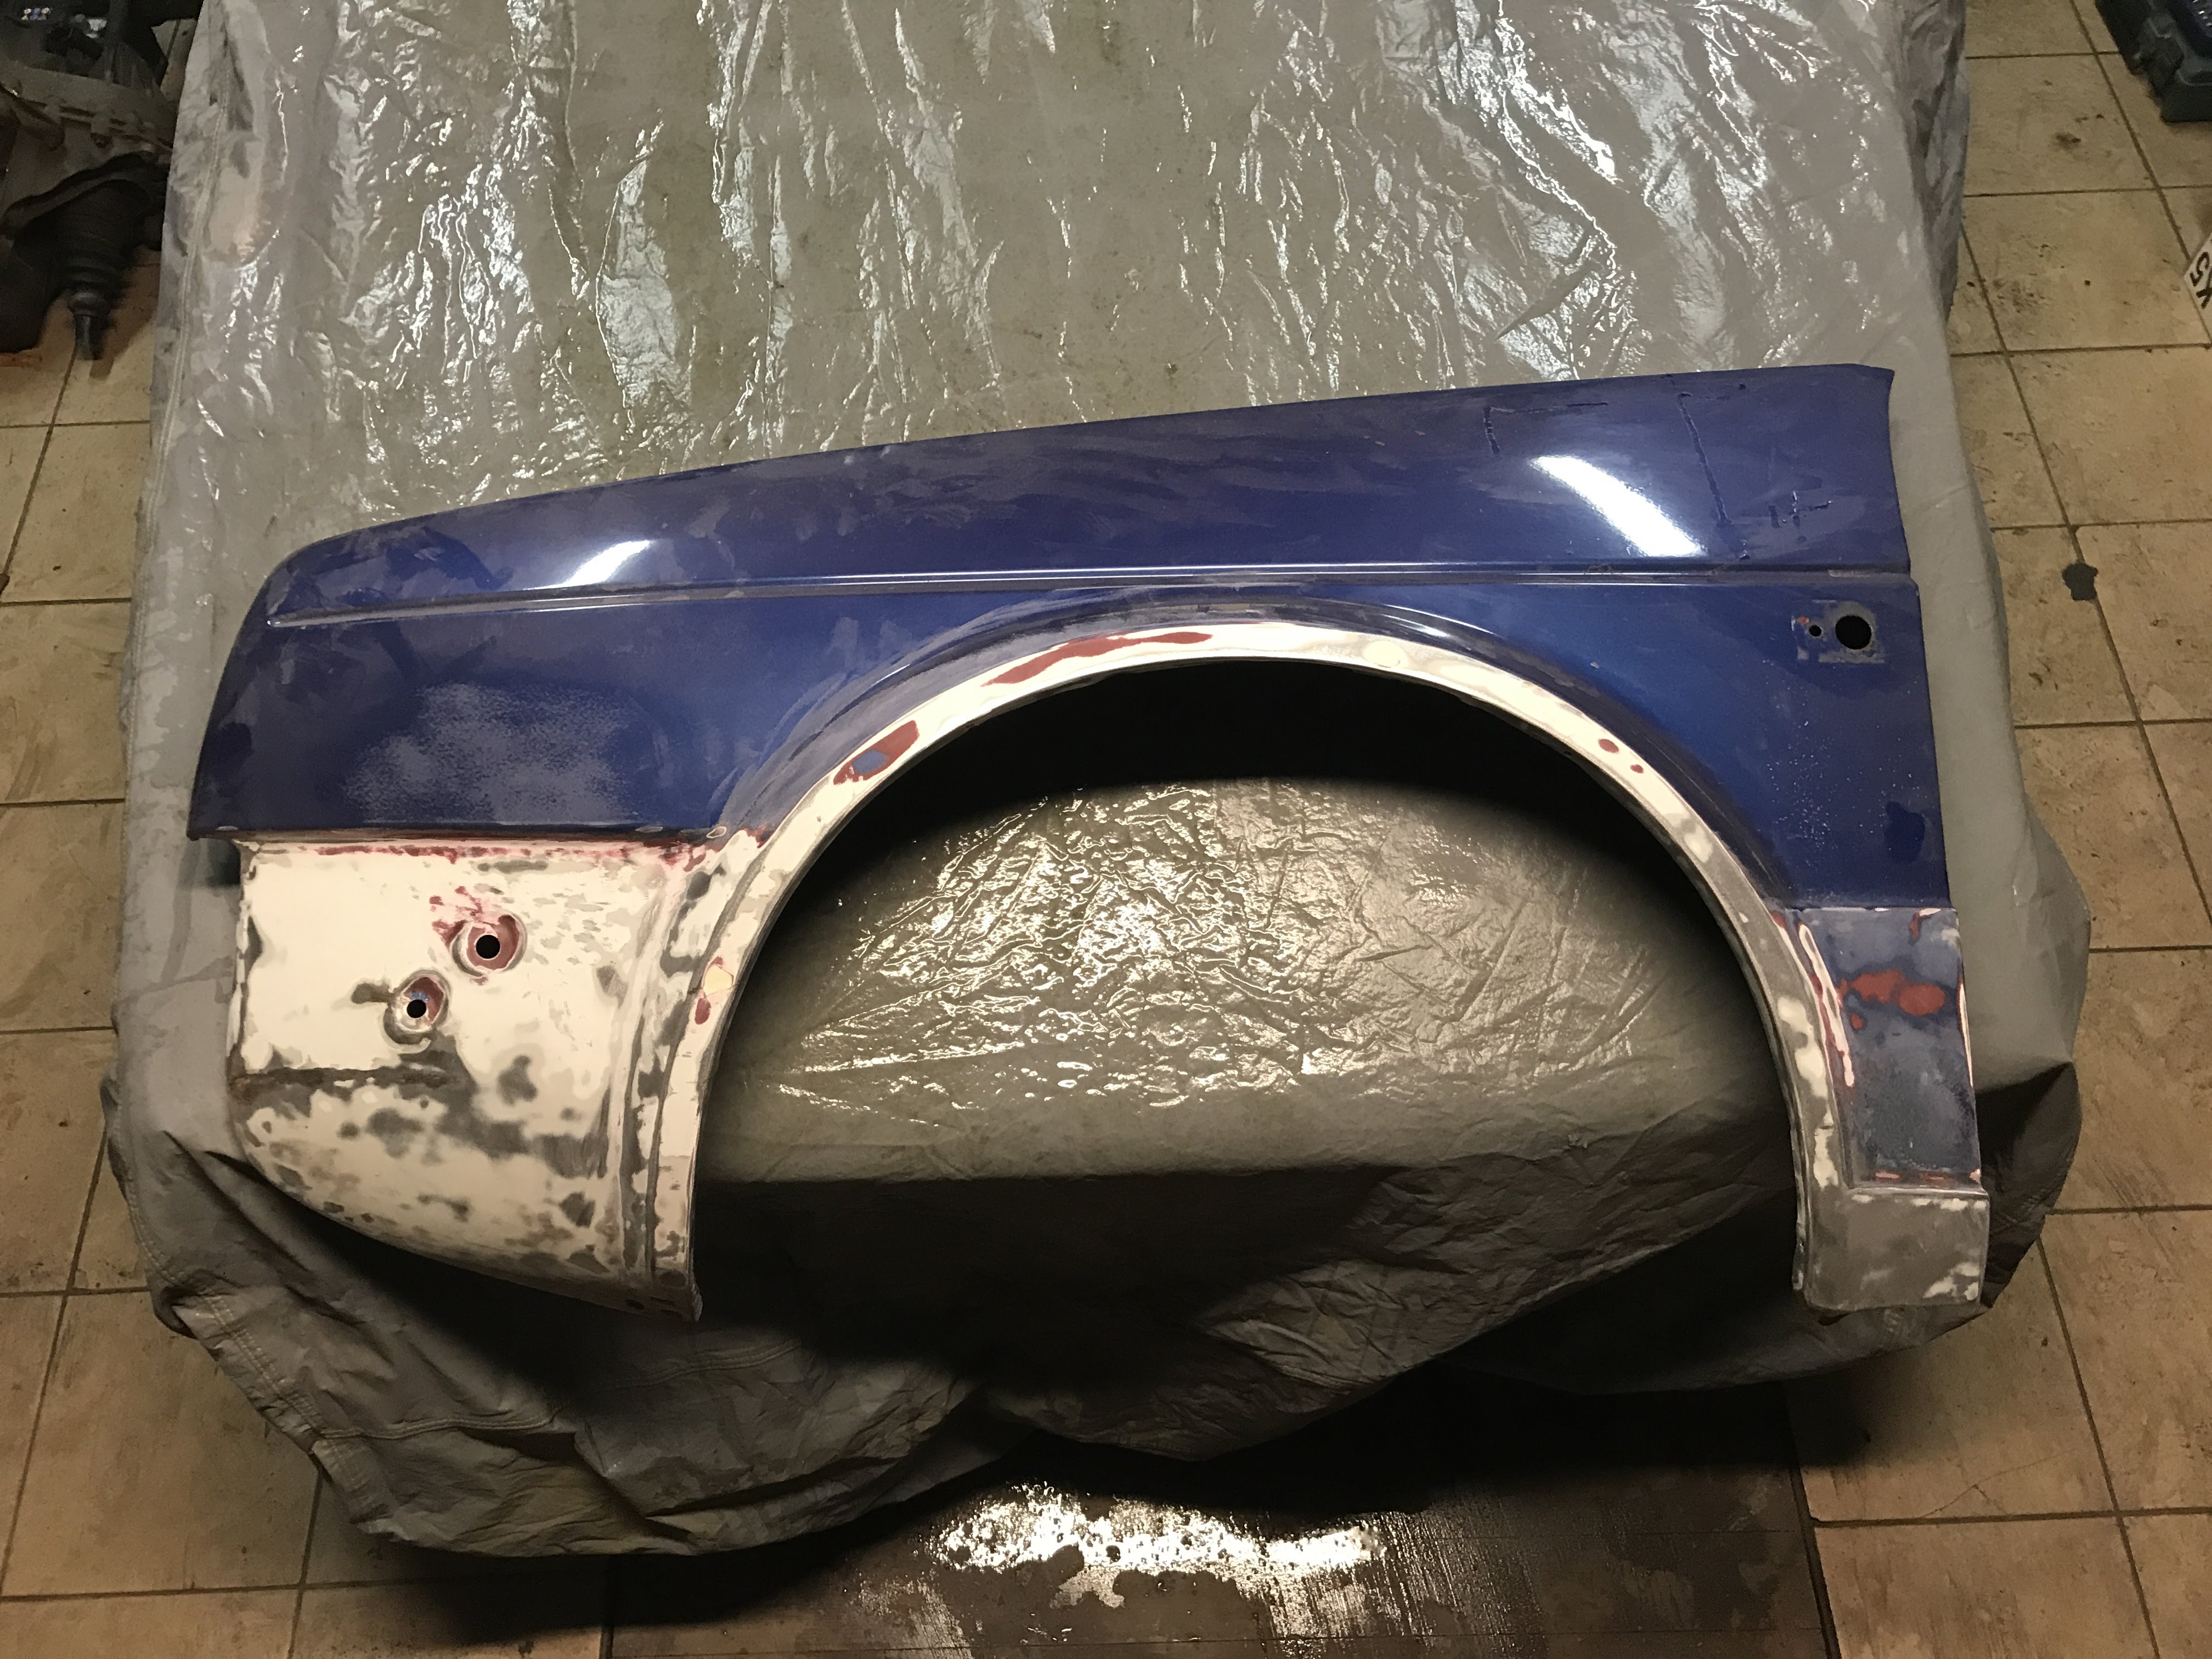
But final result is pretty satisfying:
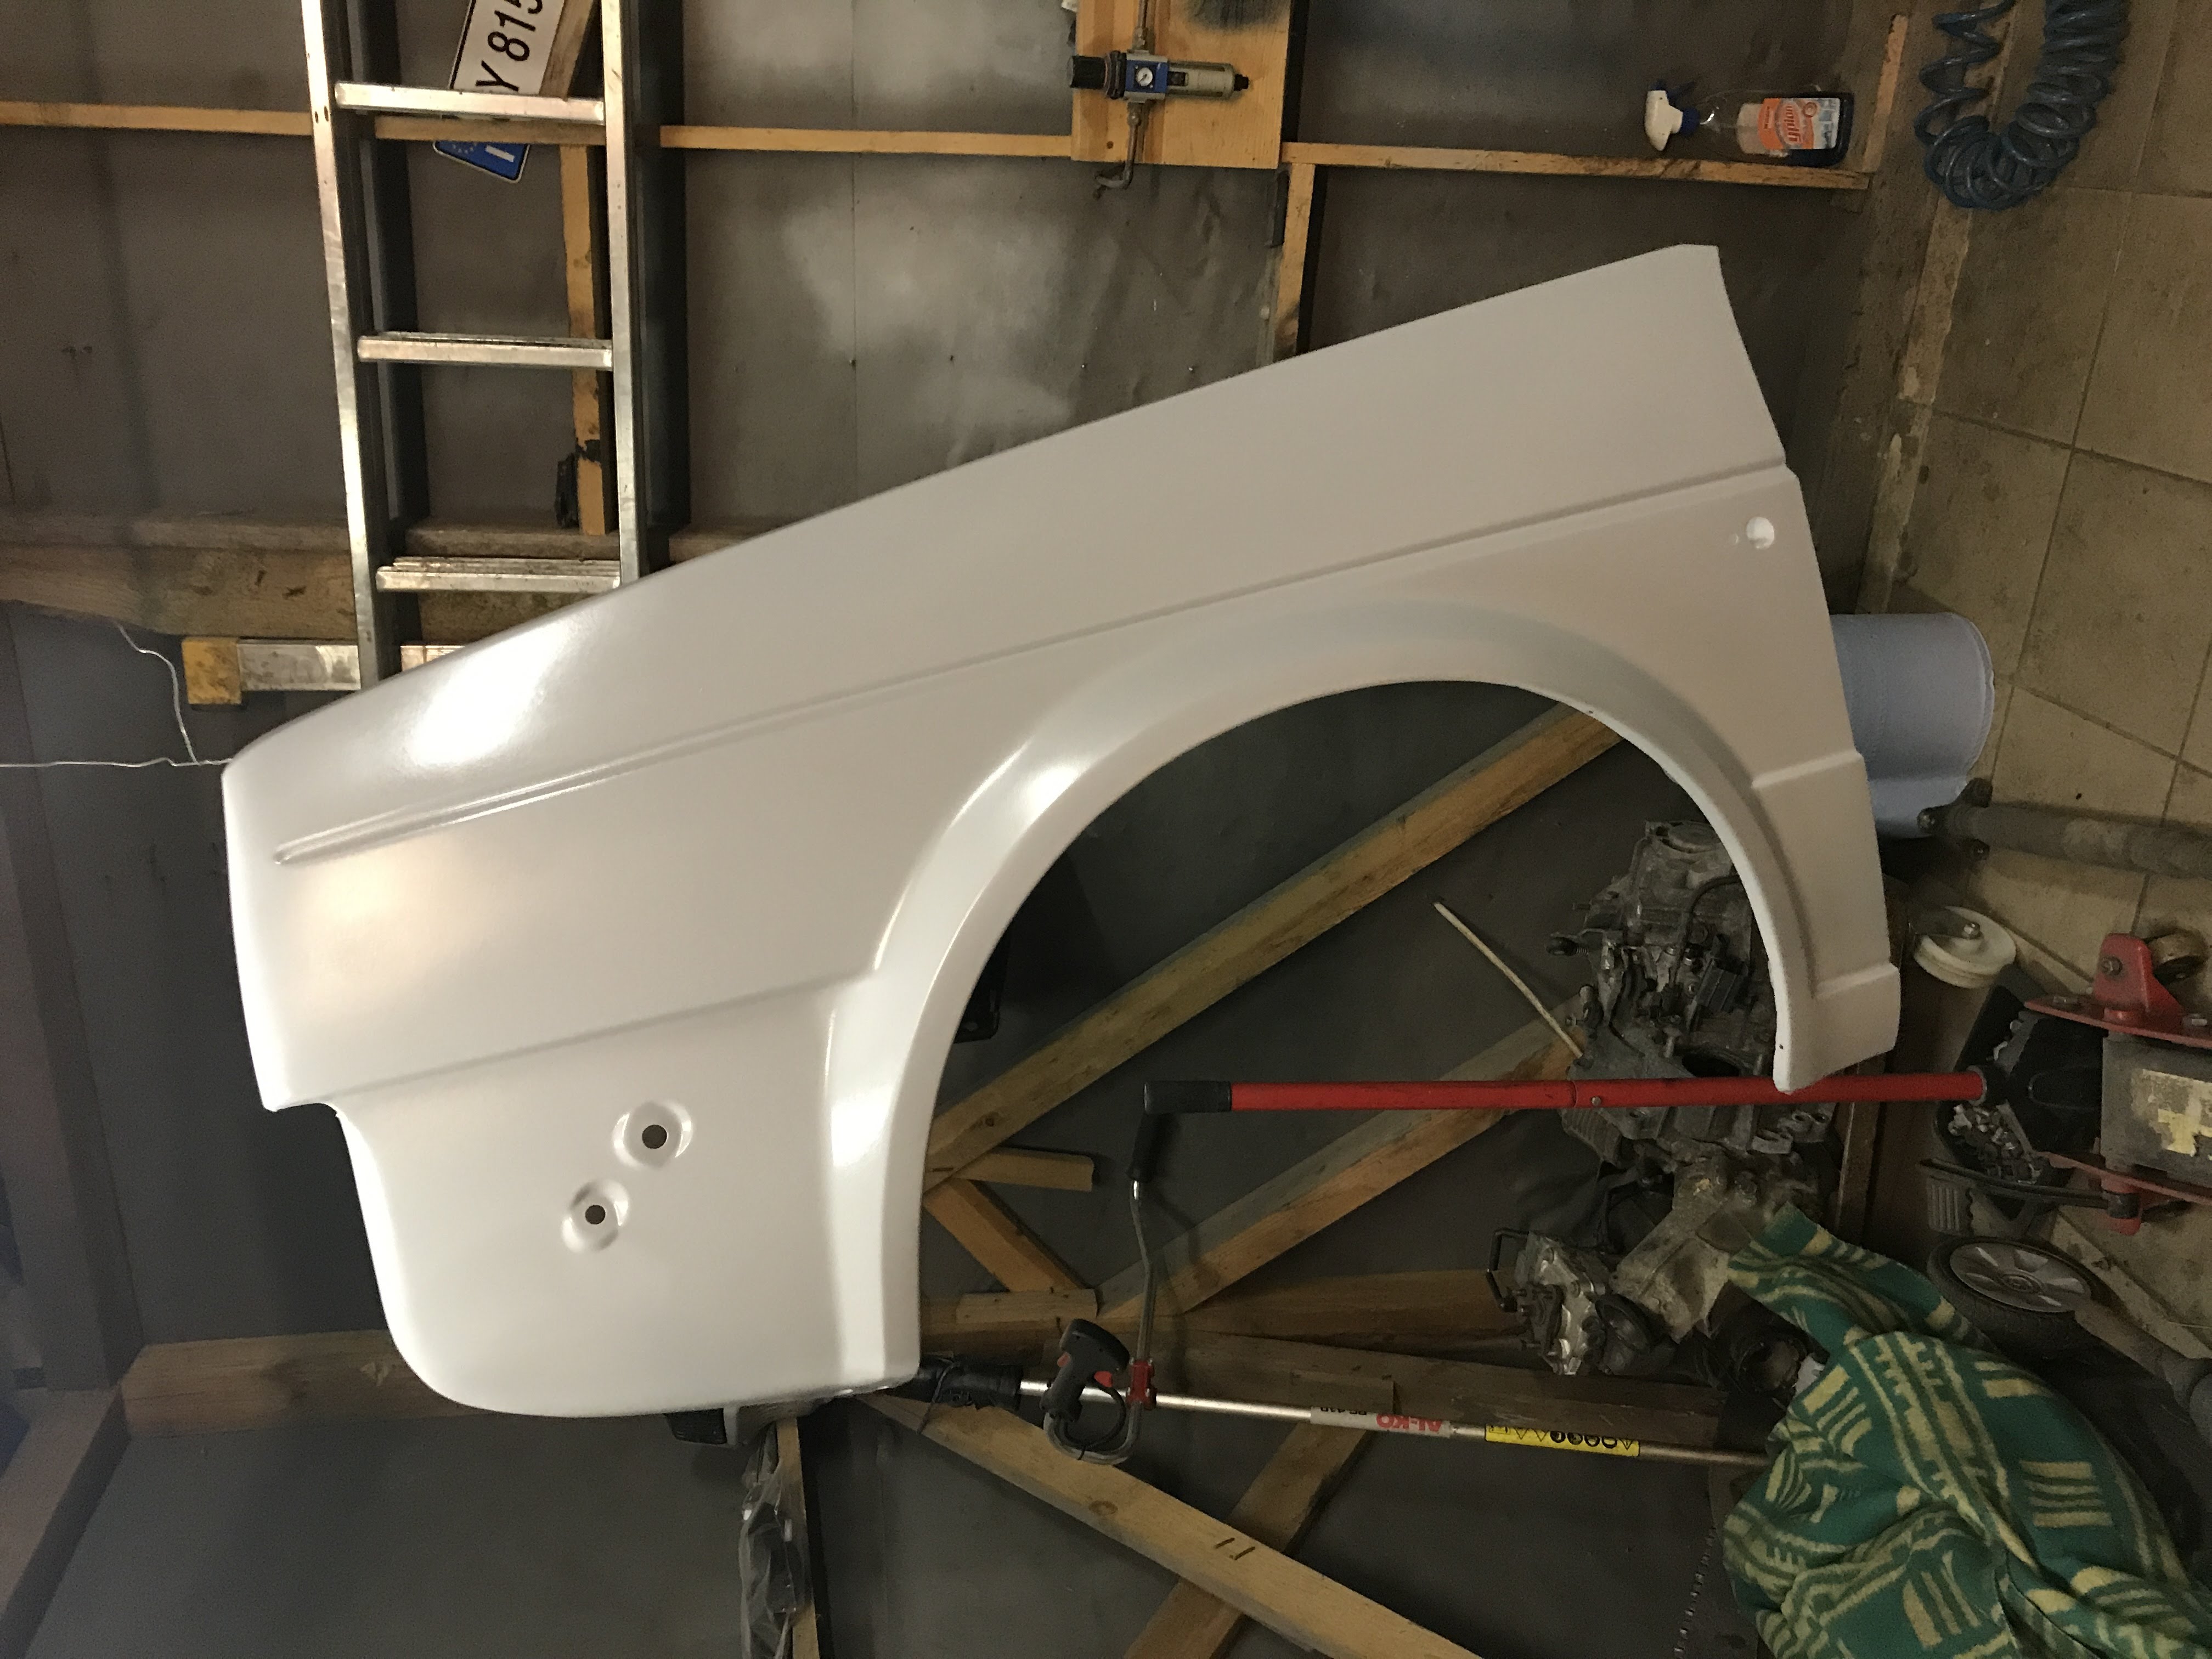
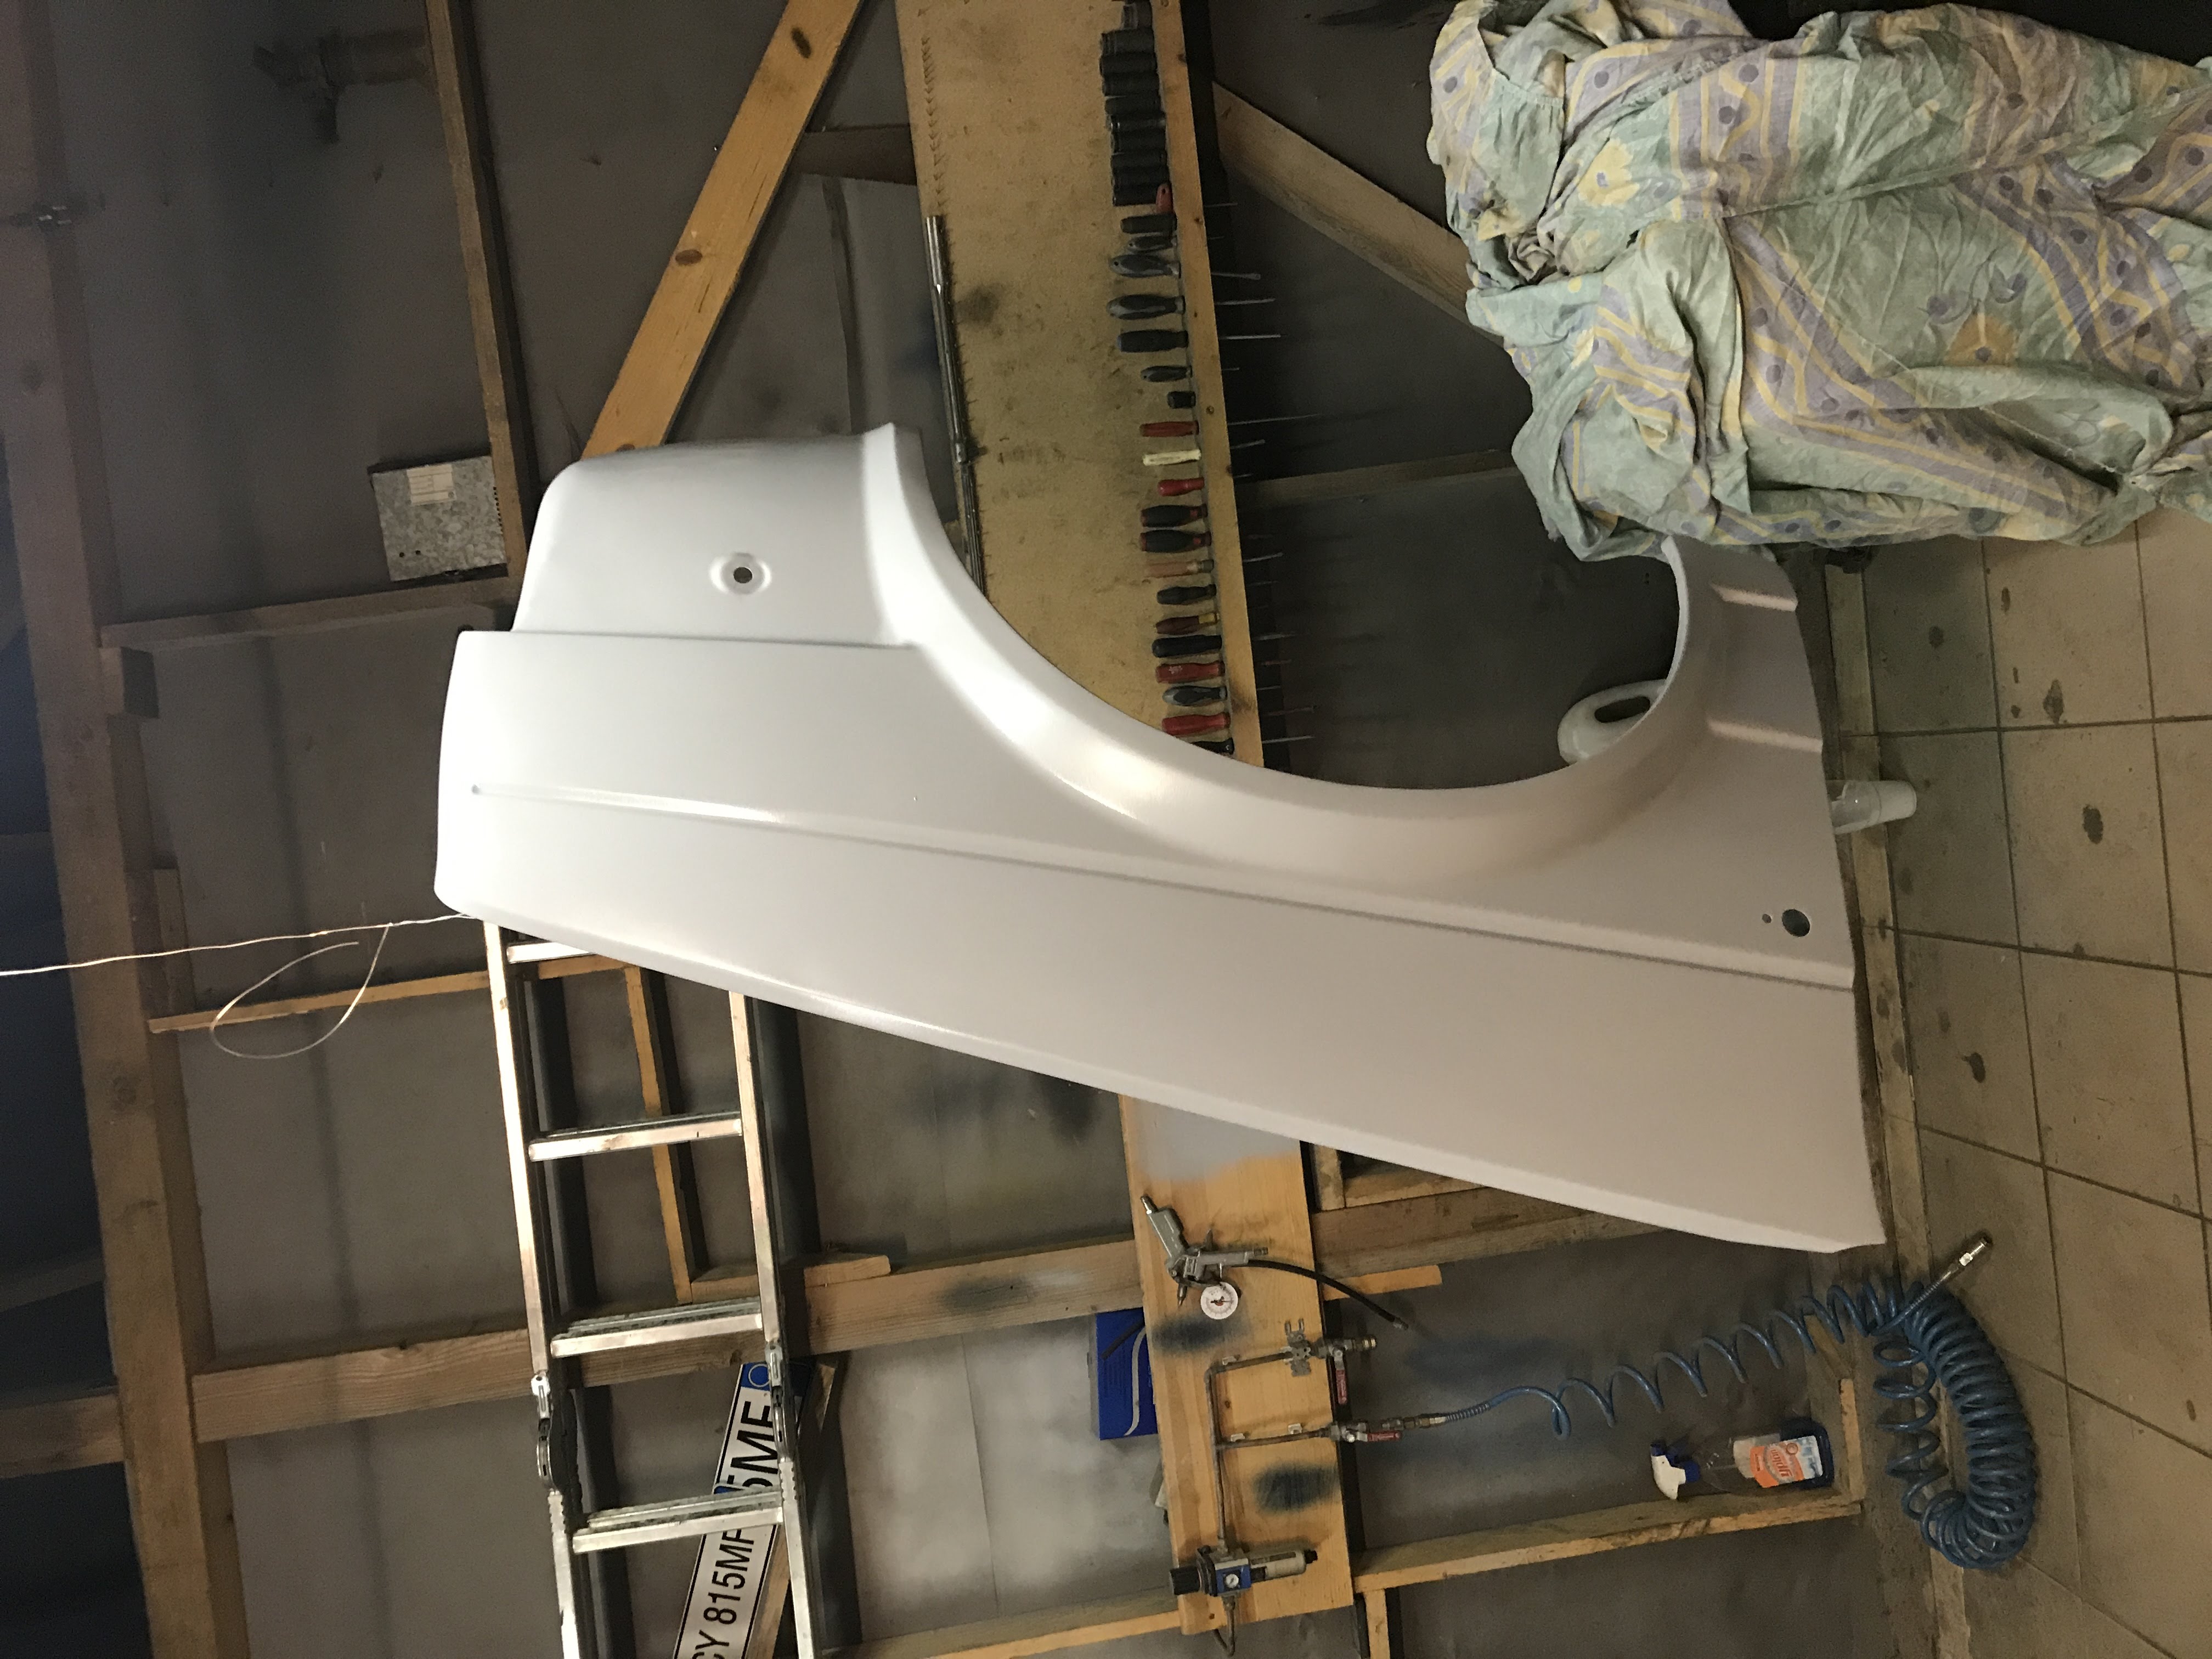
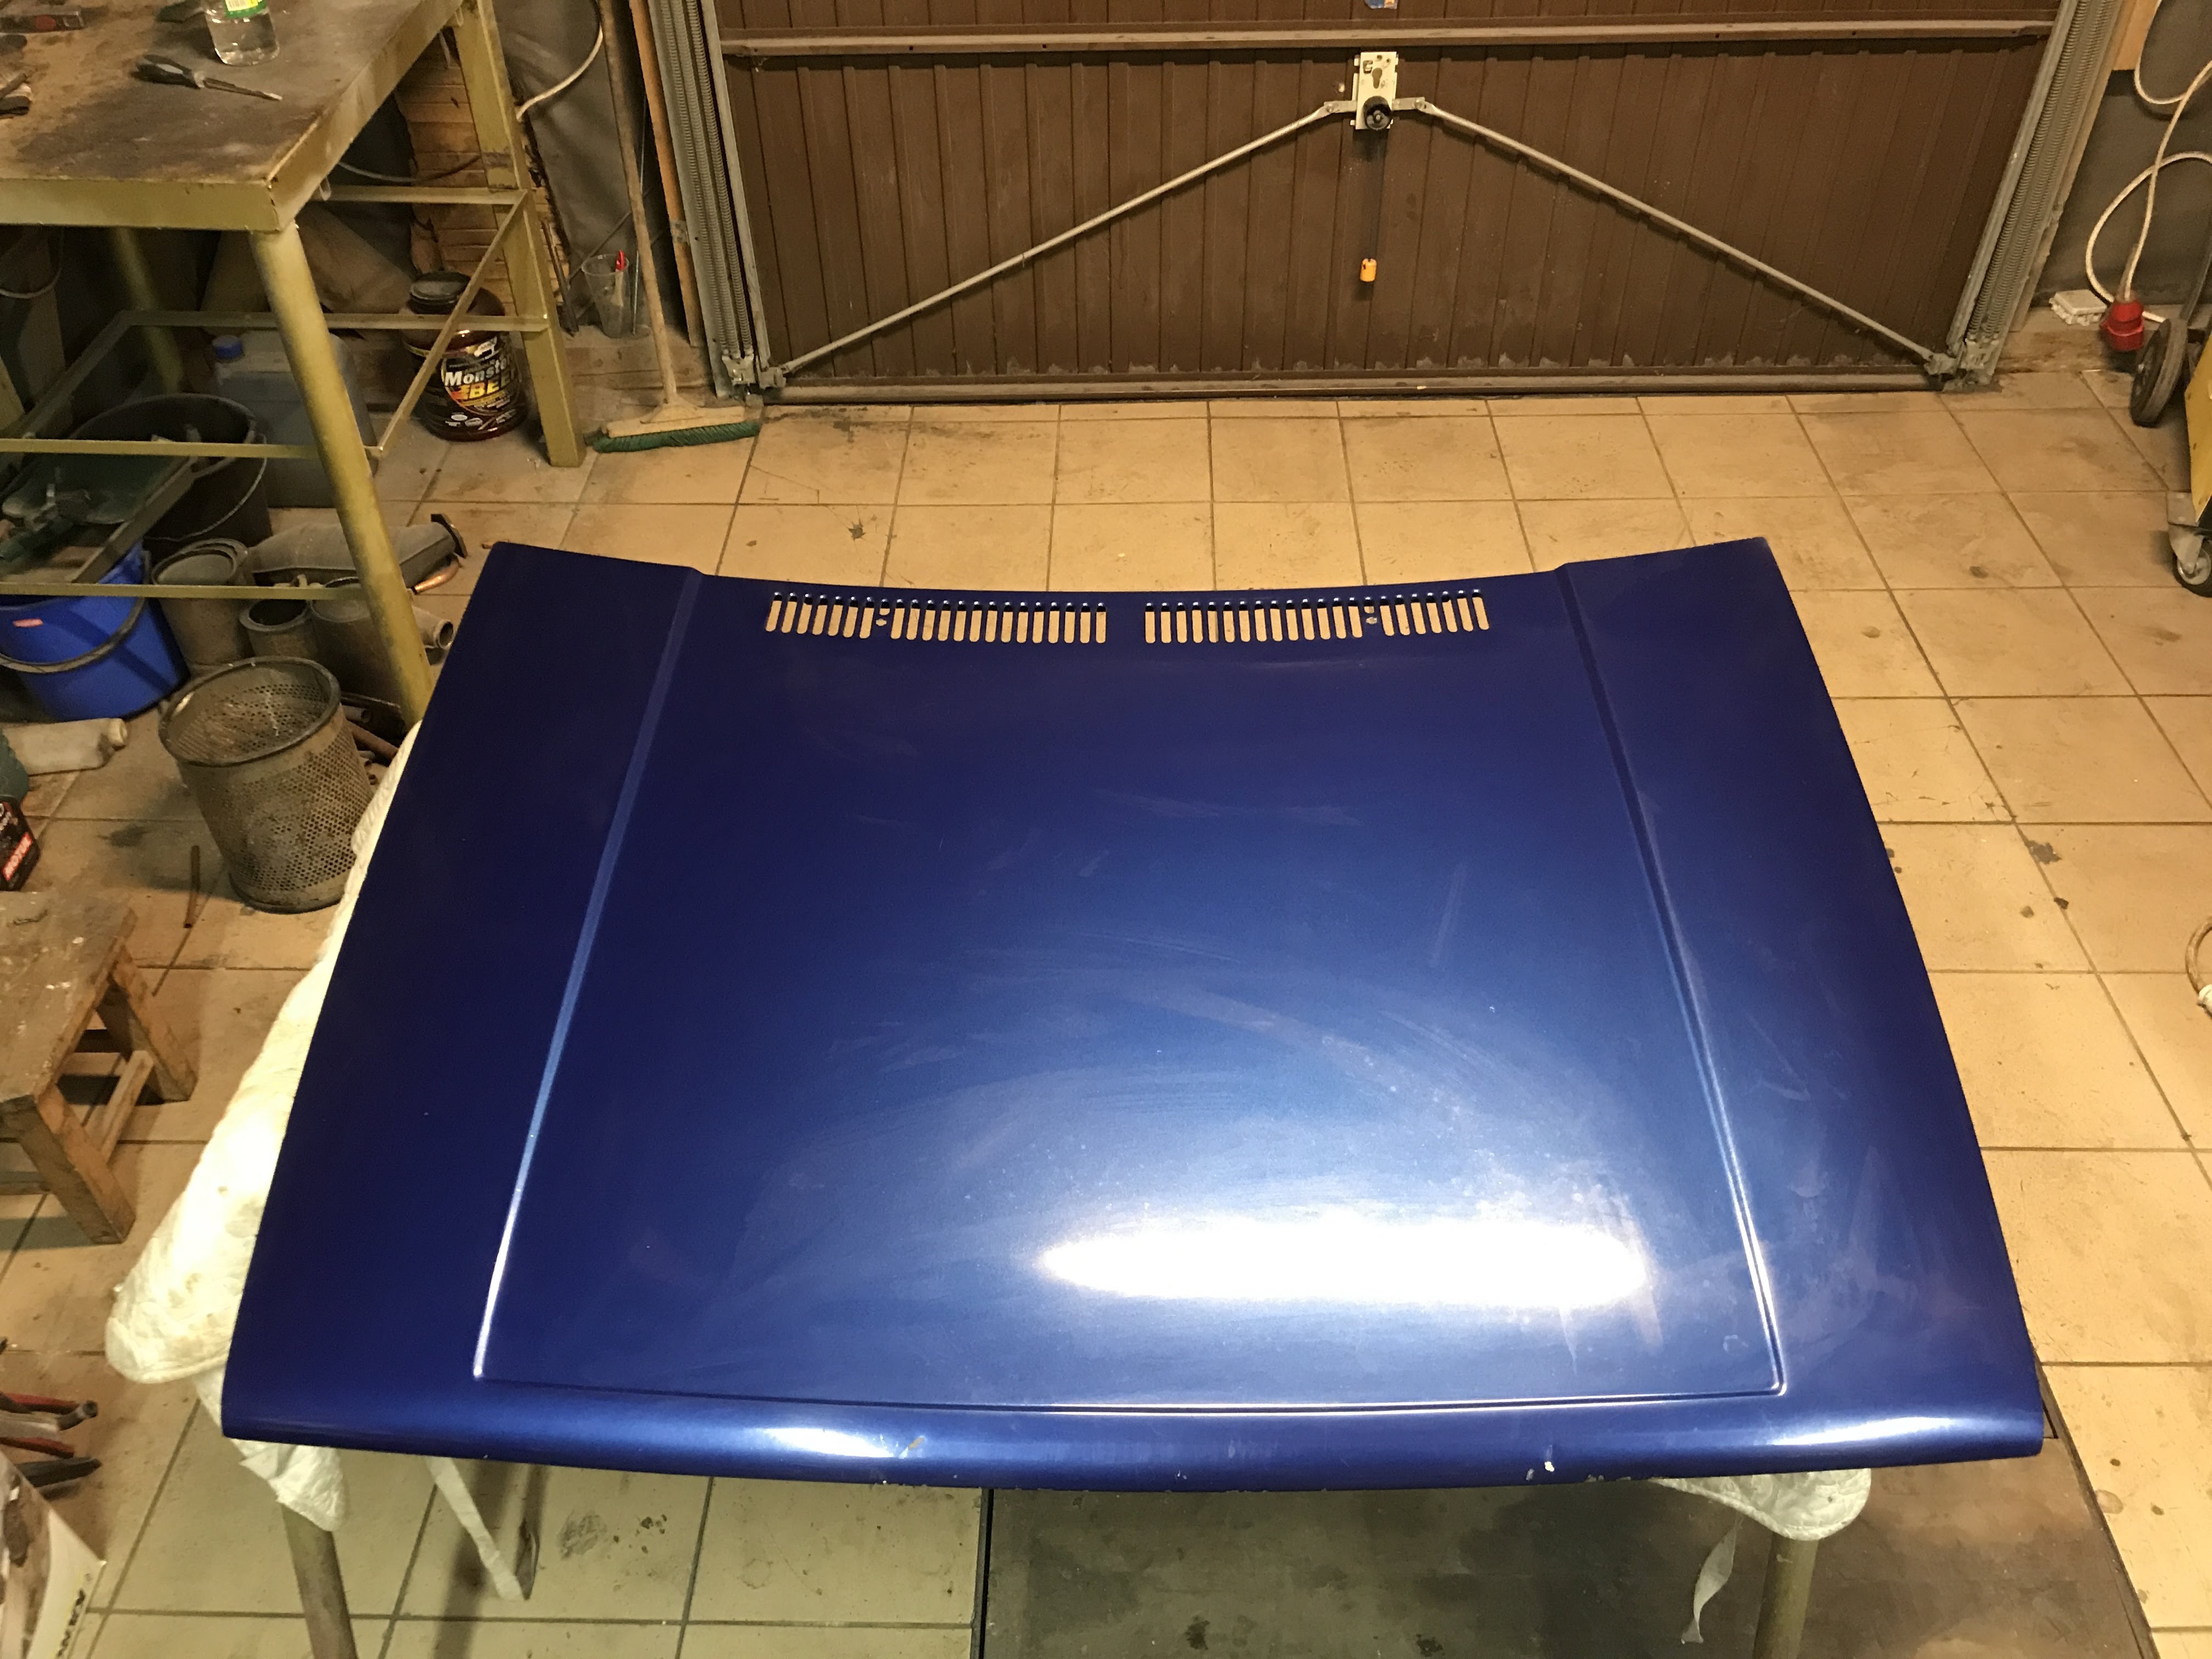
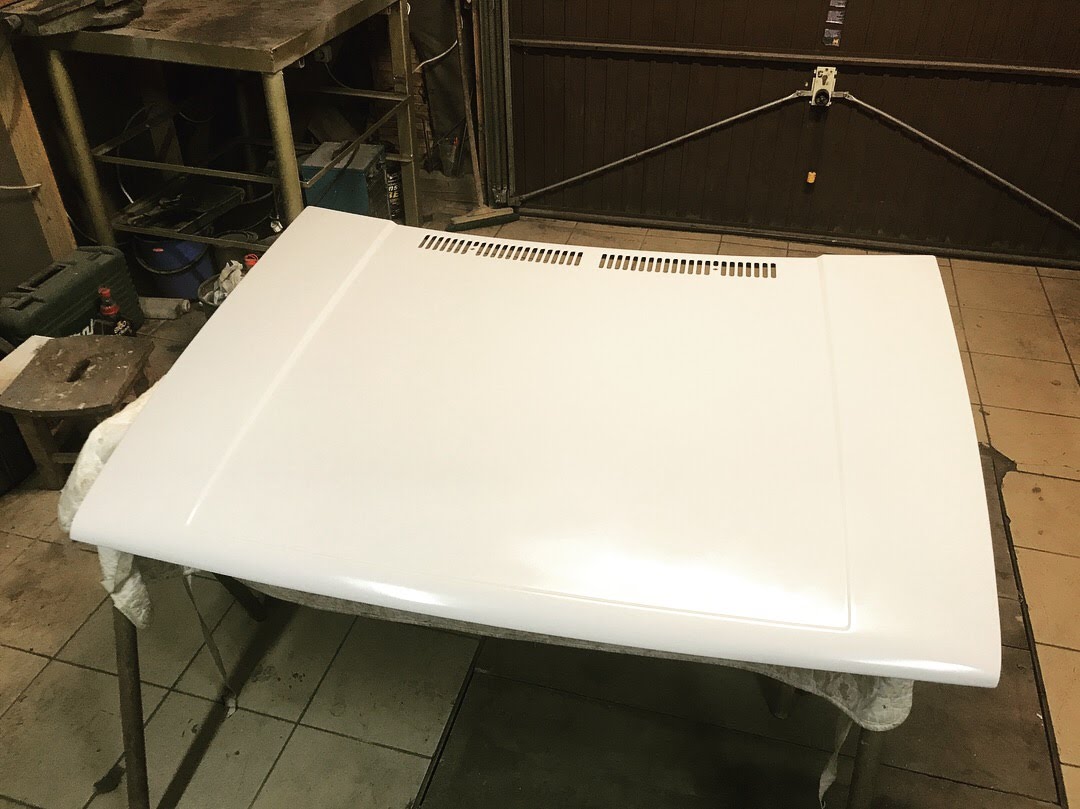
Going further - front bonnet next:
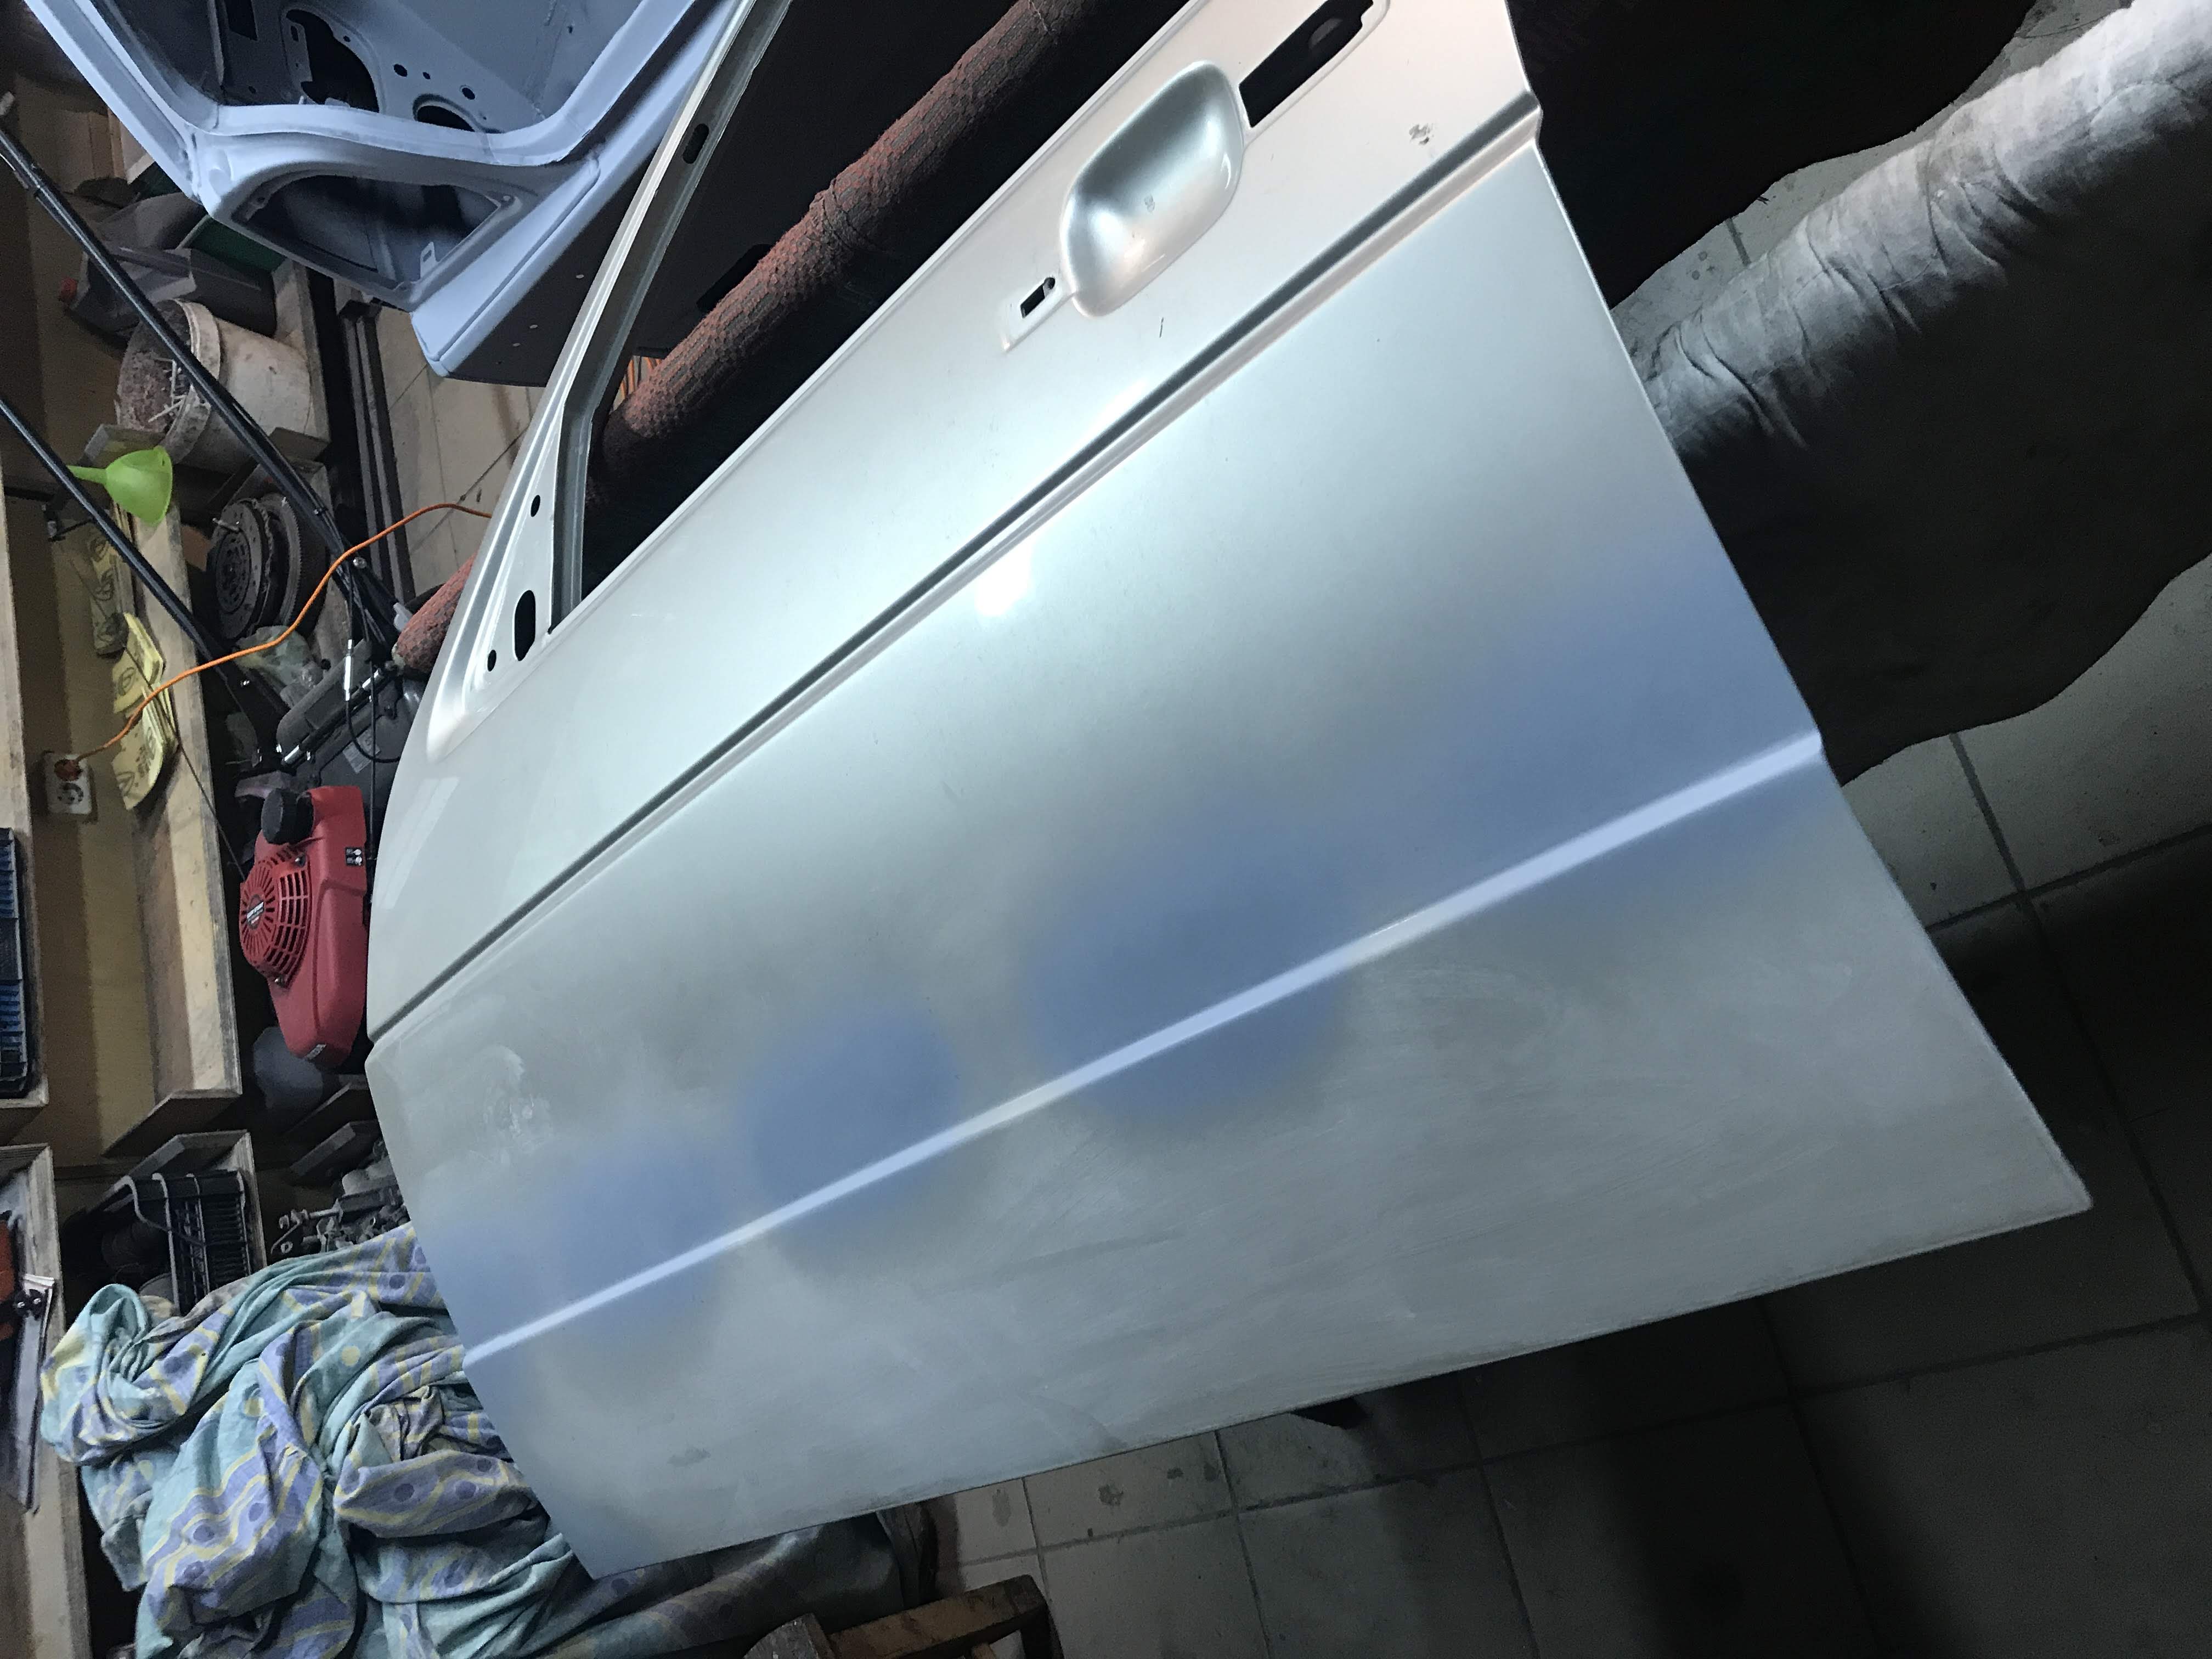
Despite fact all the doors were in perfect condition they still needed some attention in order to cover door trim fitting holes as I don't have intention to use facelift door trim:
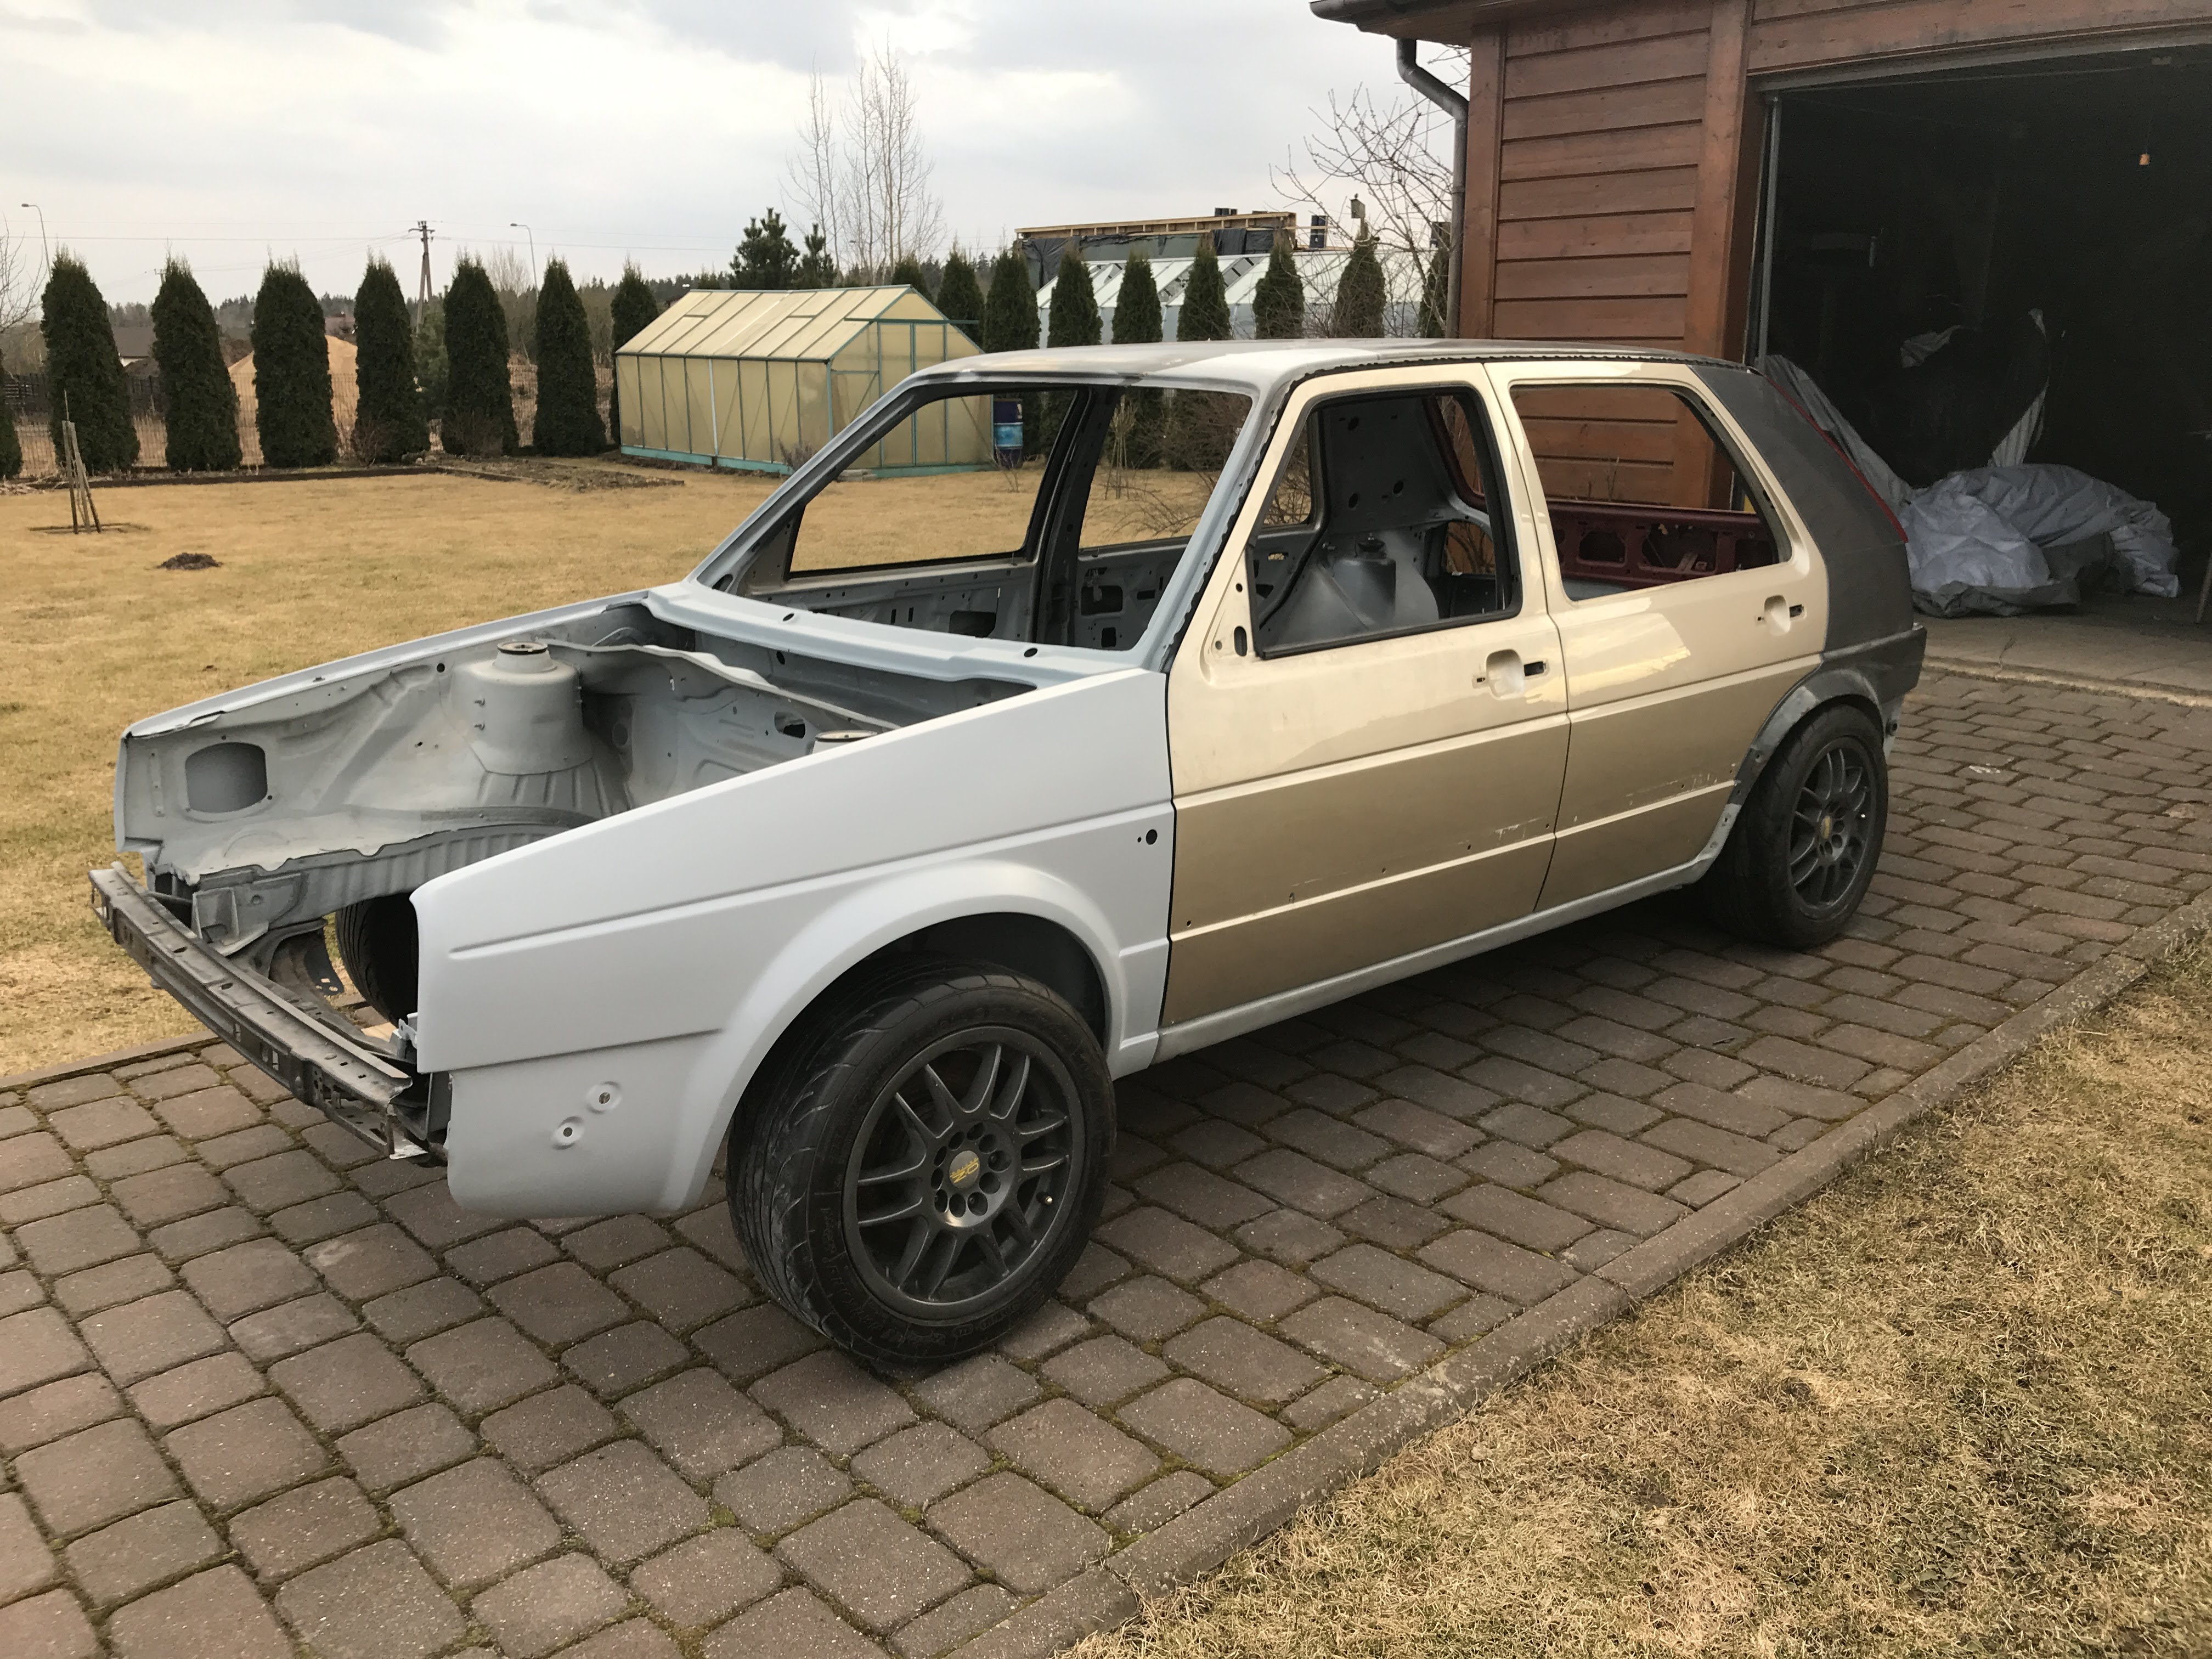
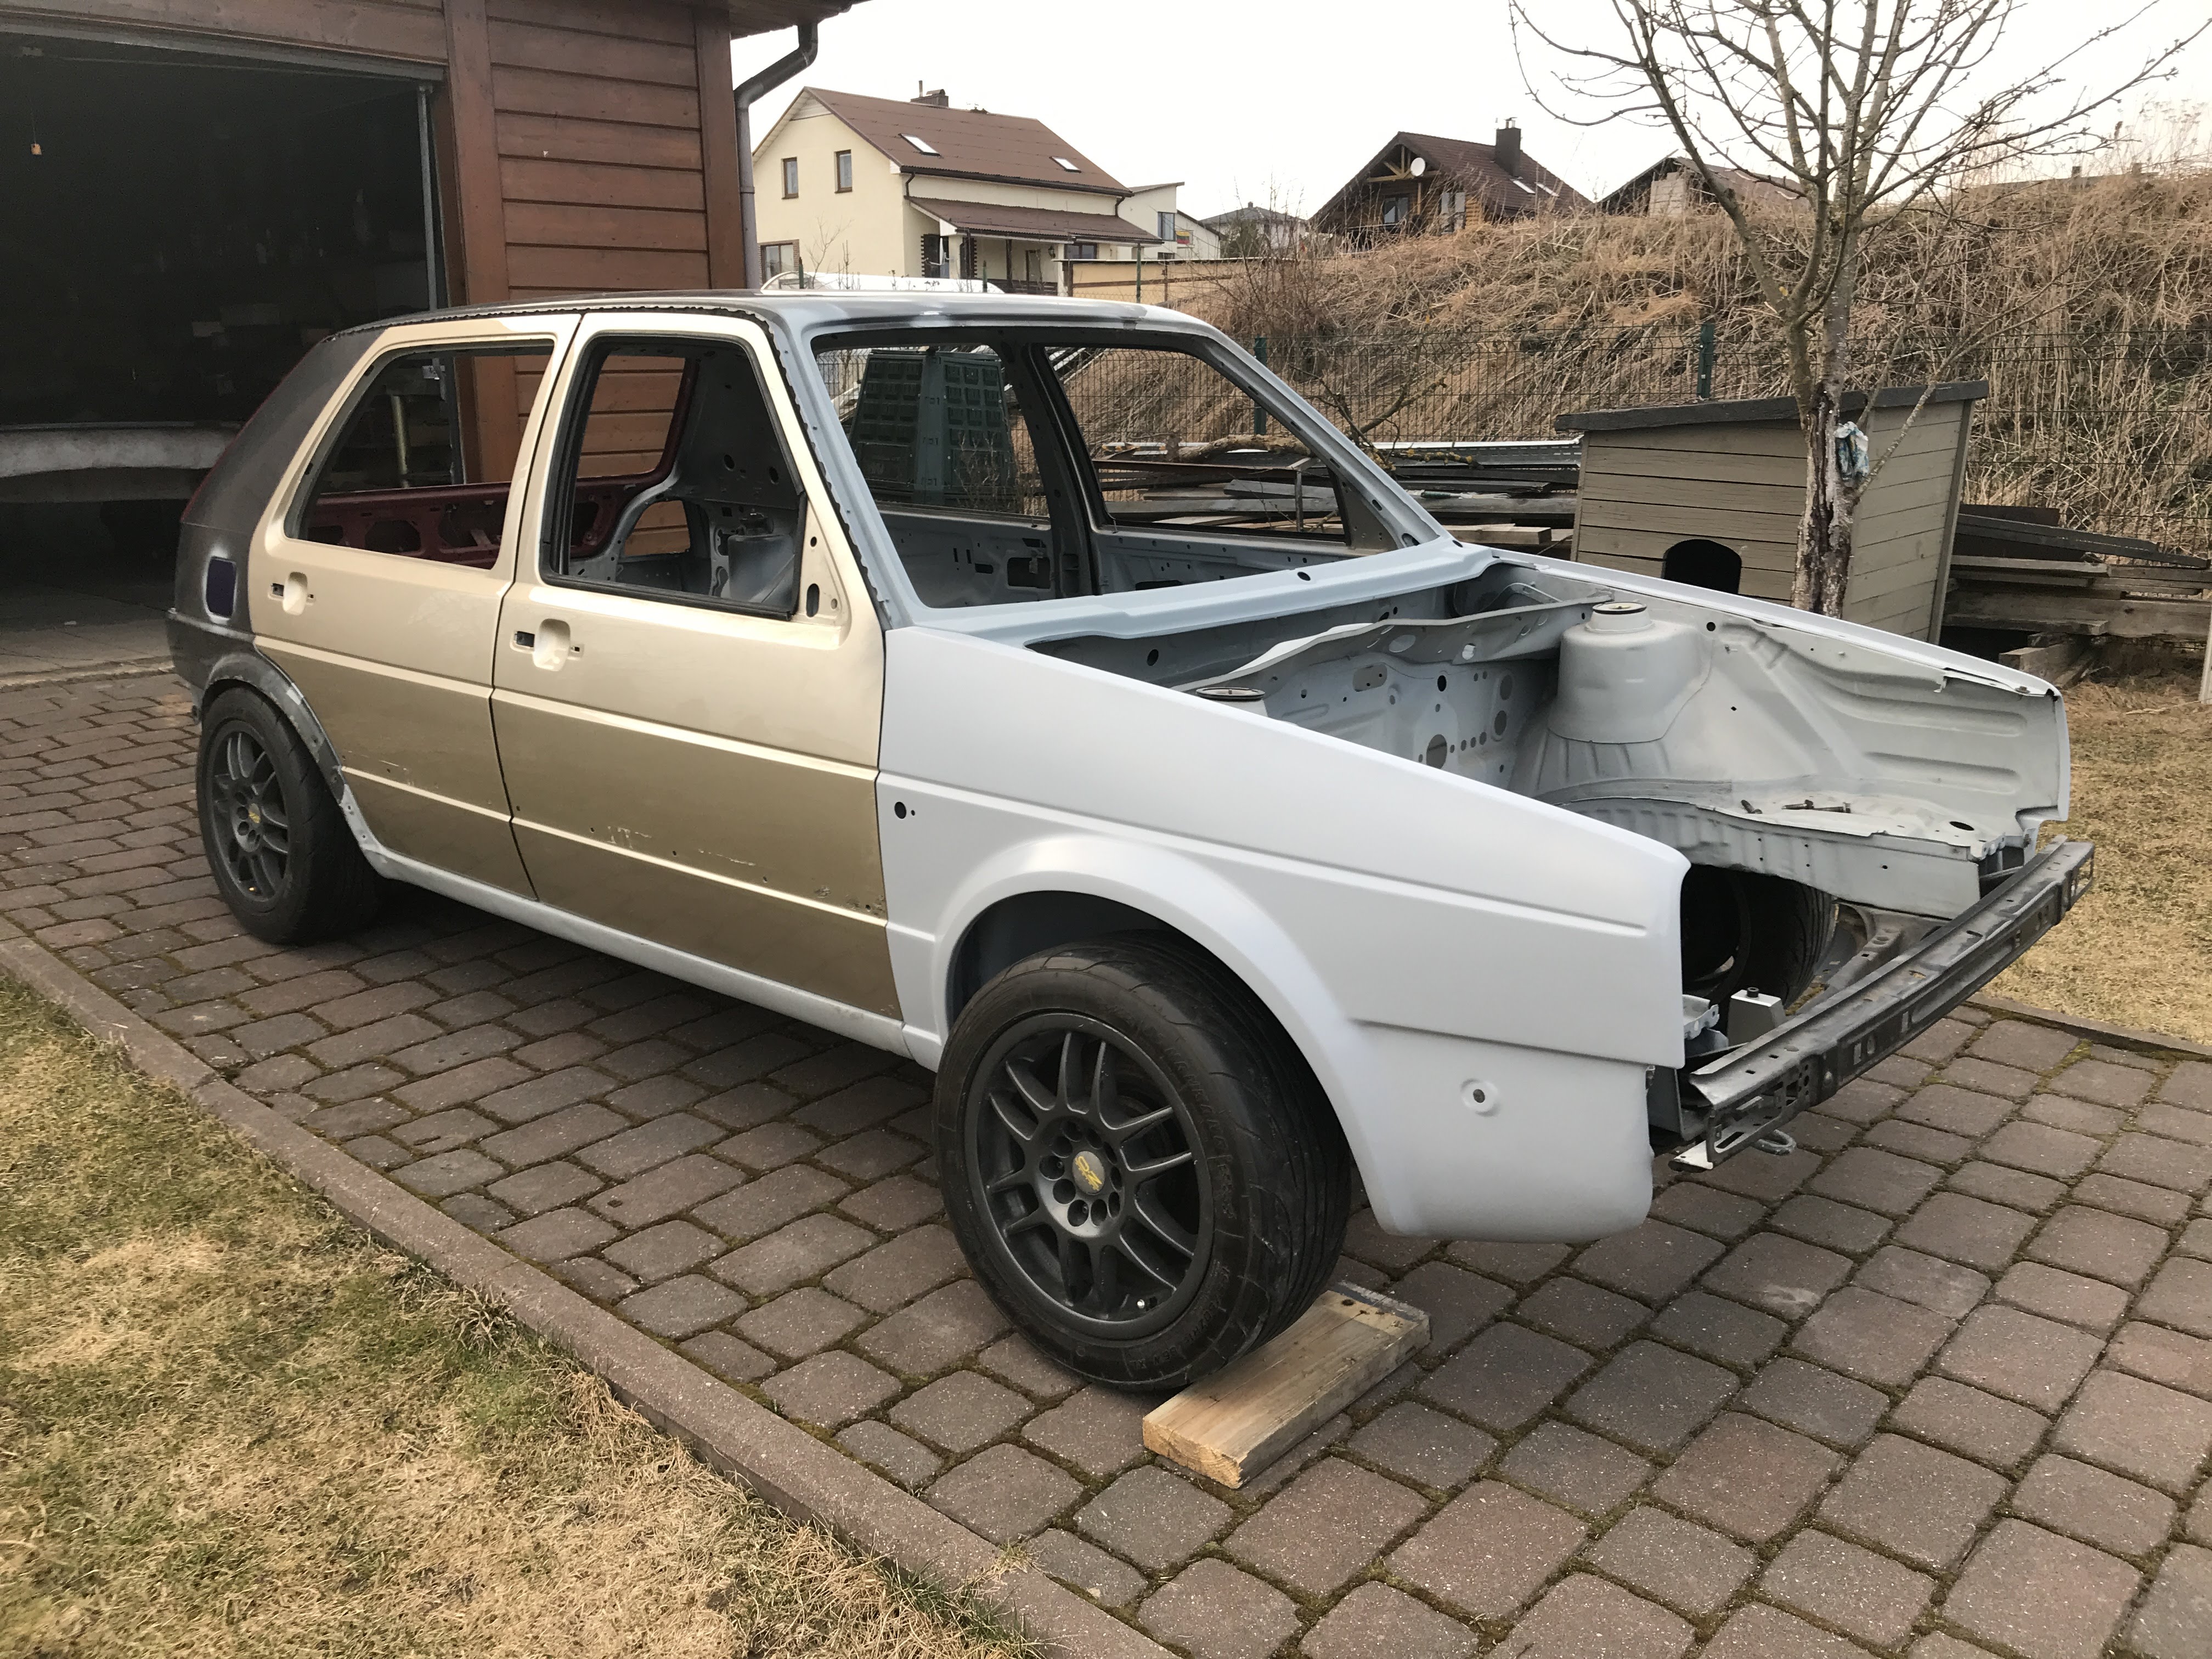
Just before fixing doors have mounted fixed parts on shell:
Rear trunk lid:
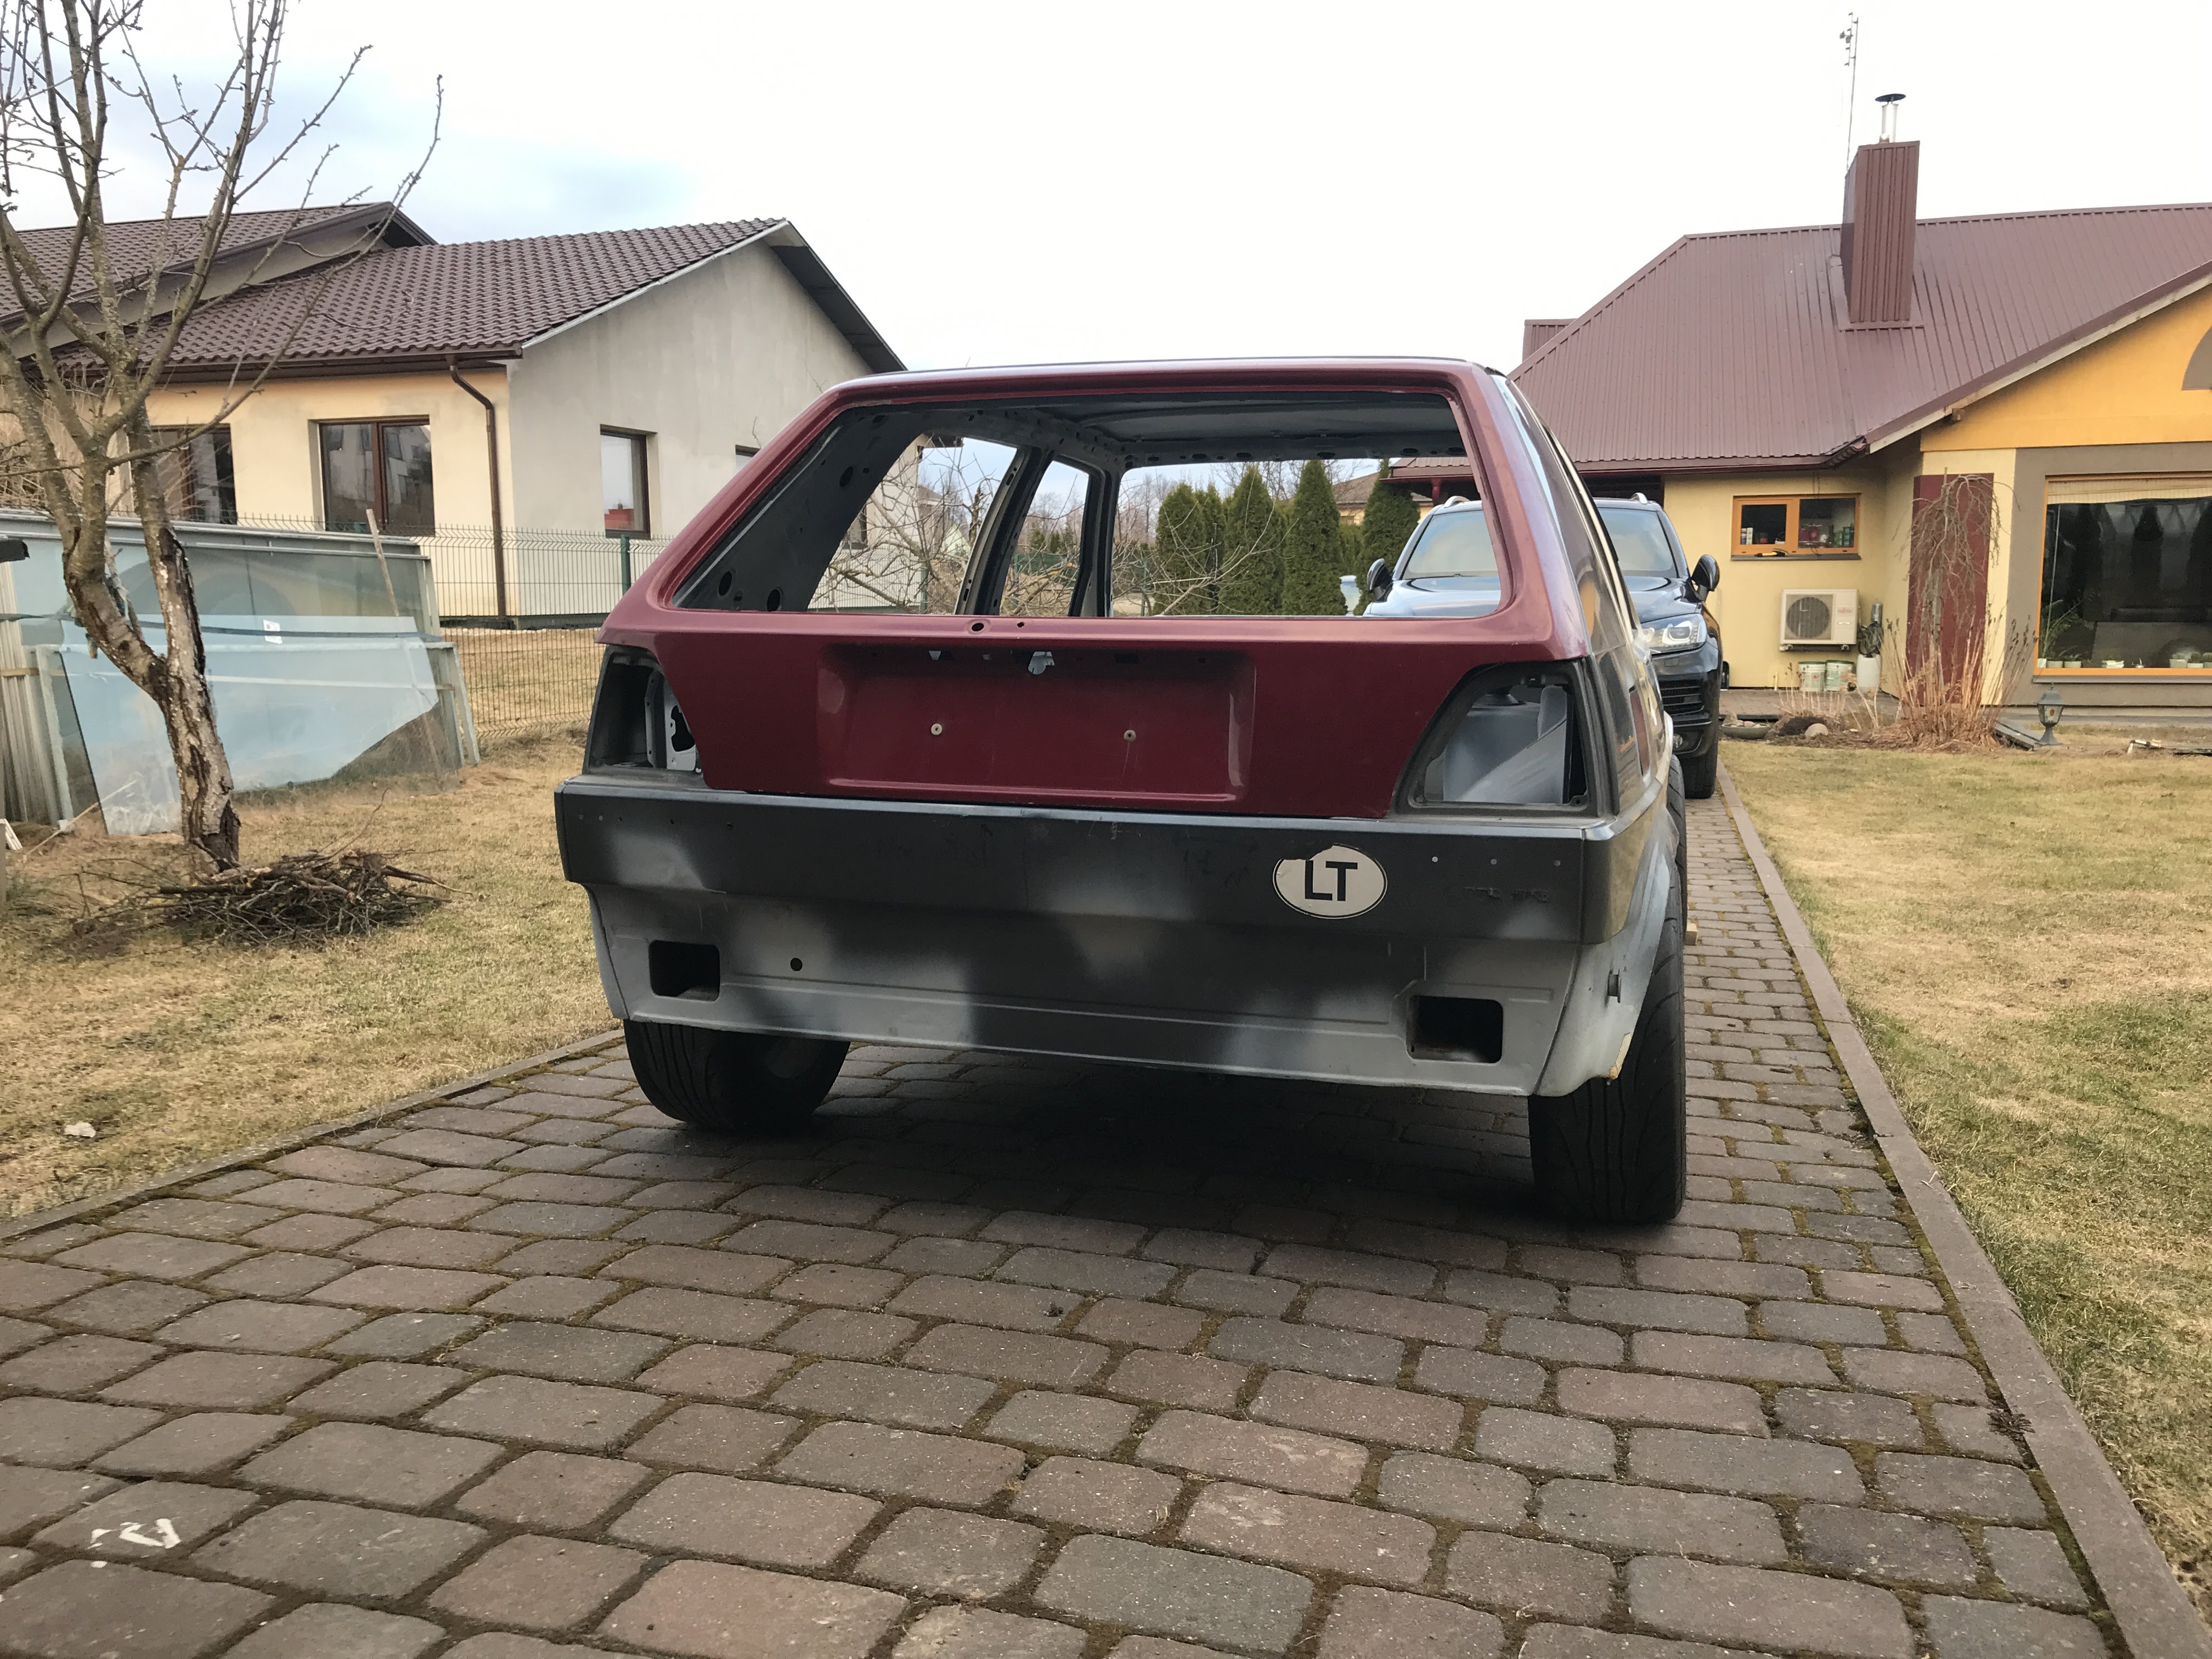
Bonnet on:
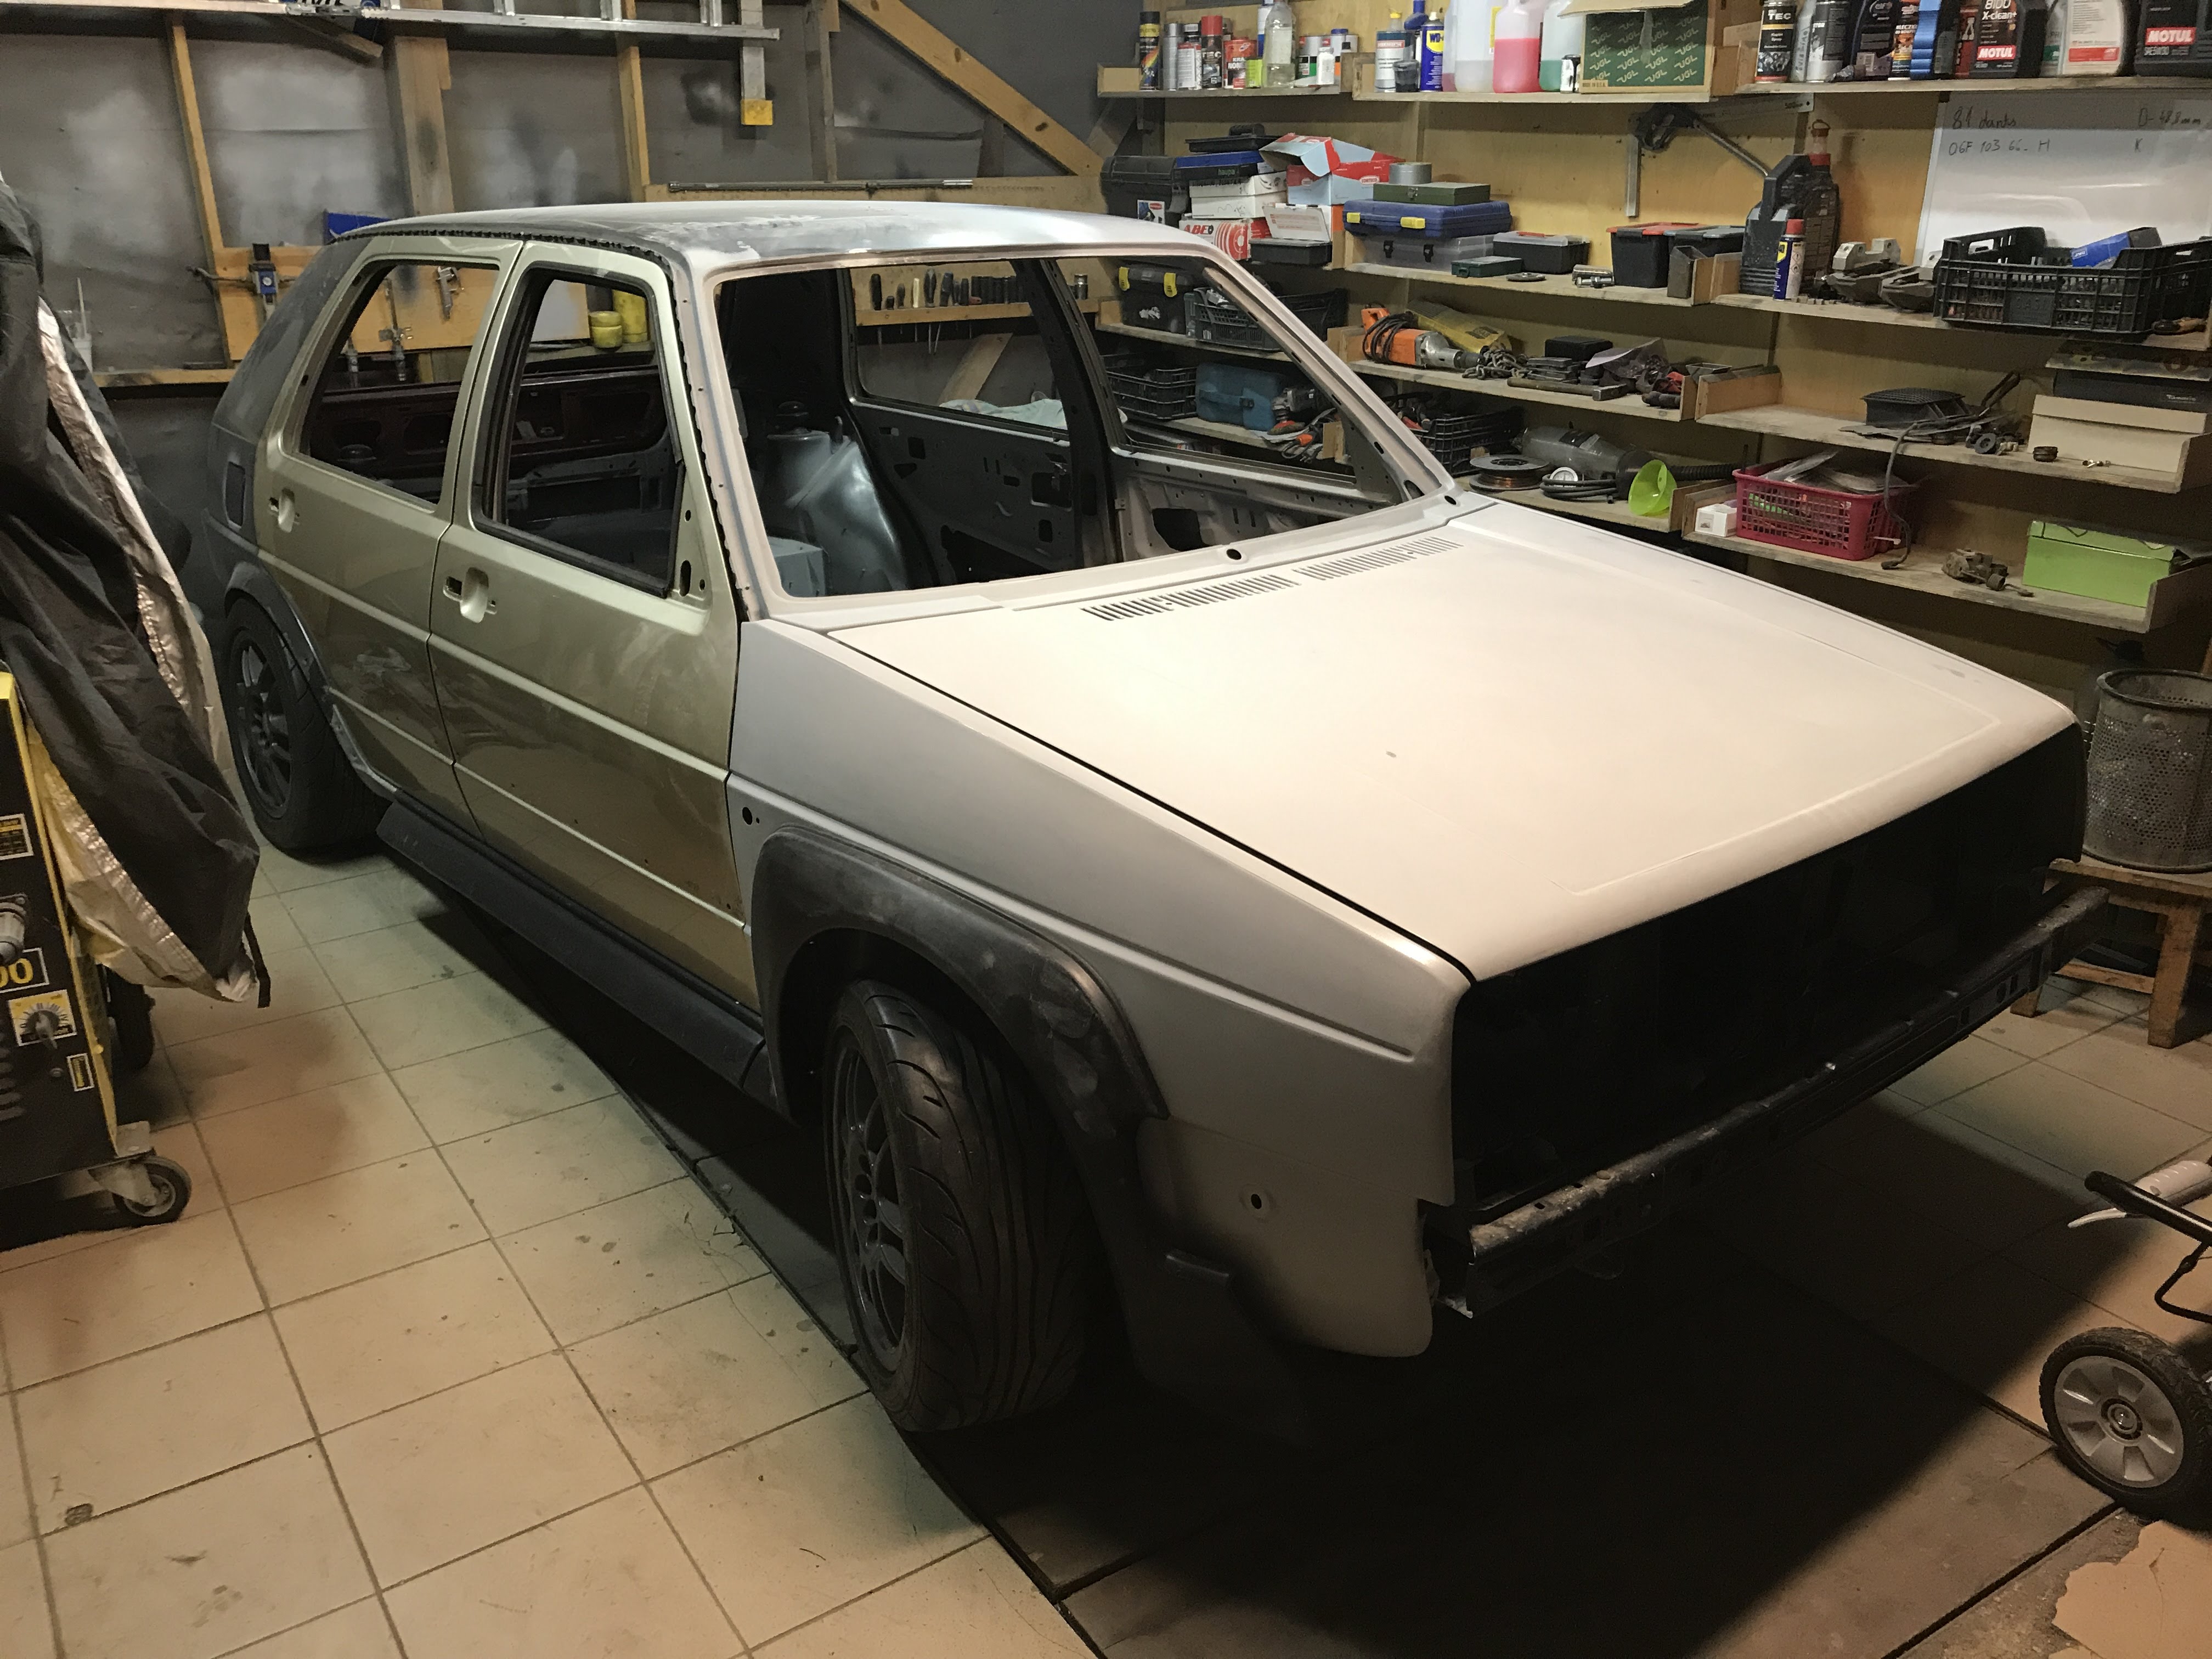
Fixing rear lower panel:
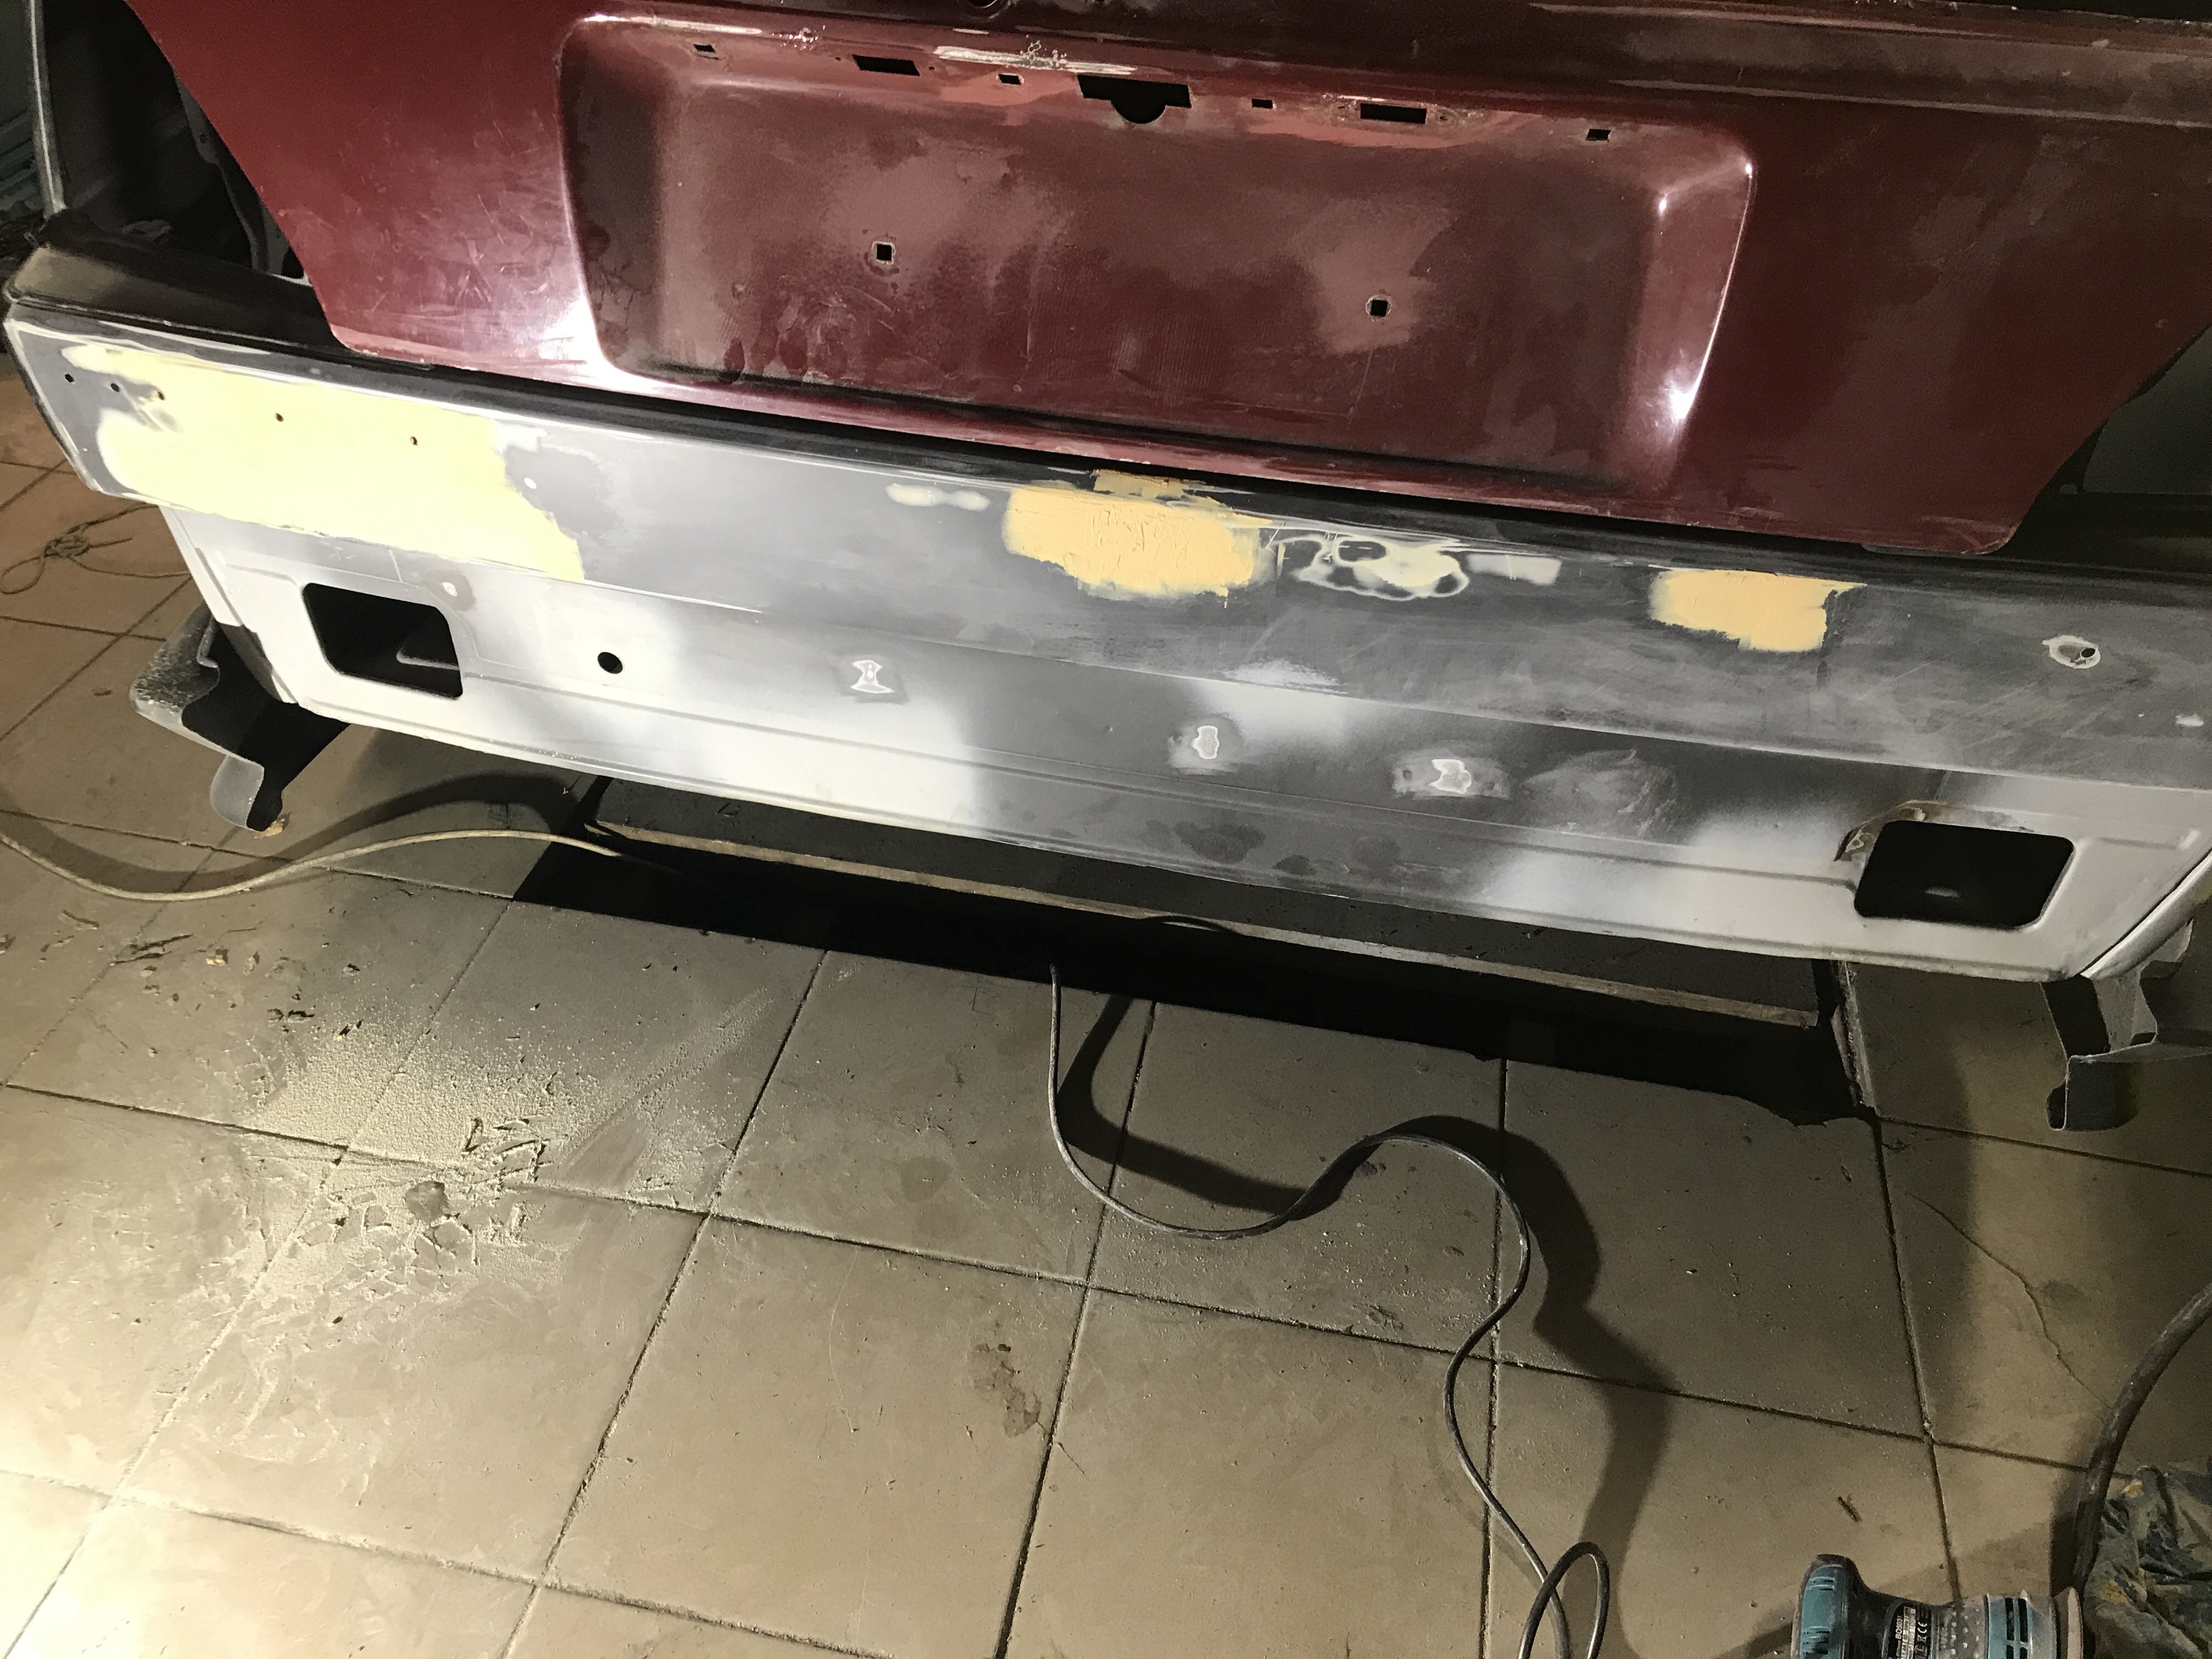
Priming trunk lid:
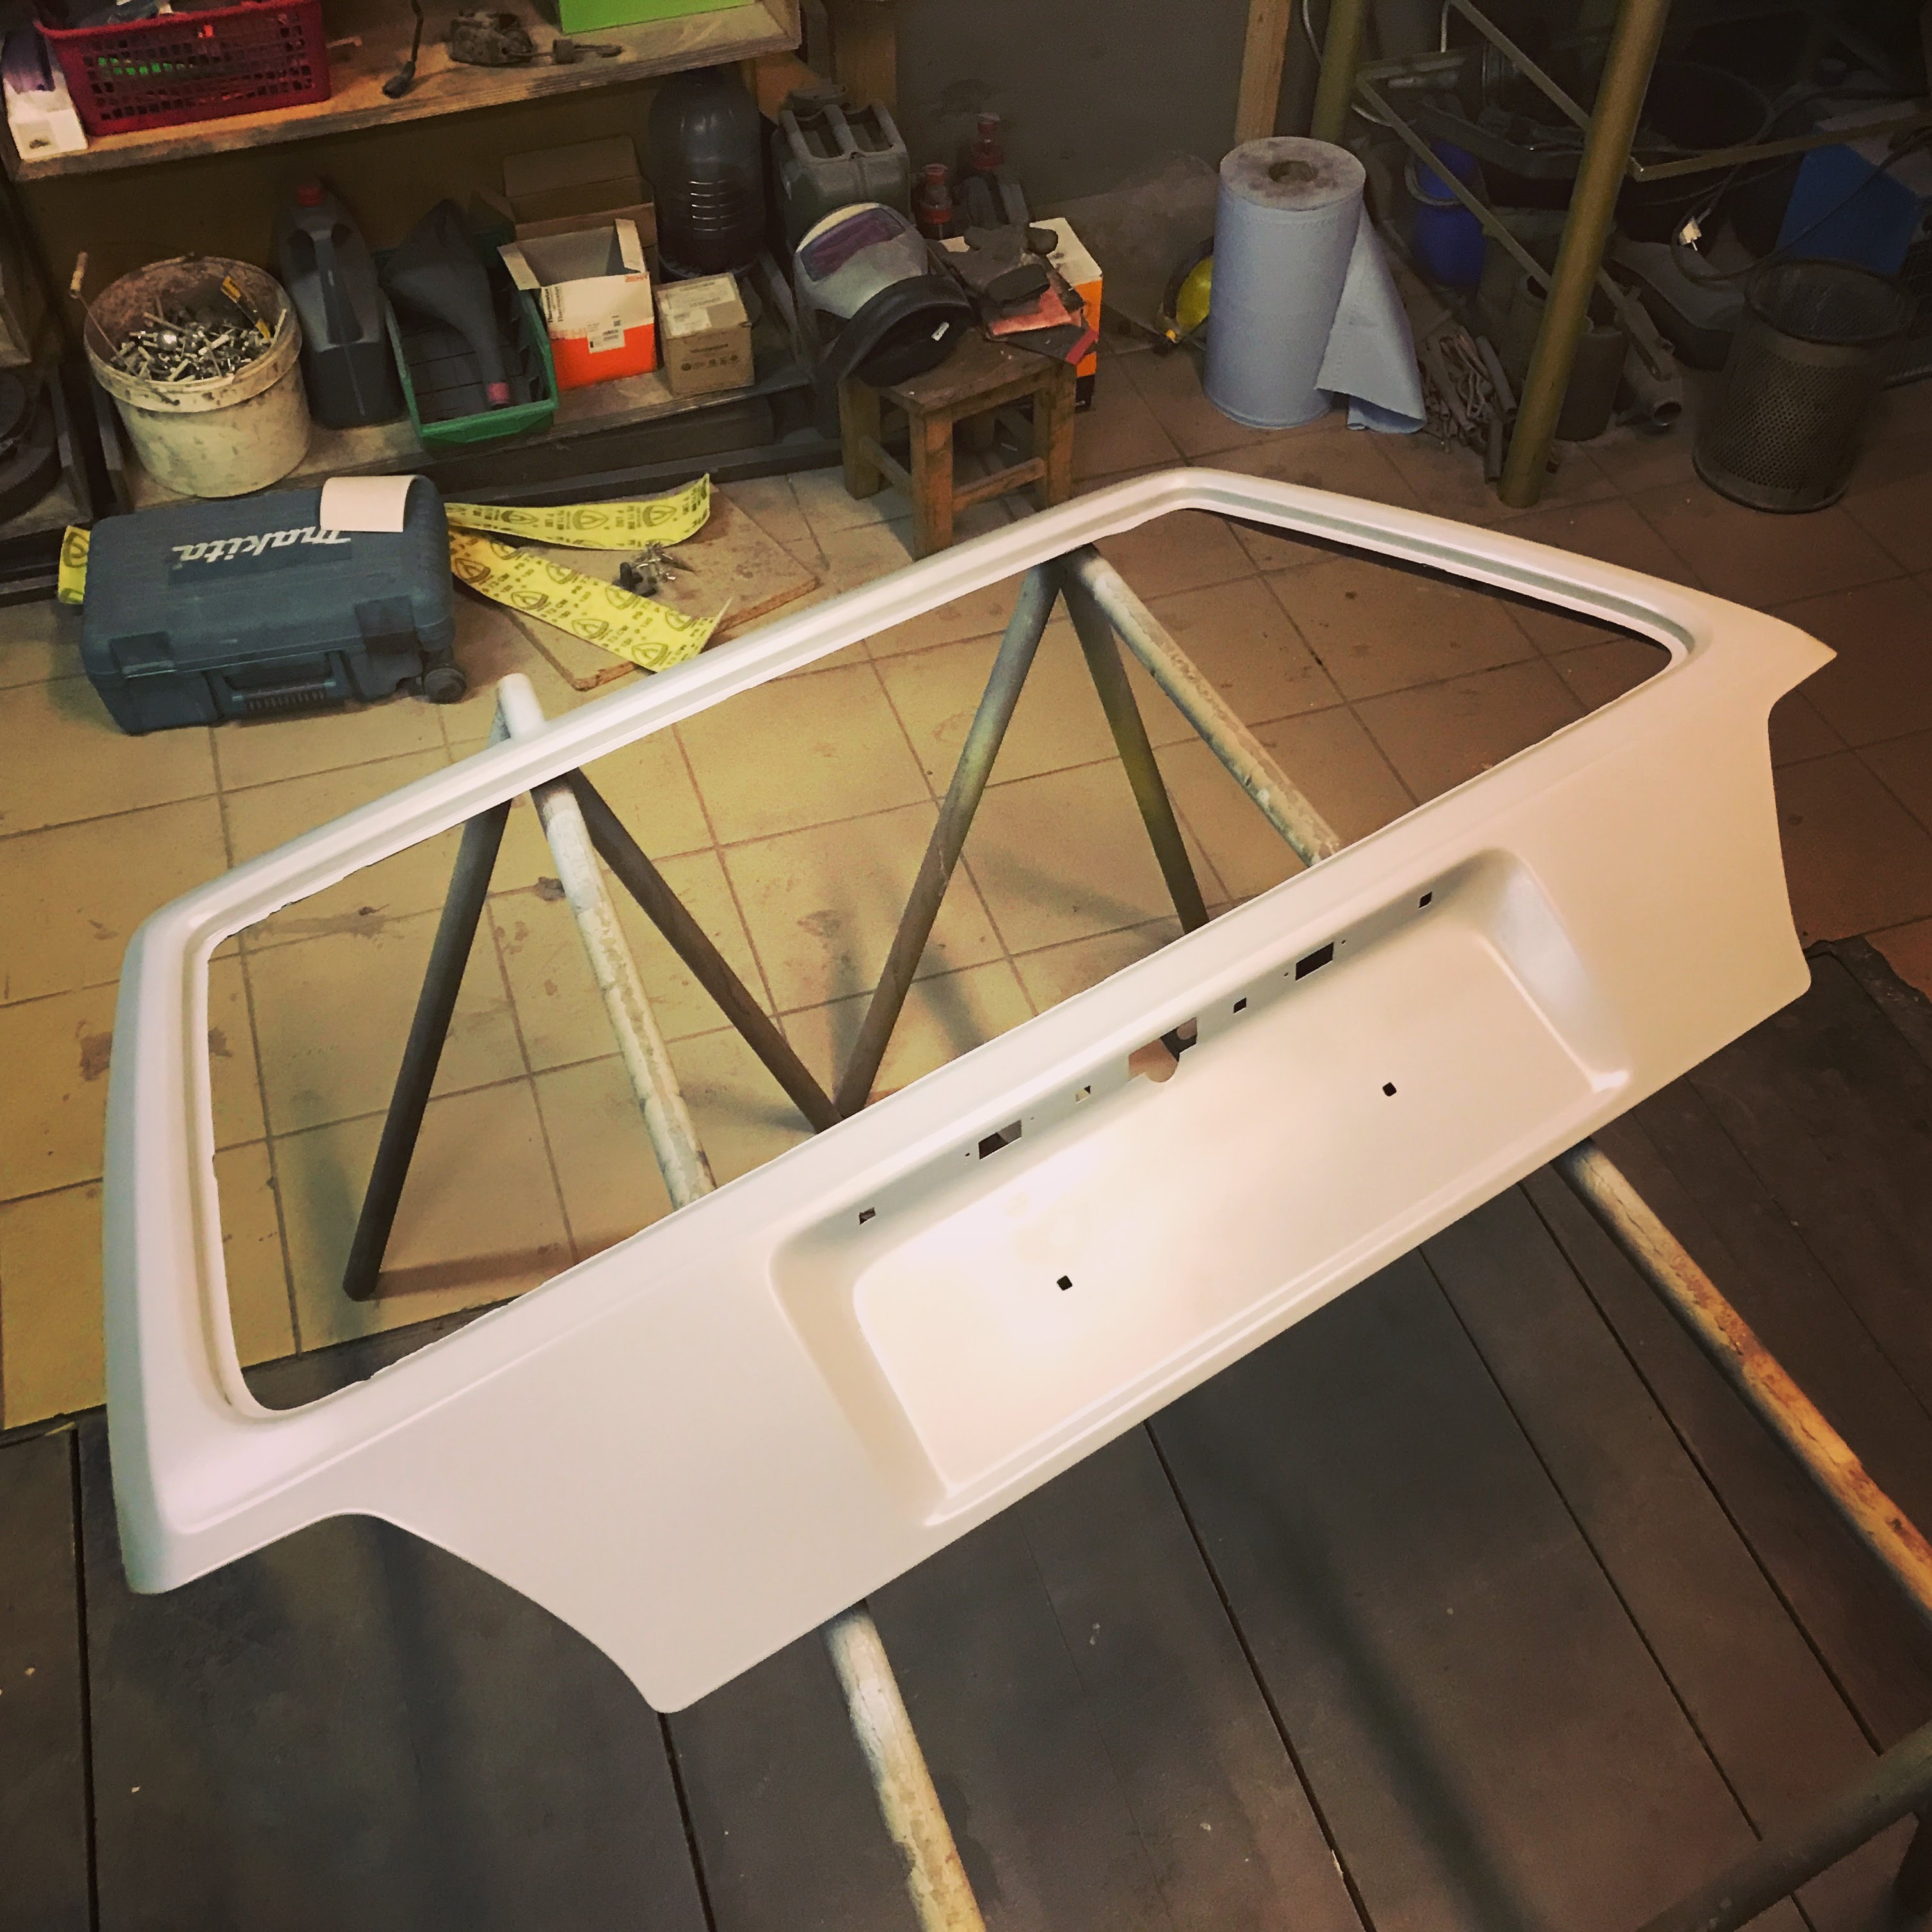
Fixing tiny scratch marks on roof, C pillars, etc. And priming later:
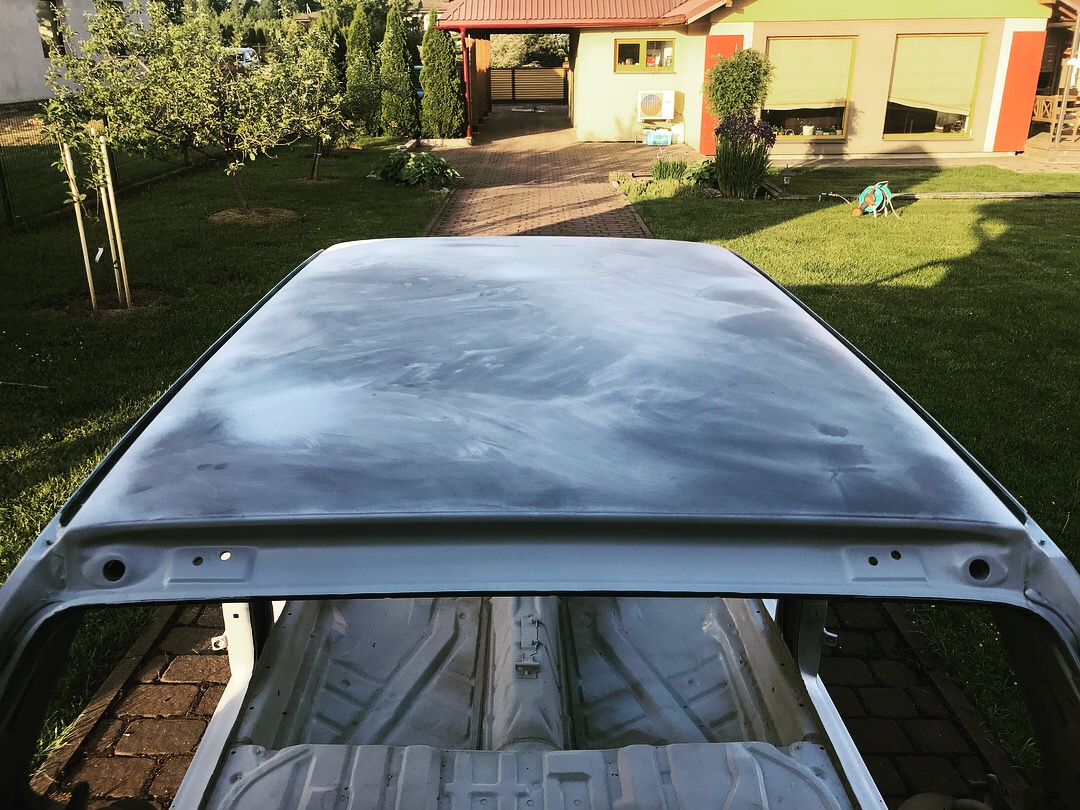
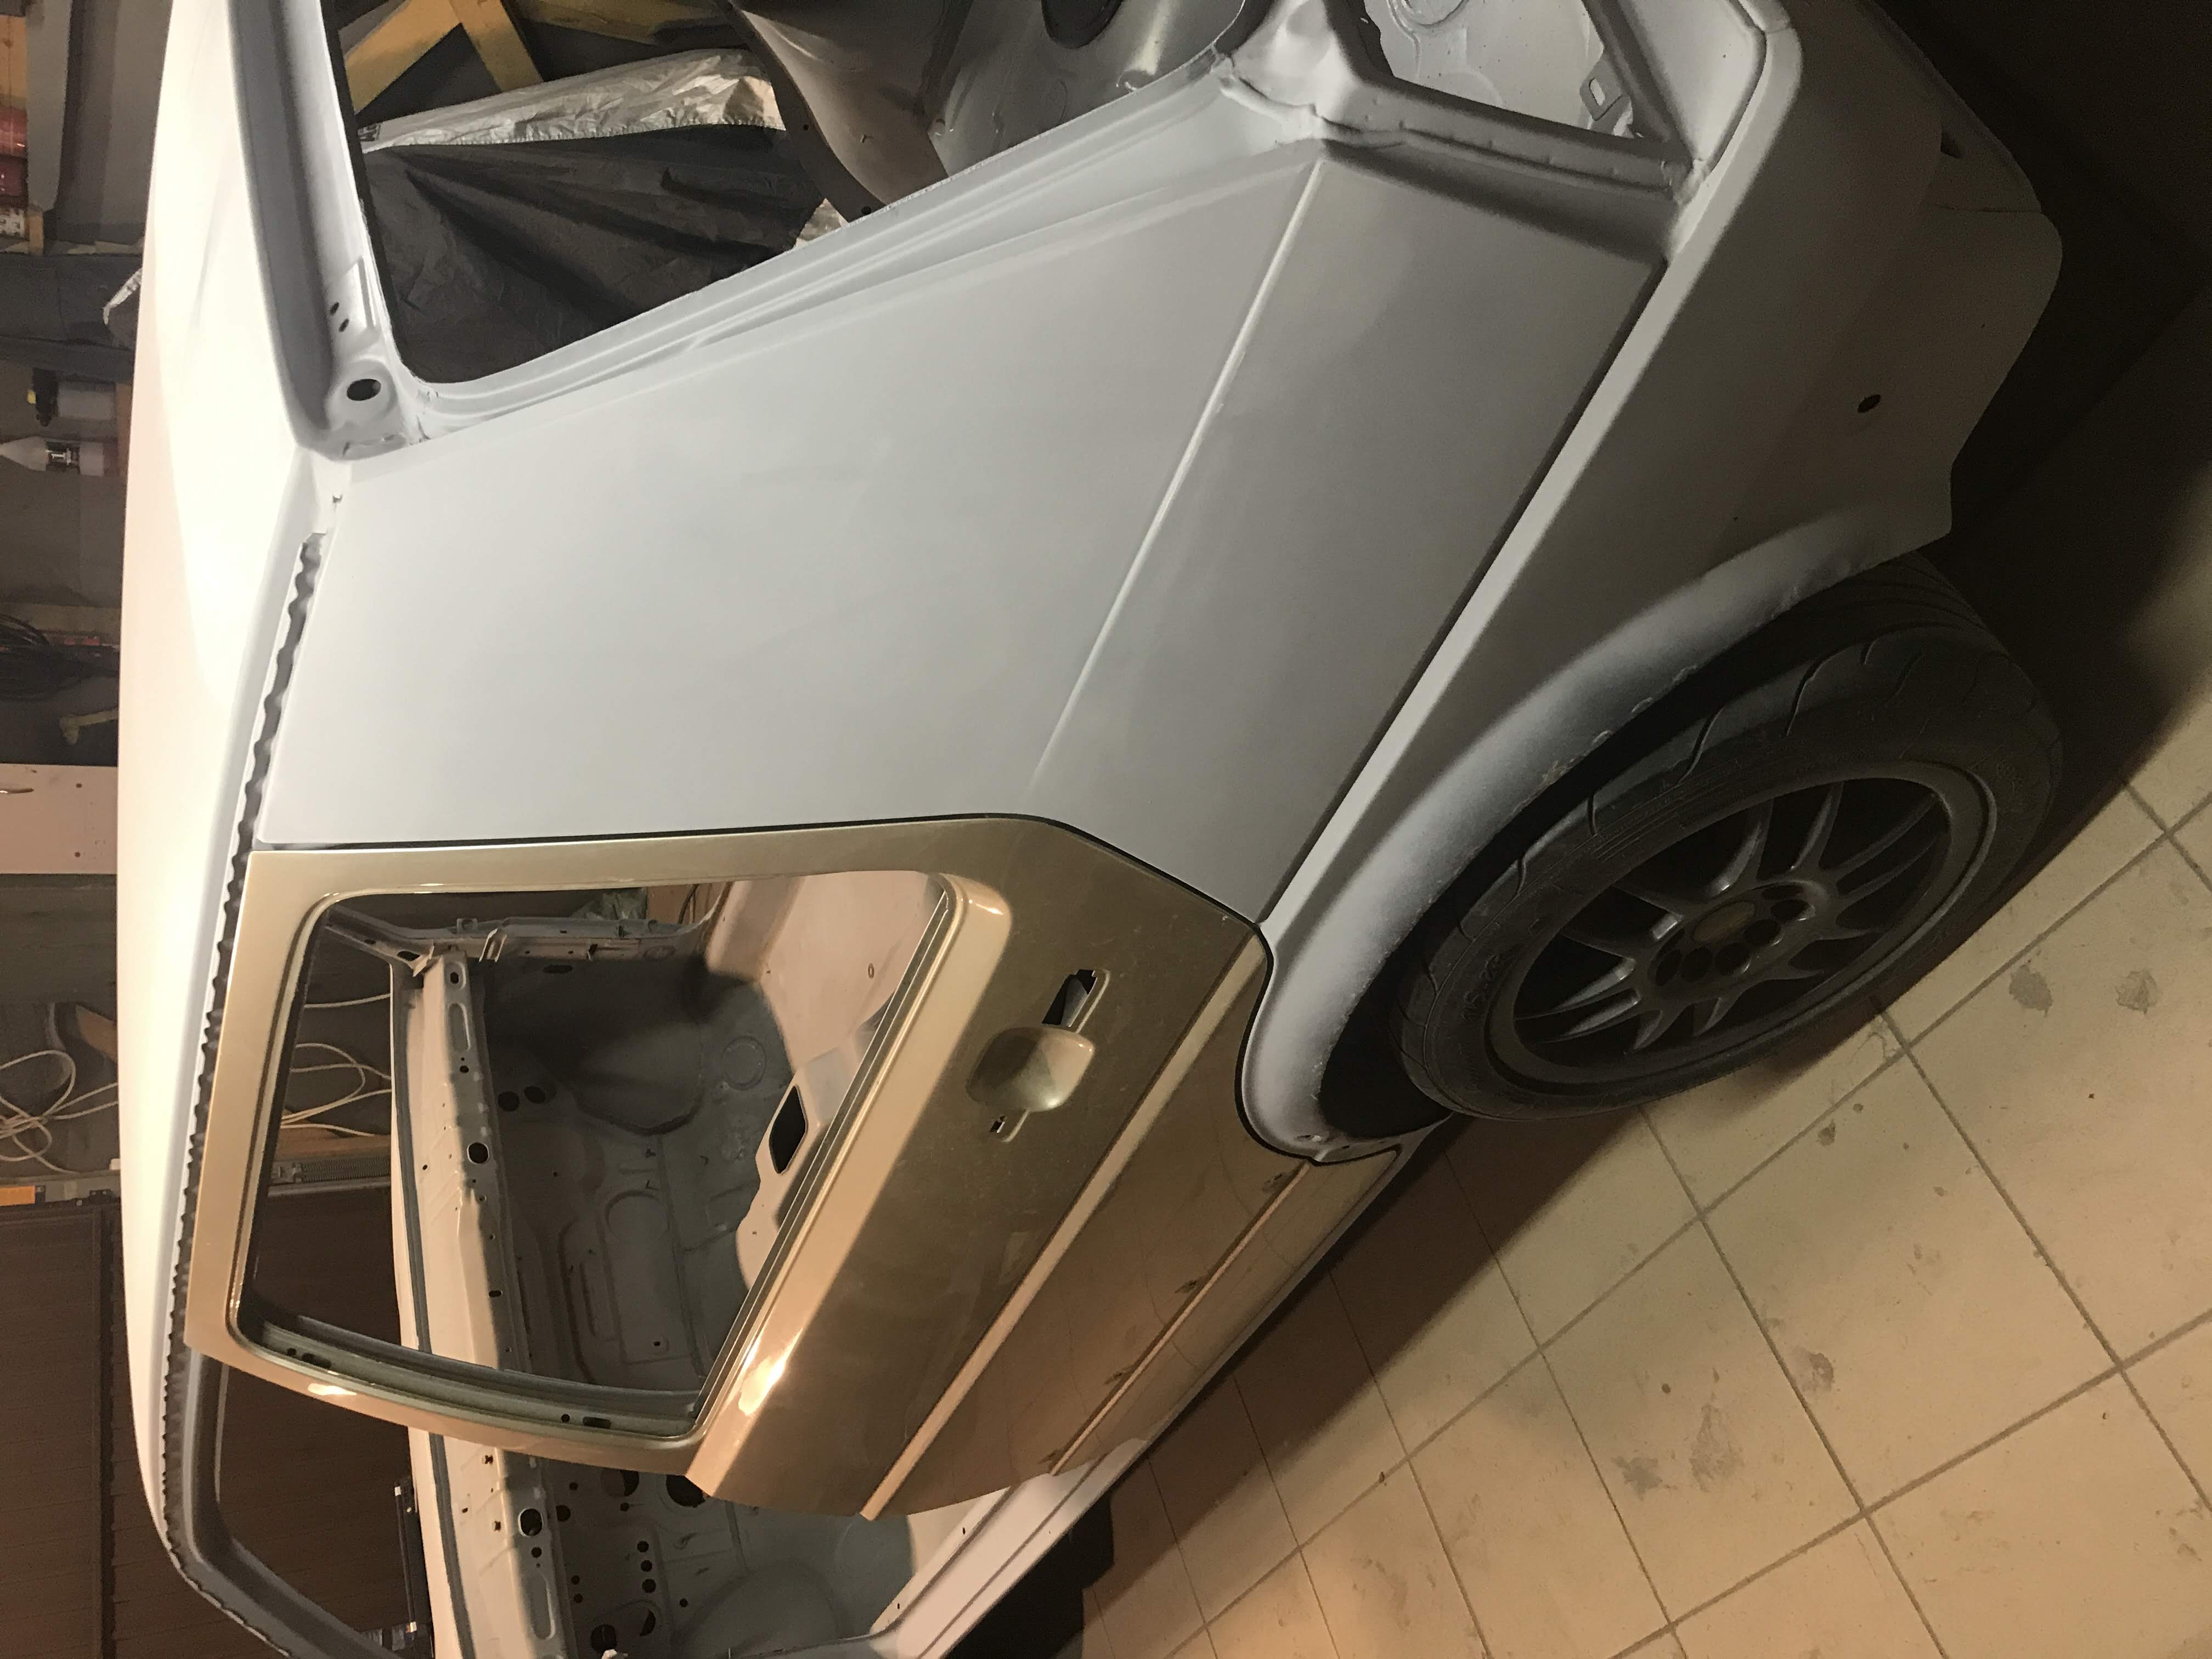
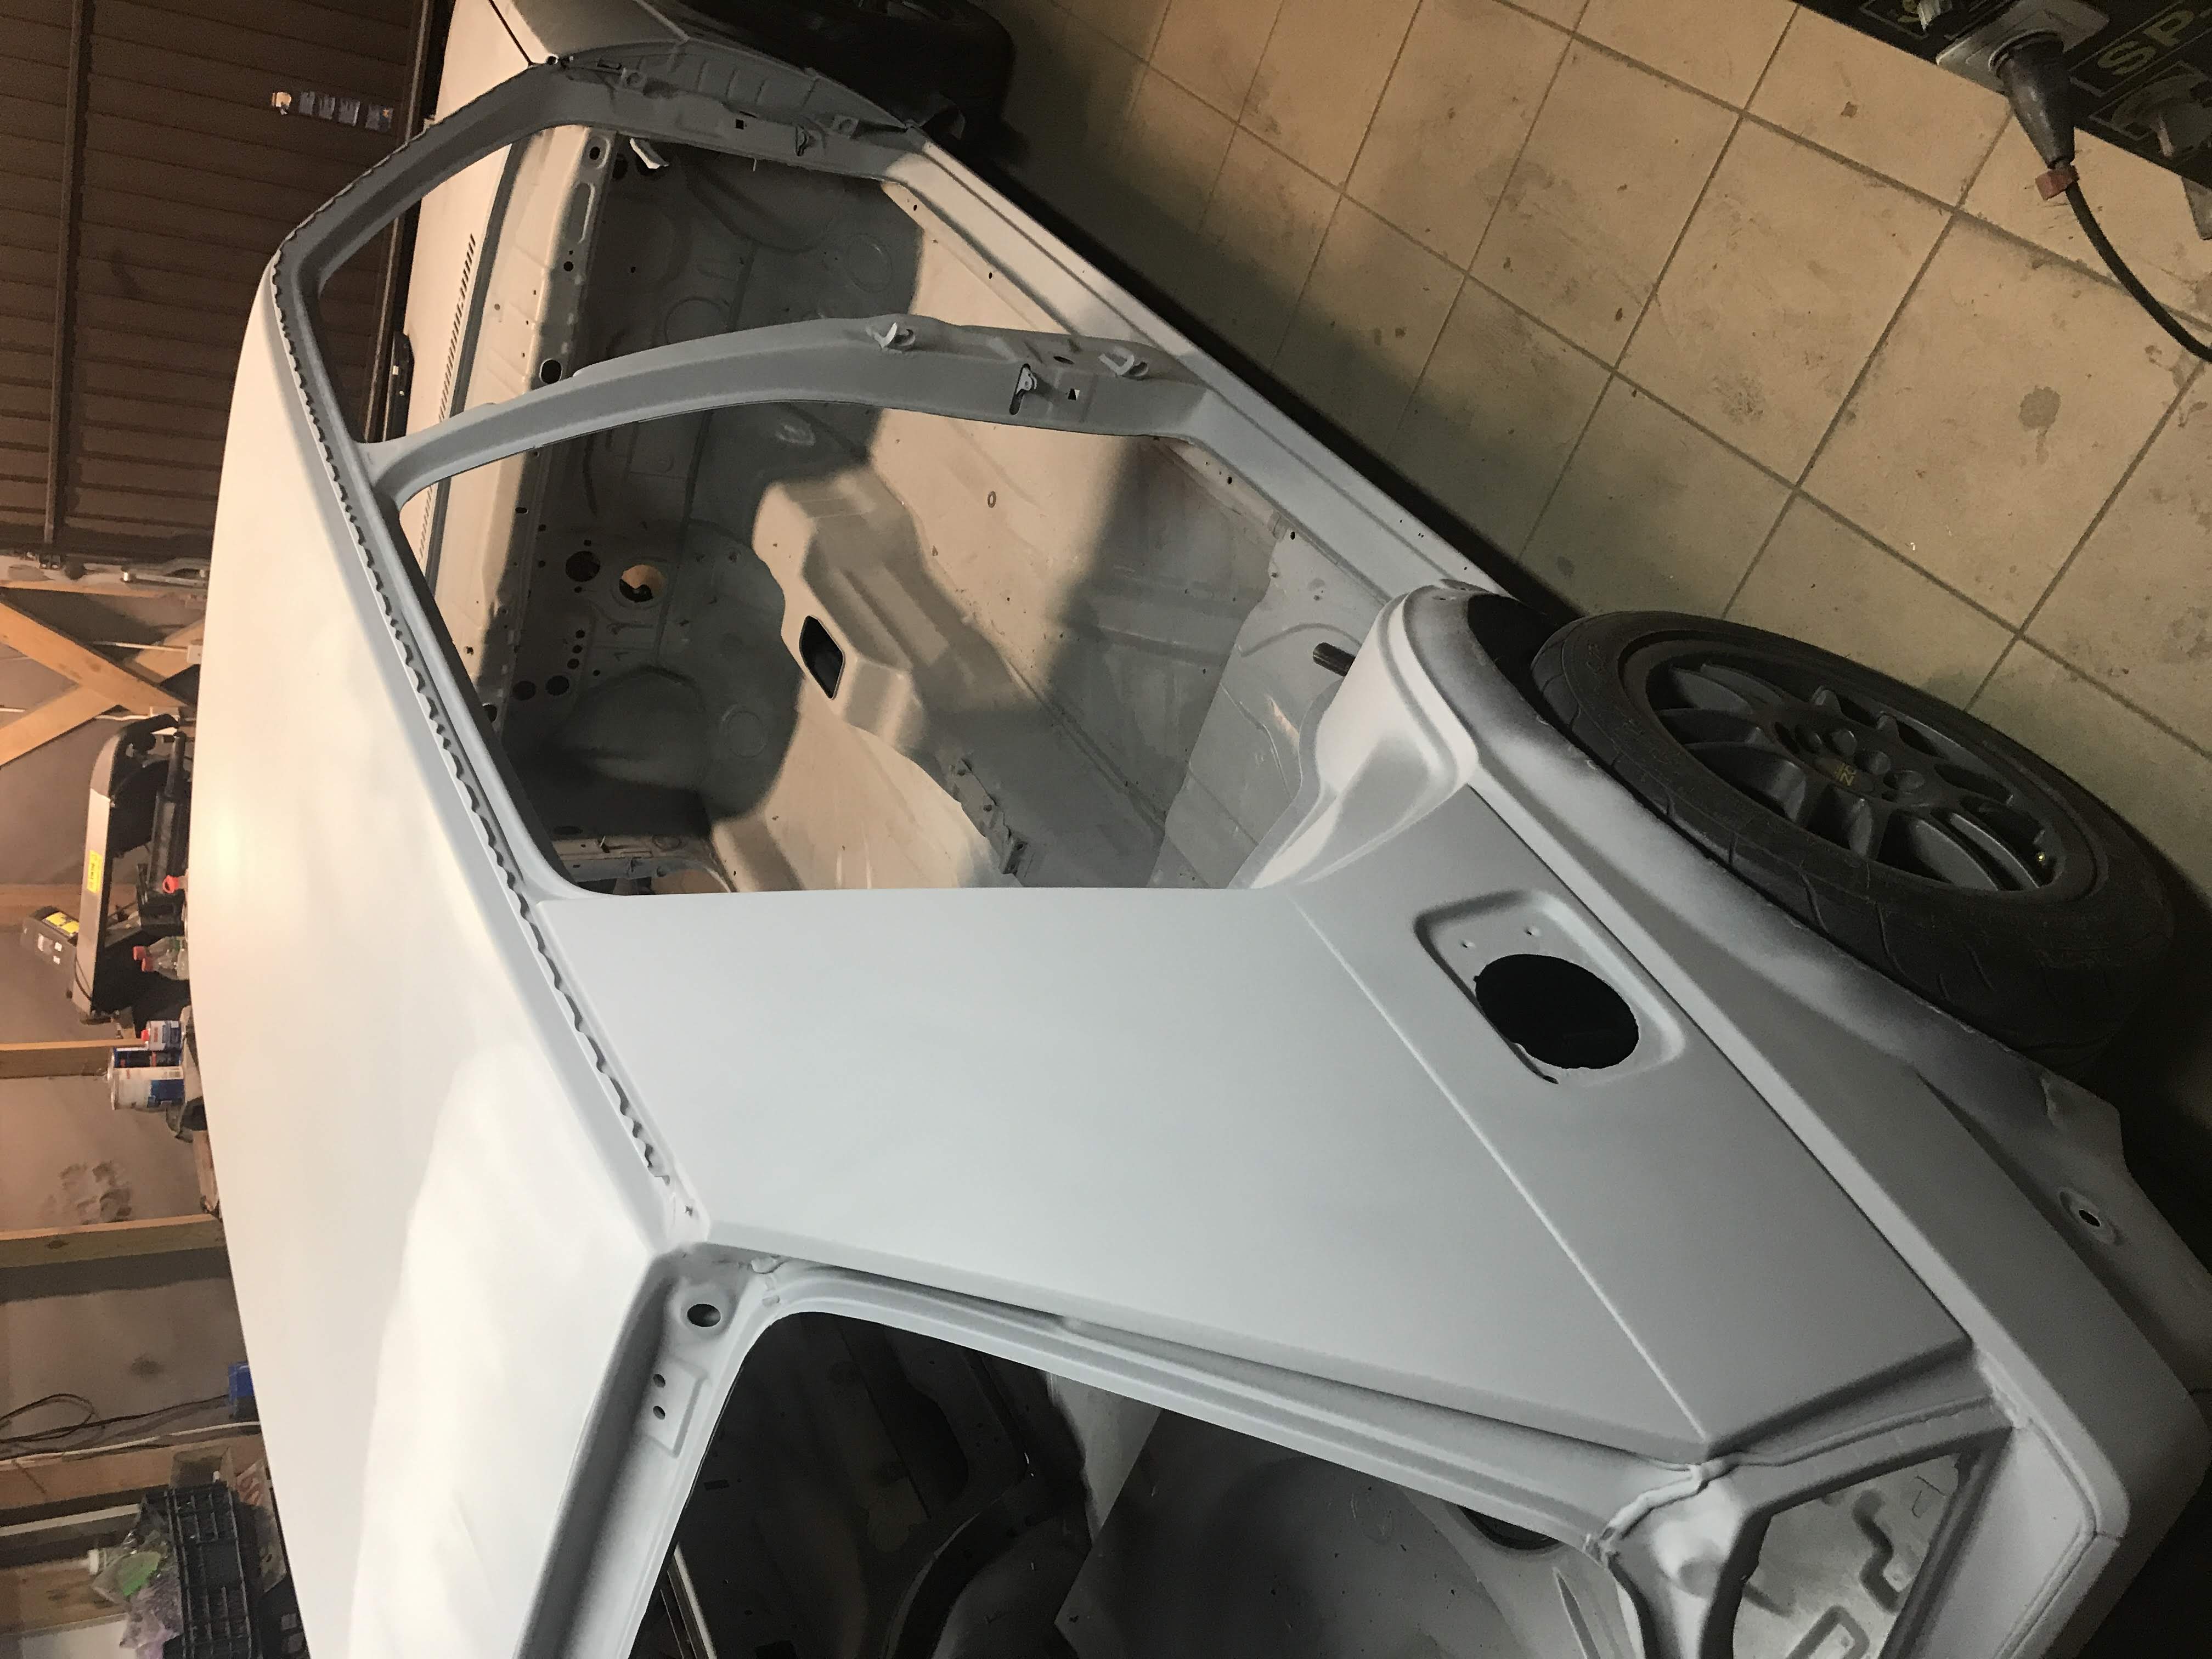
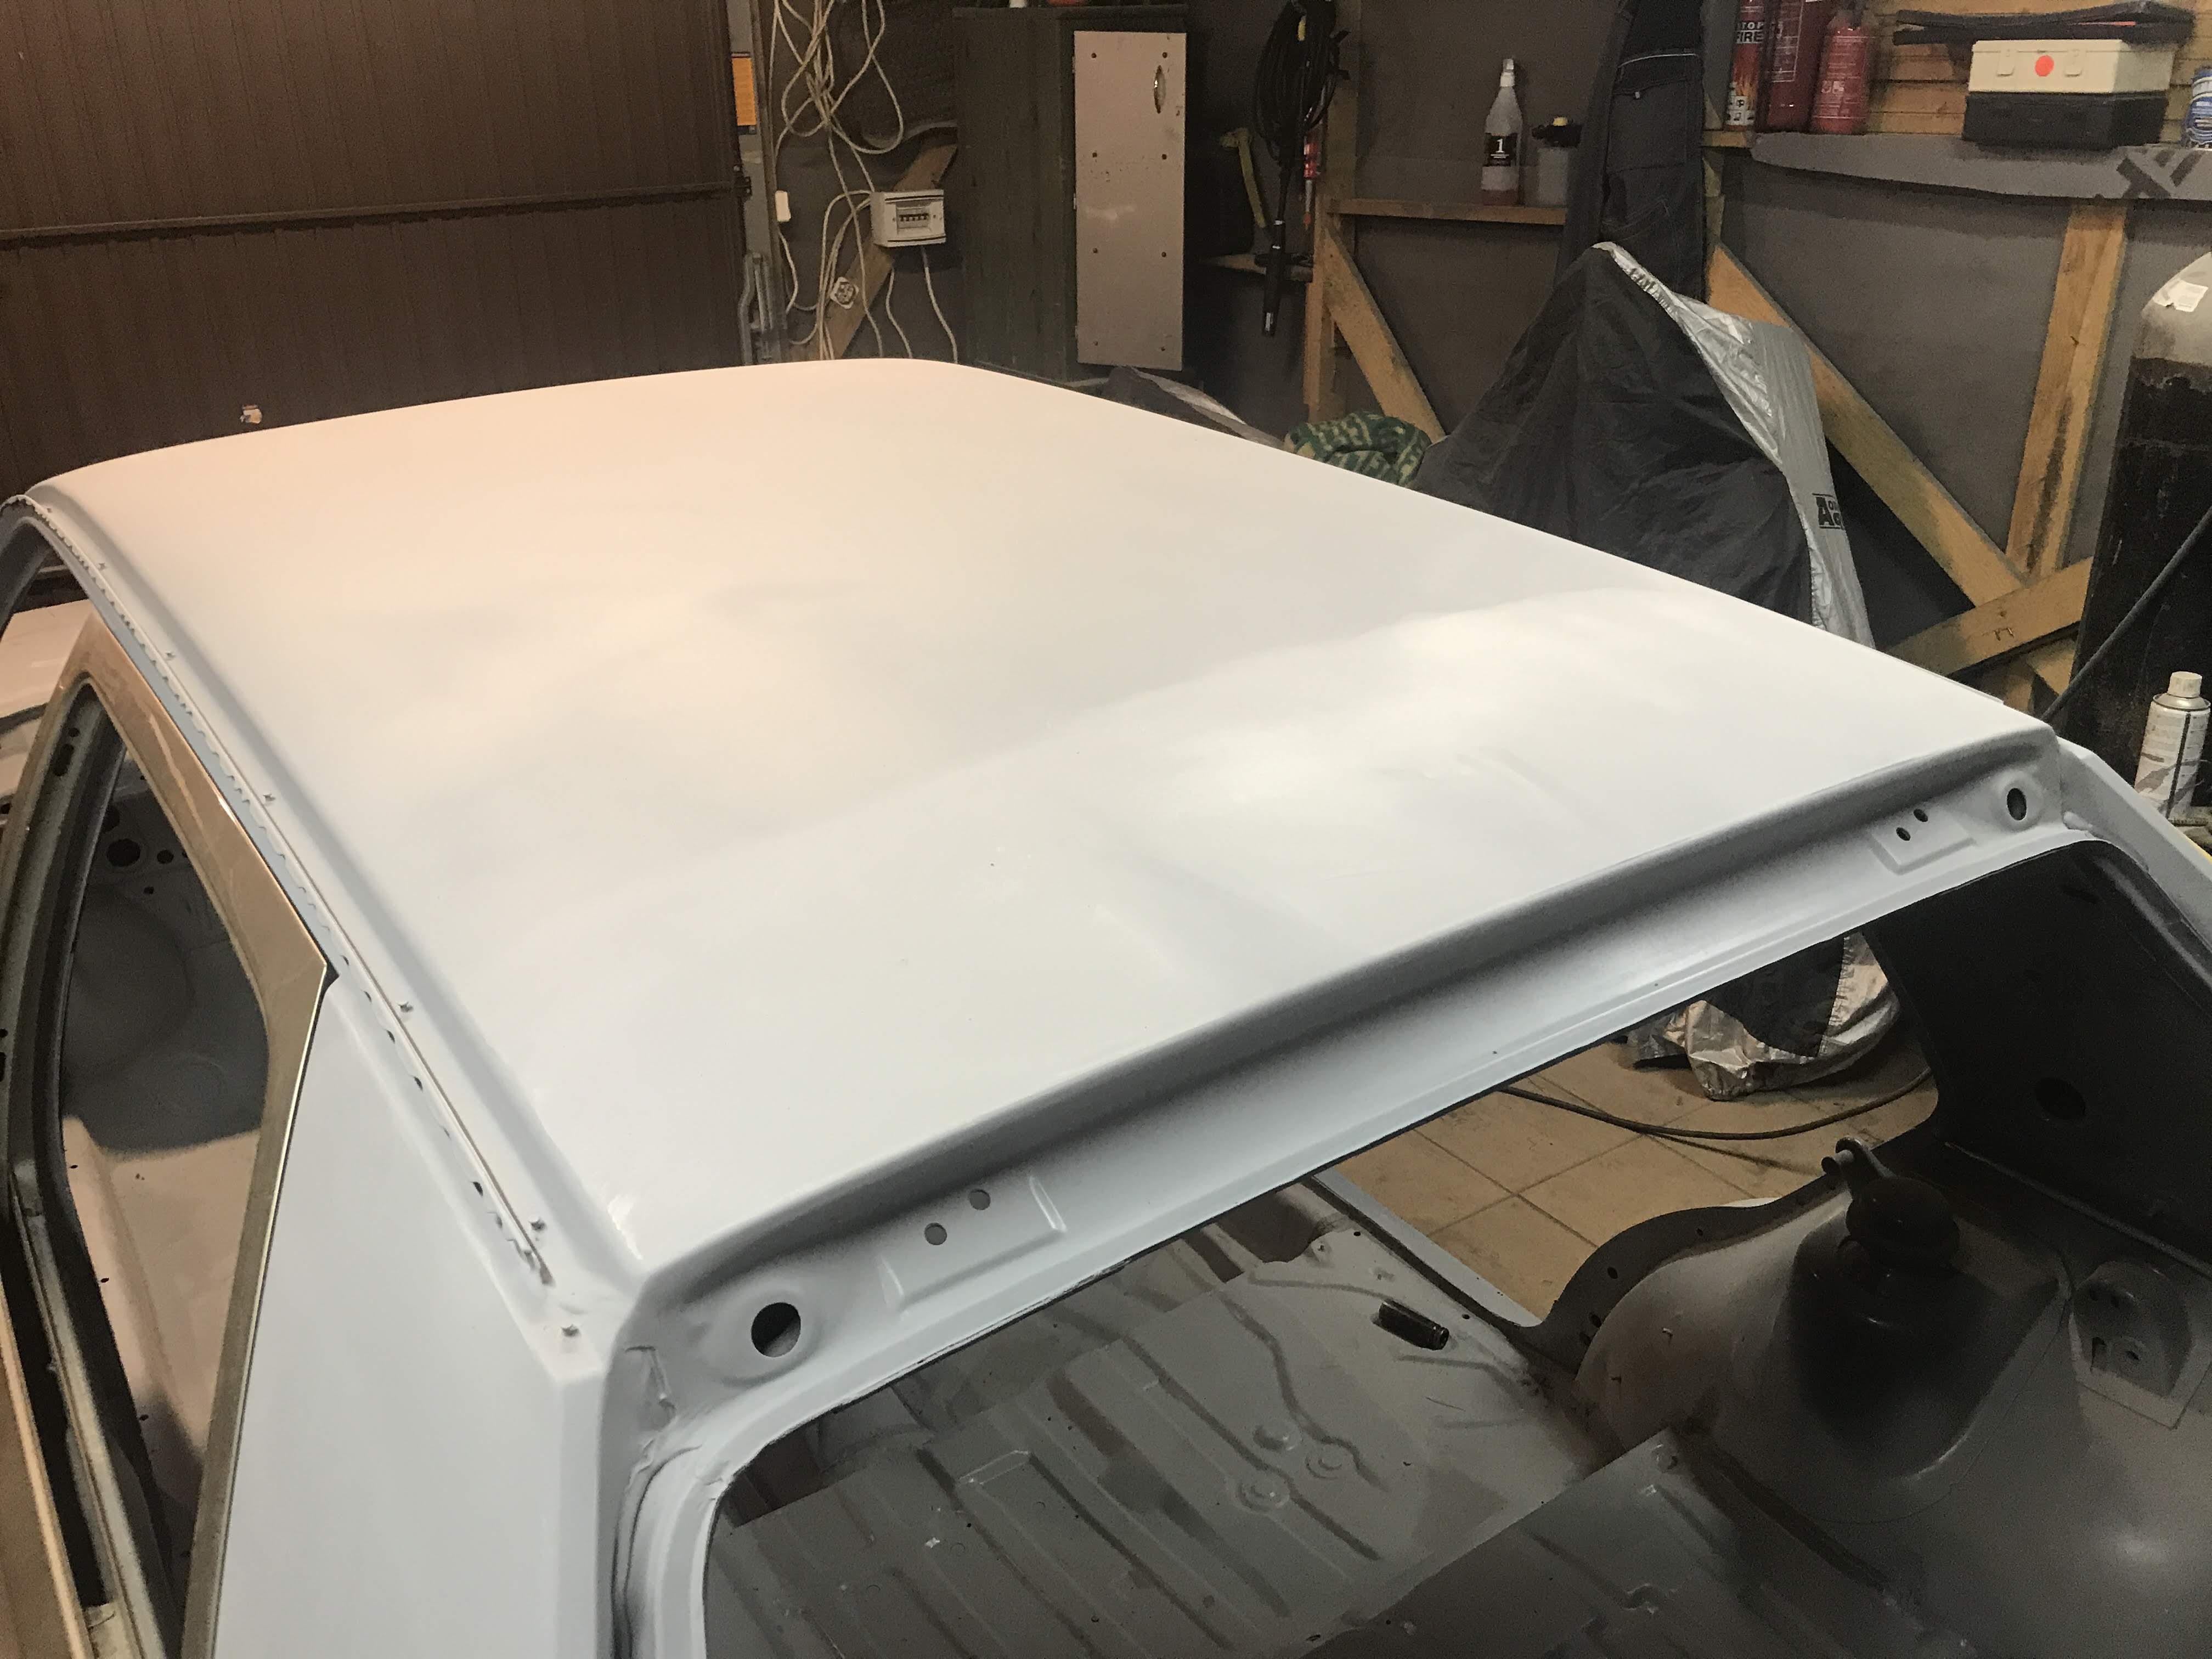
Under bumper panel in really good condition:
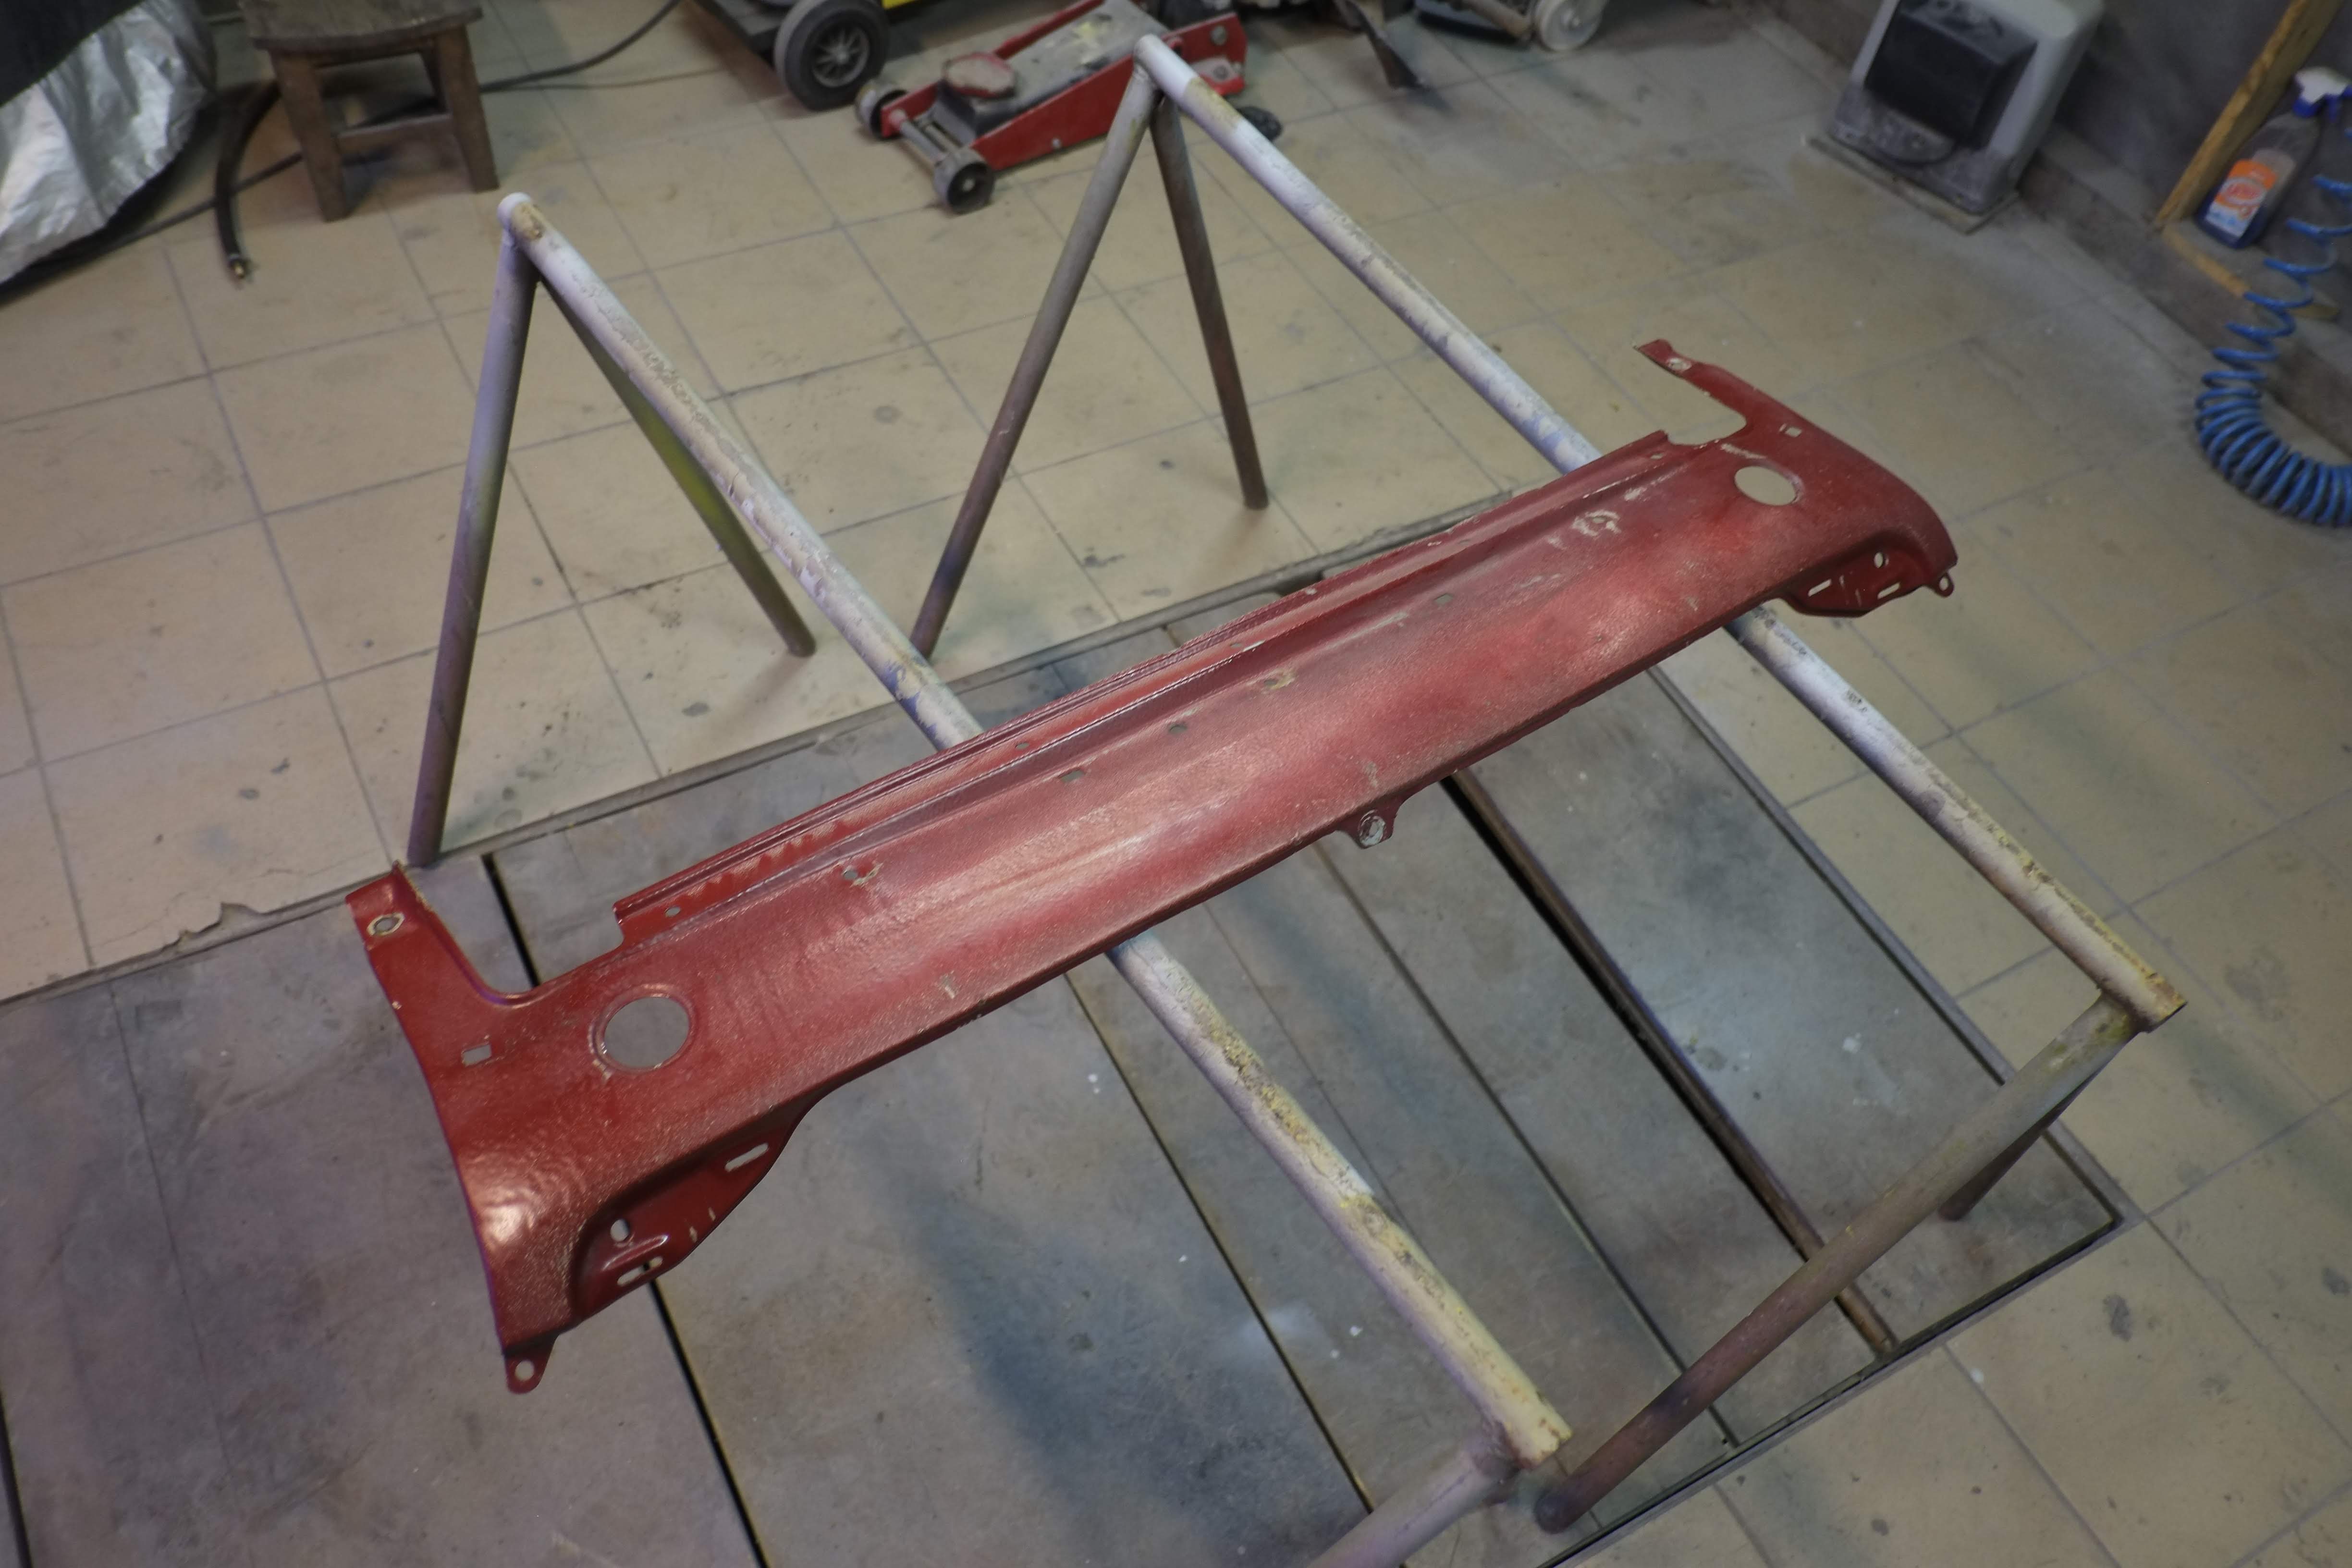
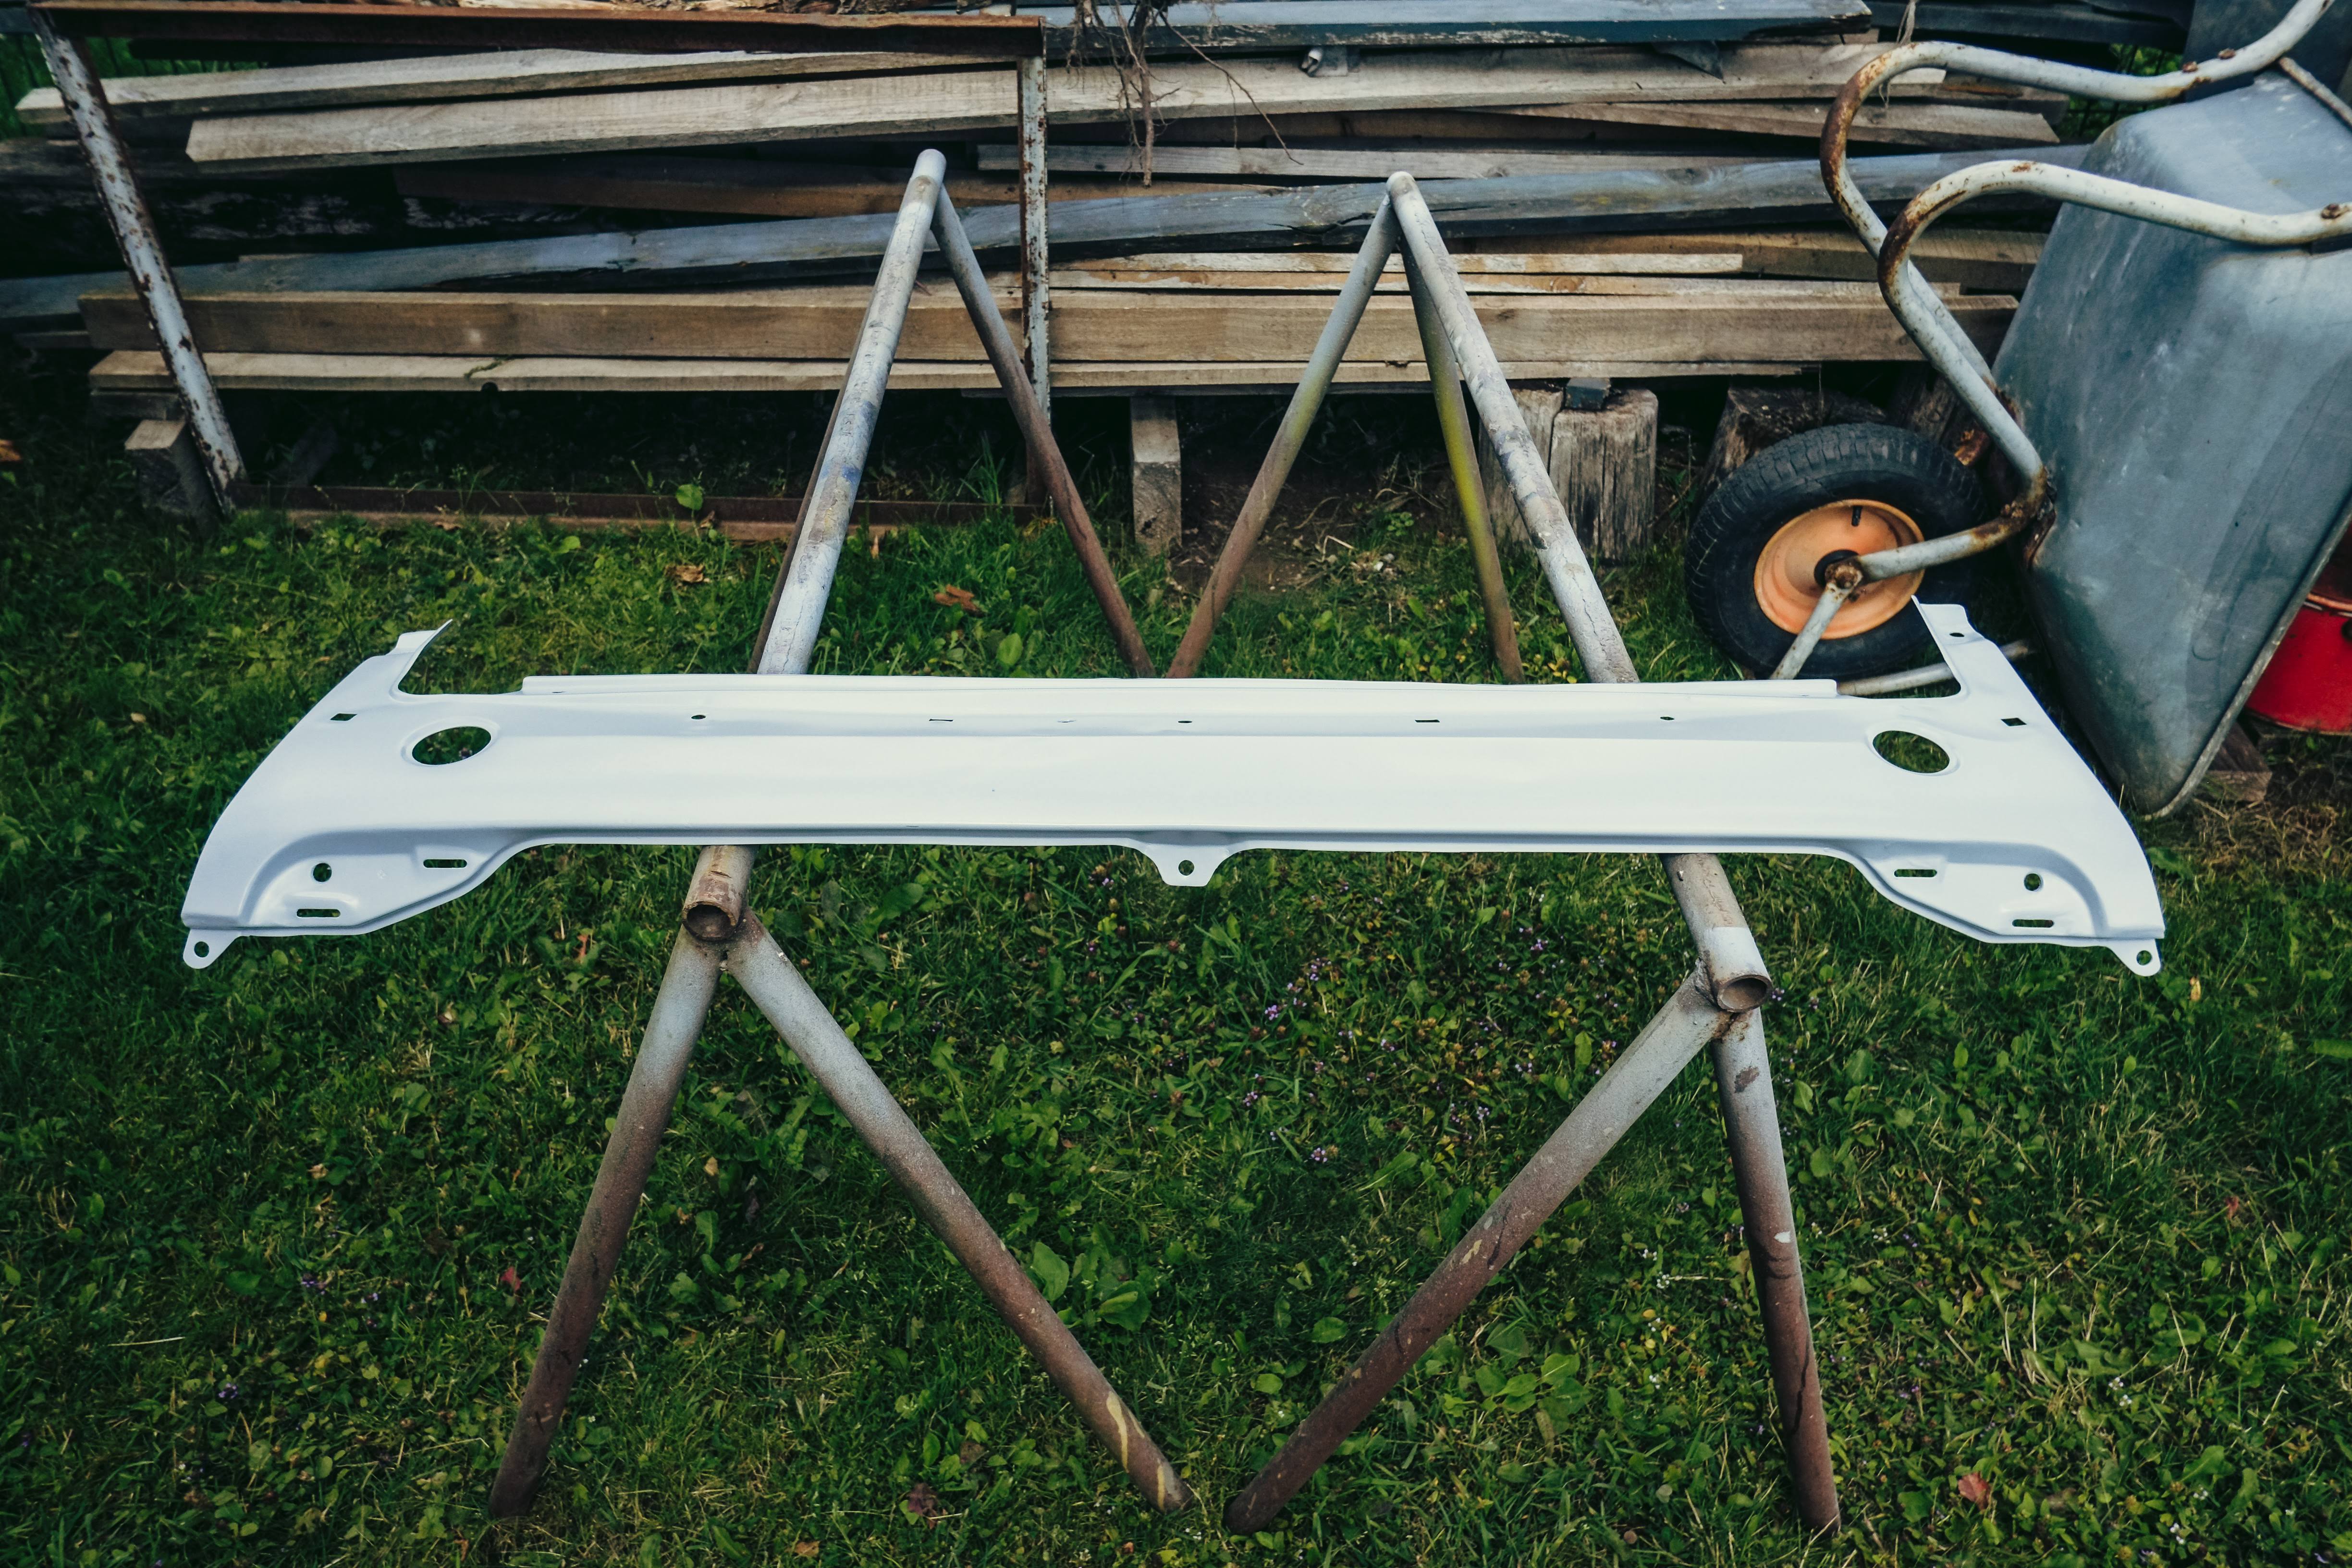
General view has turned this way:
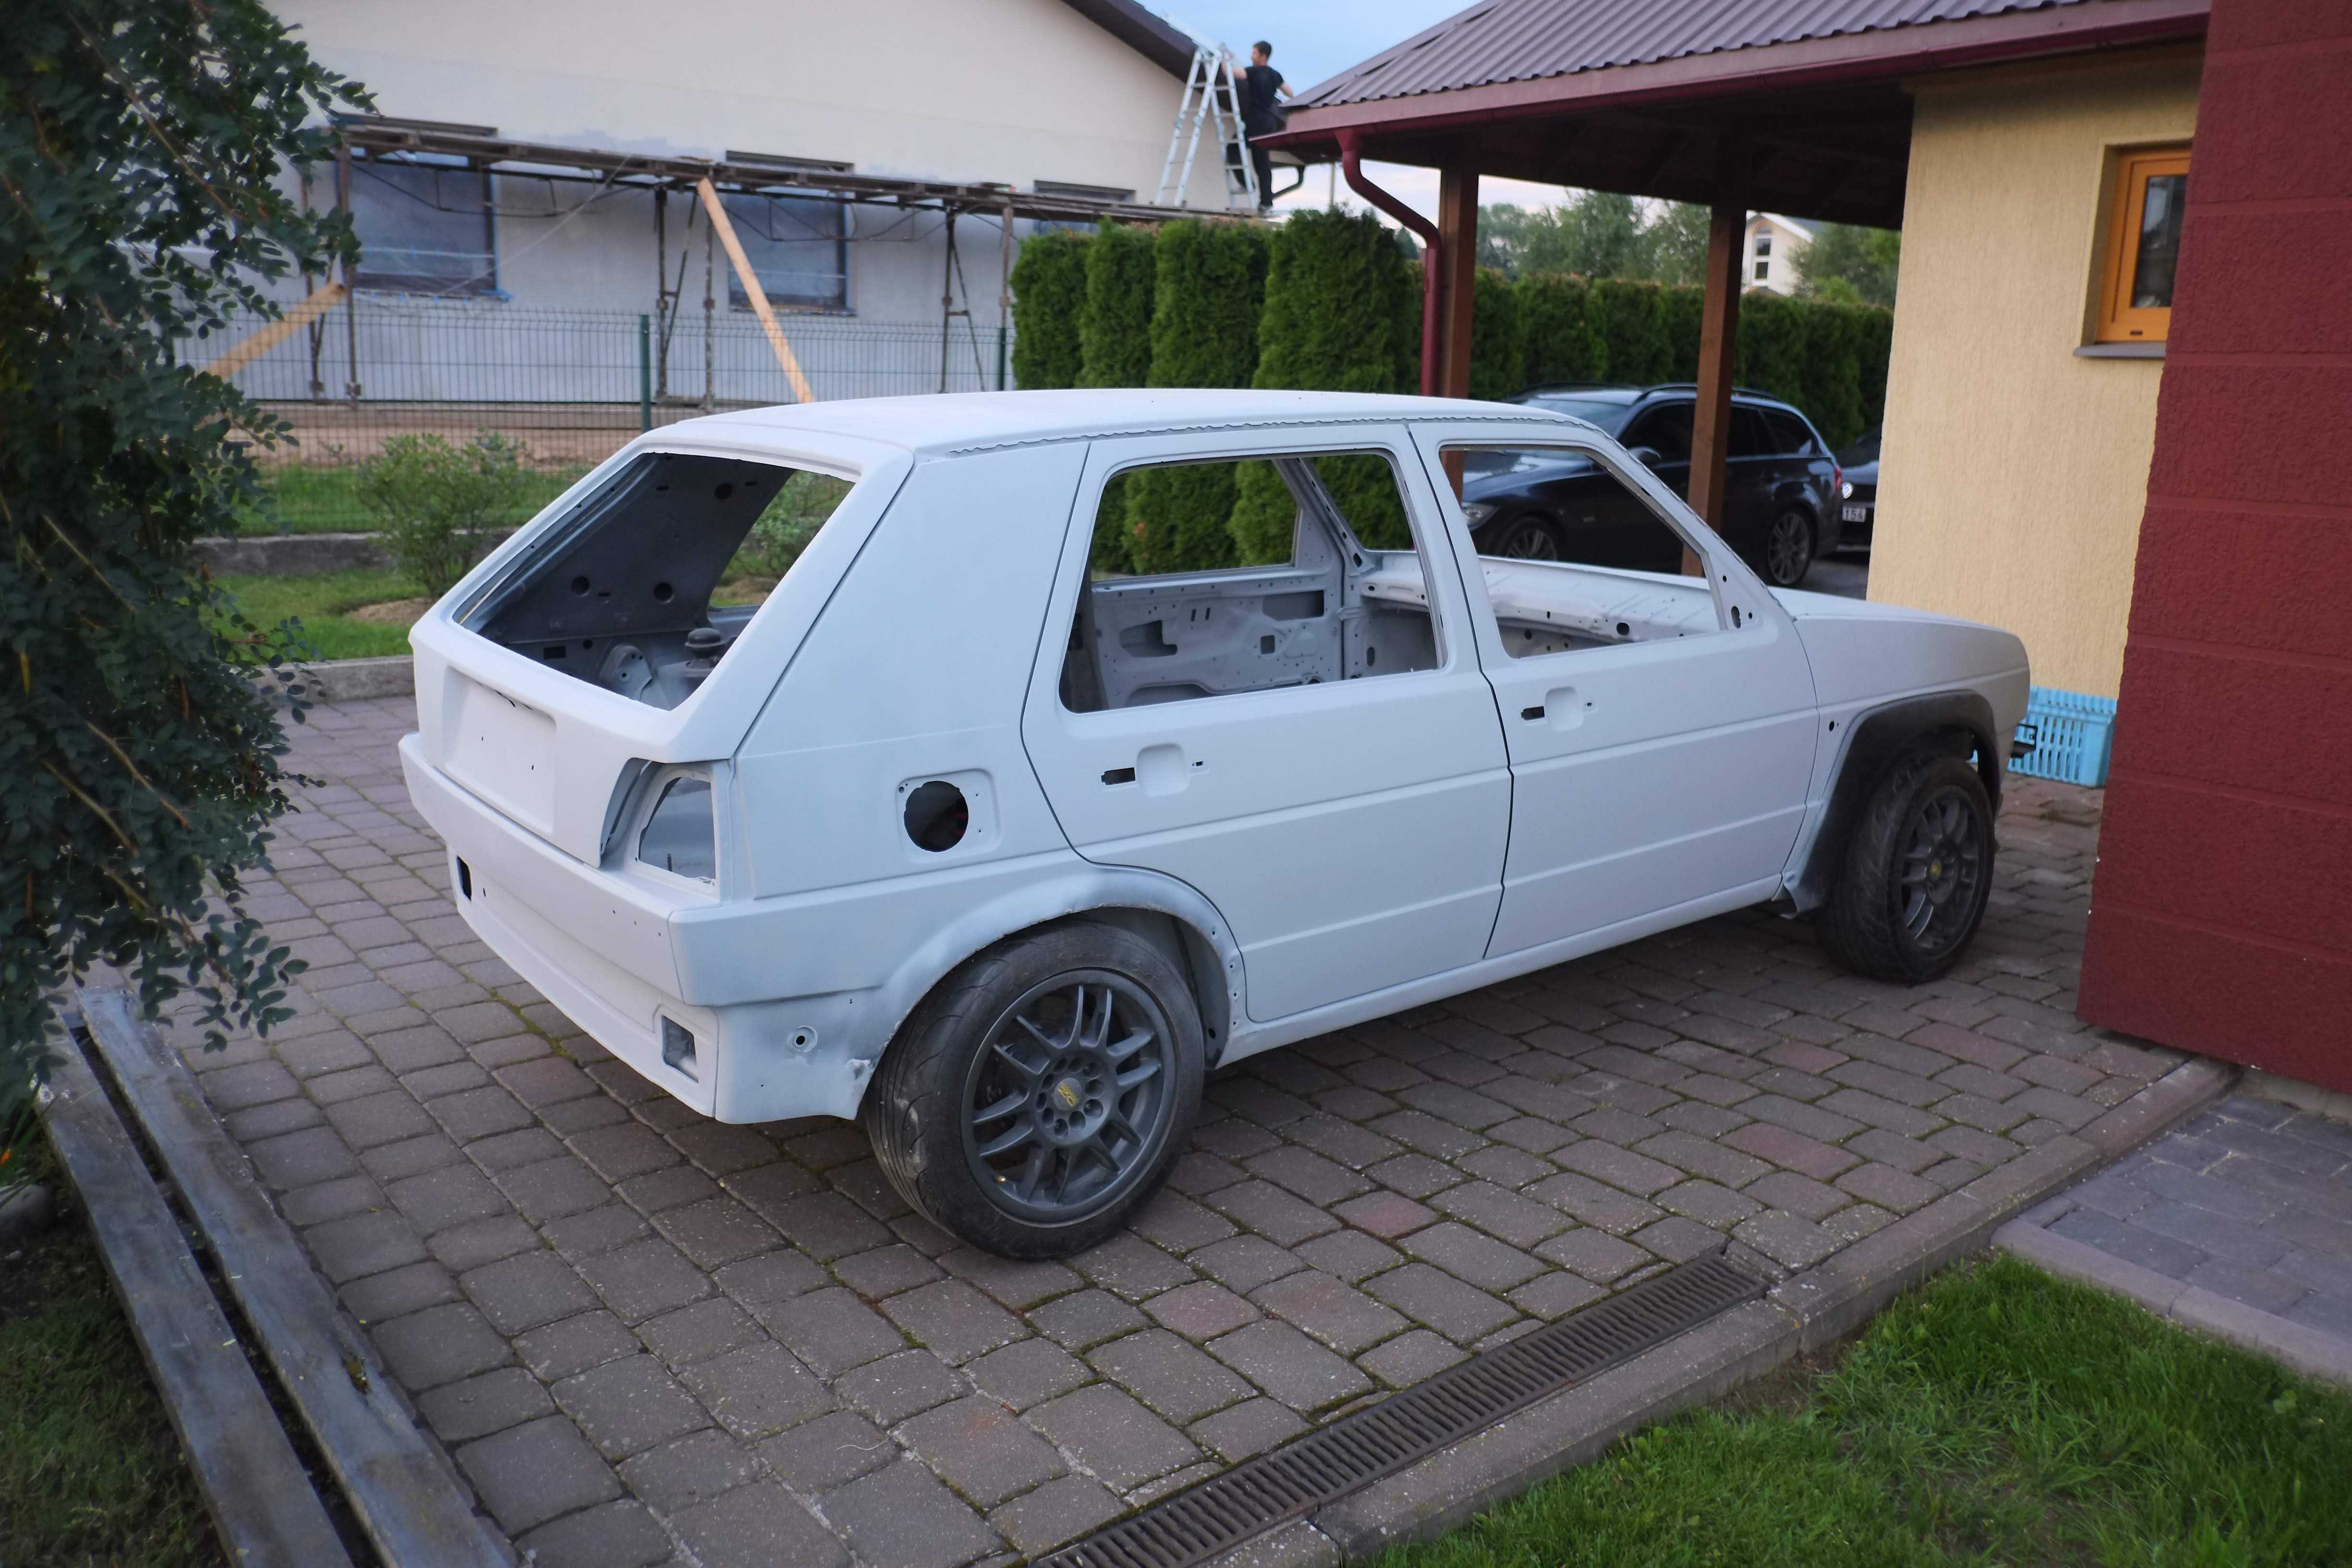
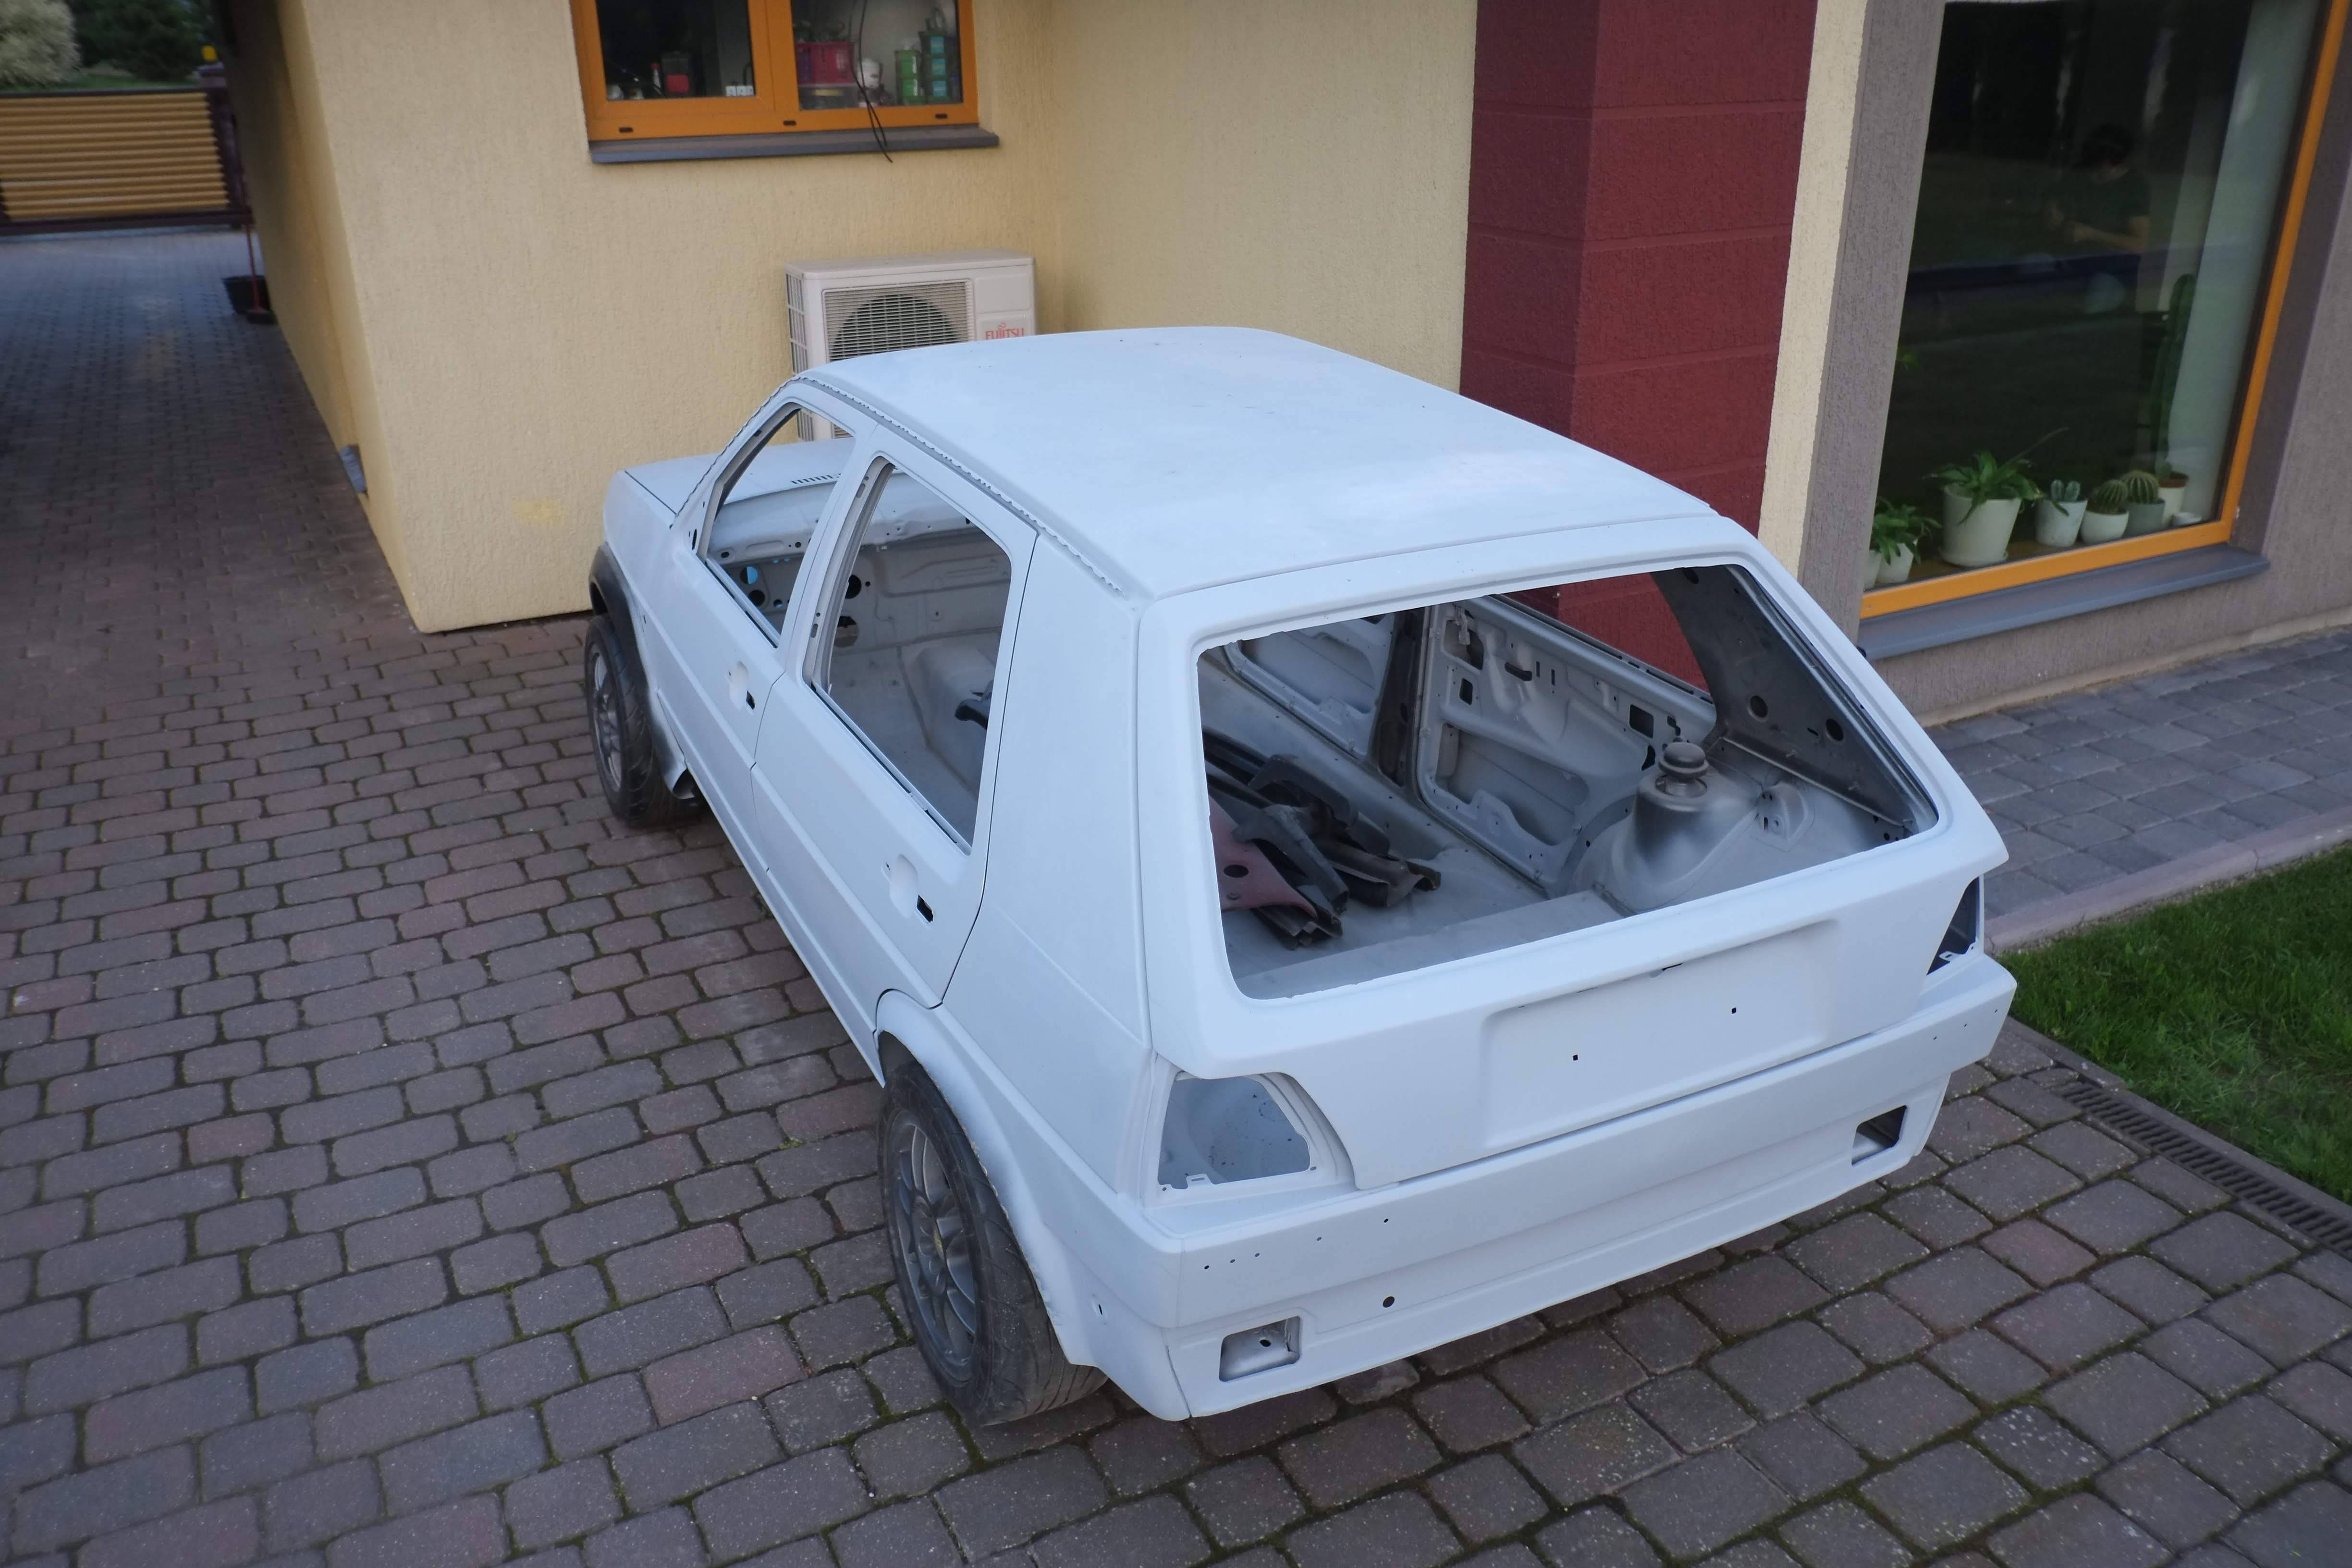
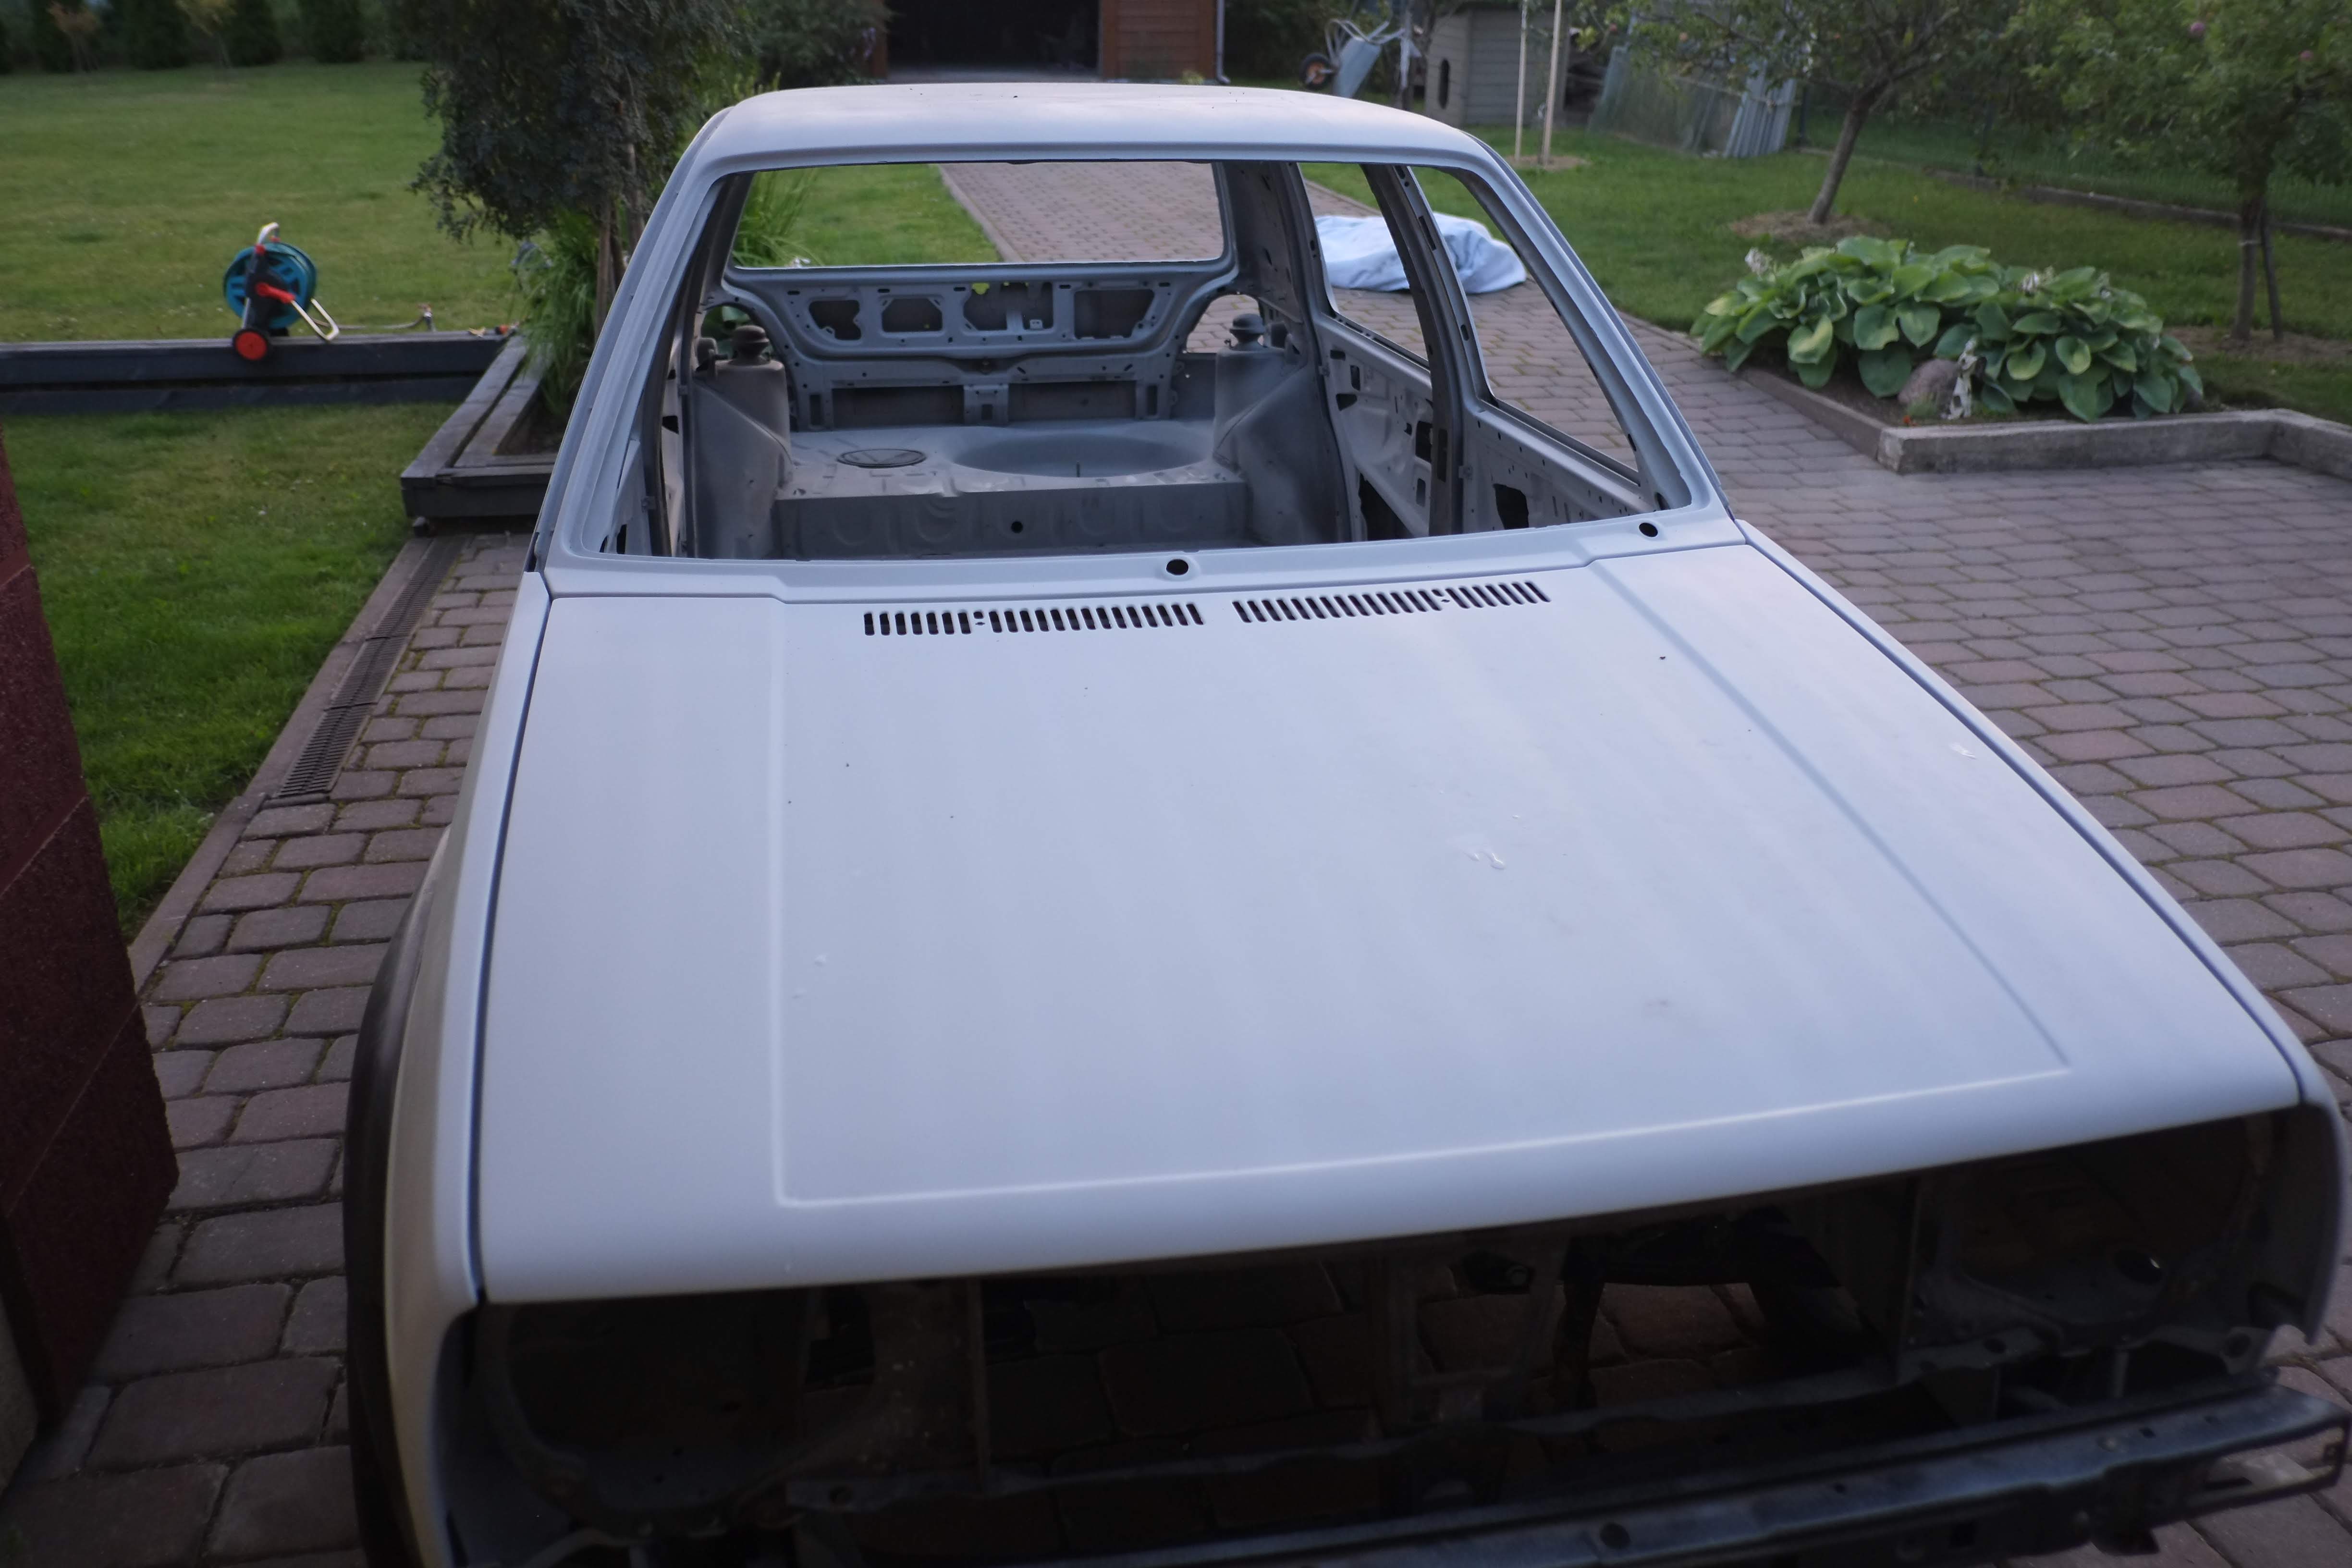
You probably have noticed it had rear arches and lower rear panel missing. To address it sourced new arches and parts of lower rear panel in used condition:
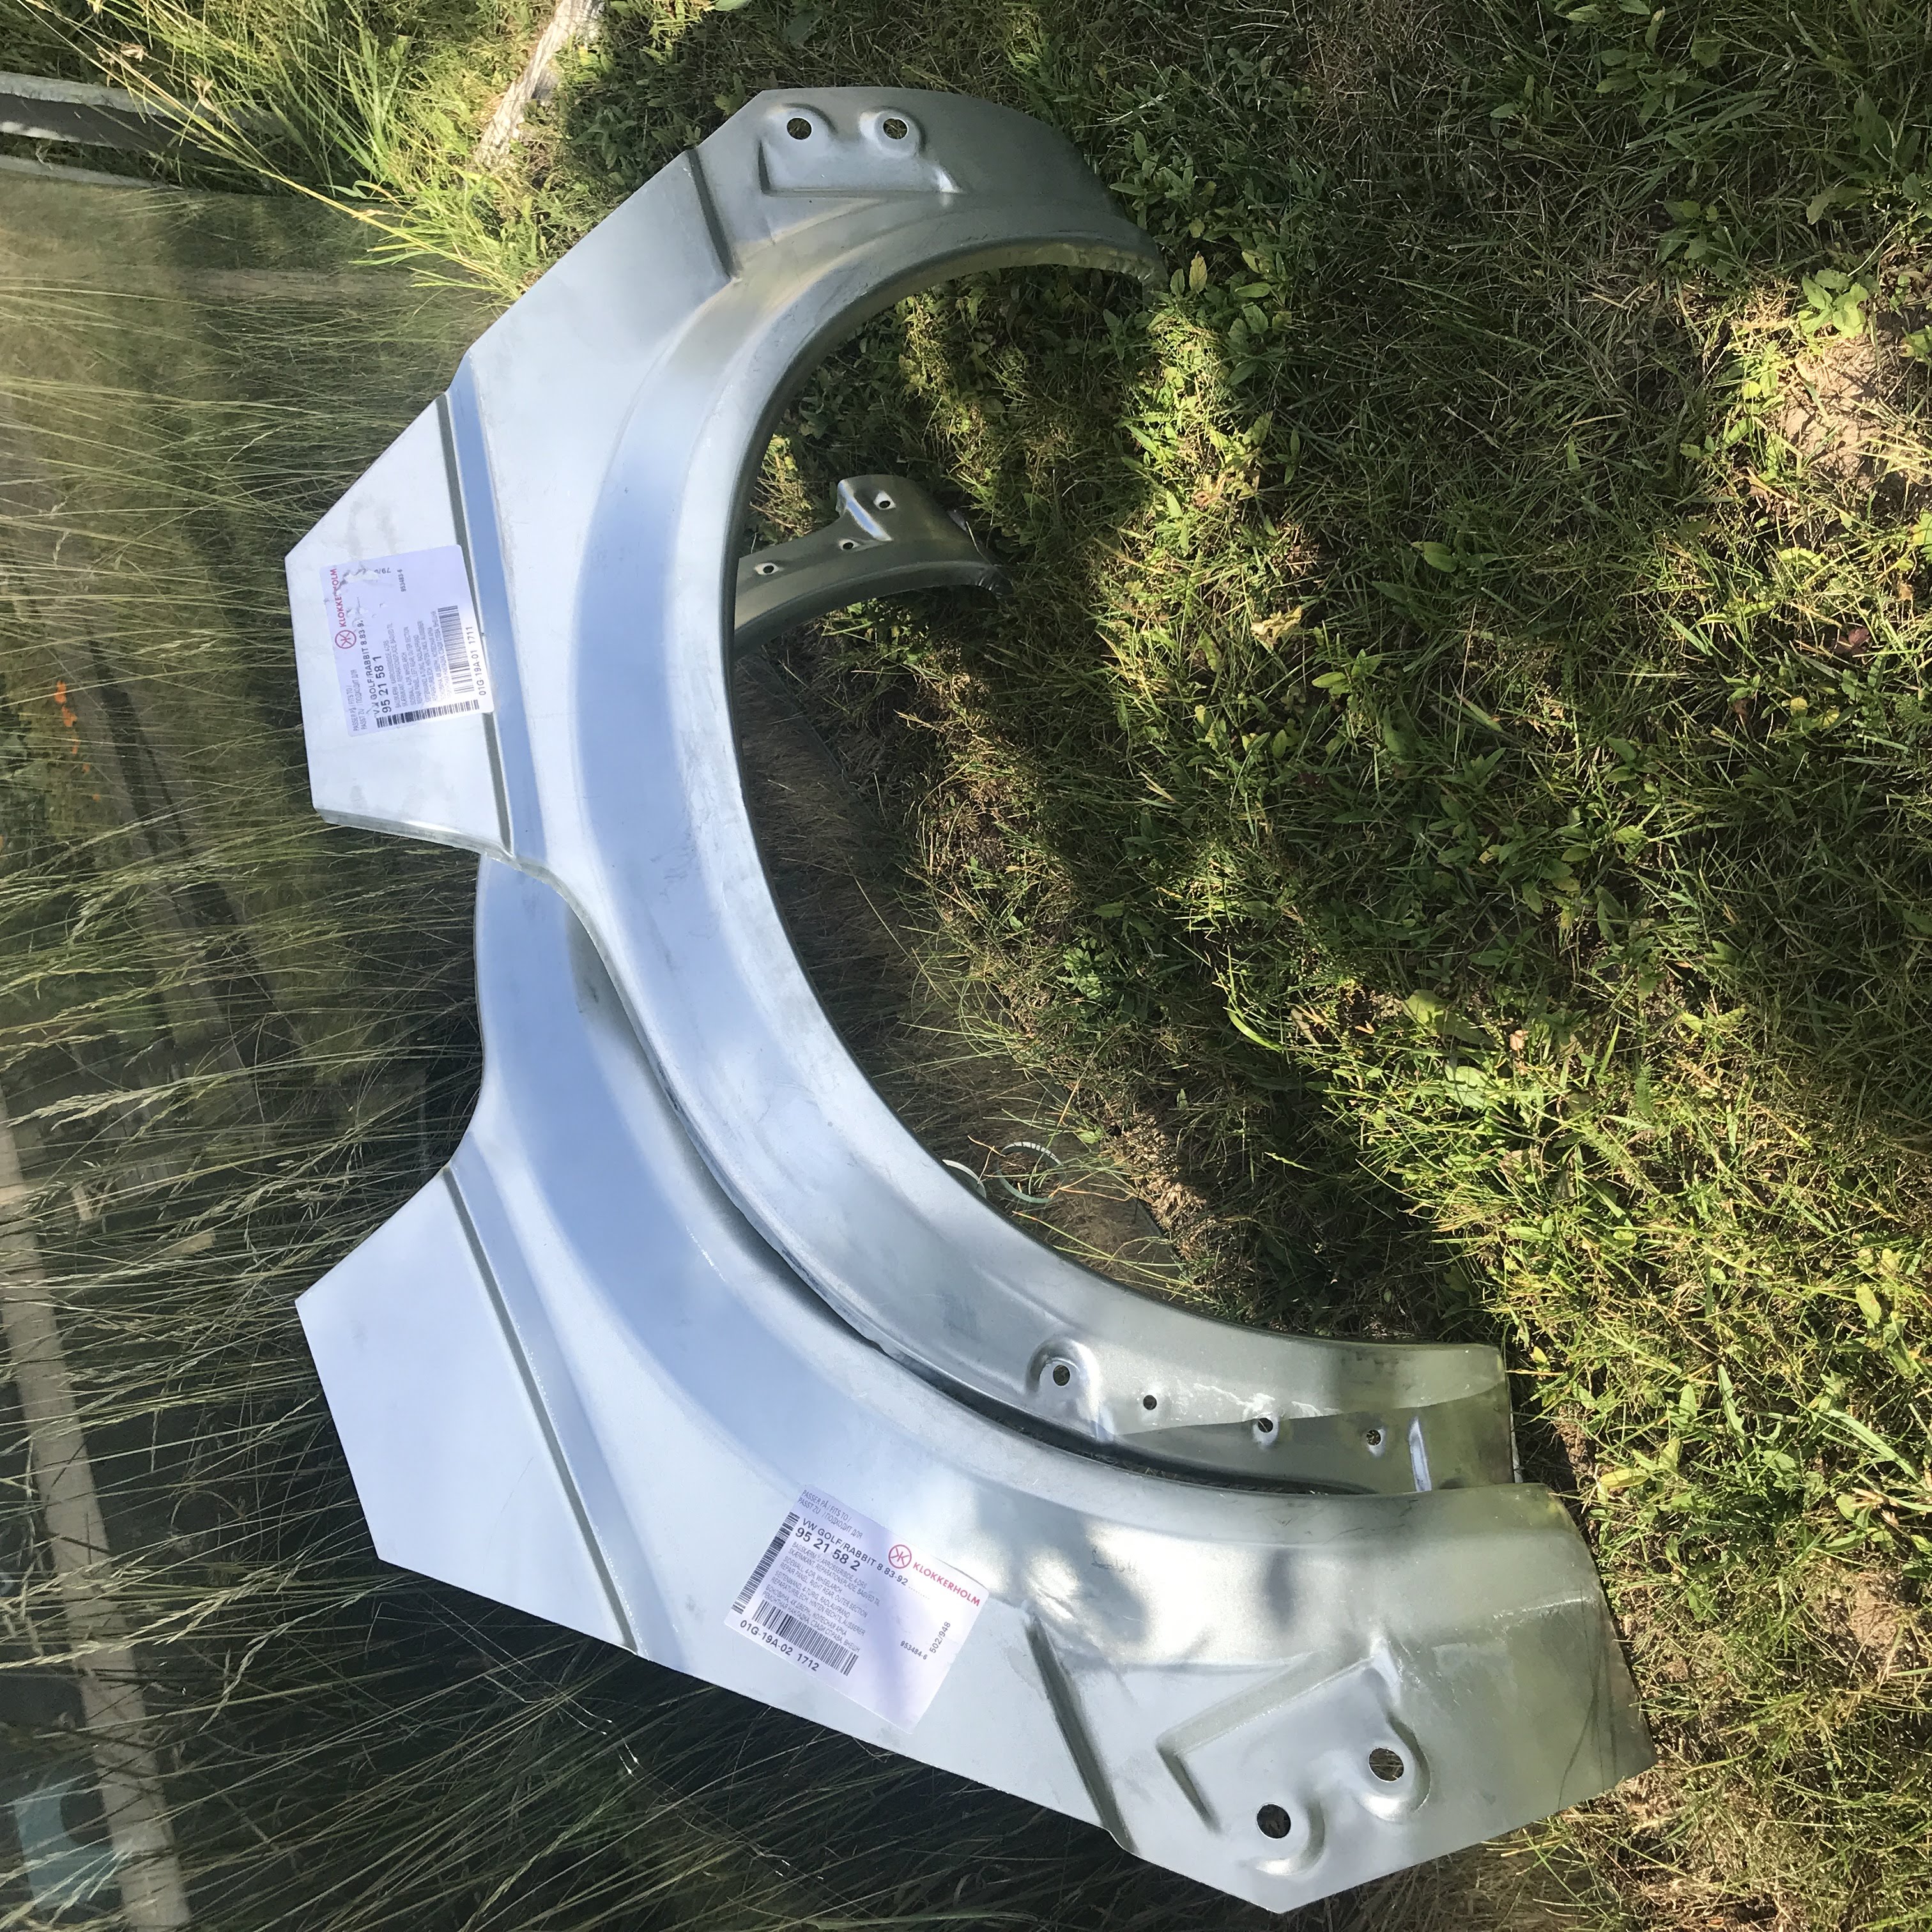
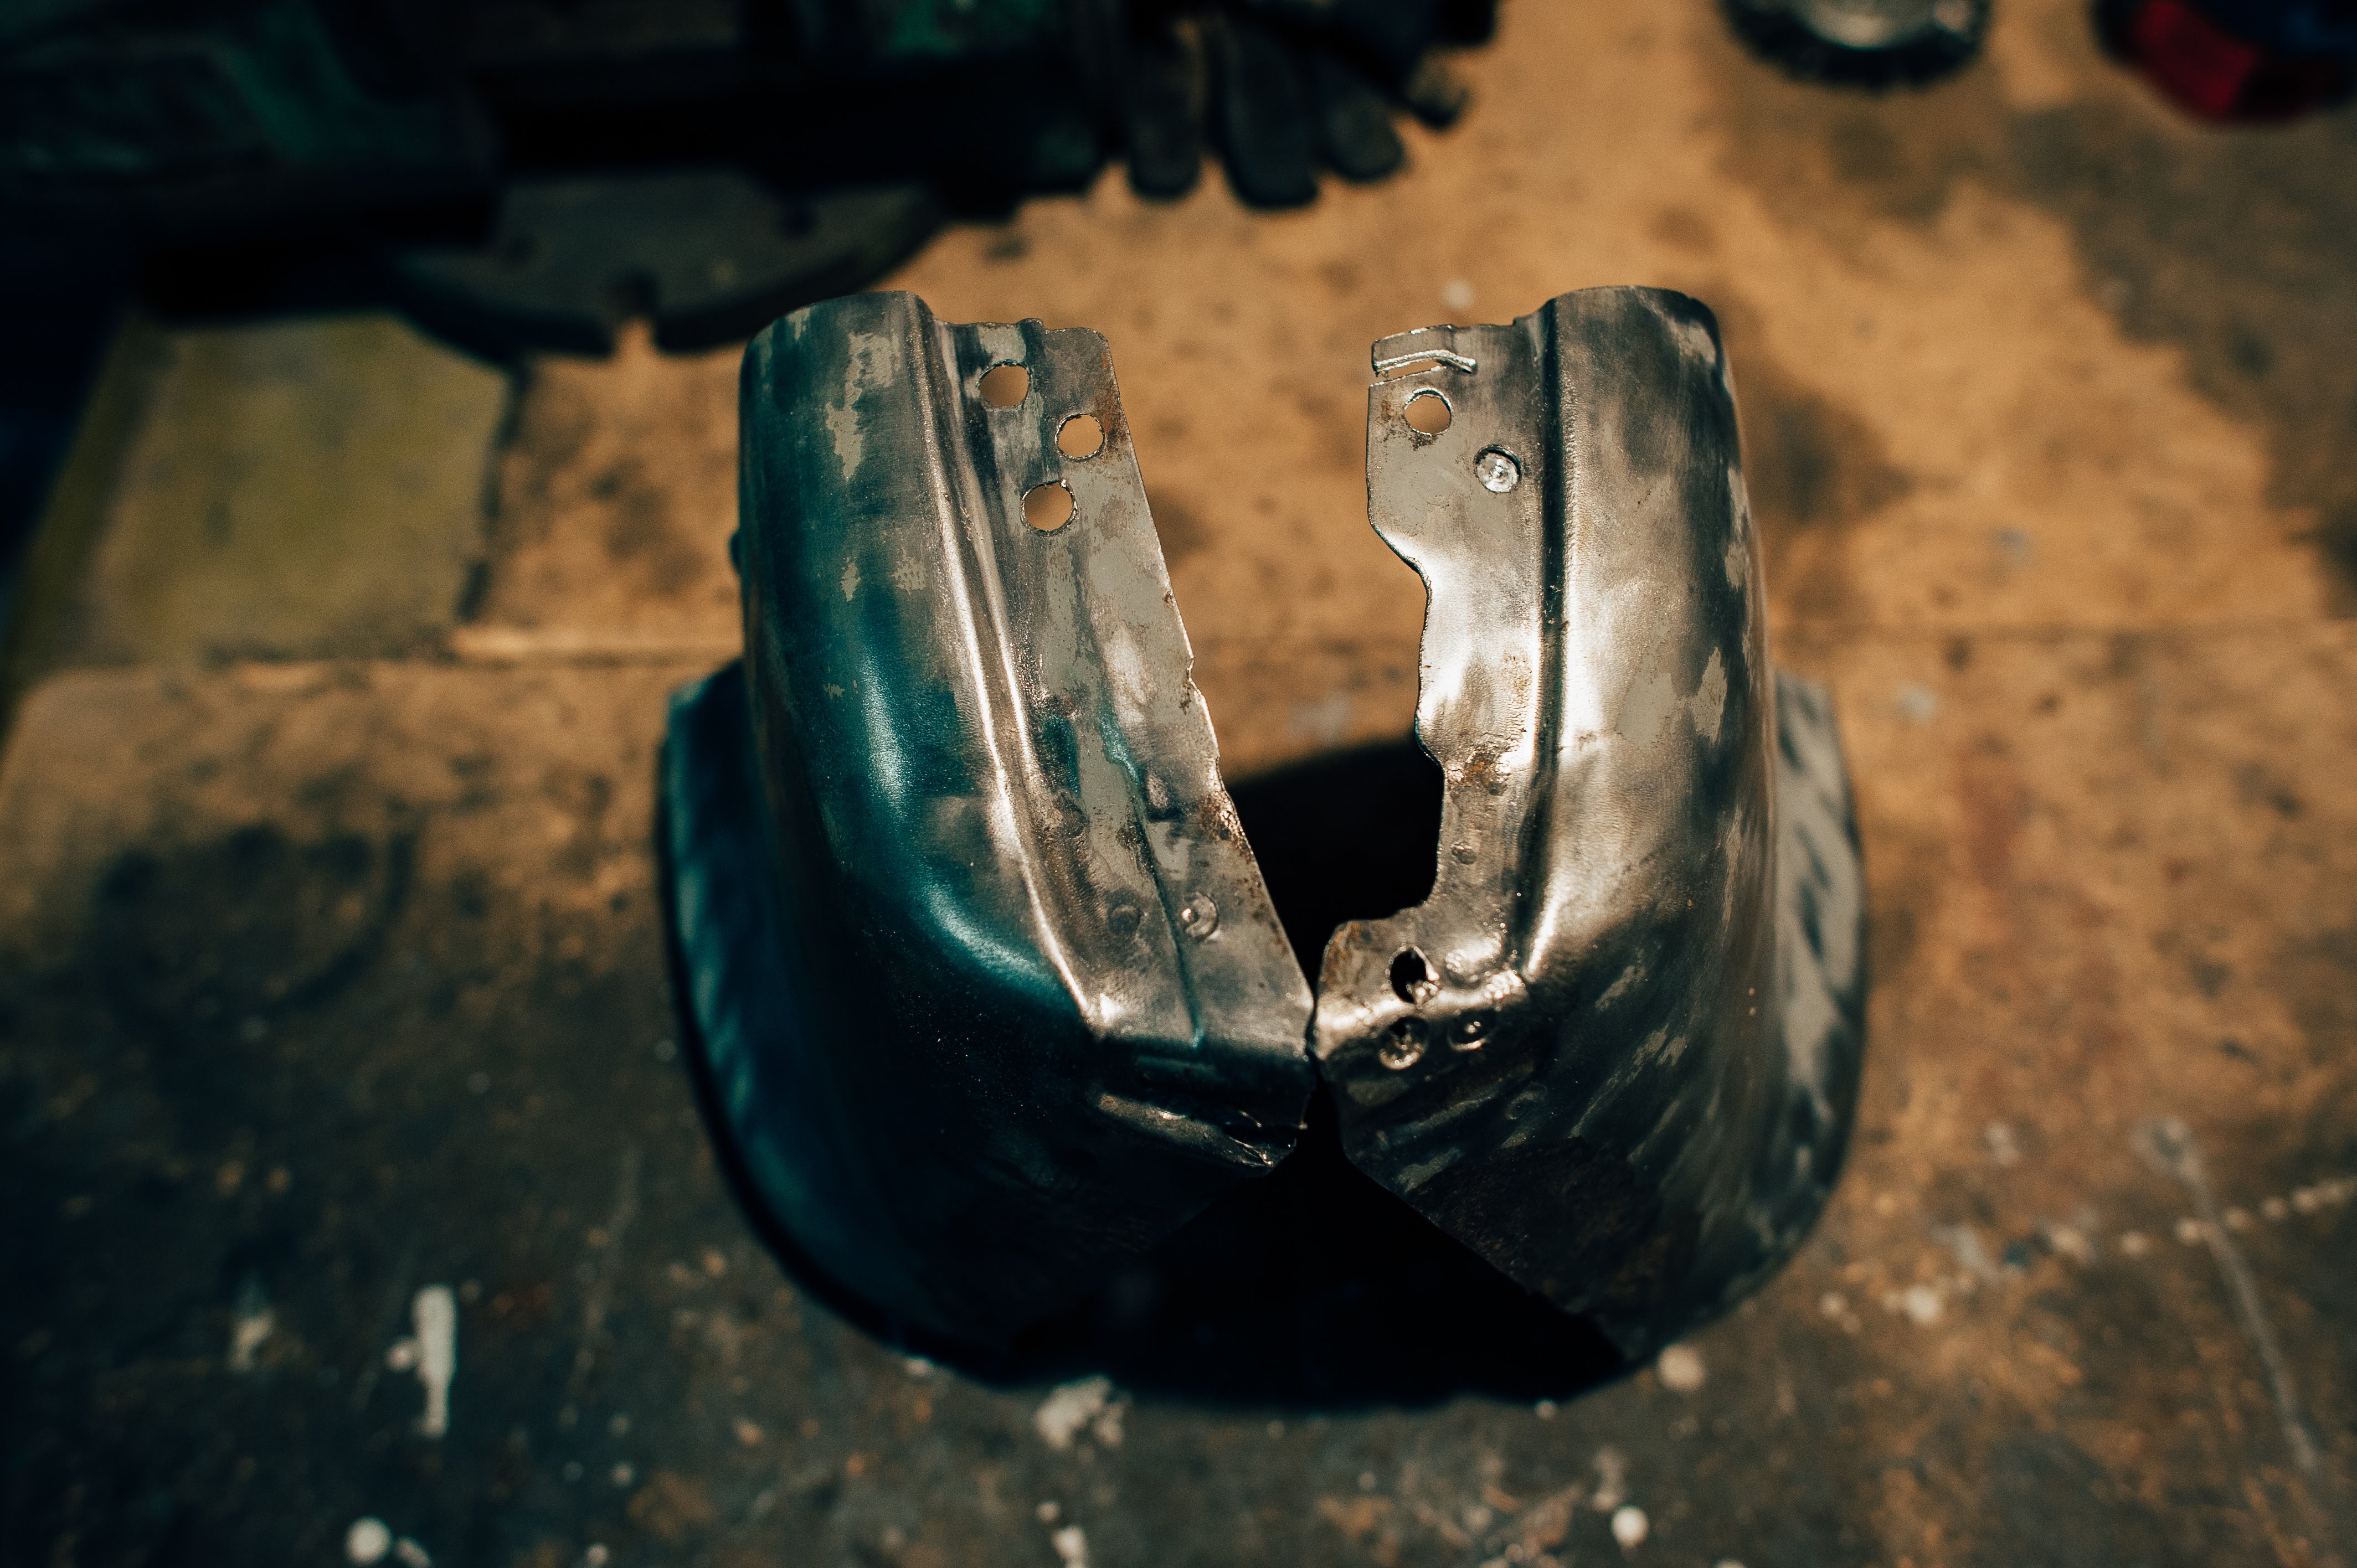
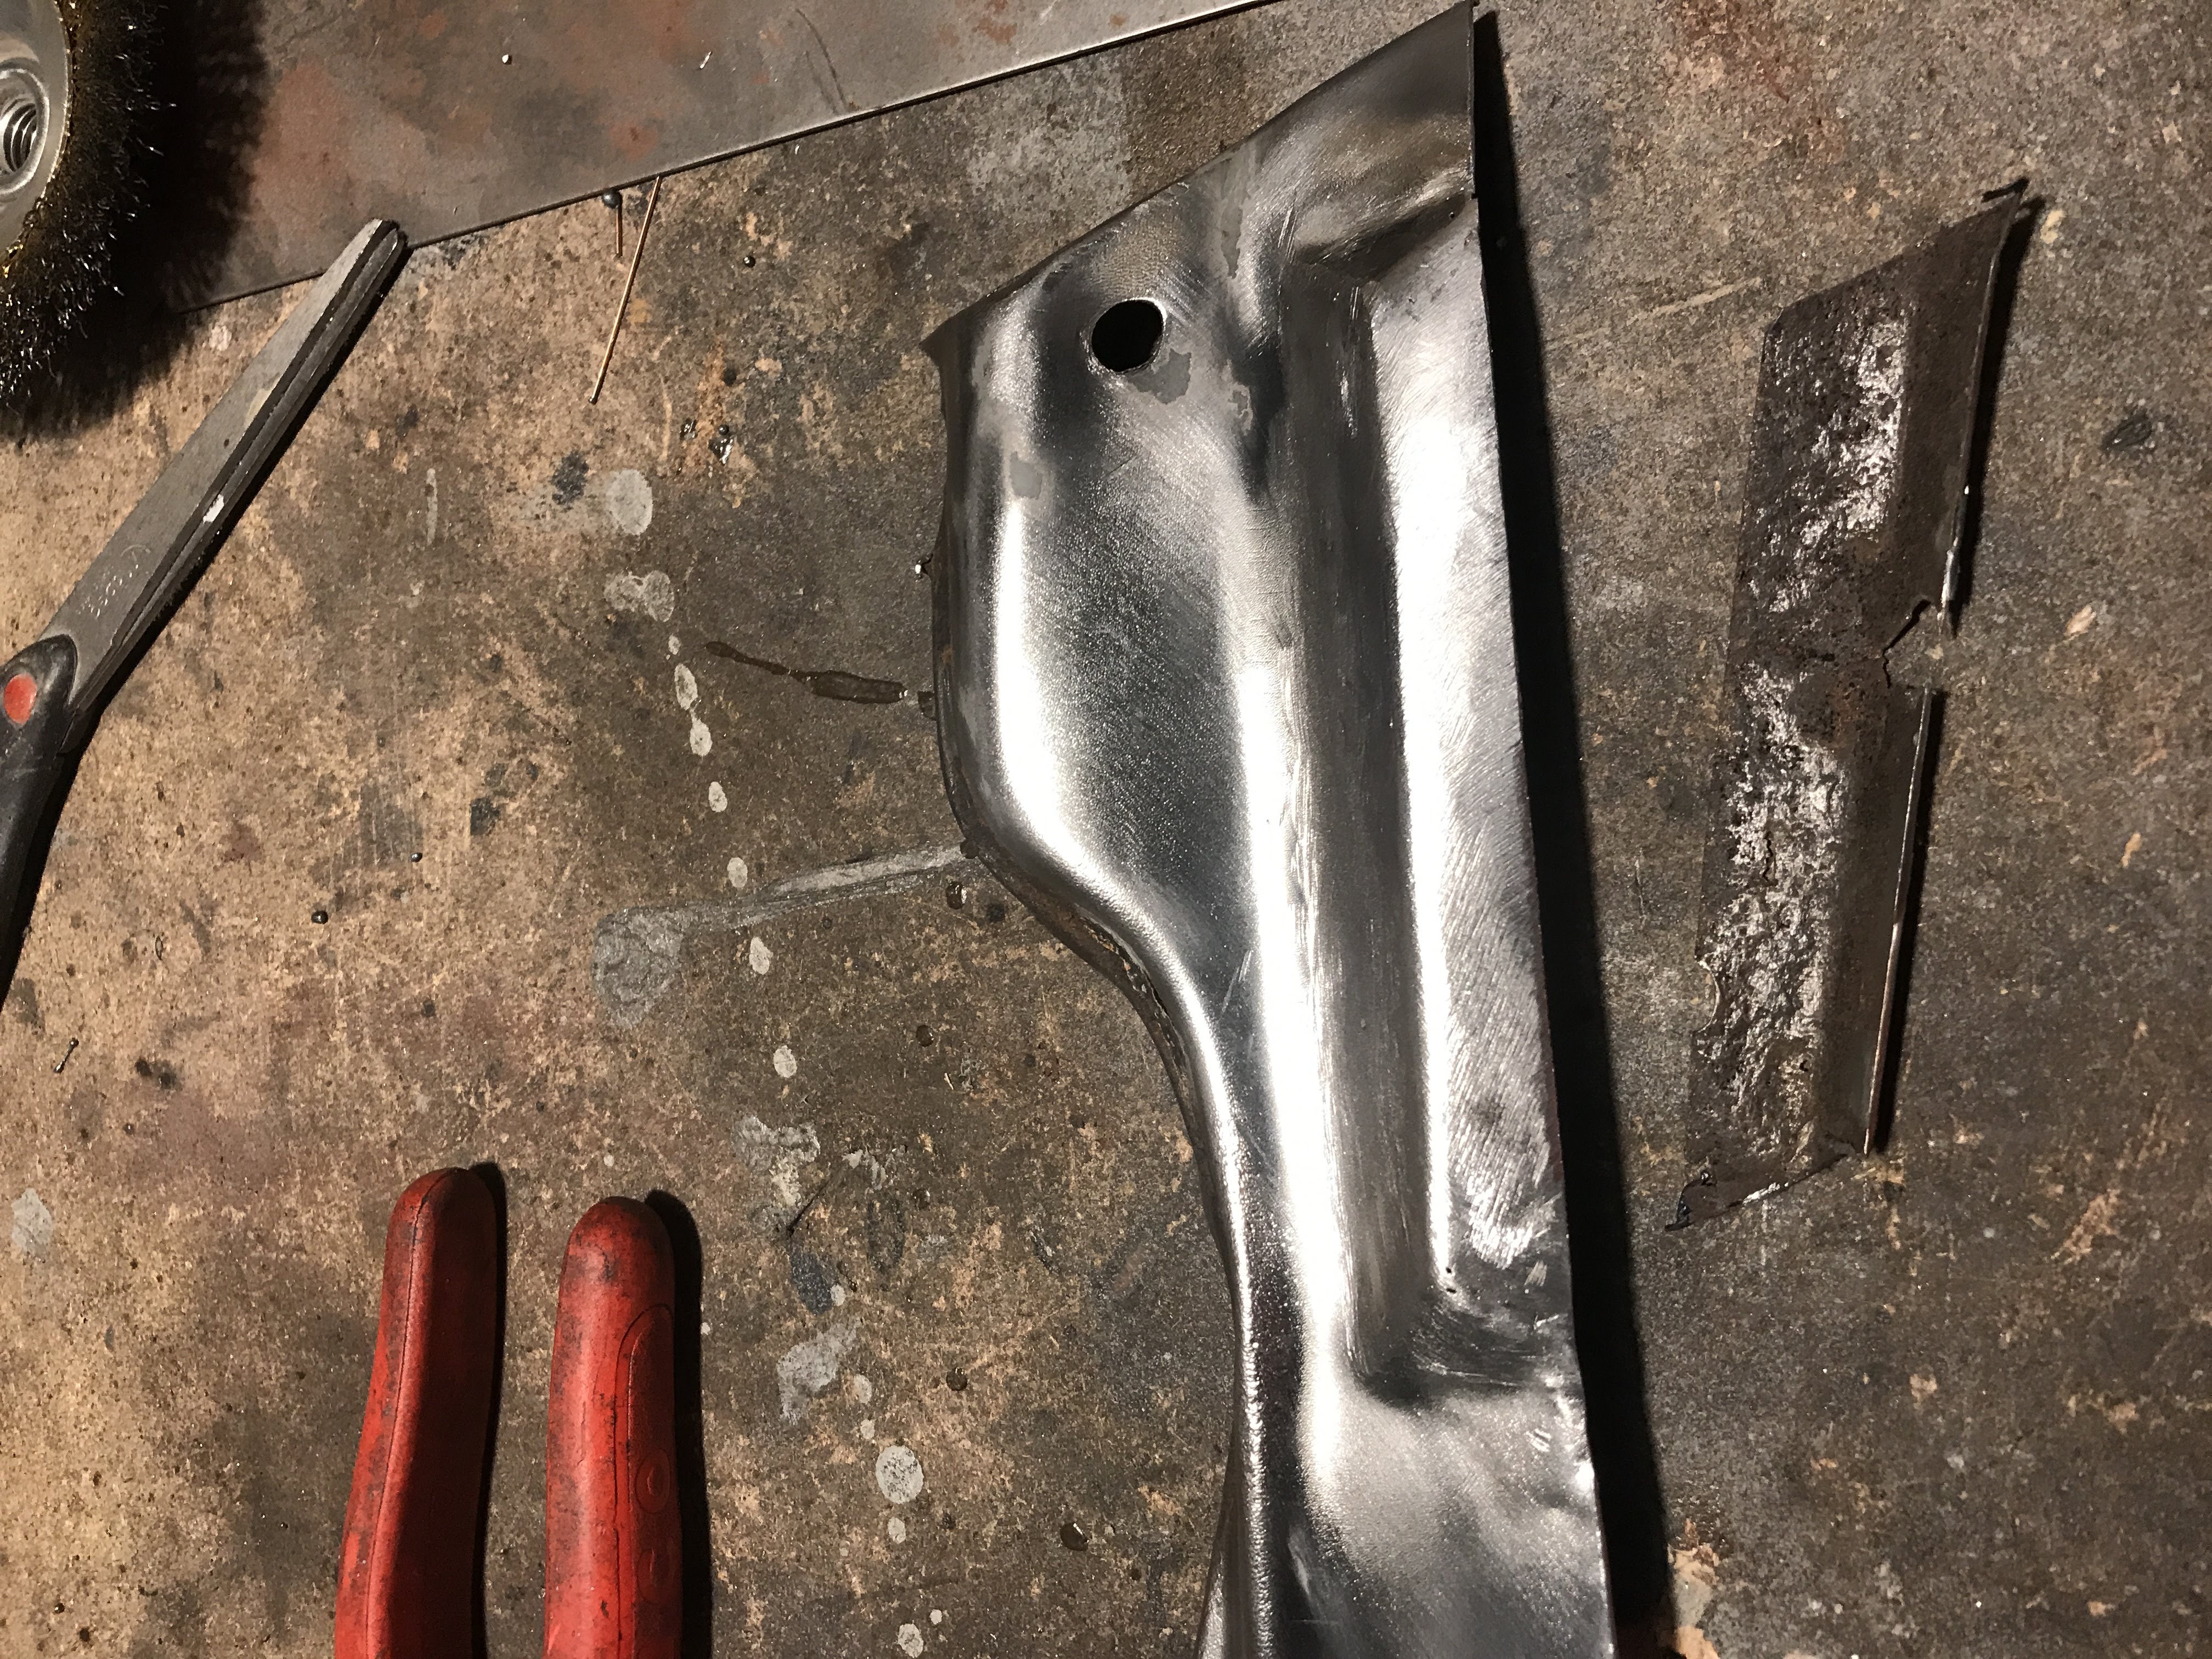
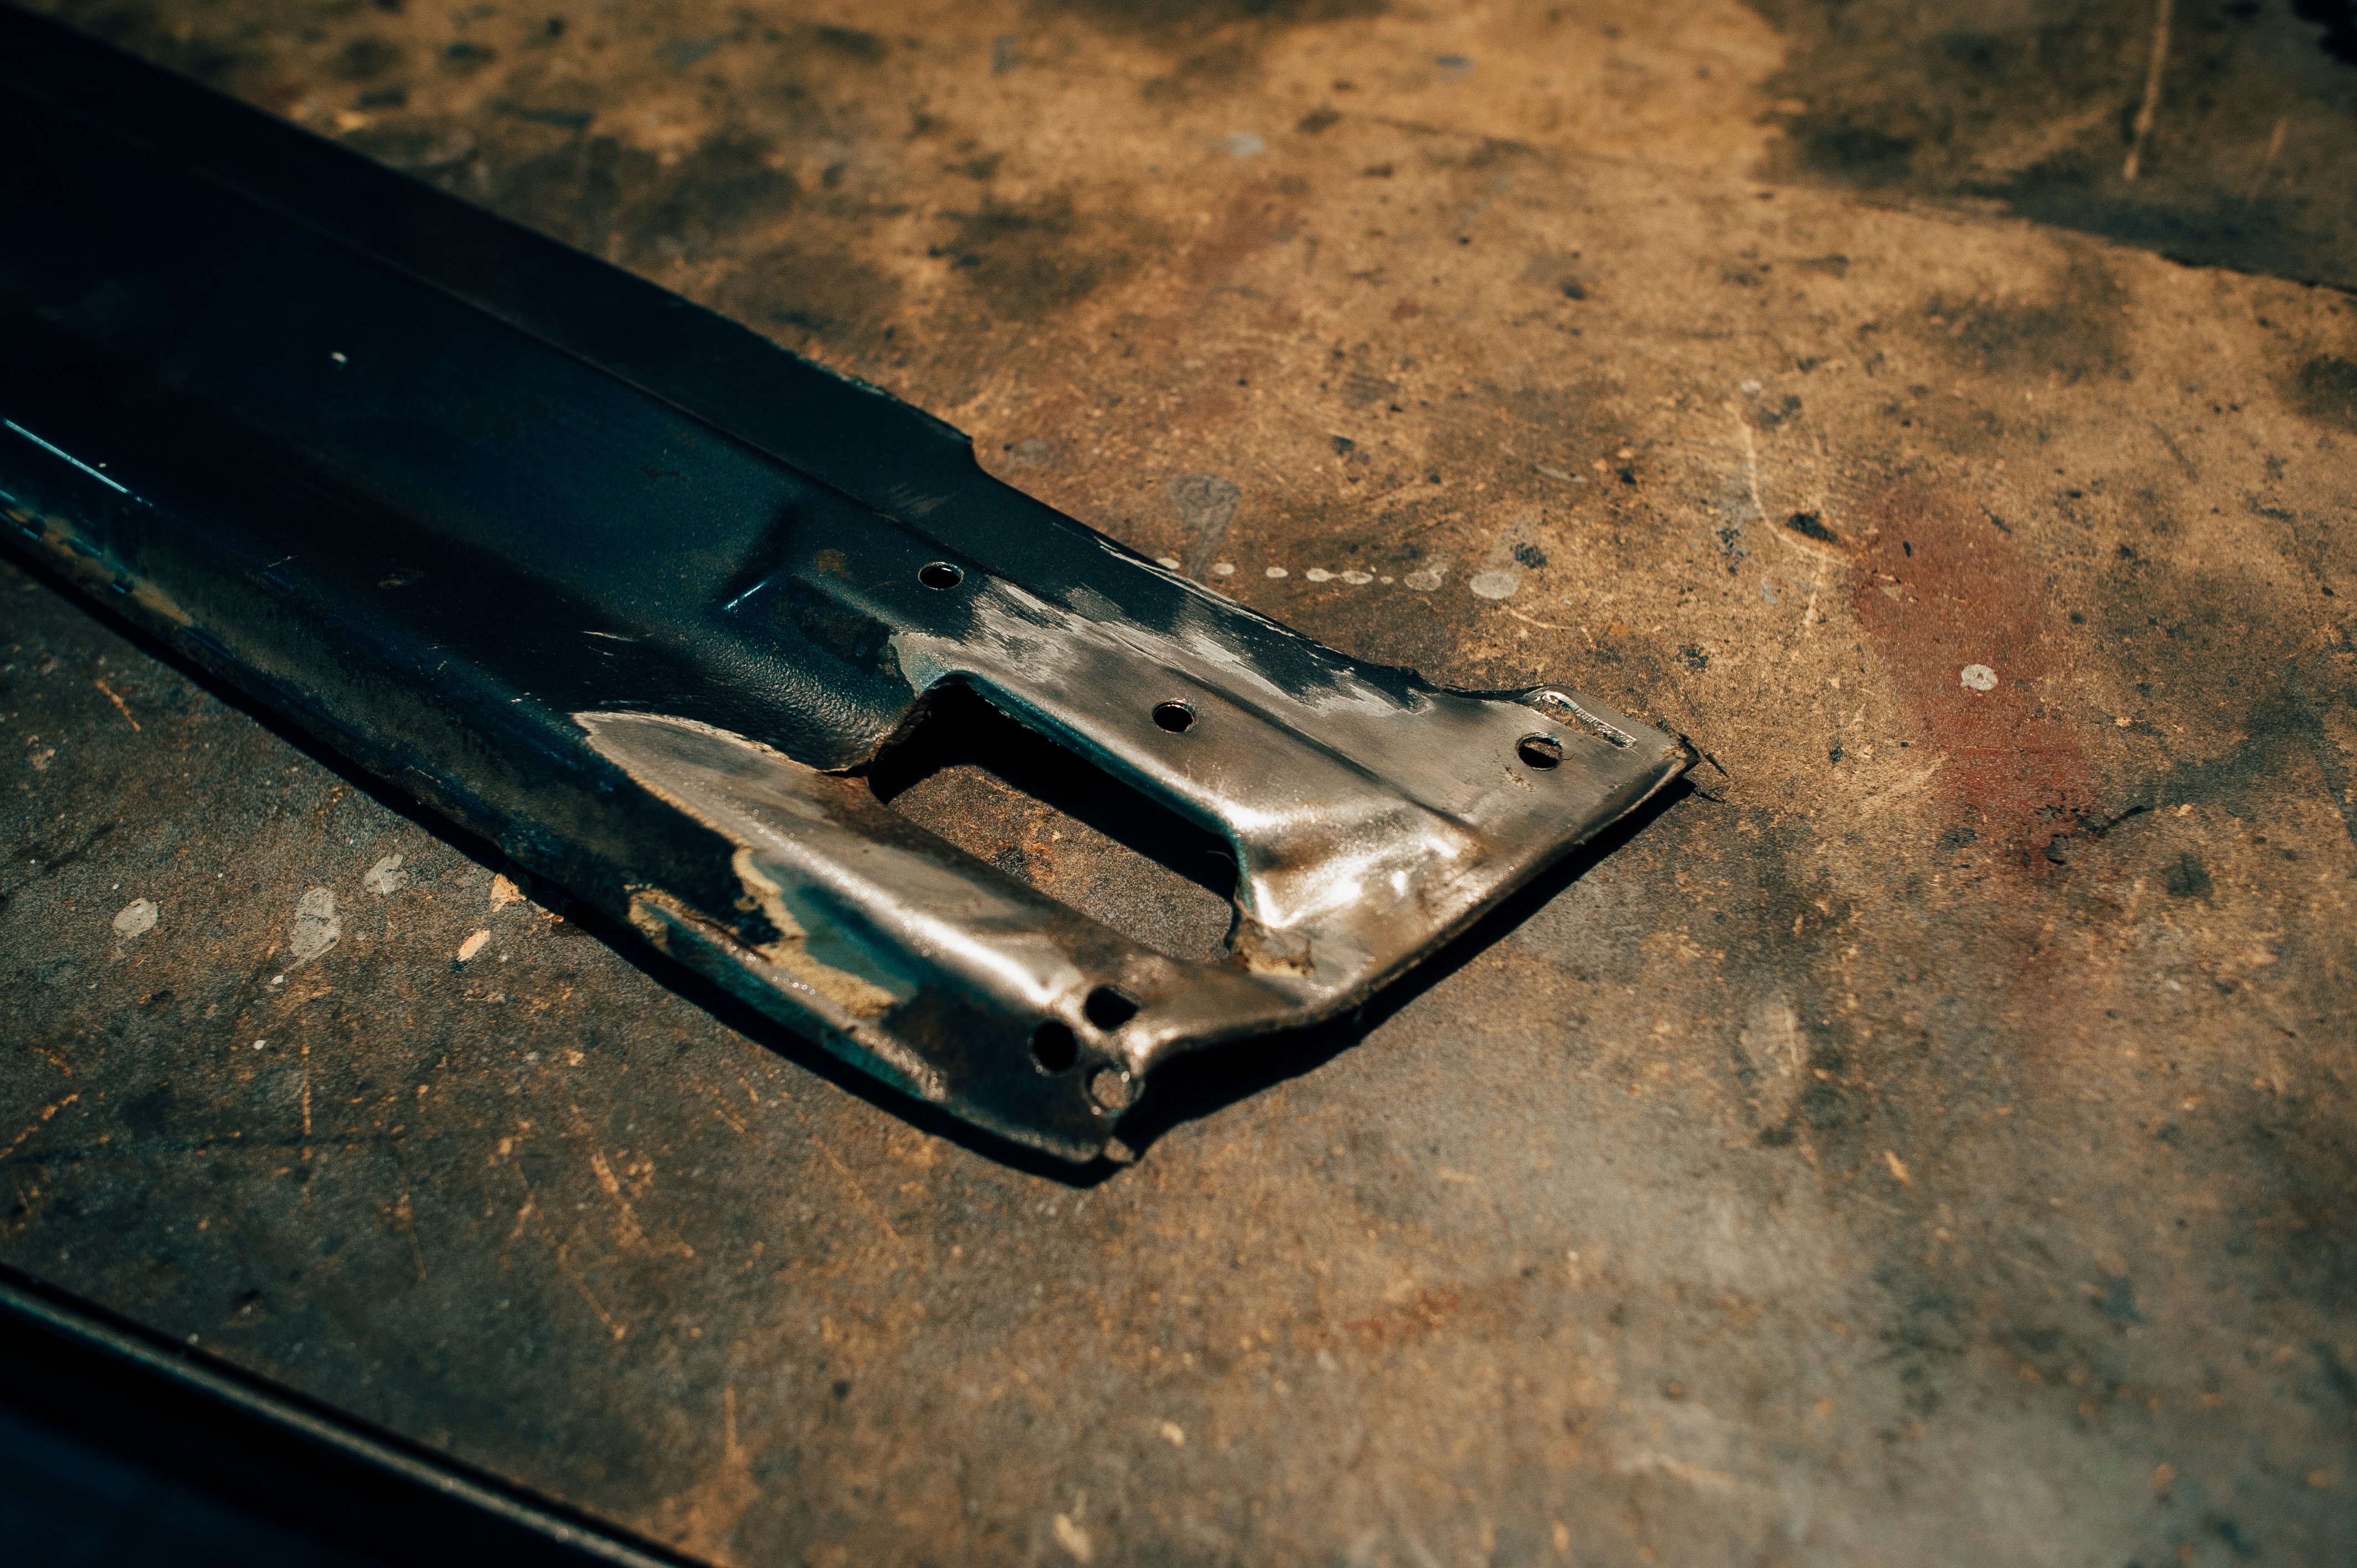
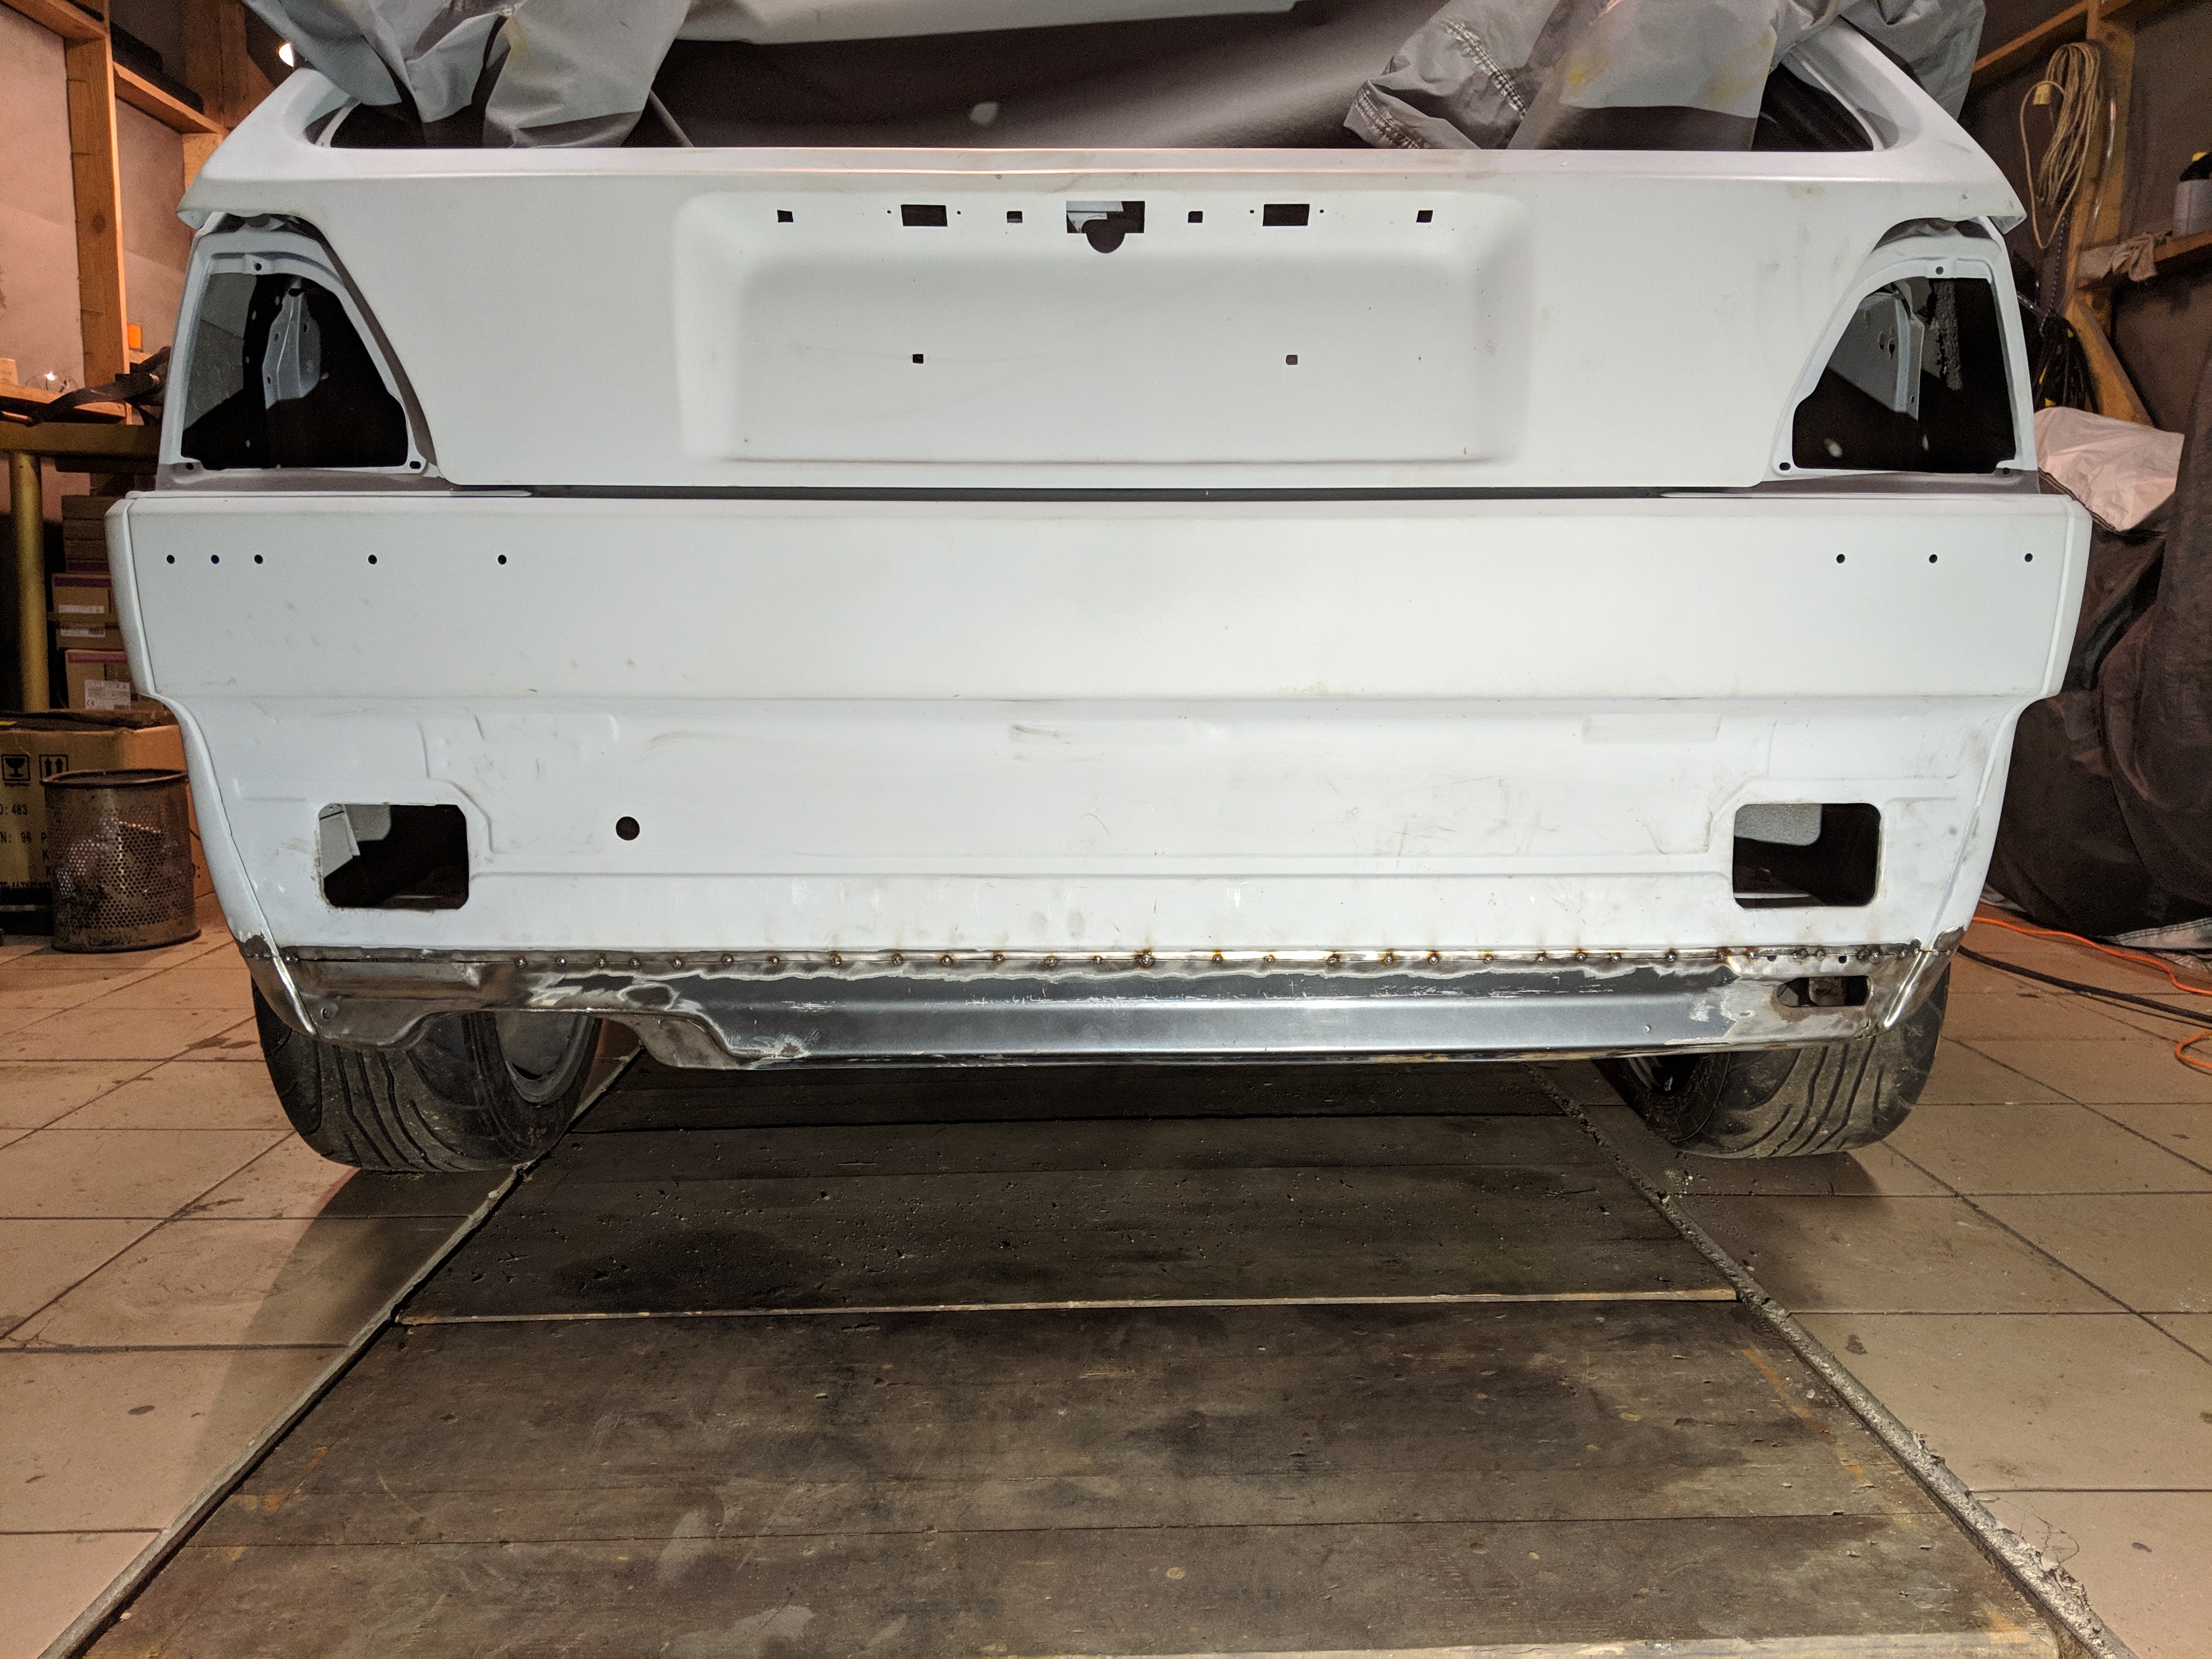
Tacking all the bits to the car and see what the outcome is:
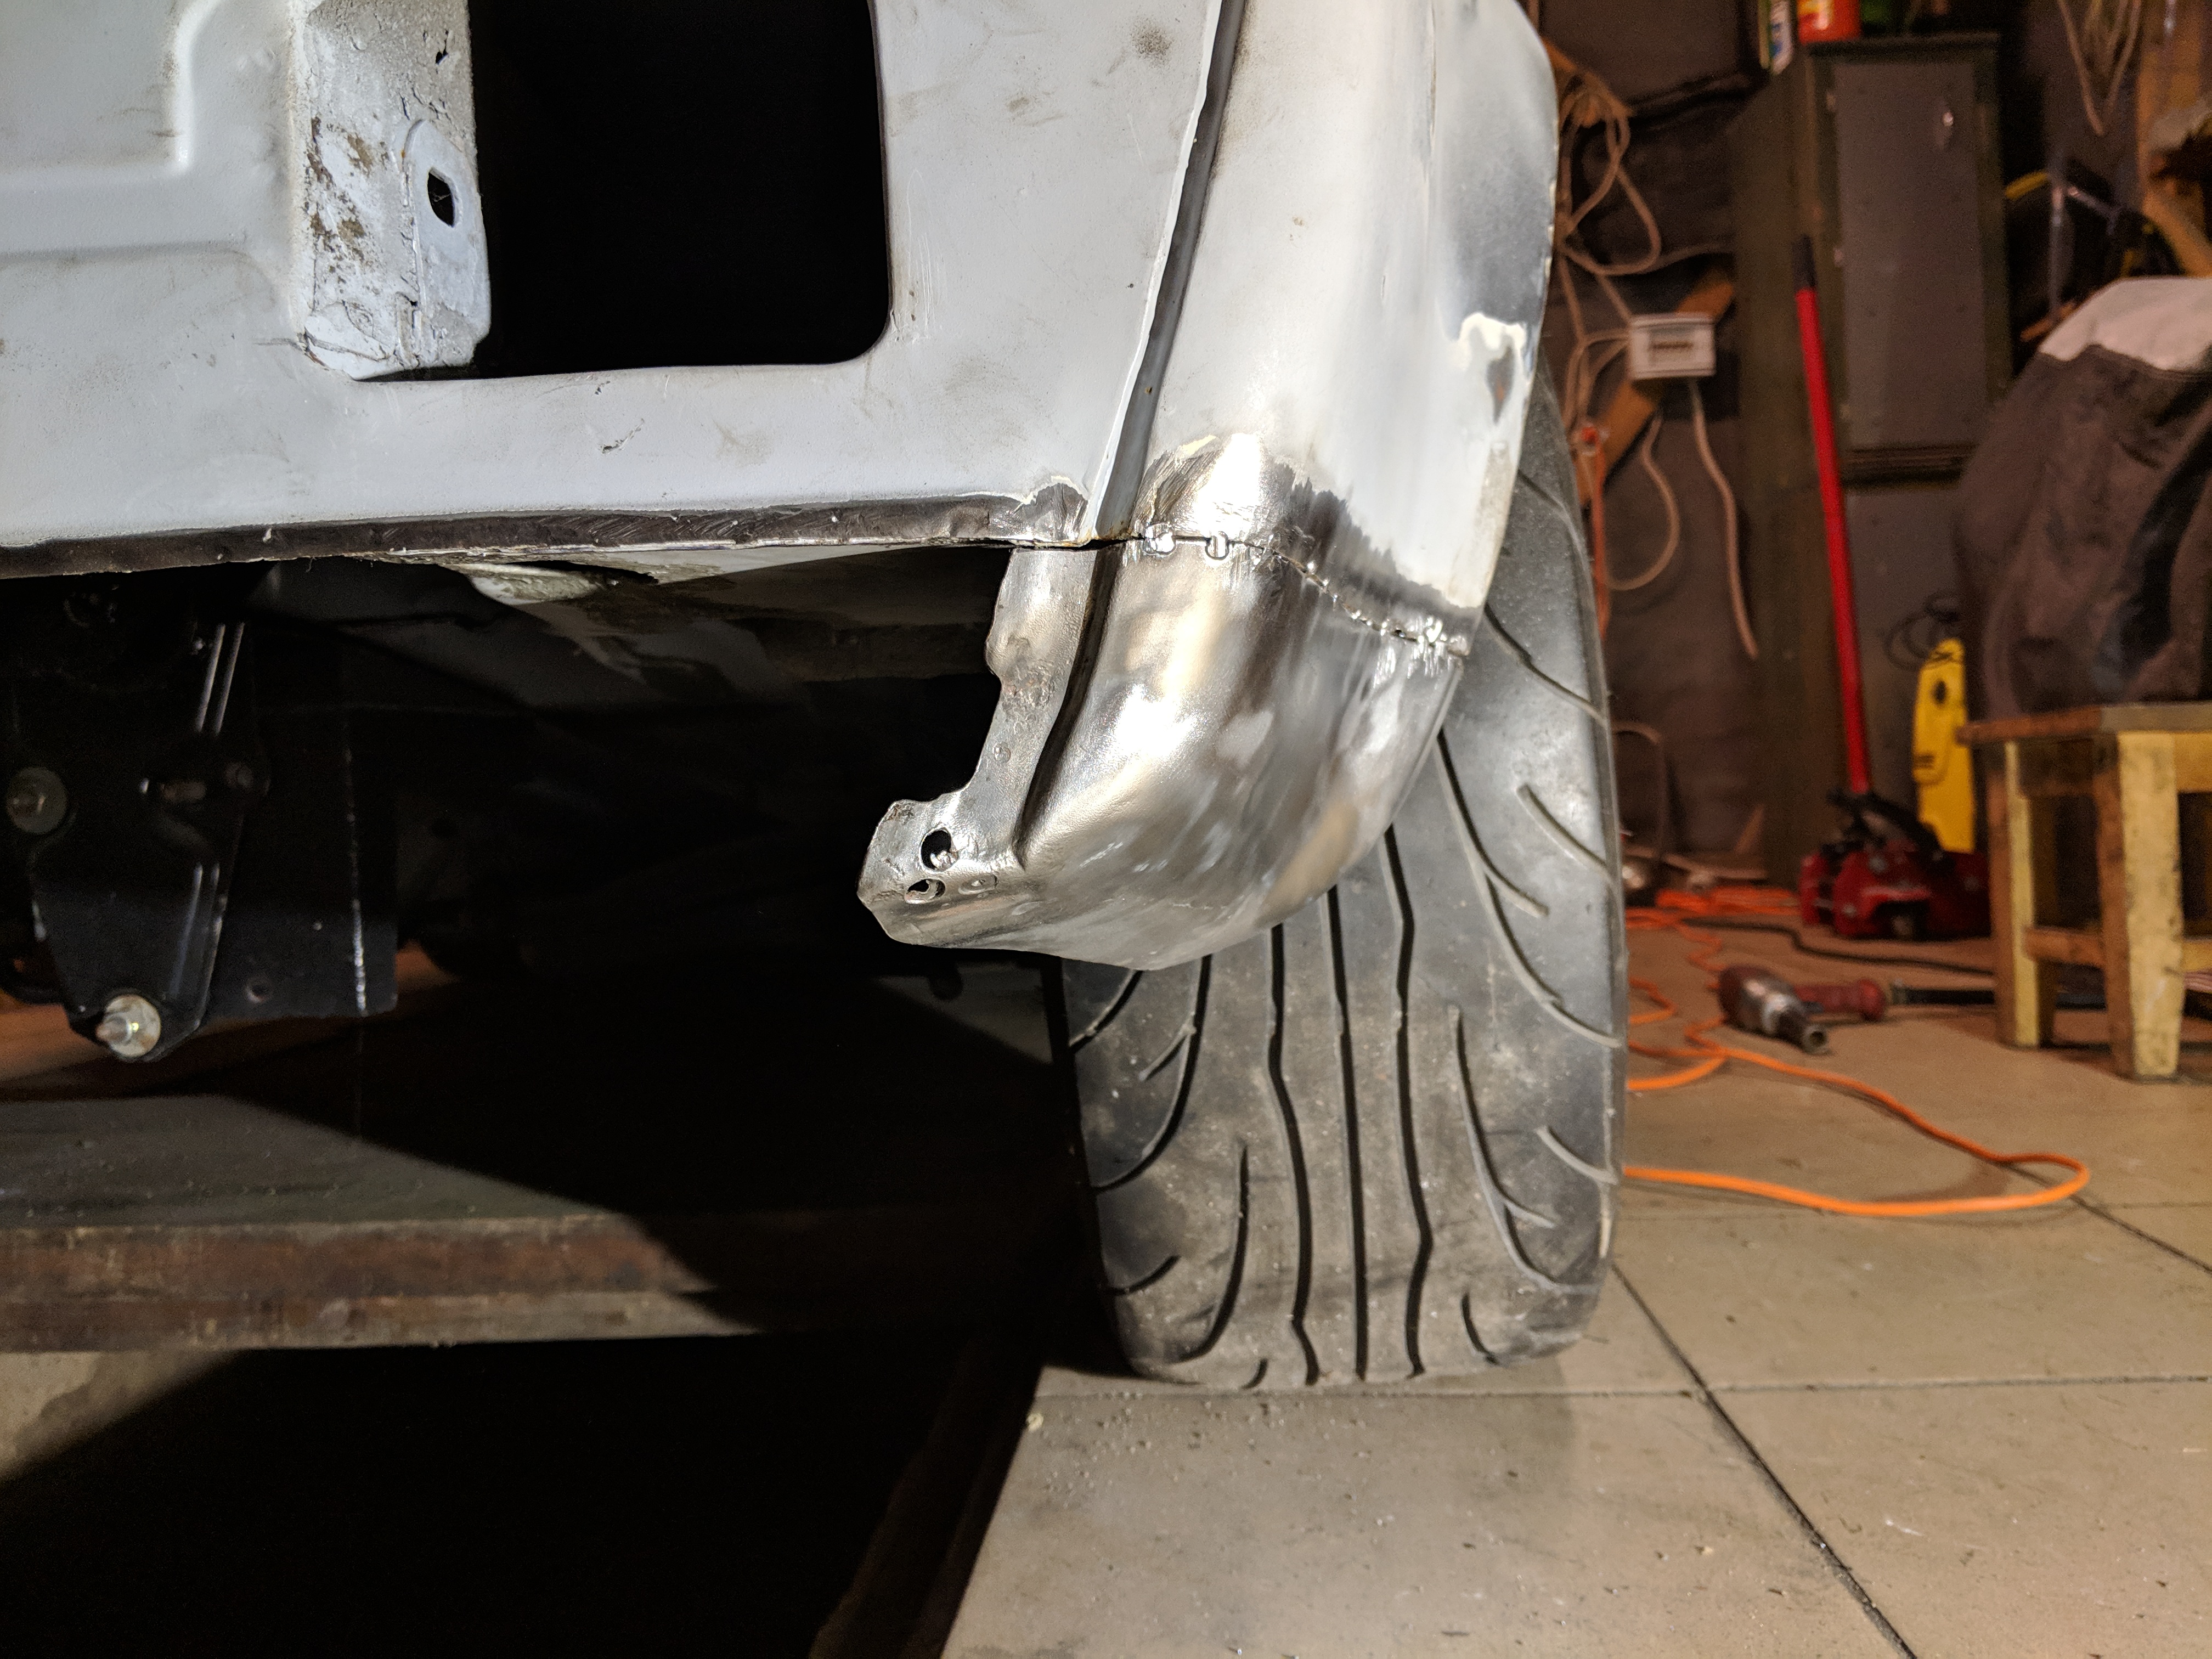
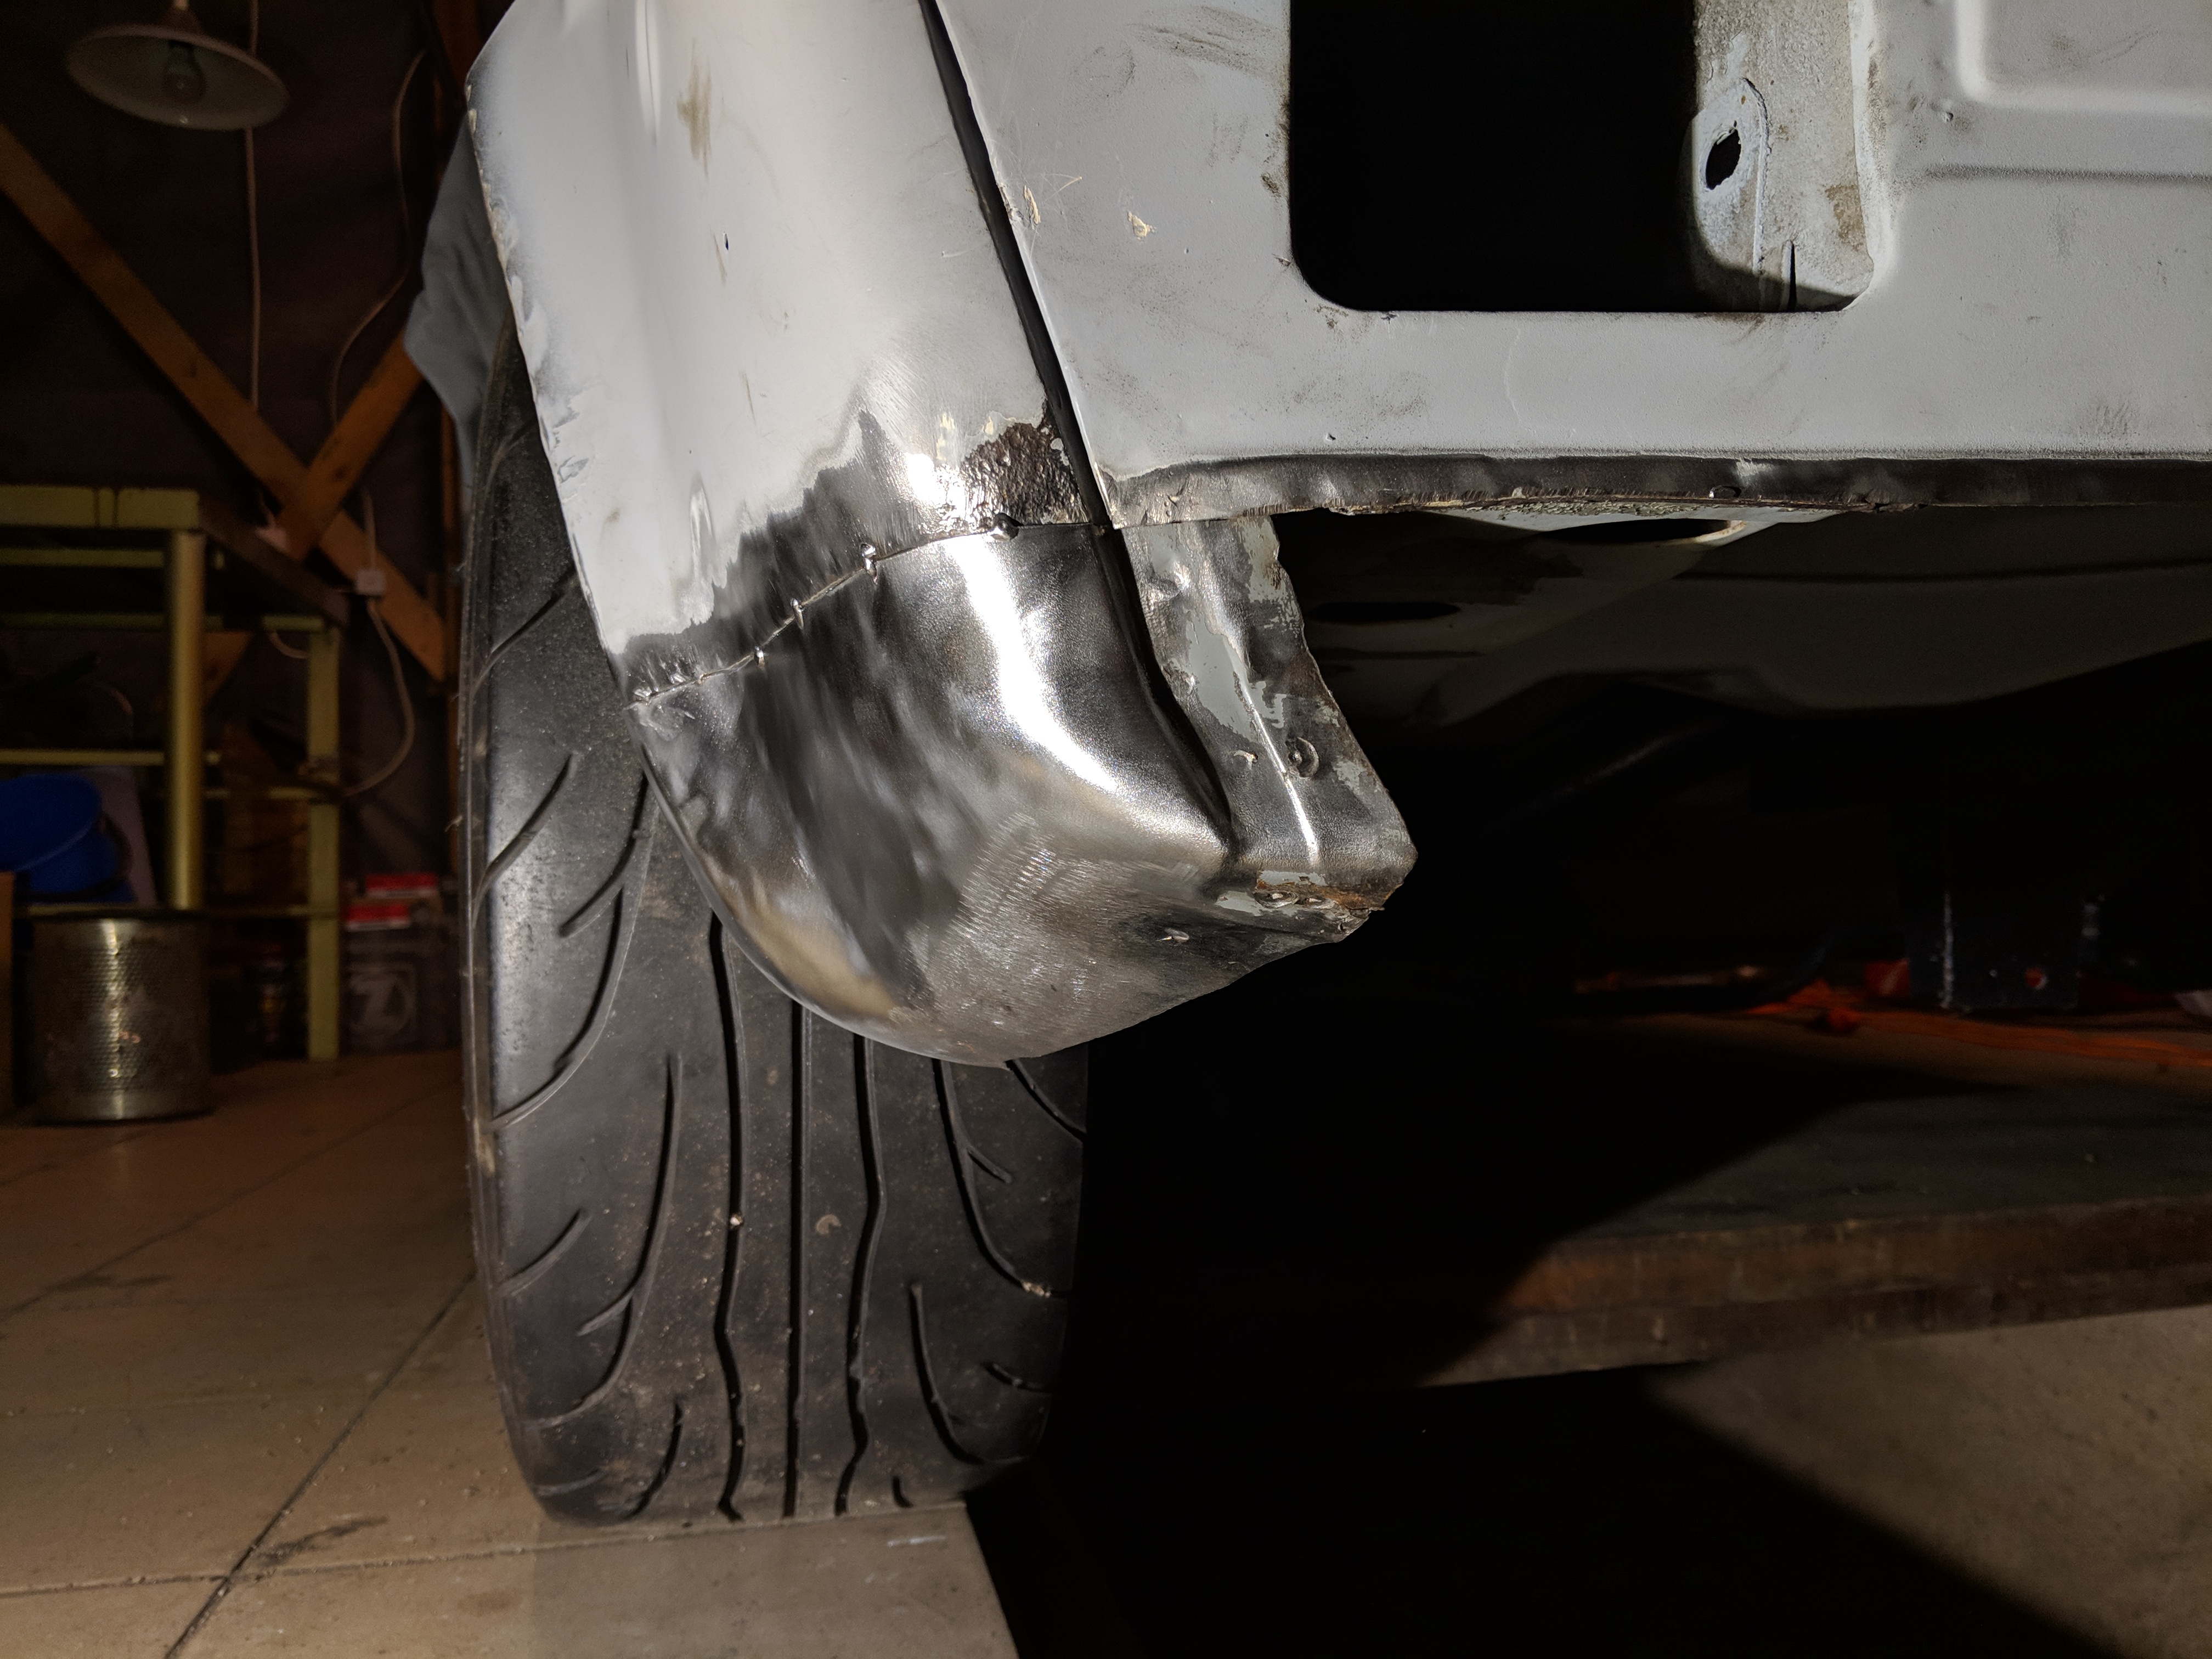
Next - arches:
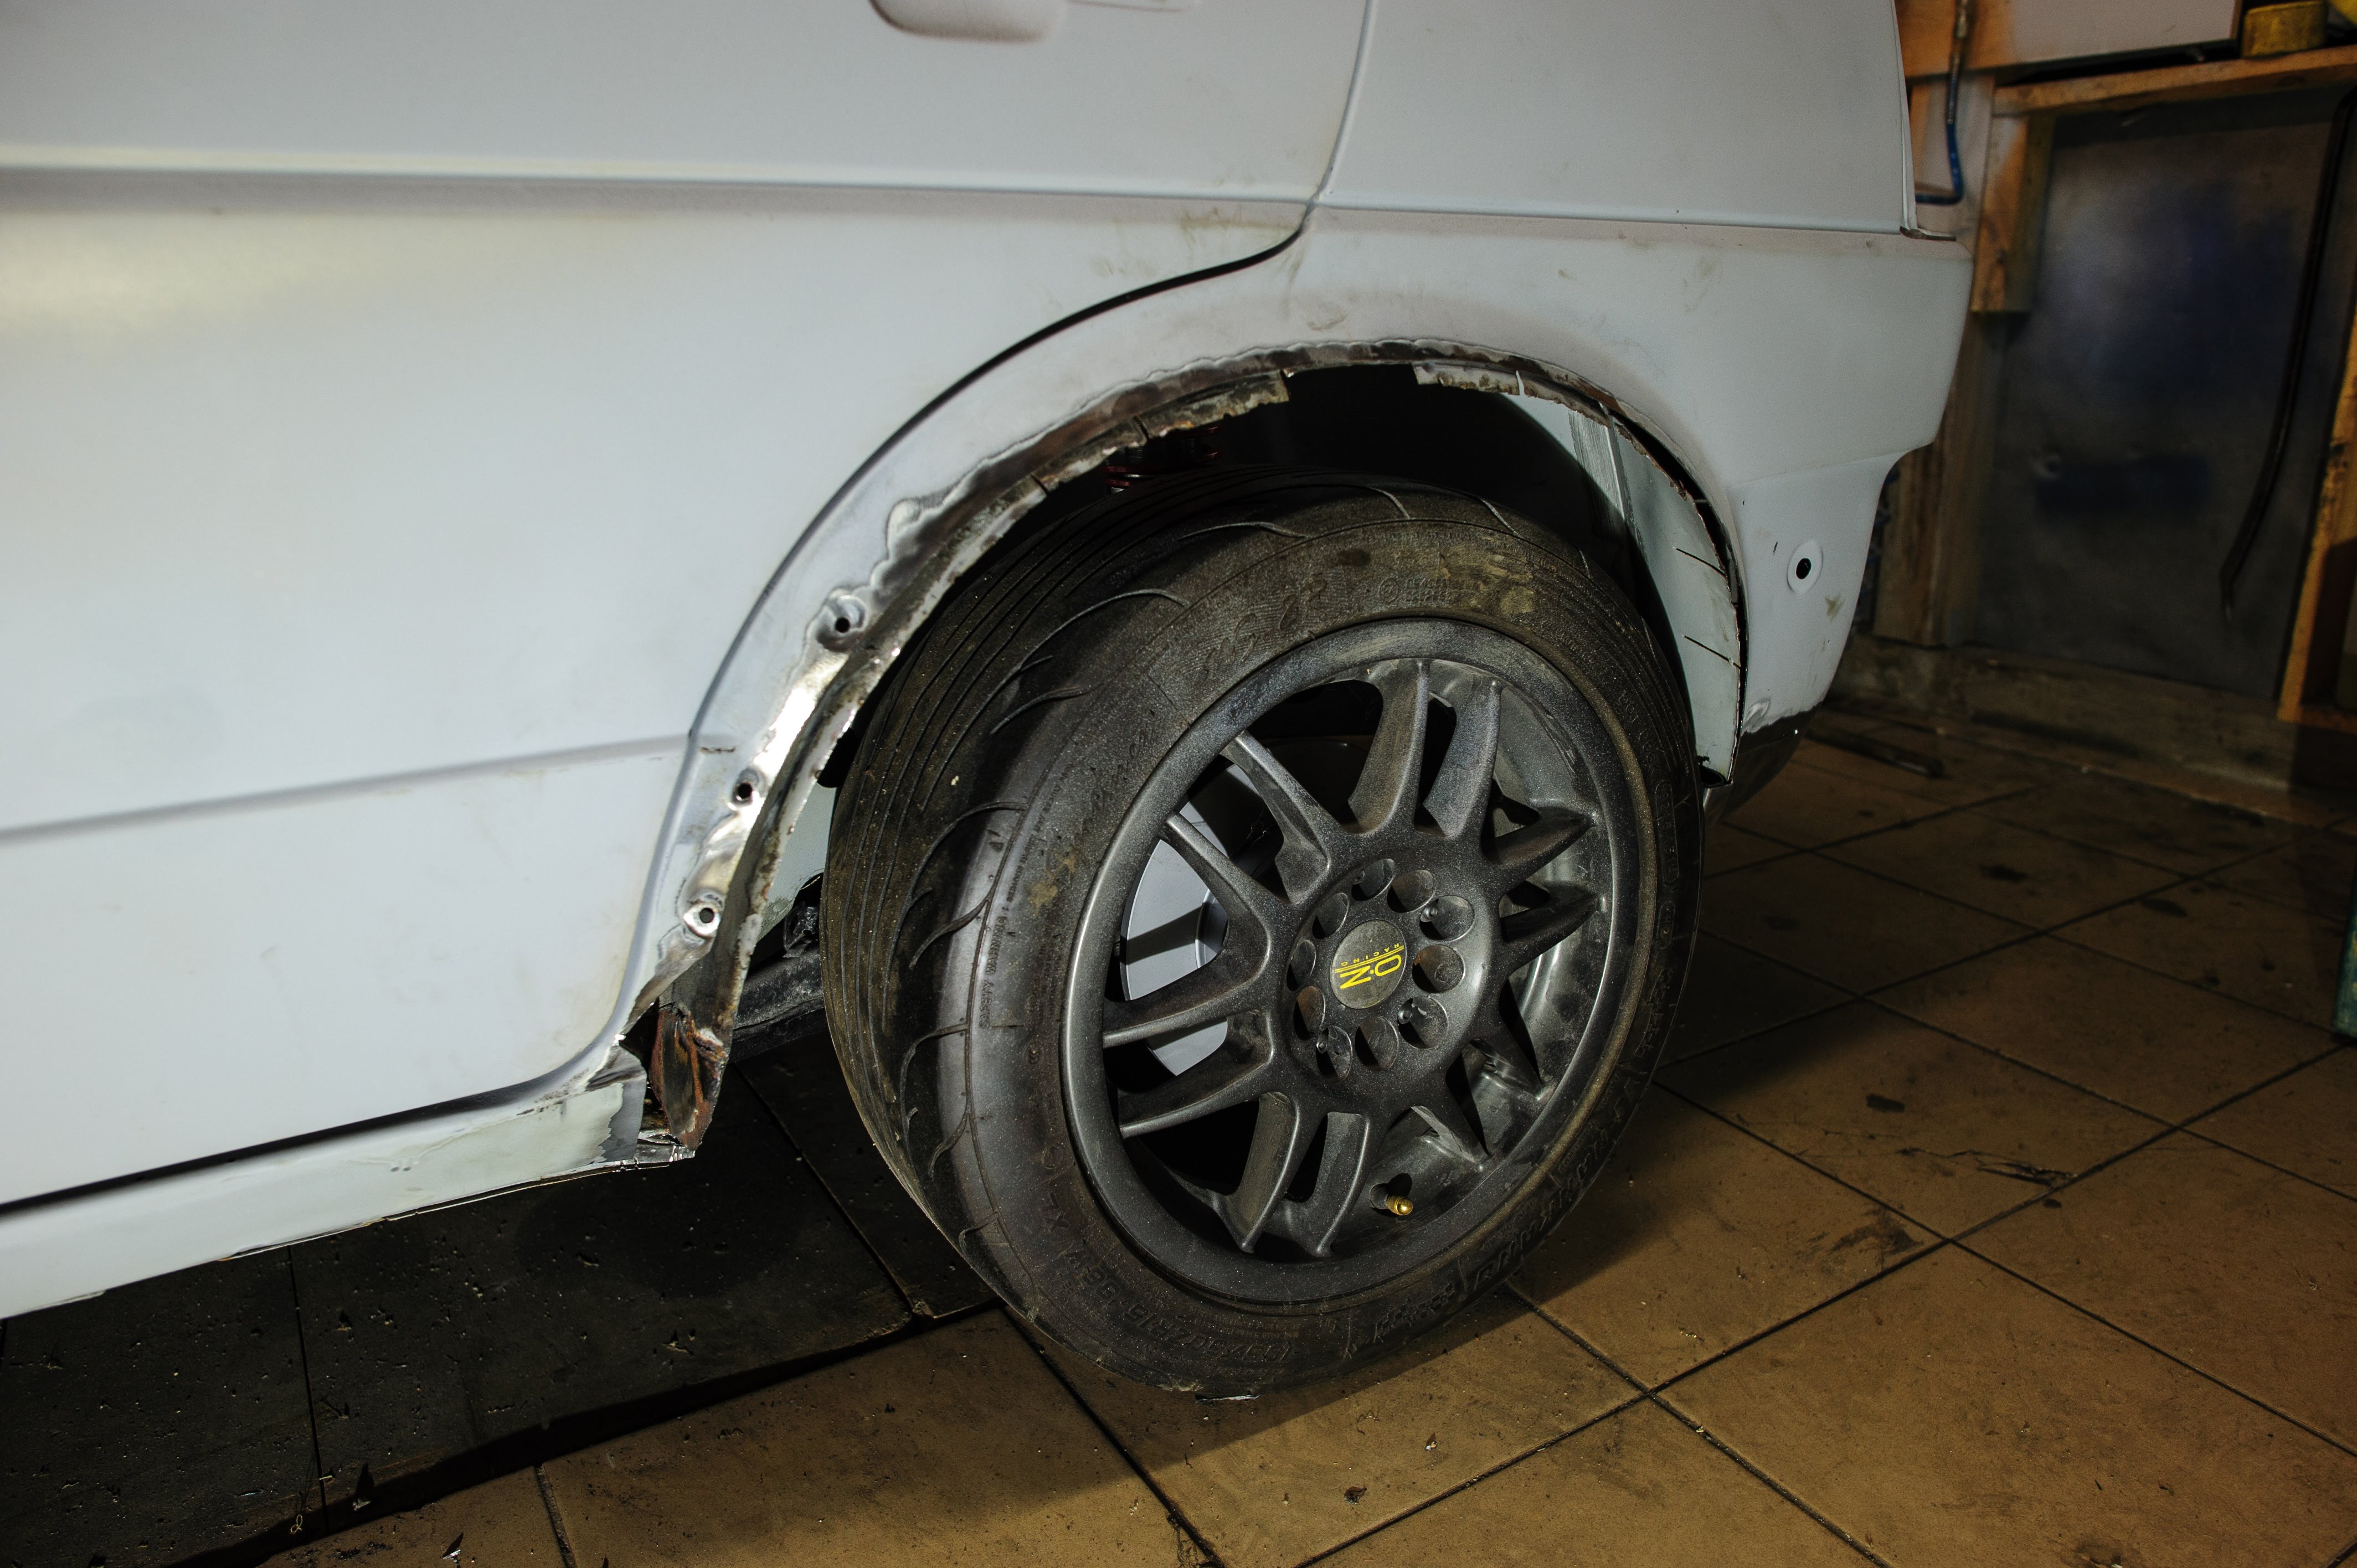
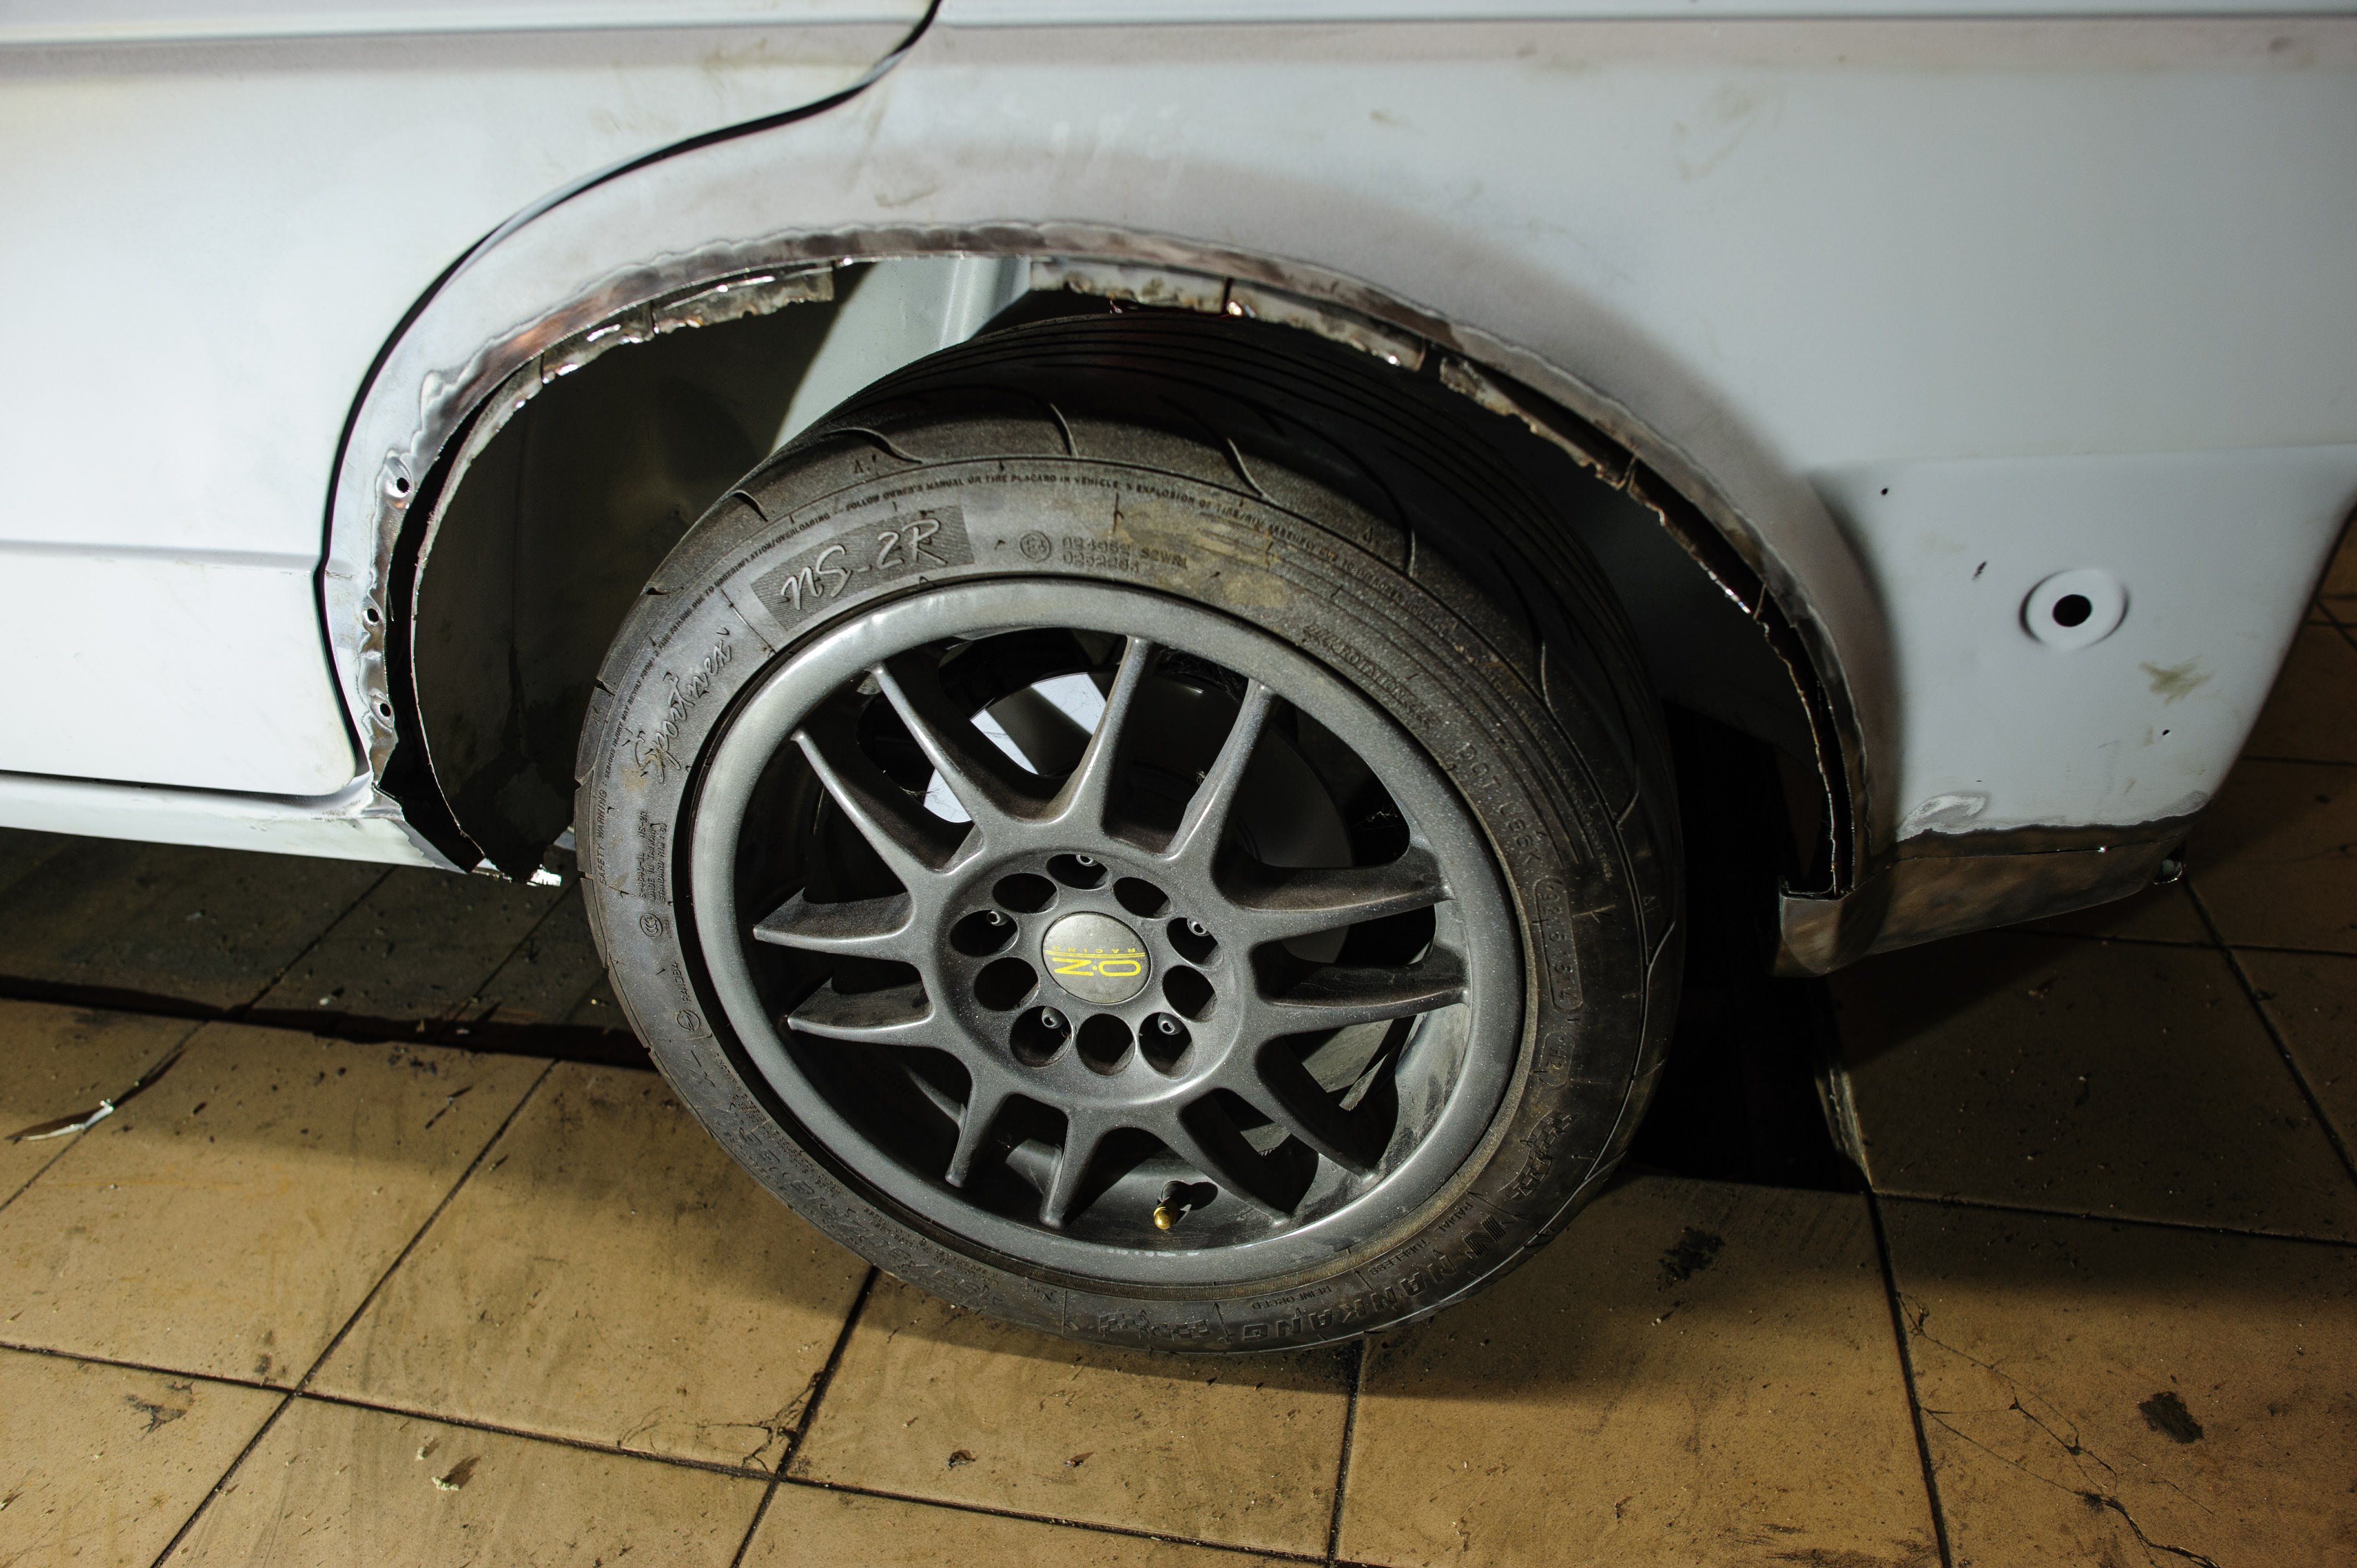
Welded on new ones:
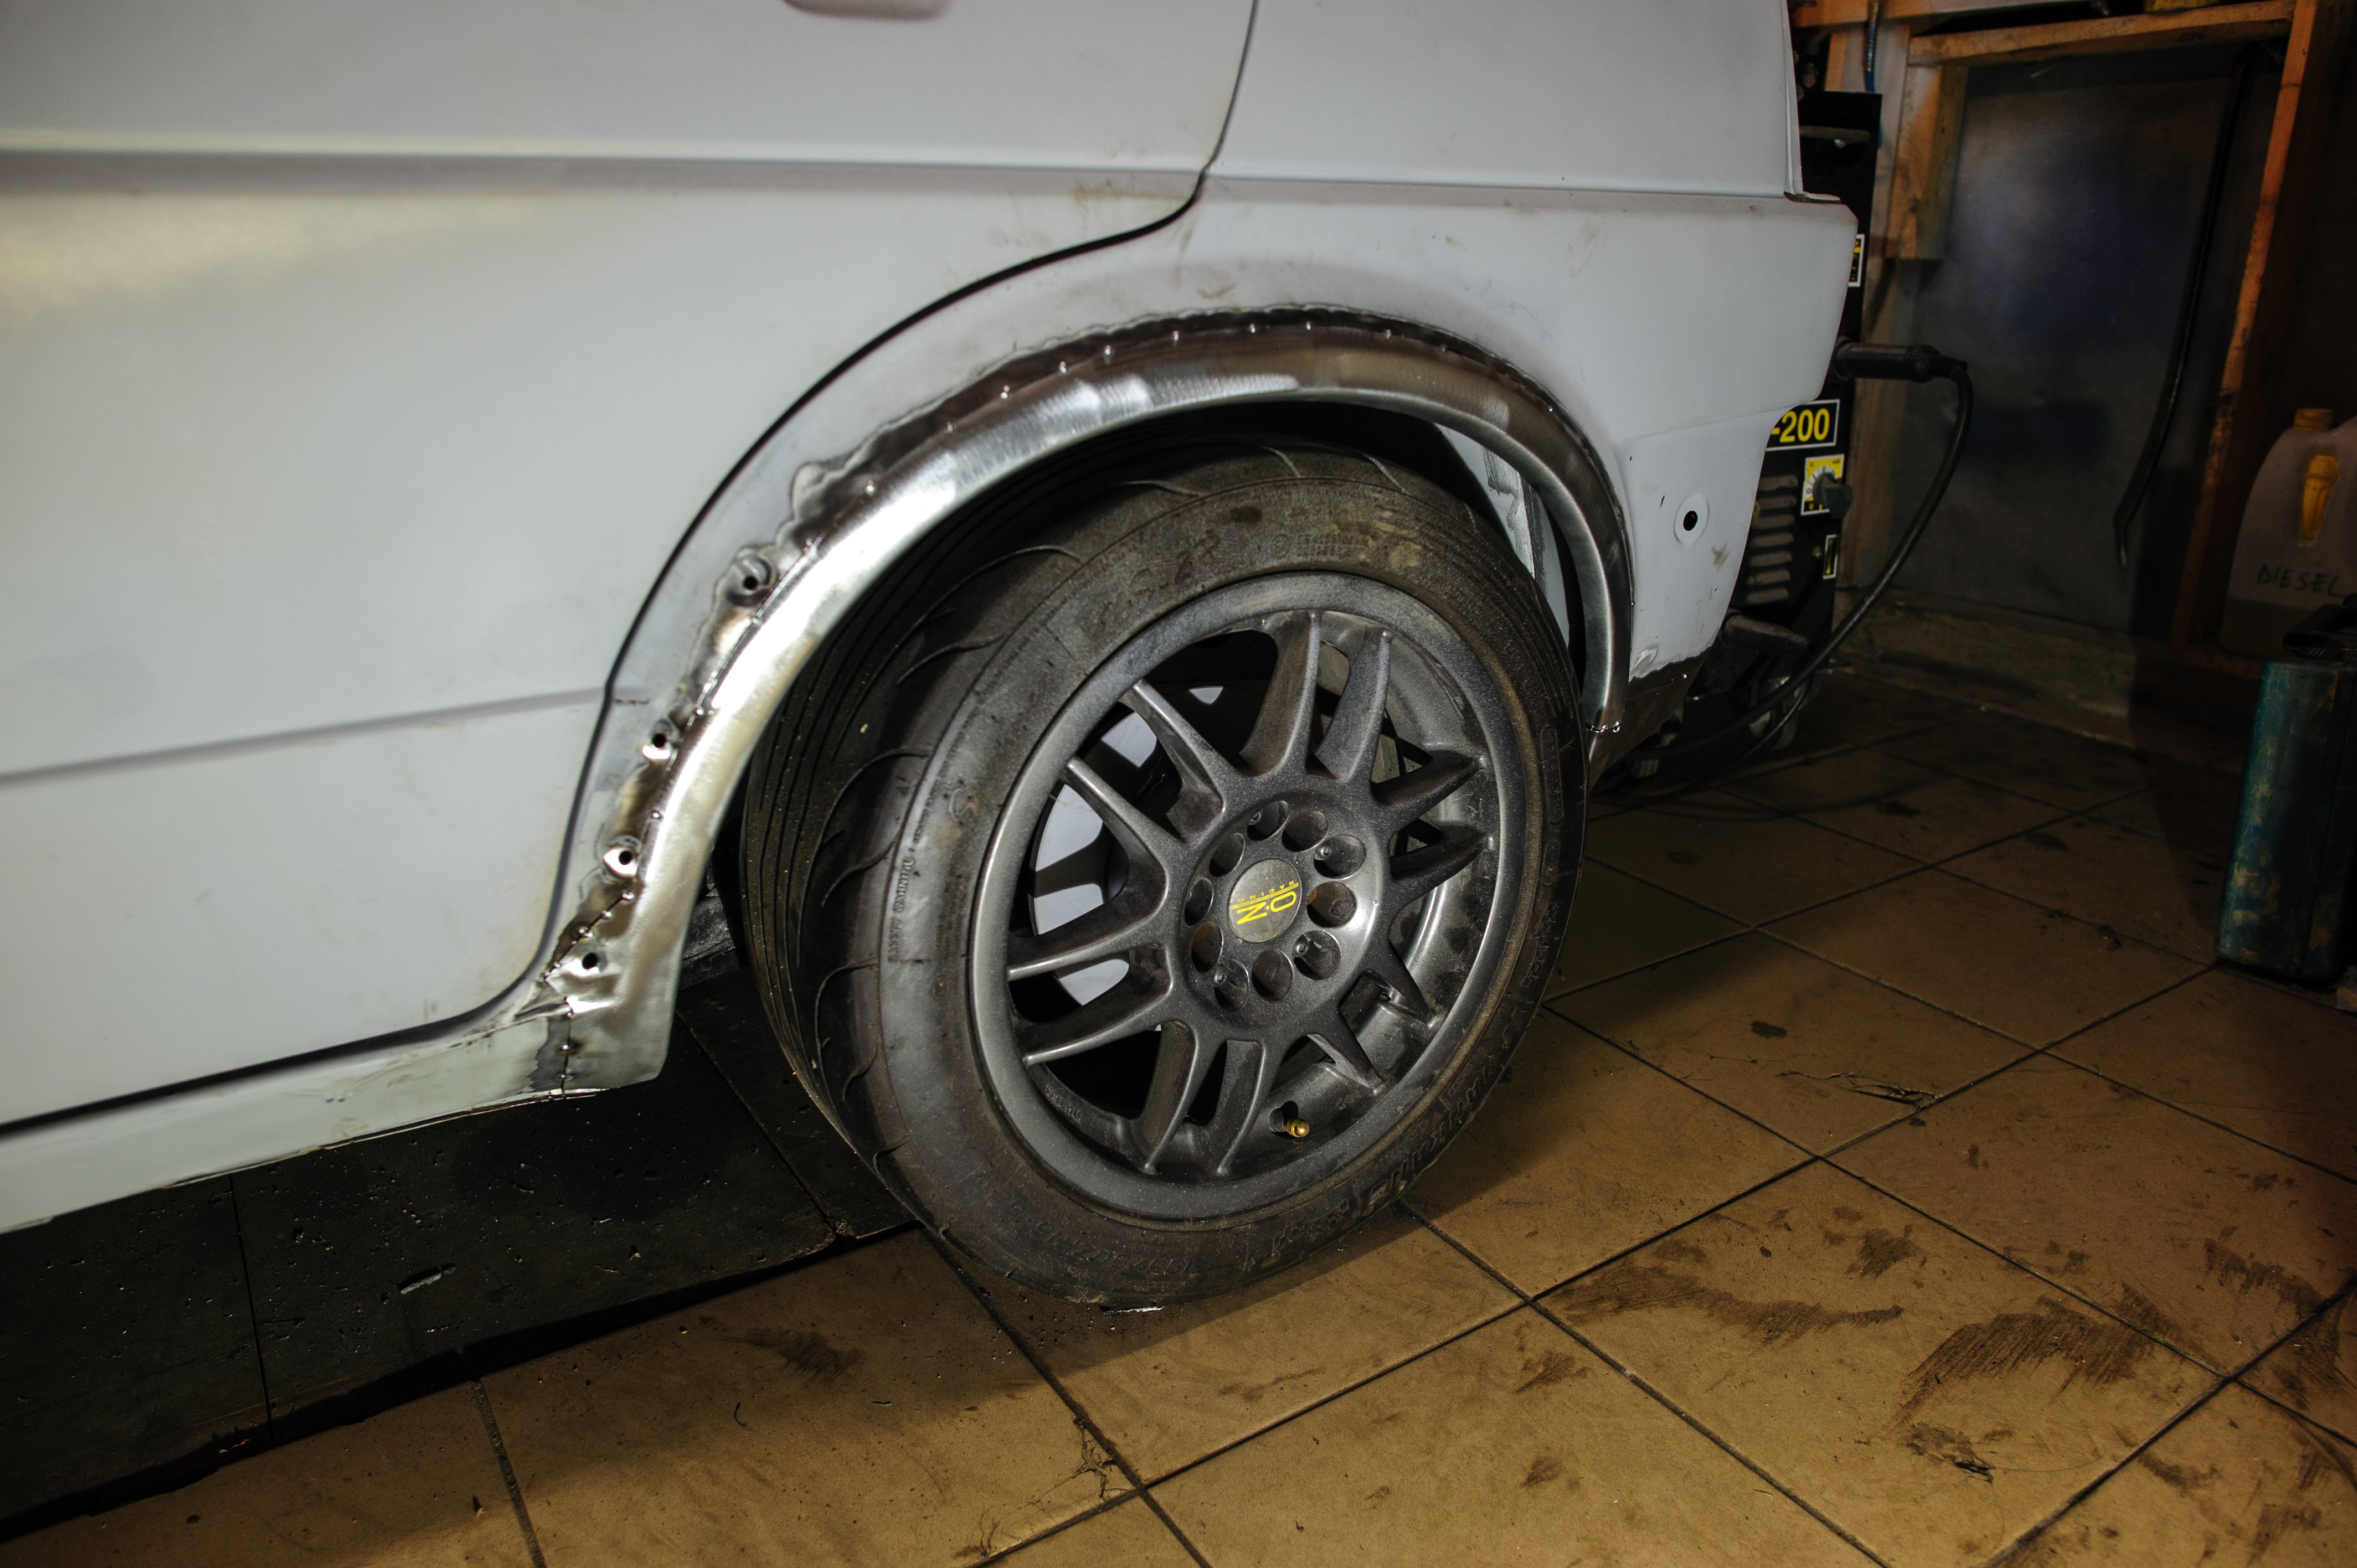
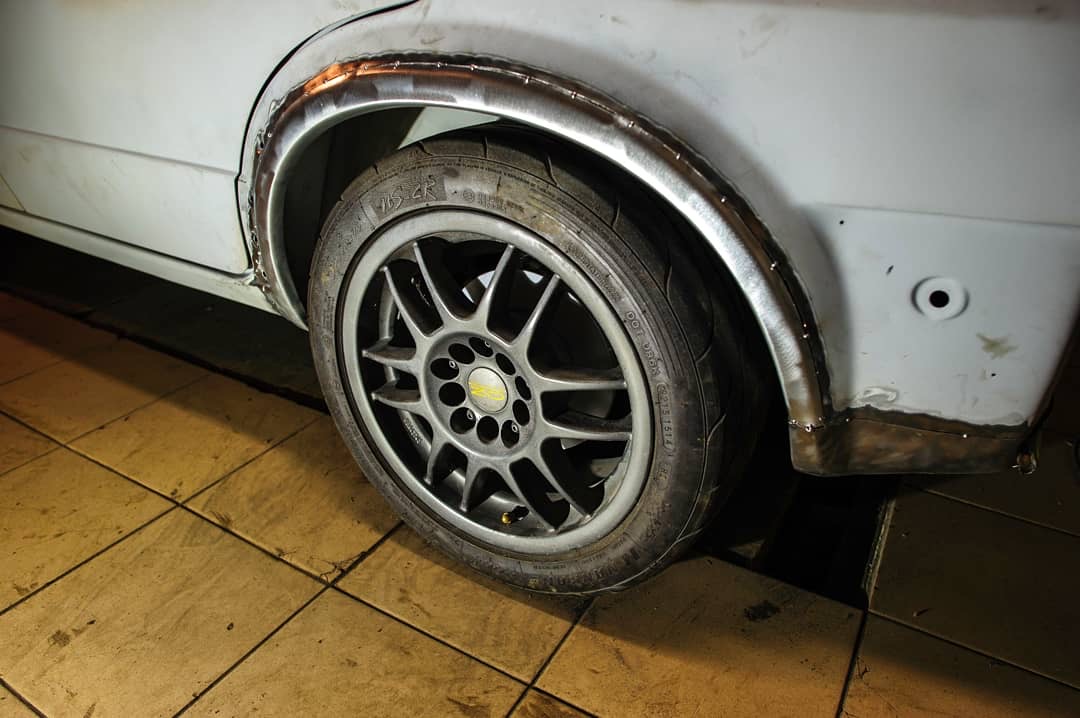
And have matched with rear lower panel as well:
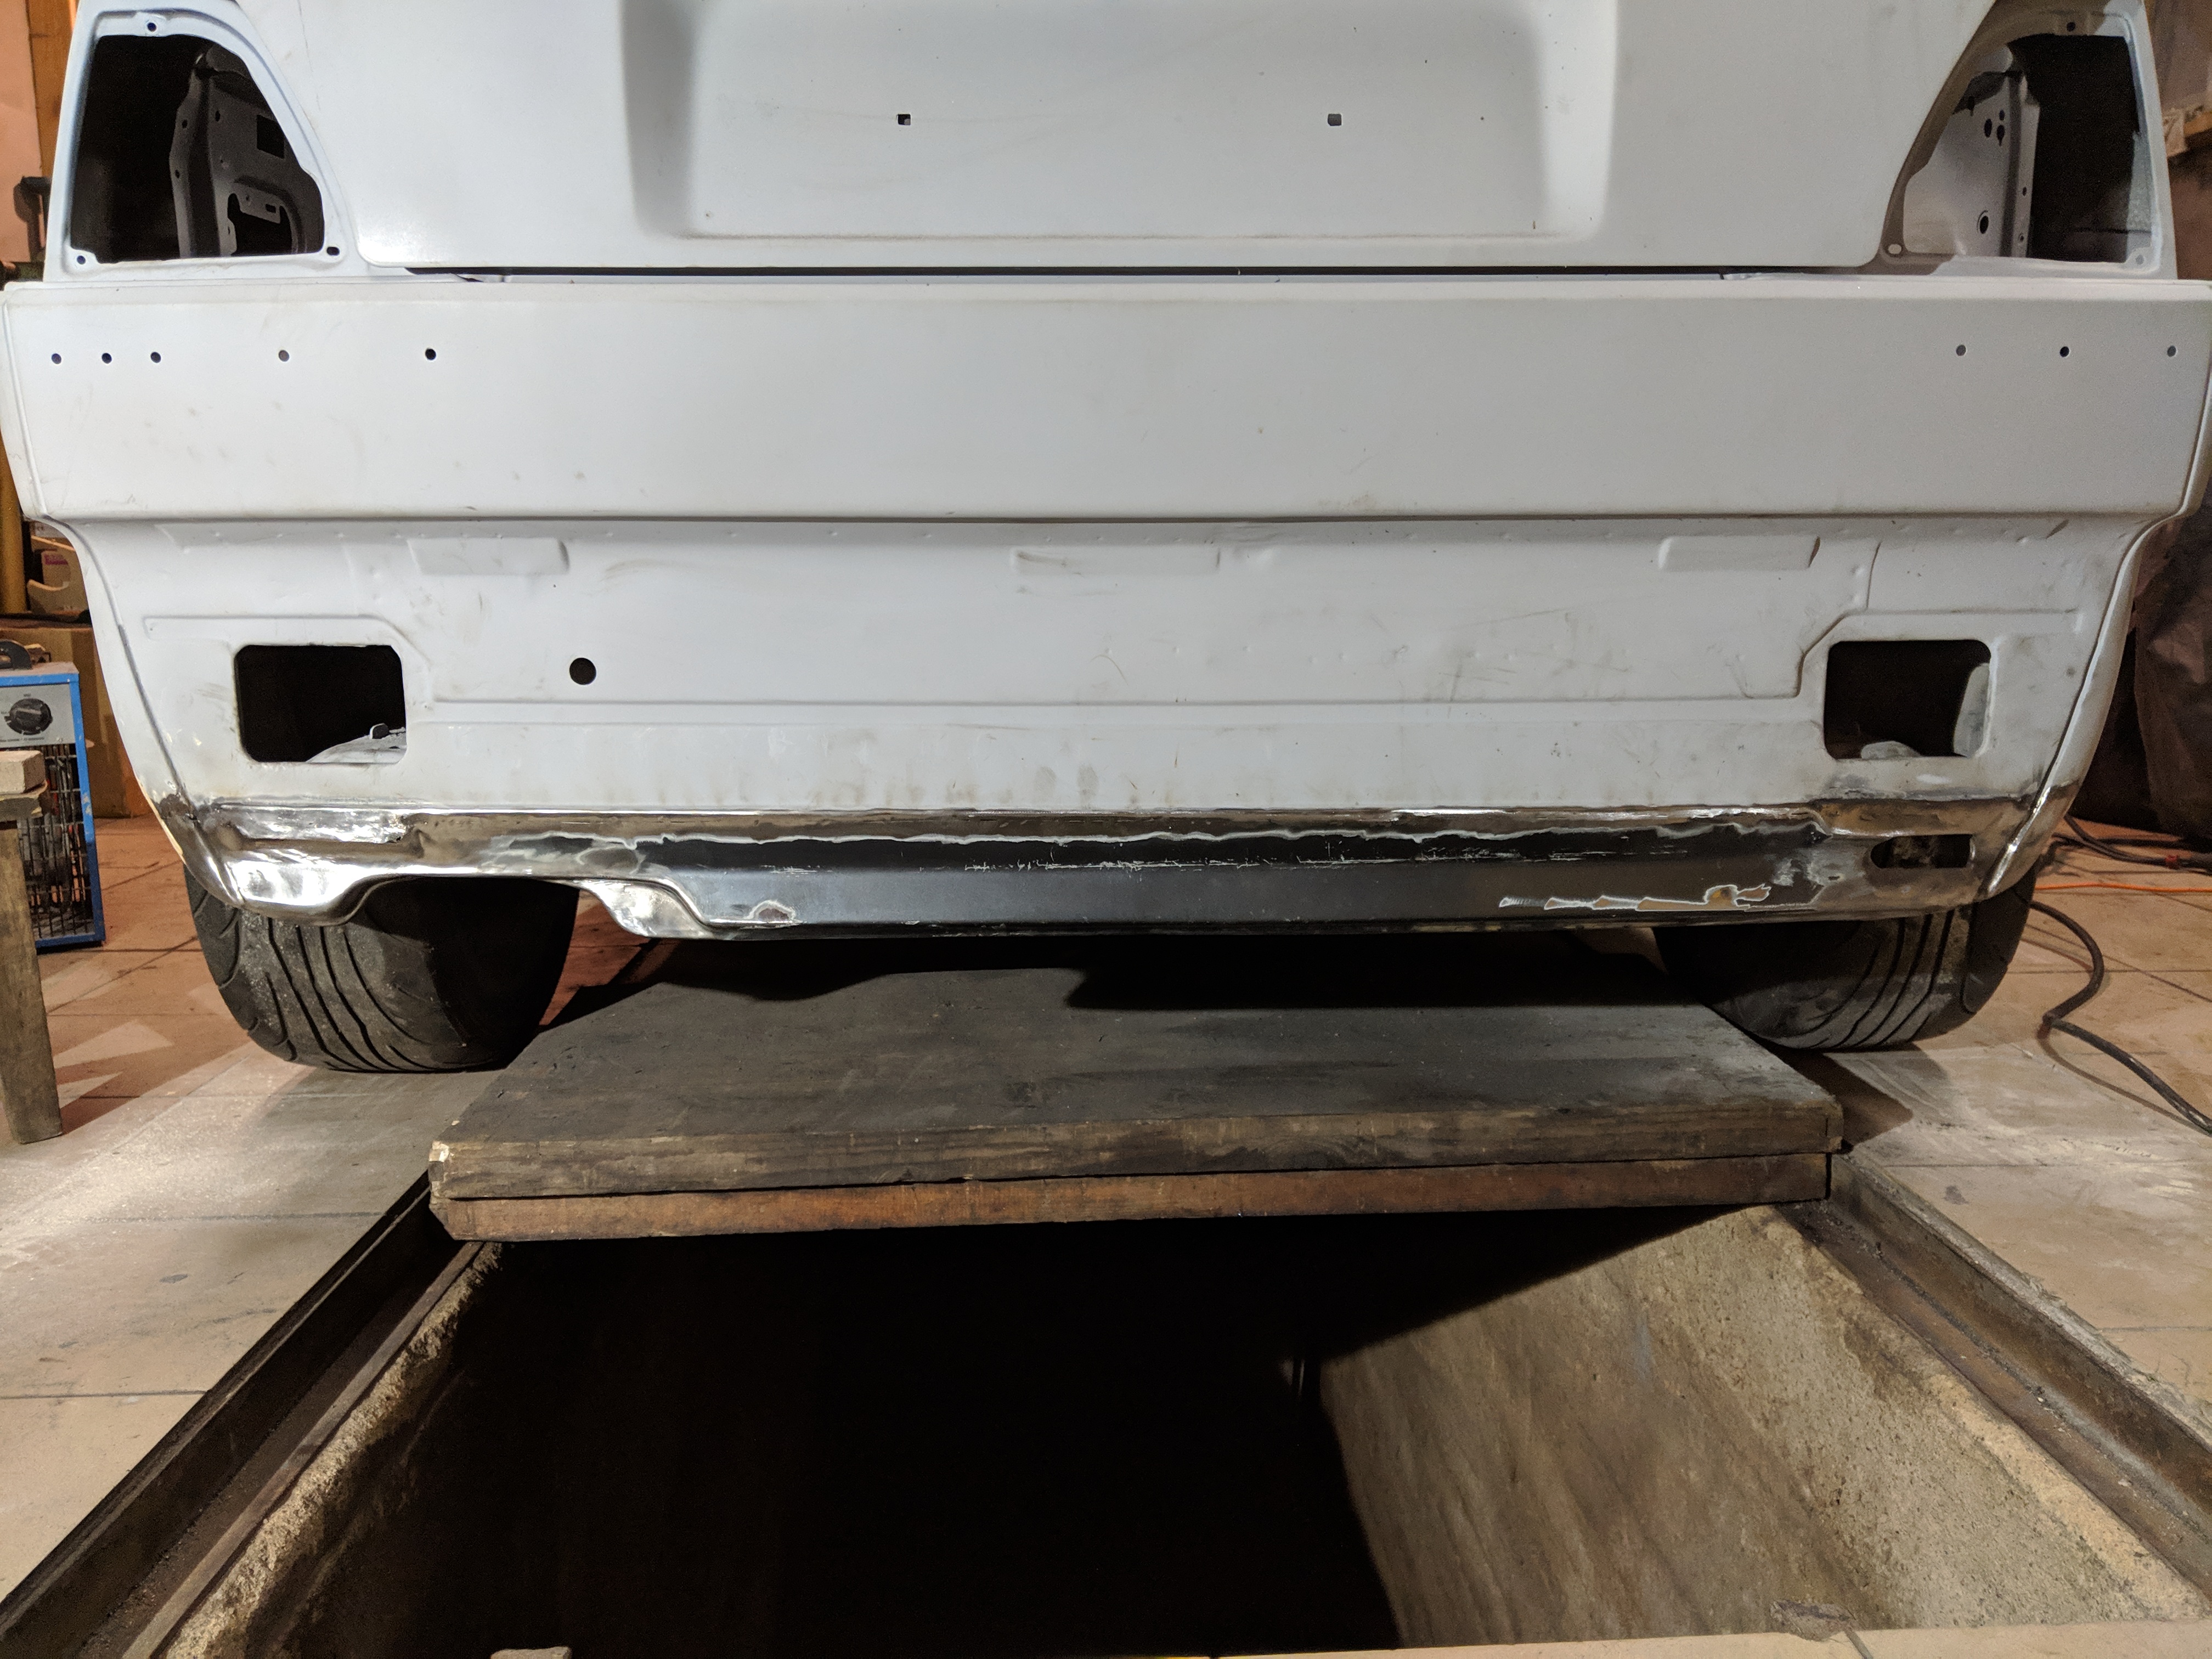
Final result on arch work would look like this more or less:
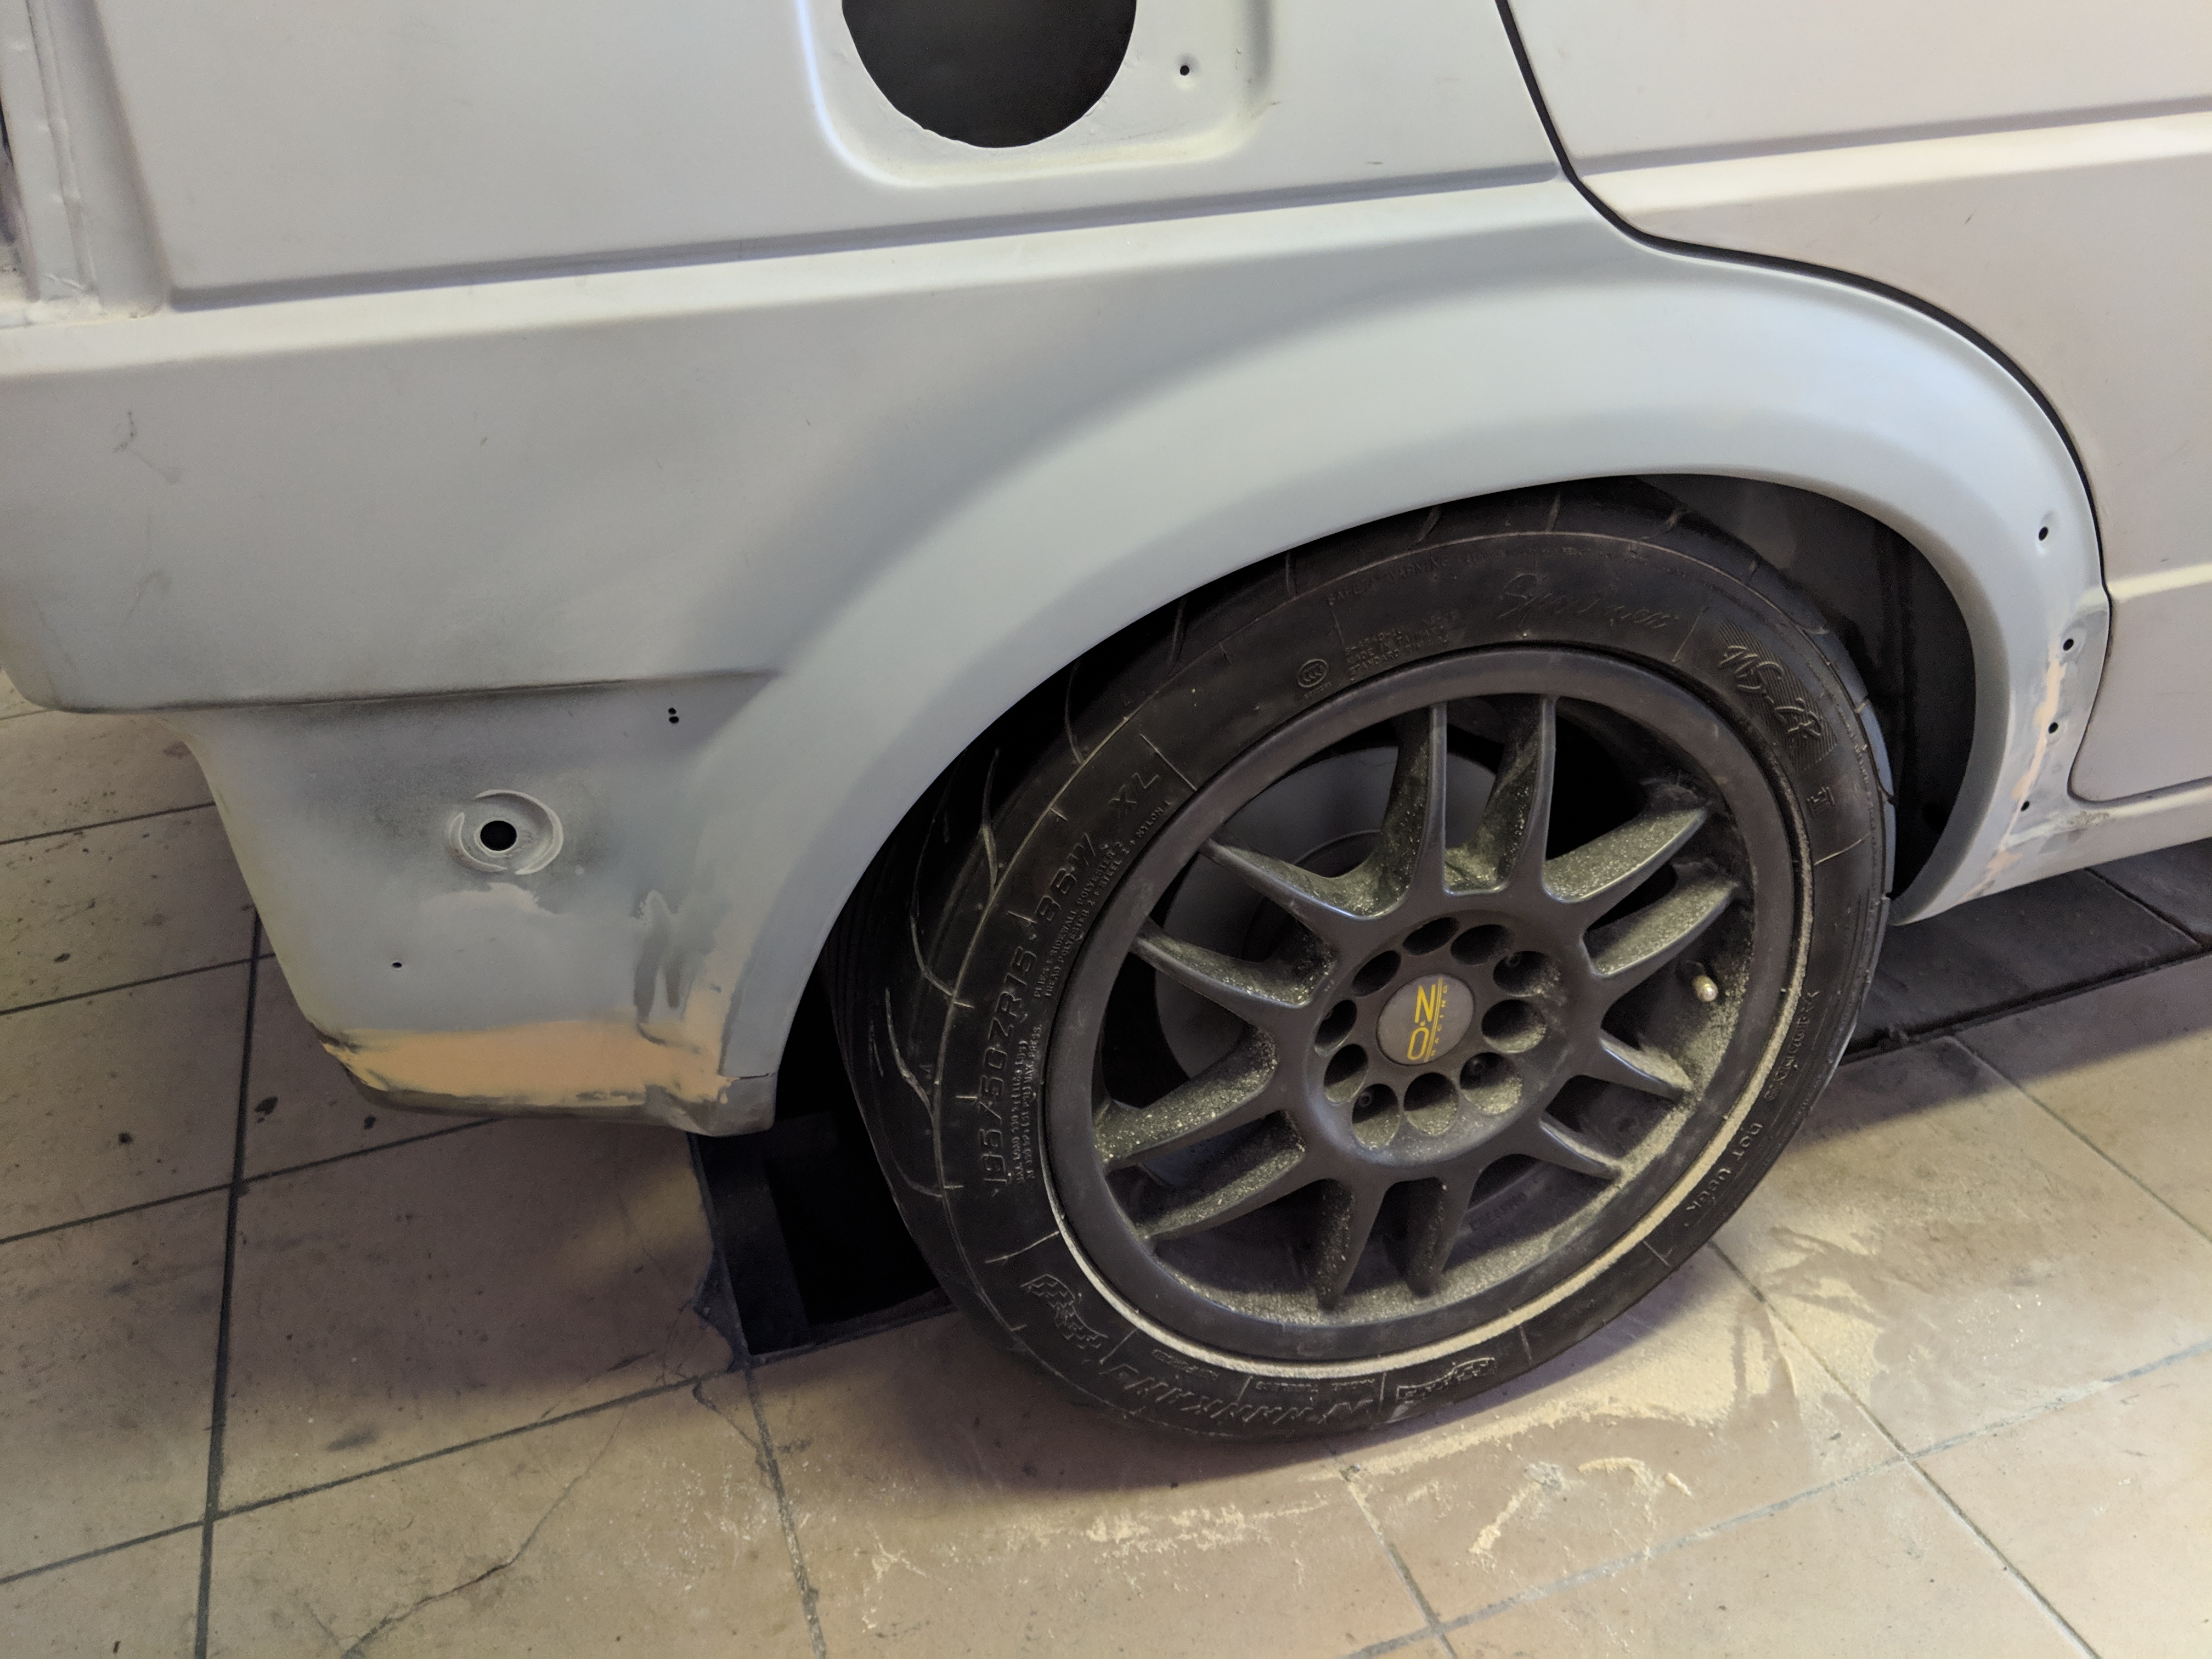
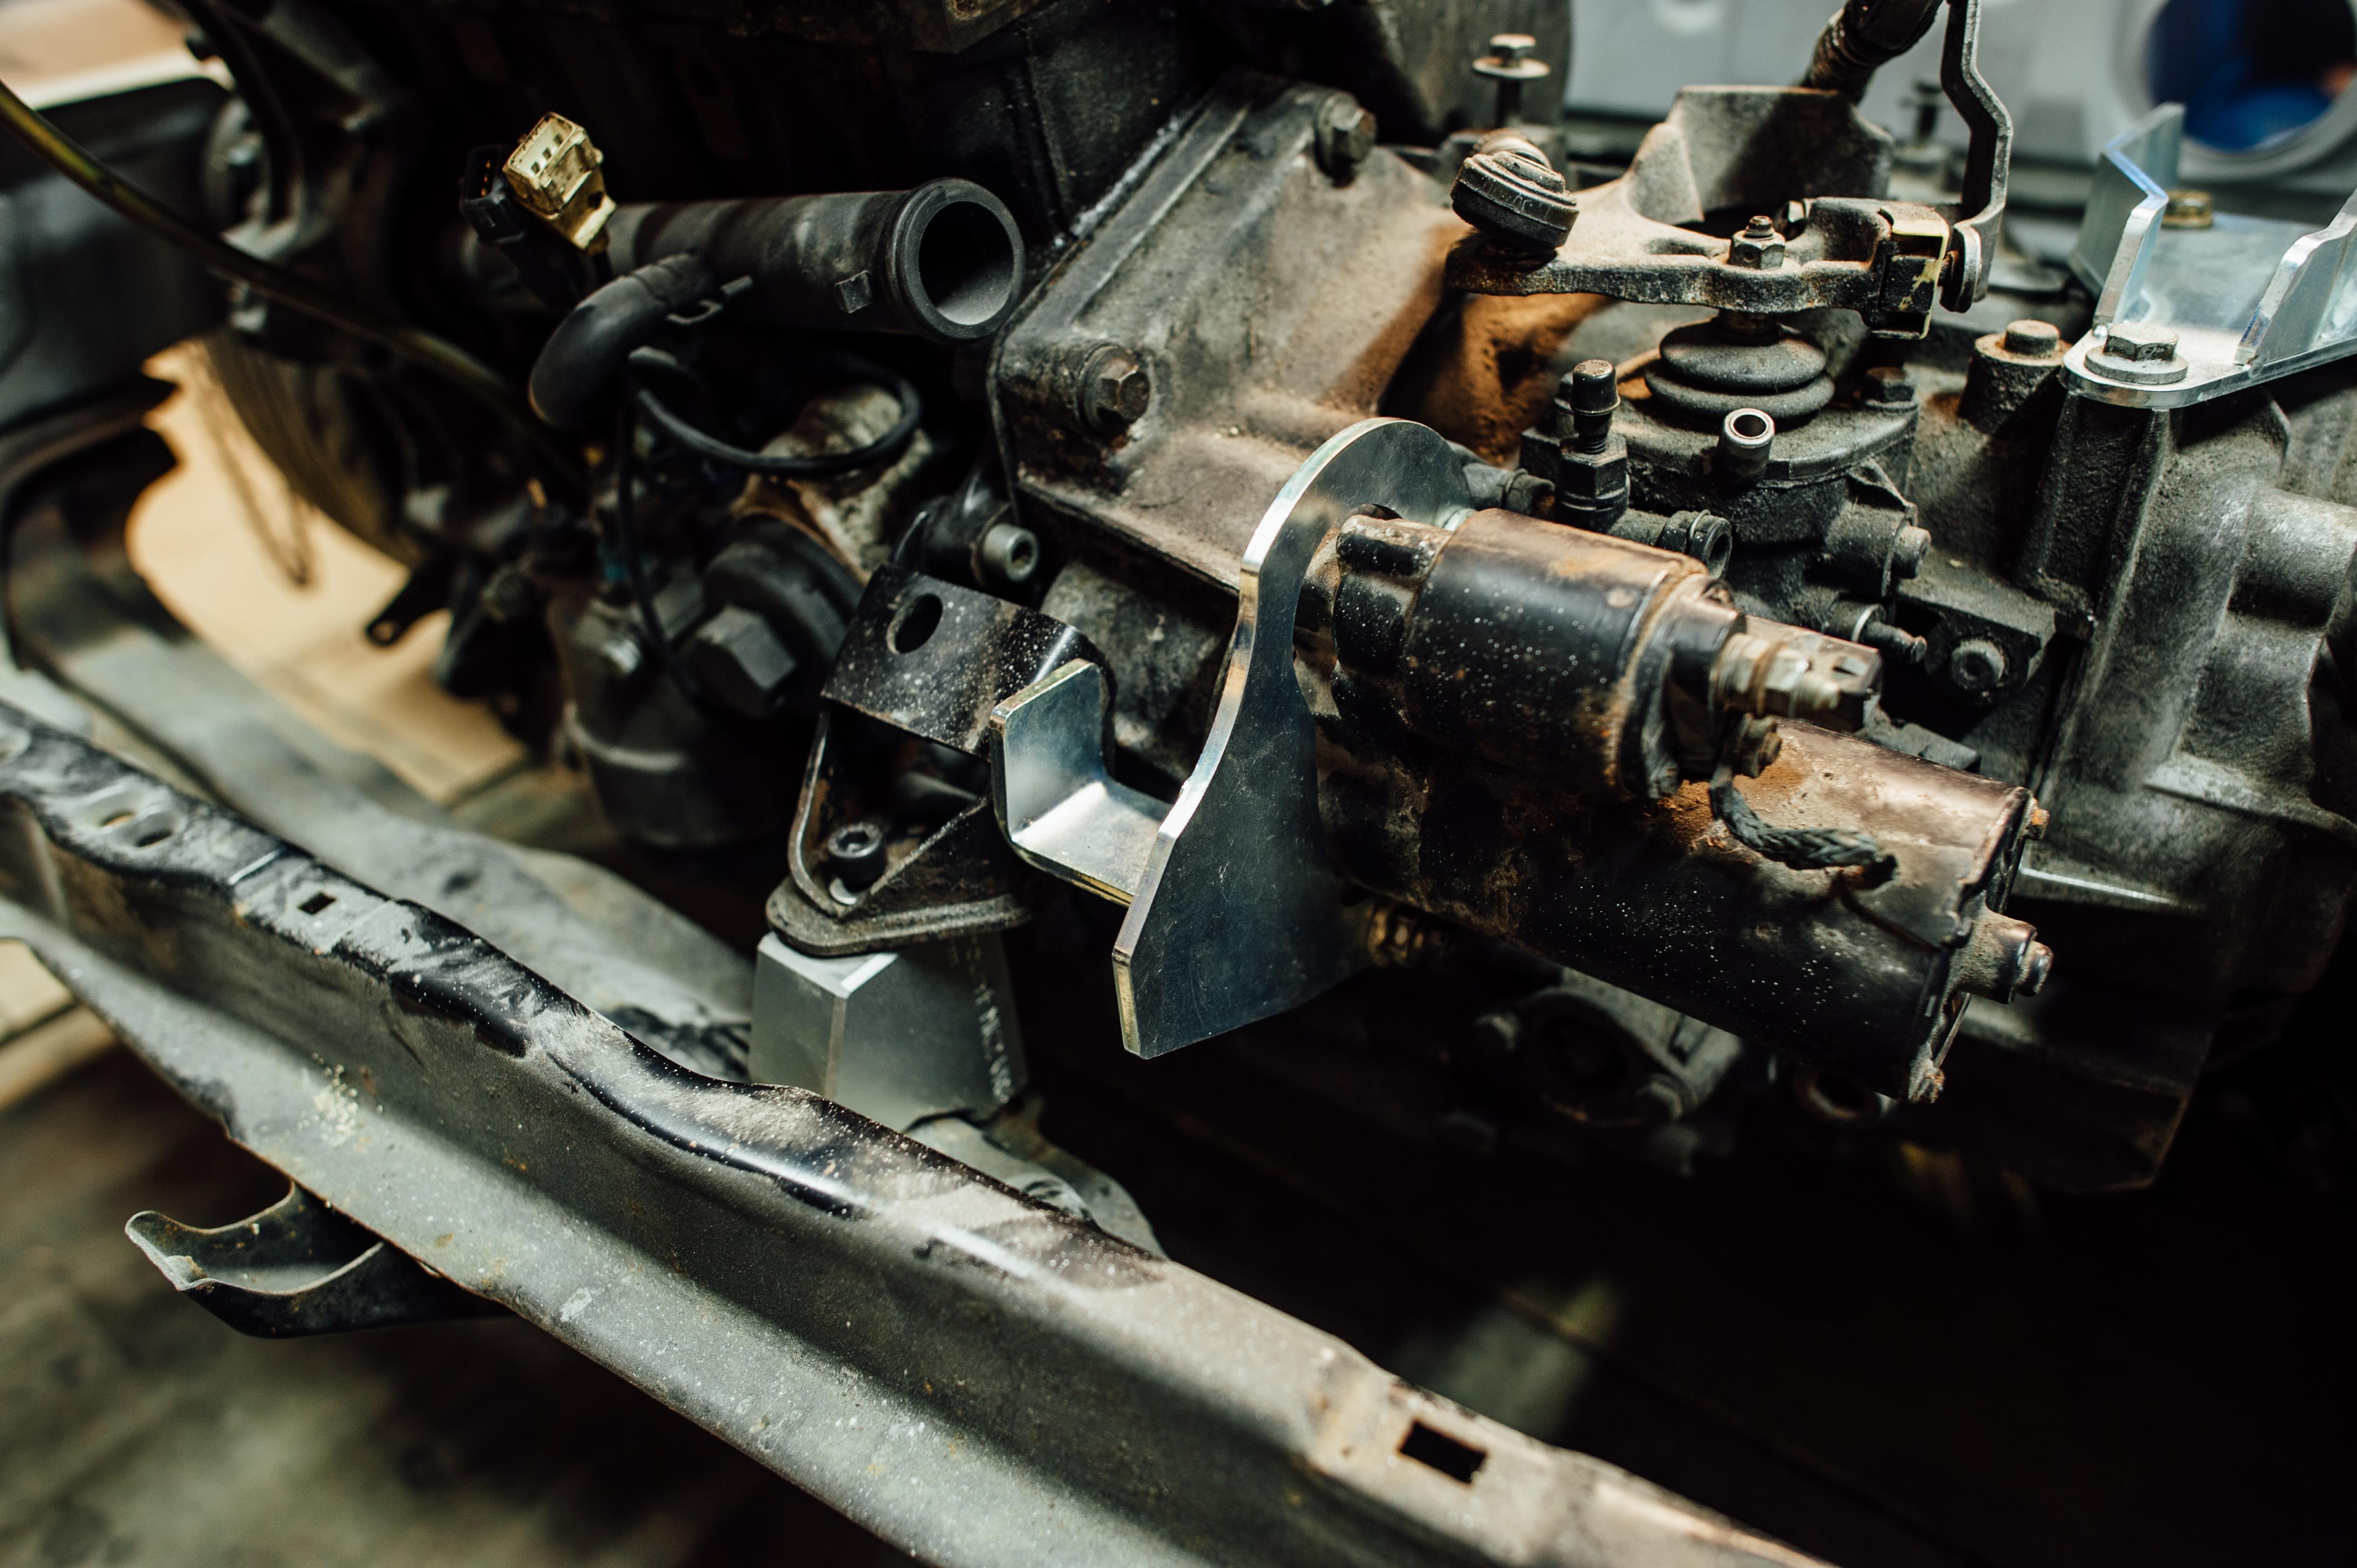
Now it's engine turn. For now I'll just fit it for temporary period of time. Just curious how engine mount for 02M gearbox works. These came from Epytec: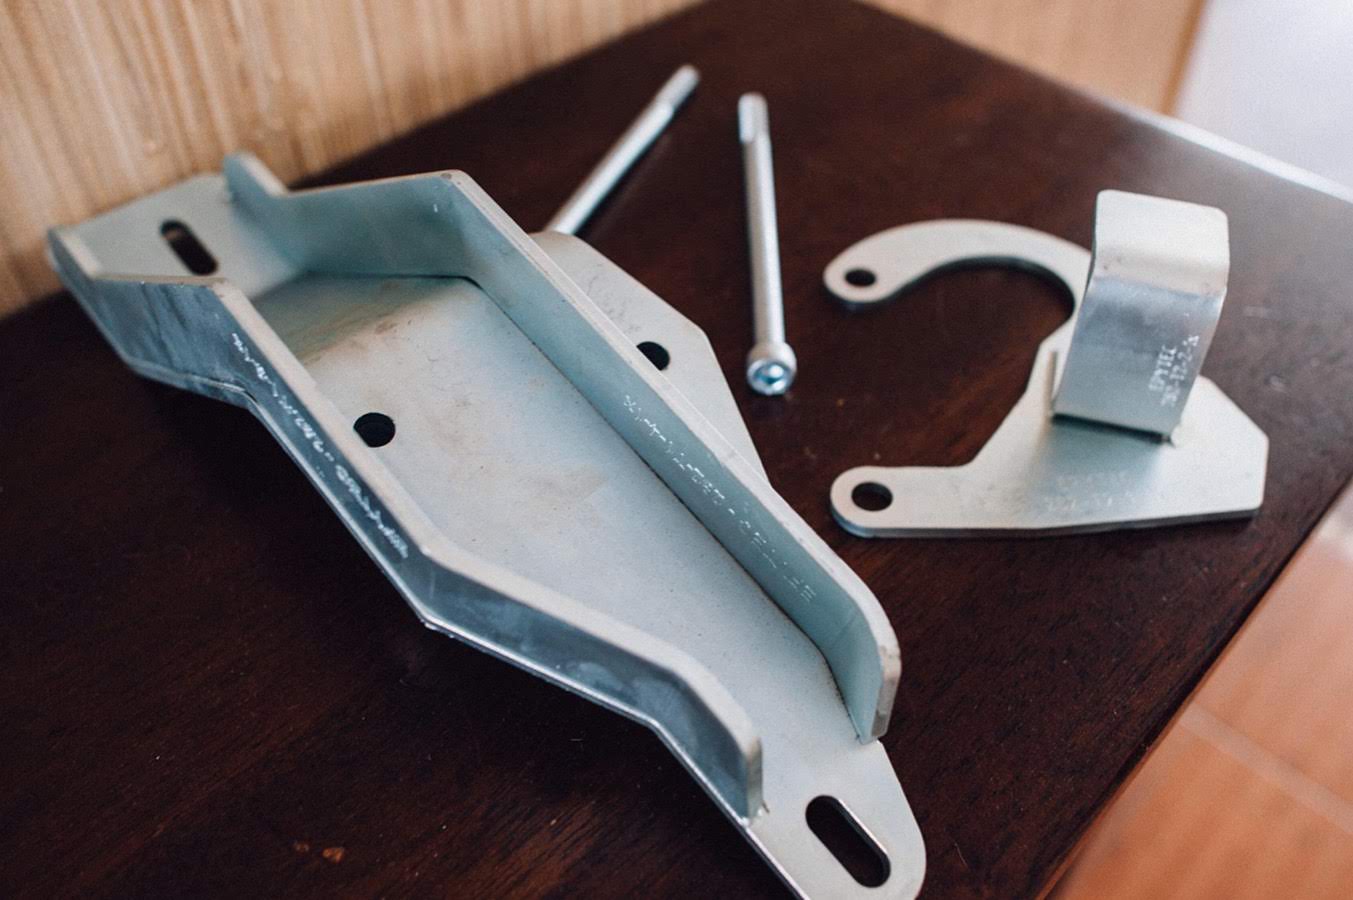
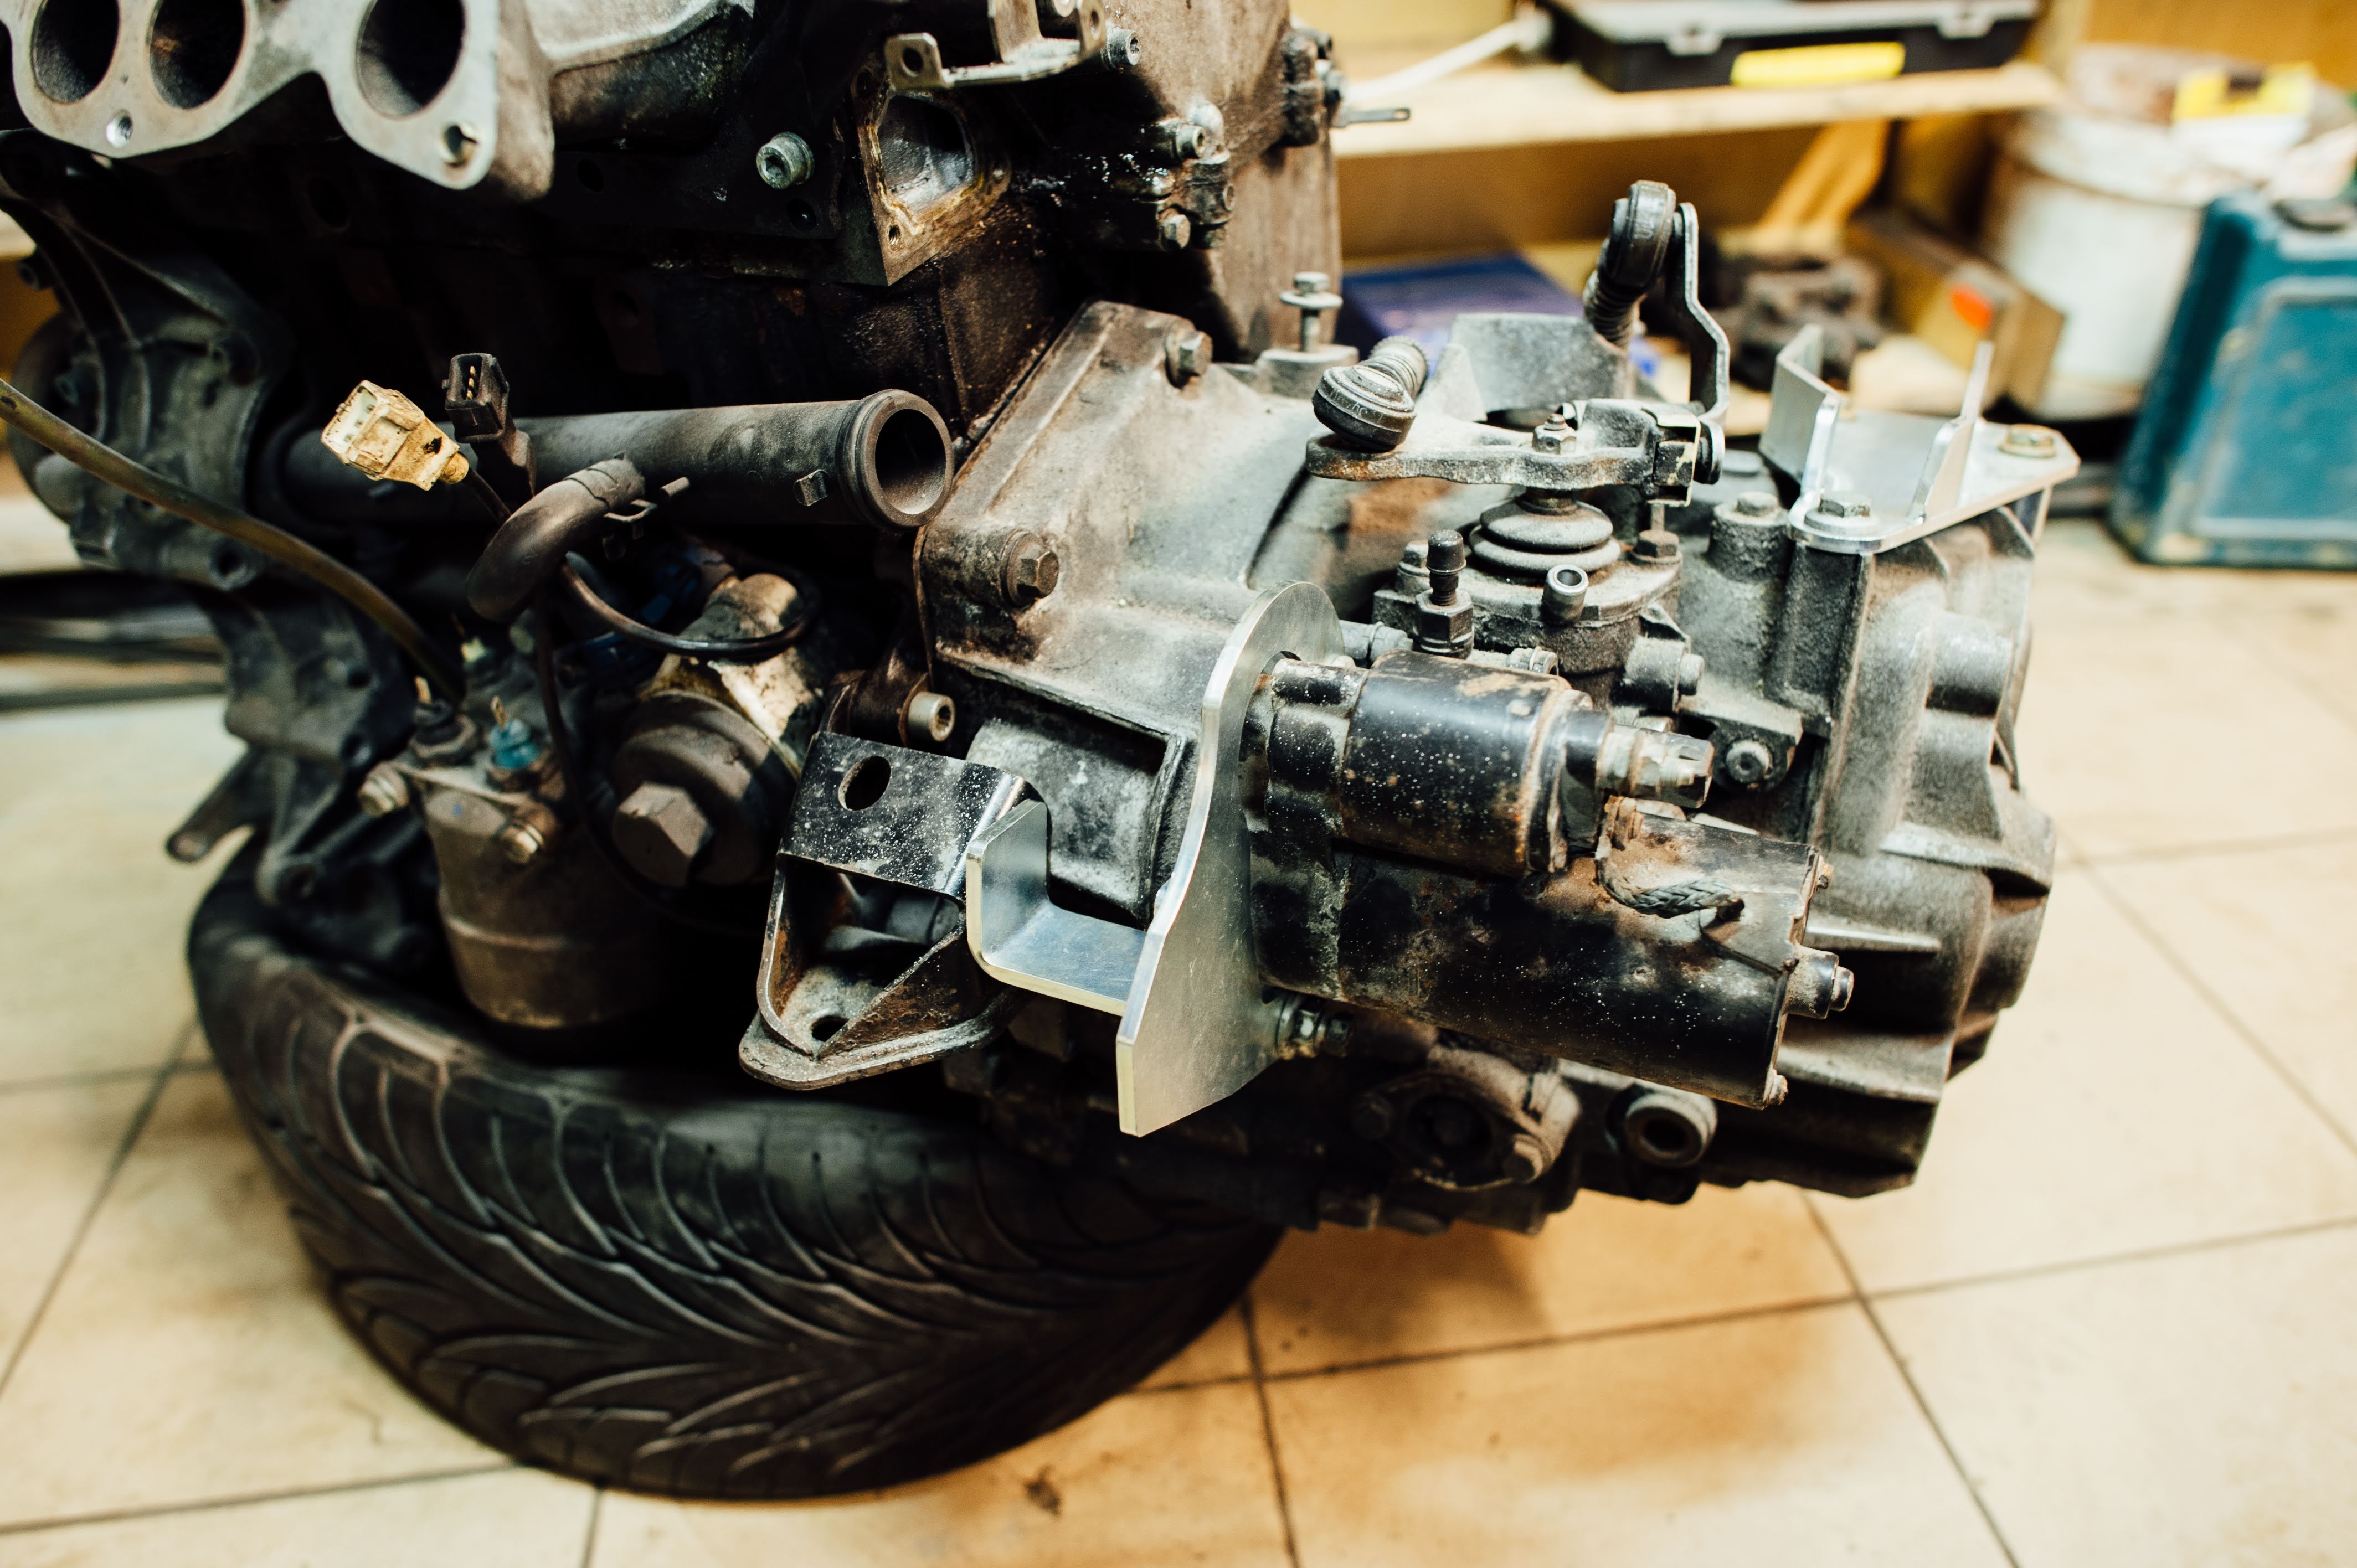
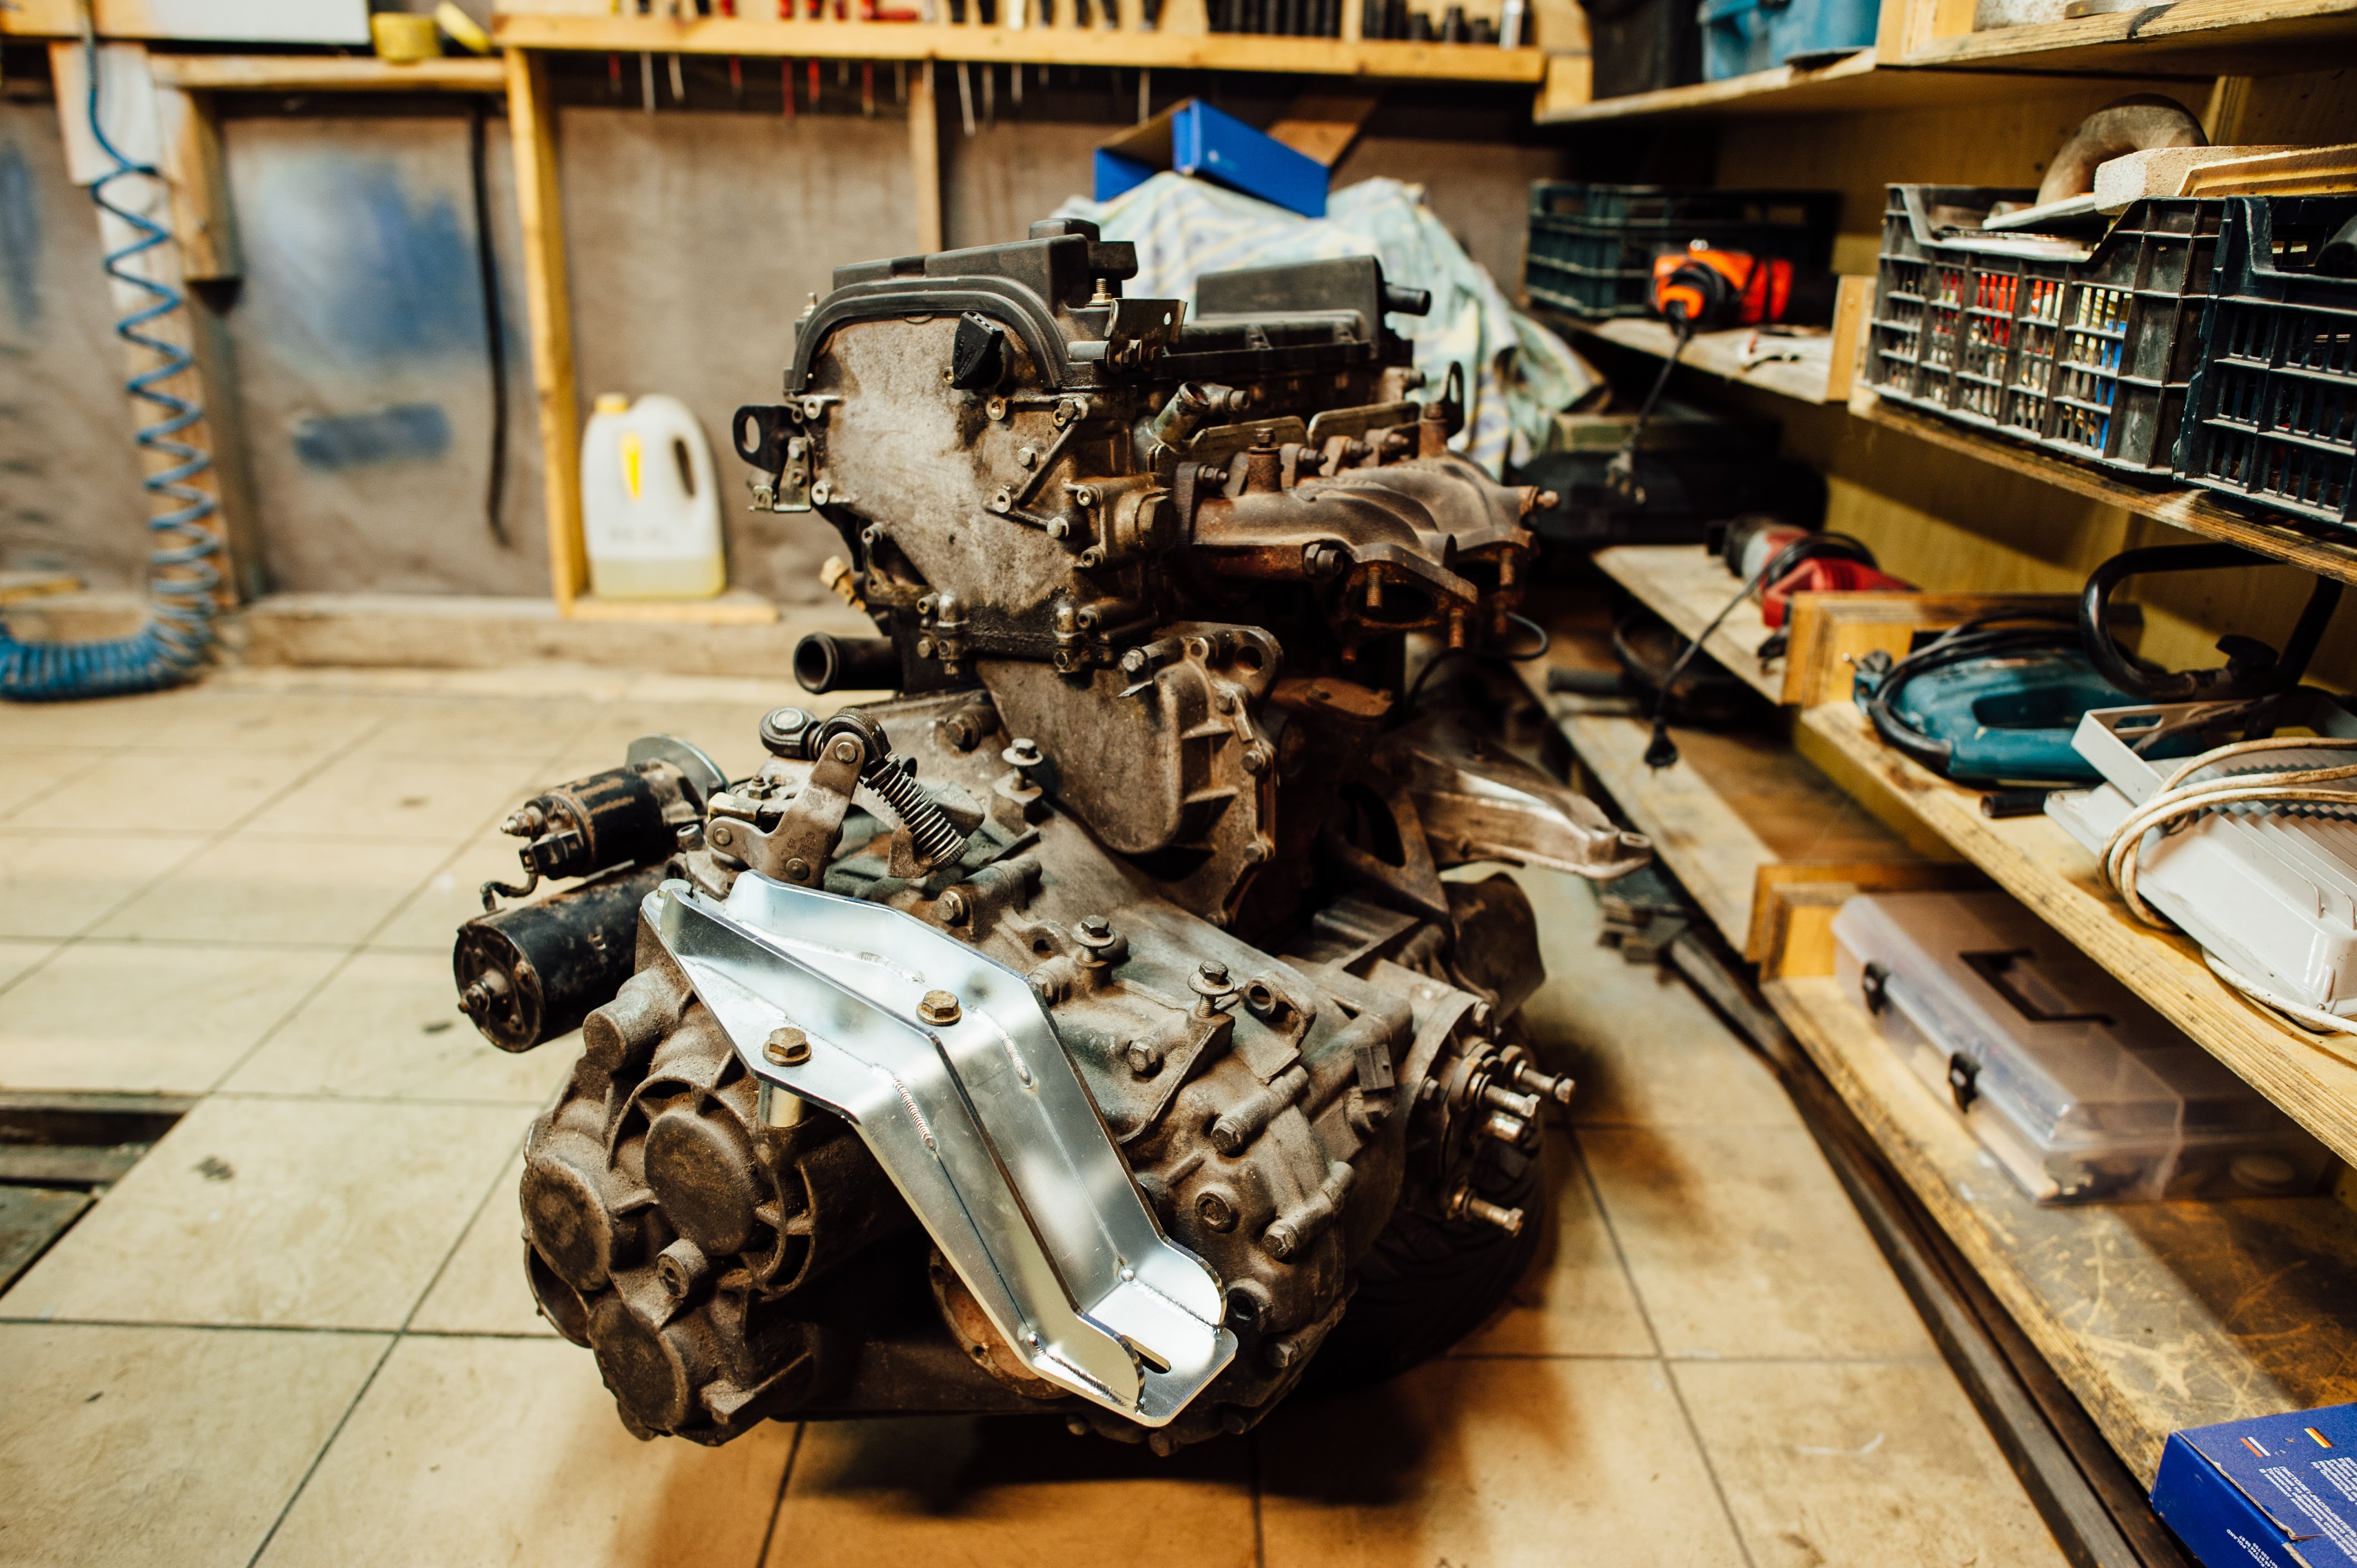
Engine bay view with power plant where it never belonged:
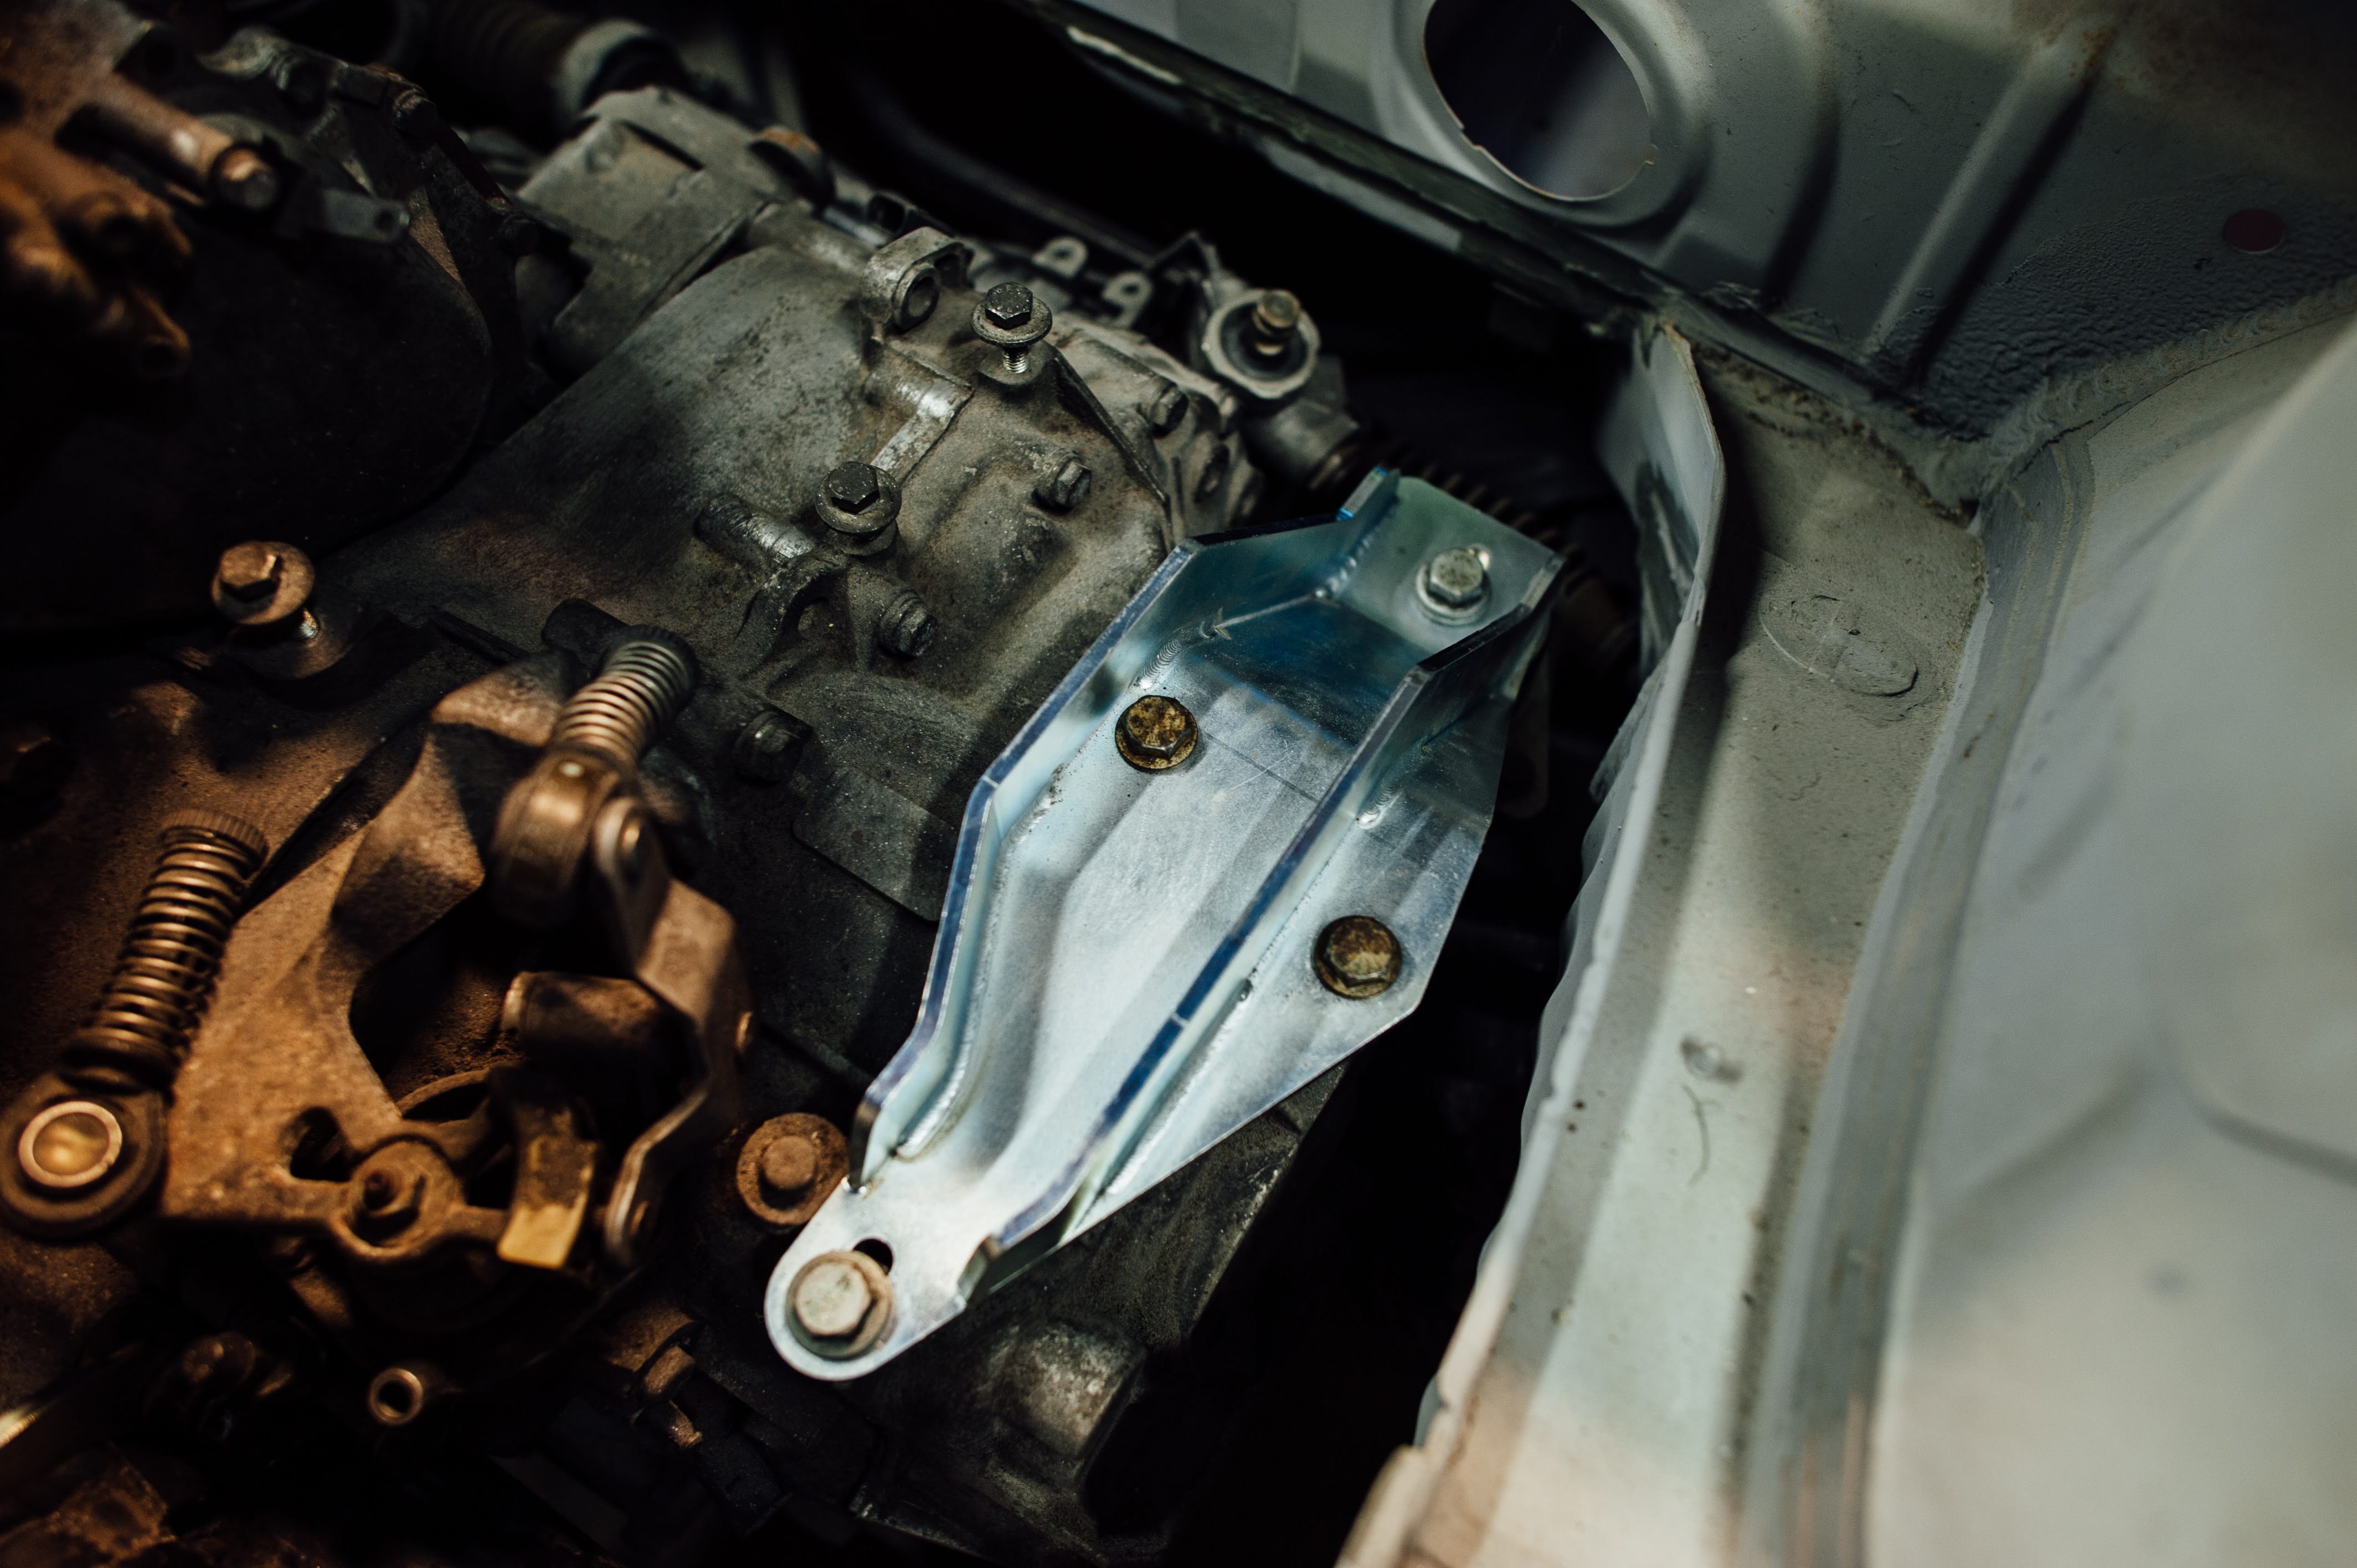
Rear passenger side is just ordinary VR6 12v mount:
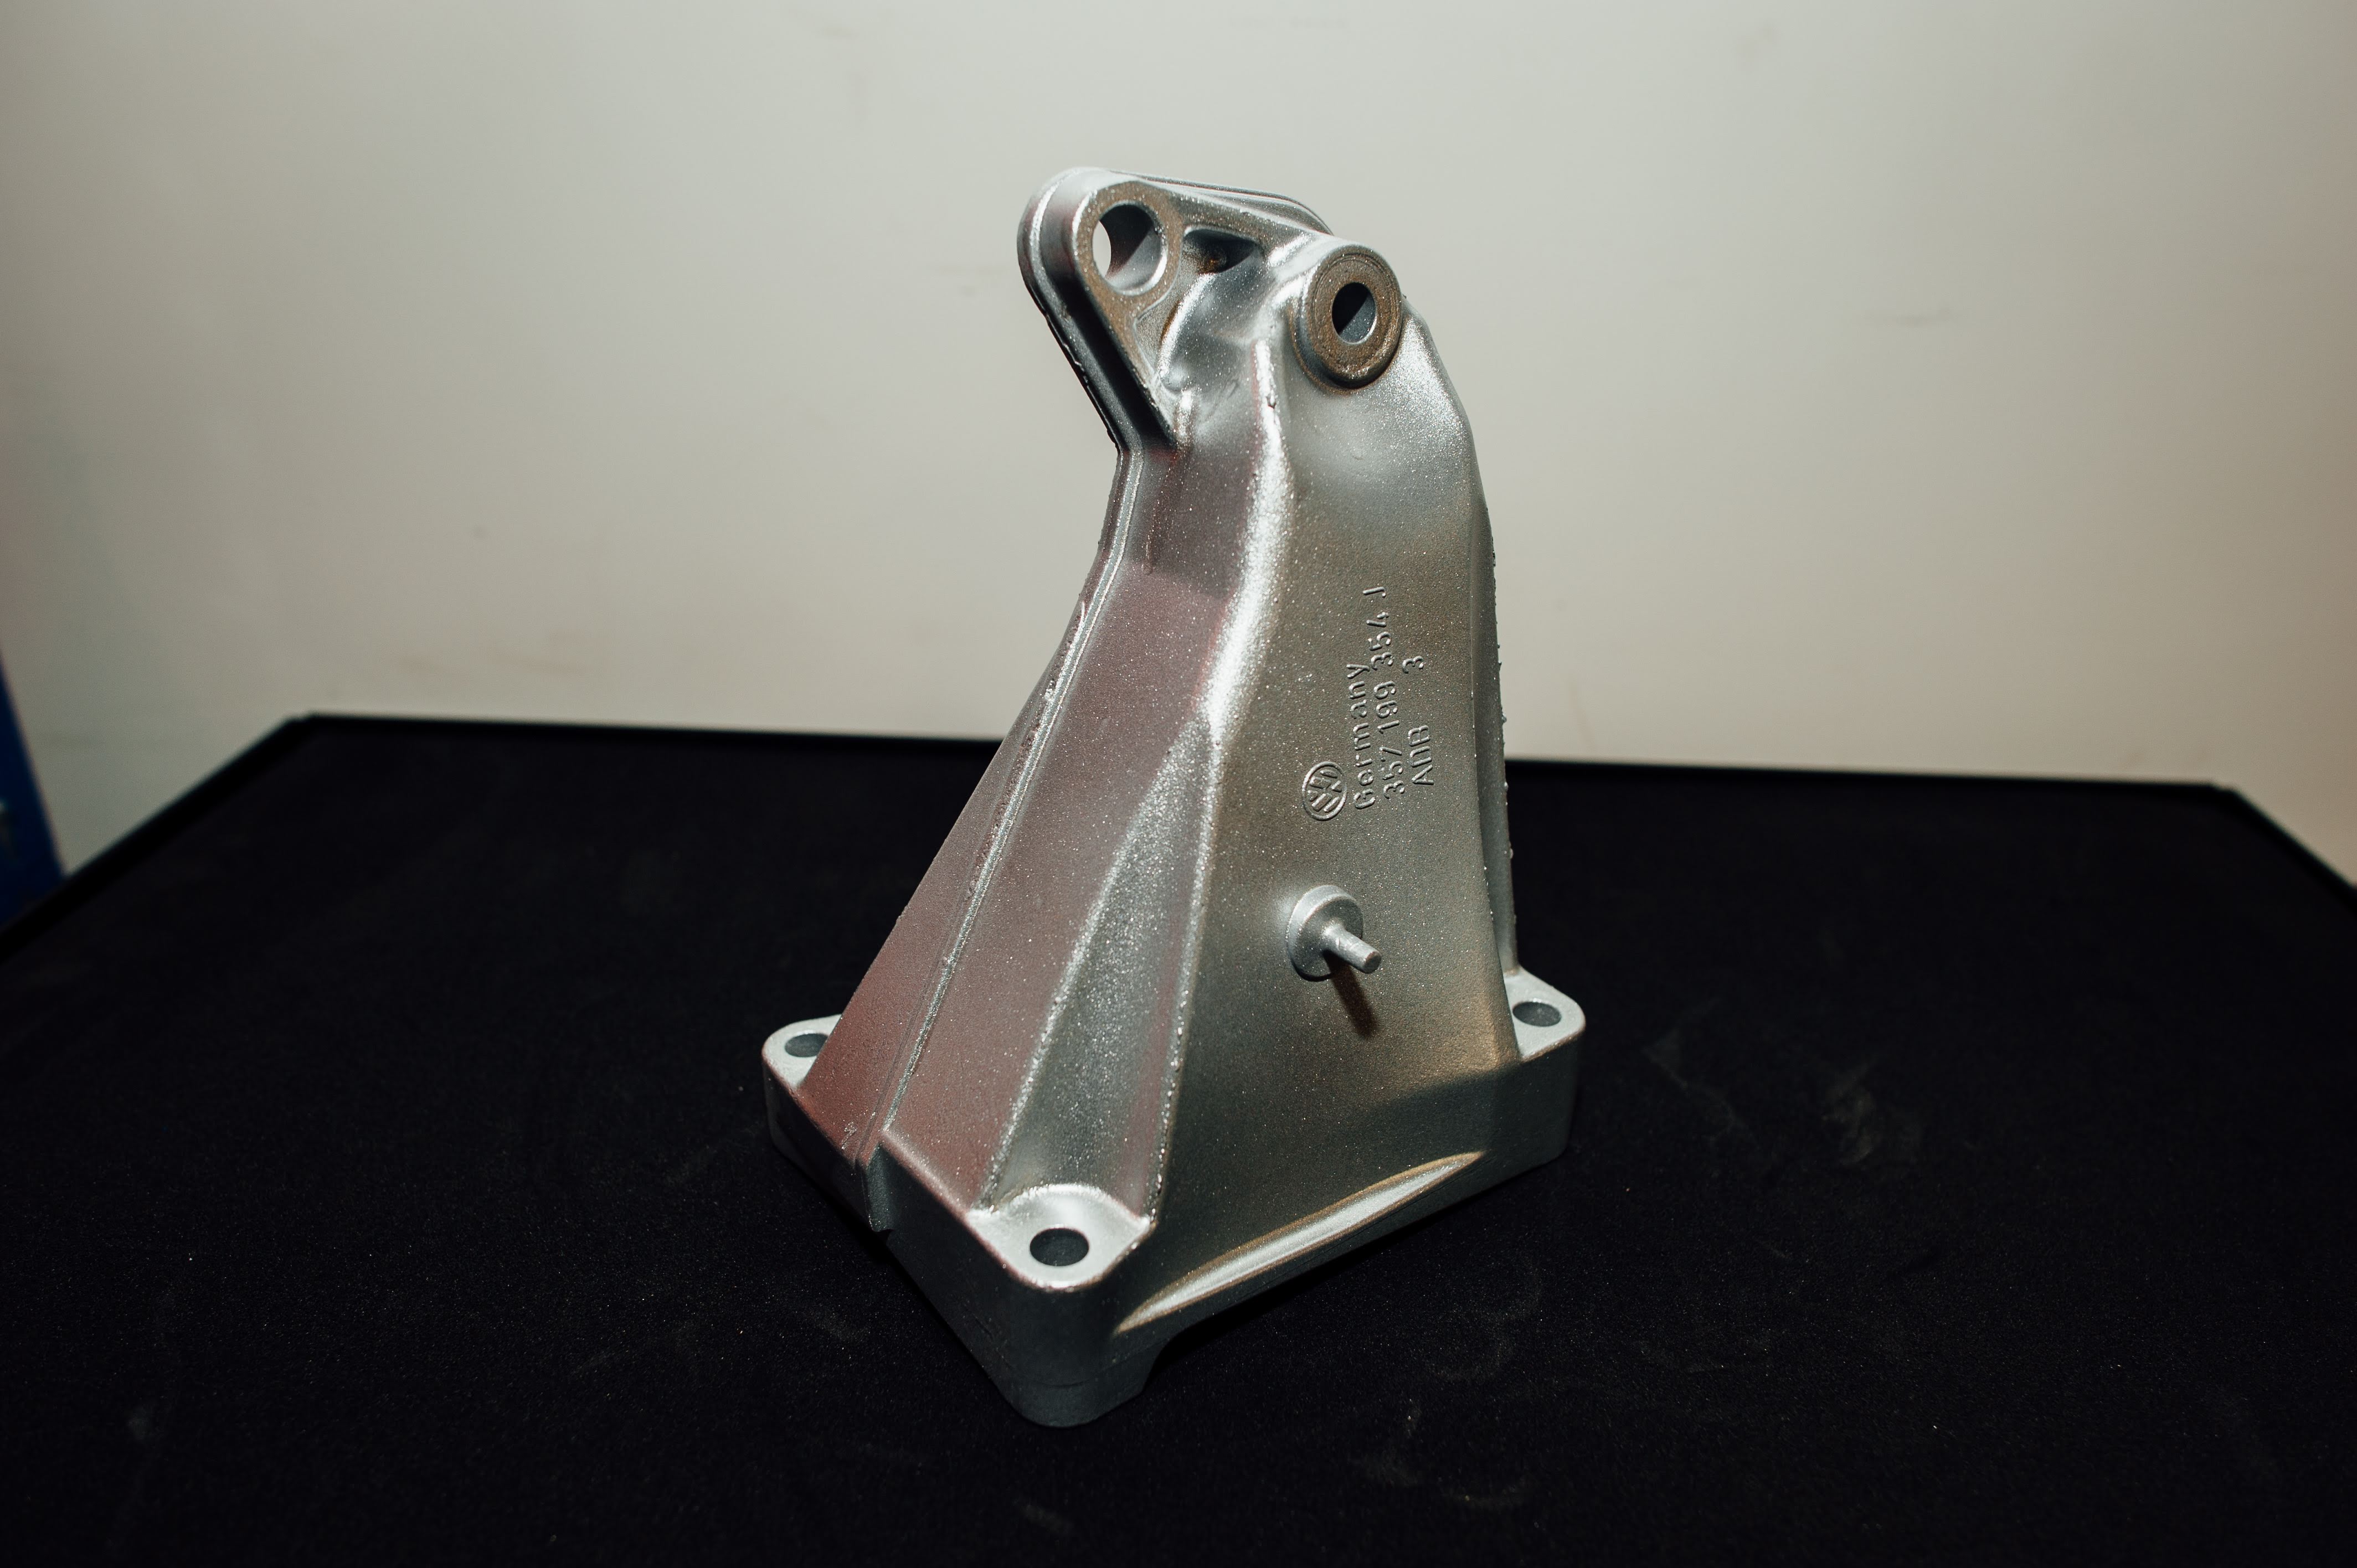
It's sits pretty well: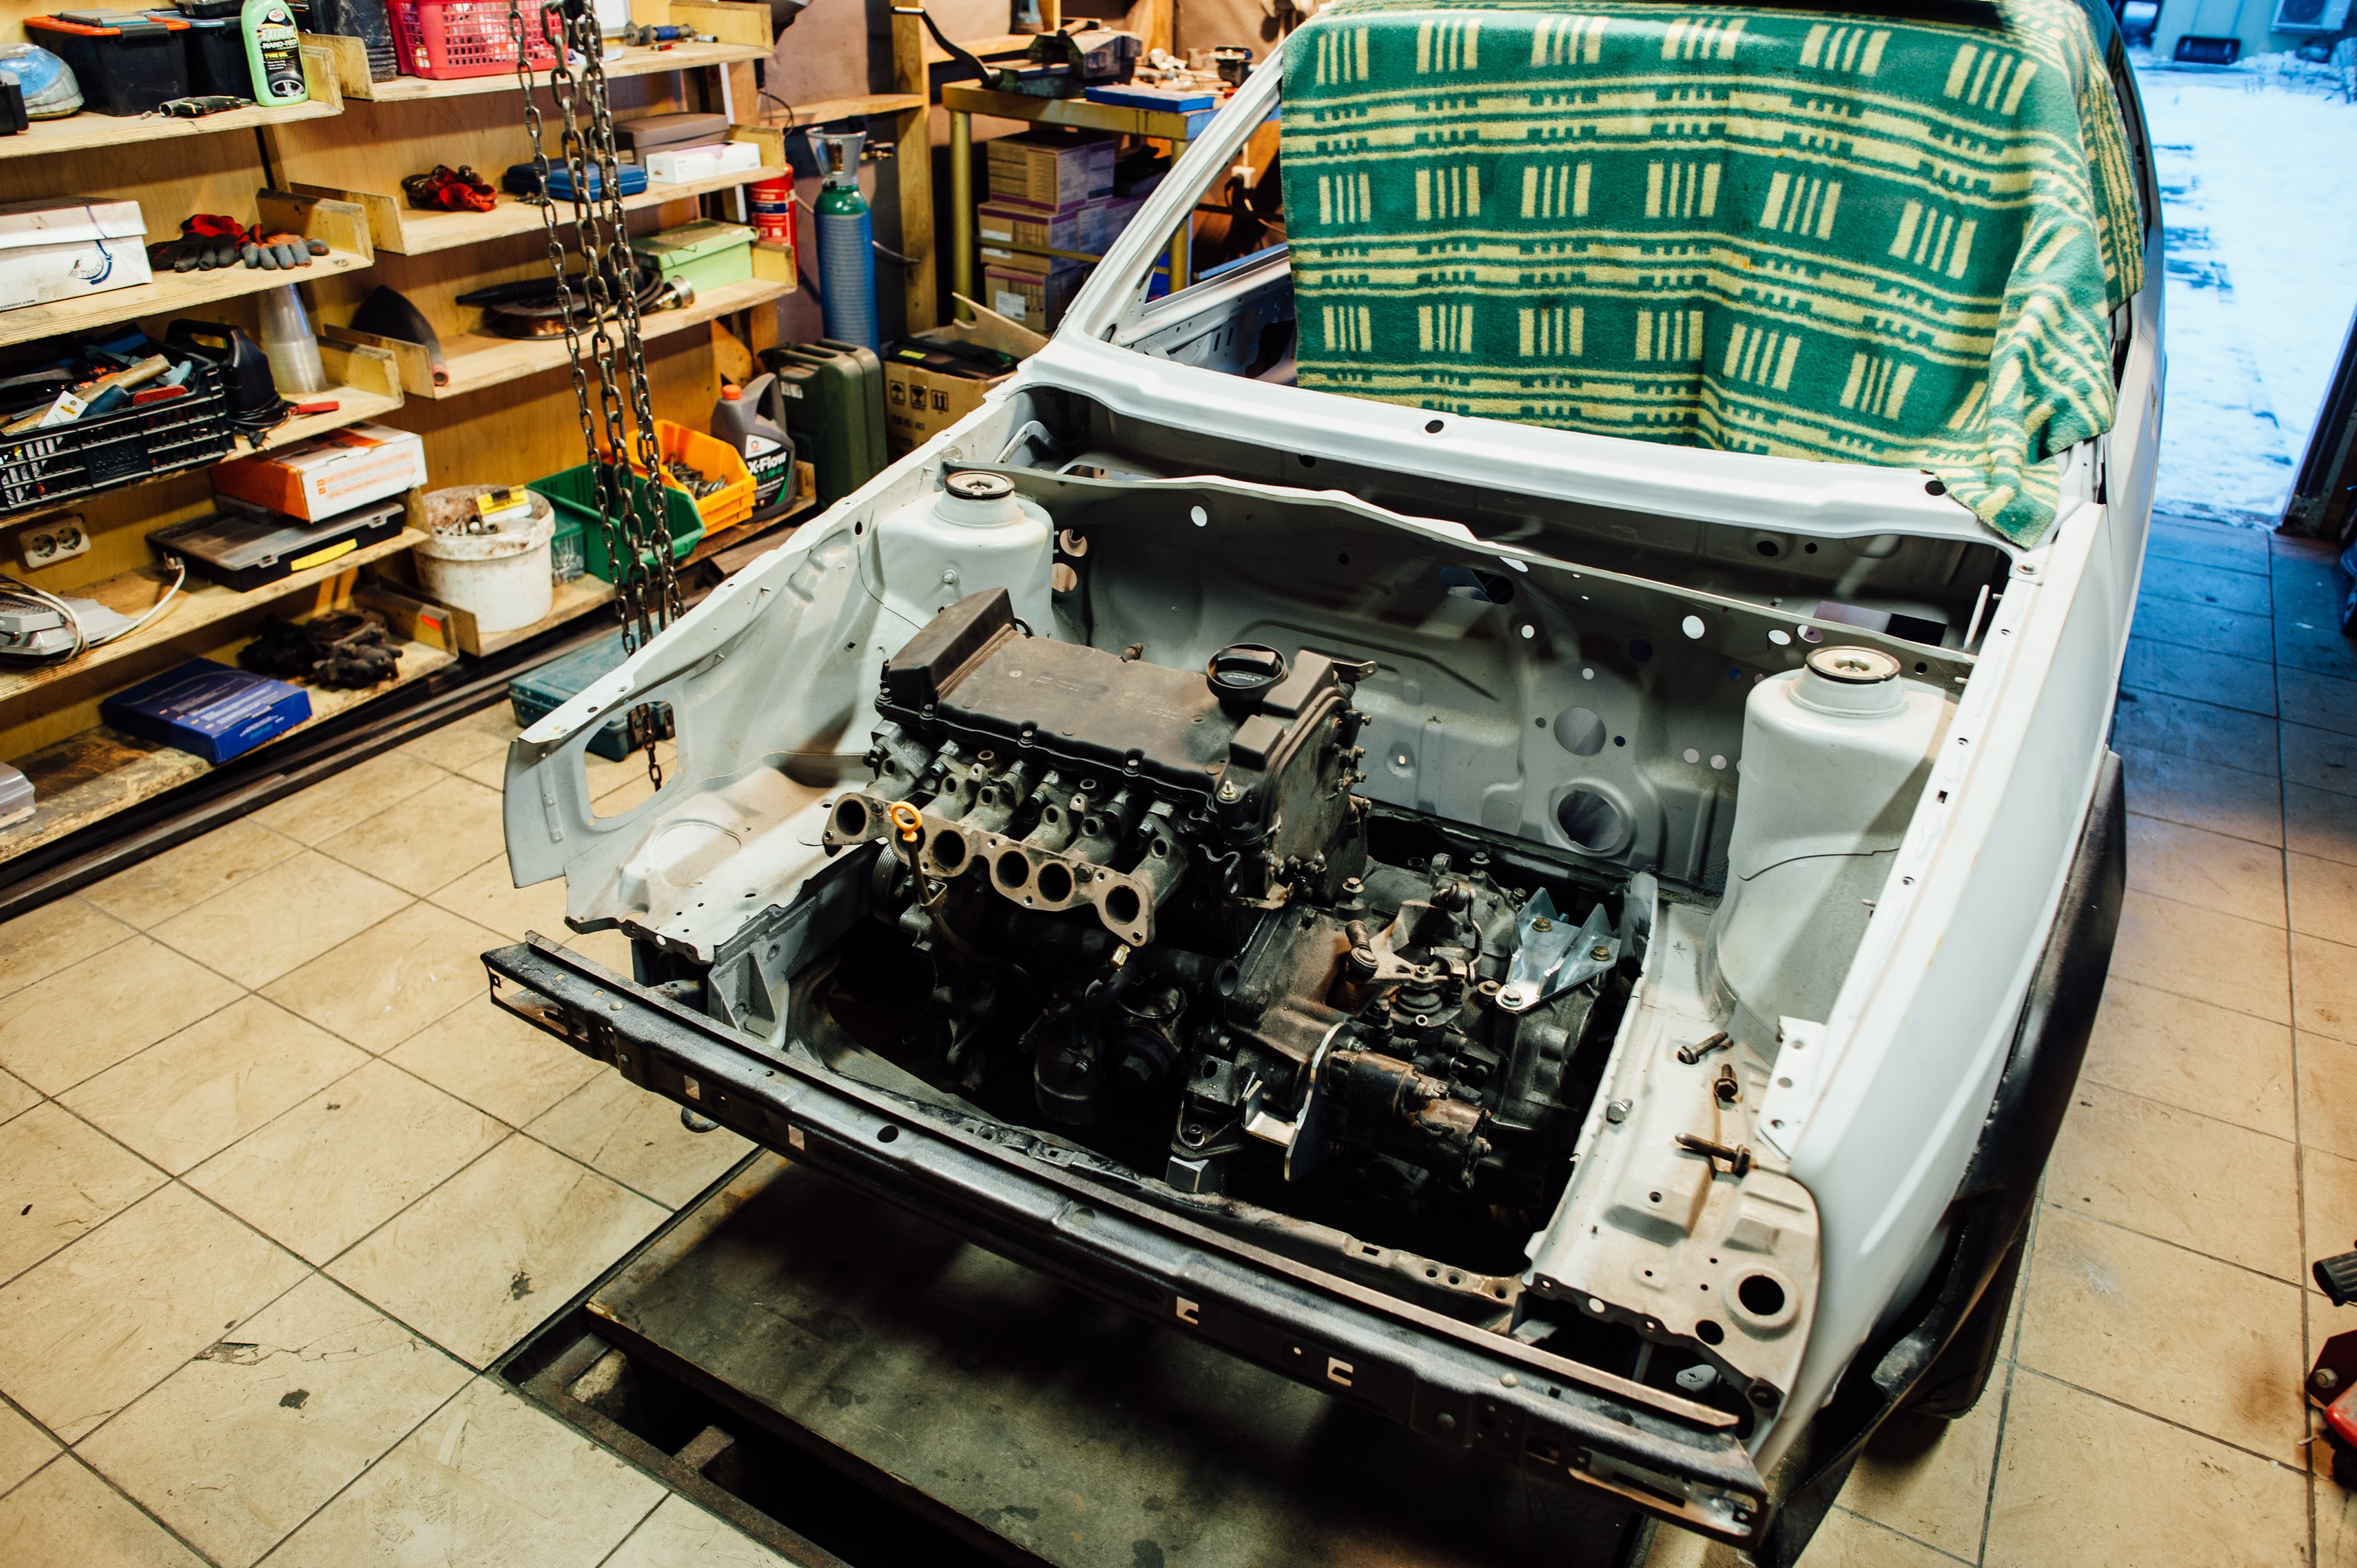
For now that's it. Later will bring pictures about roll cage installation and engine rebuild process. See ya!
Hits: 5038