[VR6] Some progress mostly around interior
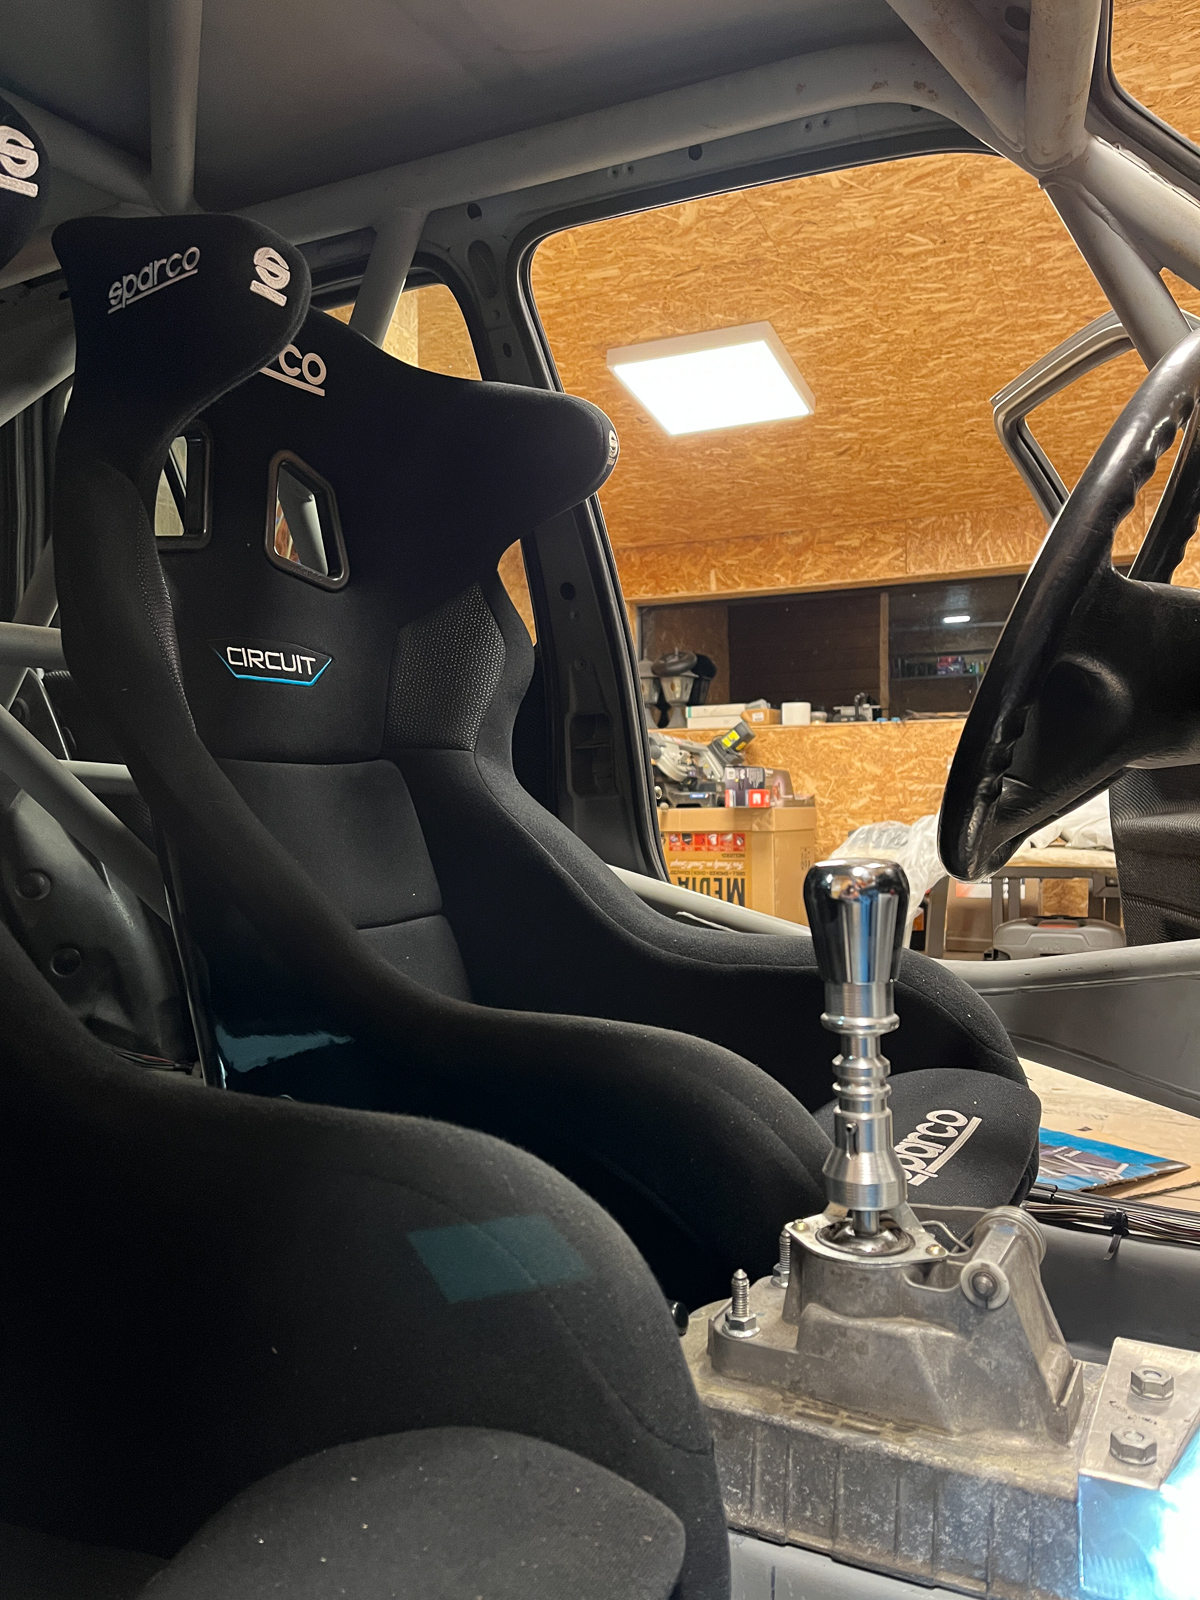
During all this long long term build (started on 2013, oh yeah) I haven't paid that much of attention to interior, except maybe roll cage installation and component placing around it. I do identify roll cage as entirely another section from an effort perspective and "security" as something very integral at the same time. In a report before, I did stop on bucket seats, which finally, I have two identical, just to be consistent, meanwhile continuity is another pillar, so let's move on!
Progress covers so far:
- Bucket seats placing and tightening;
- Center console fabrication;
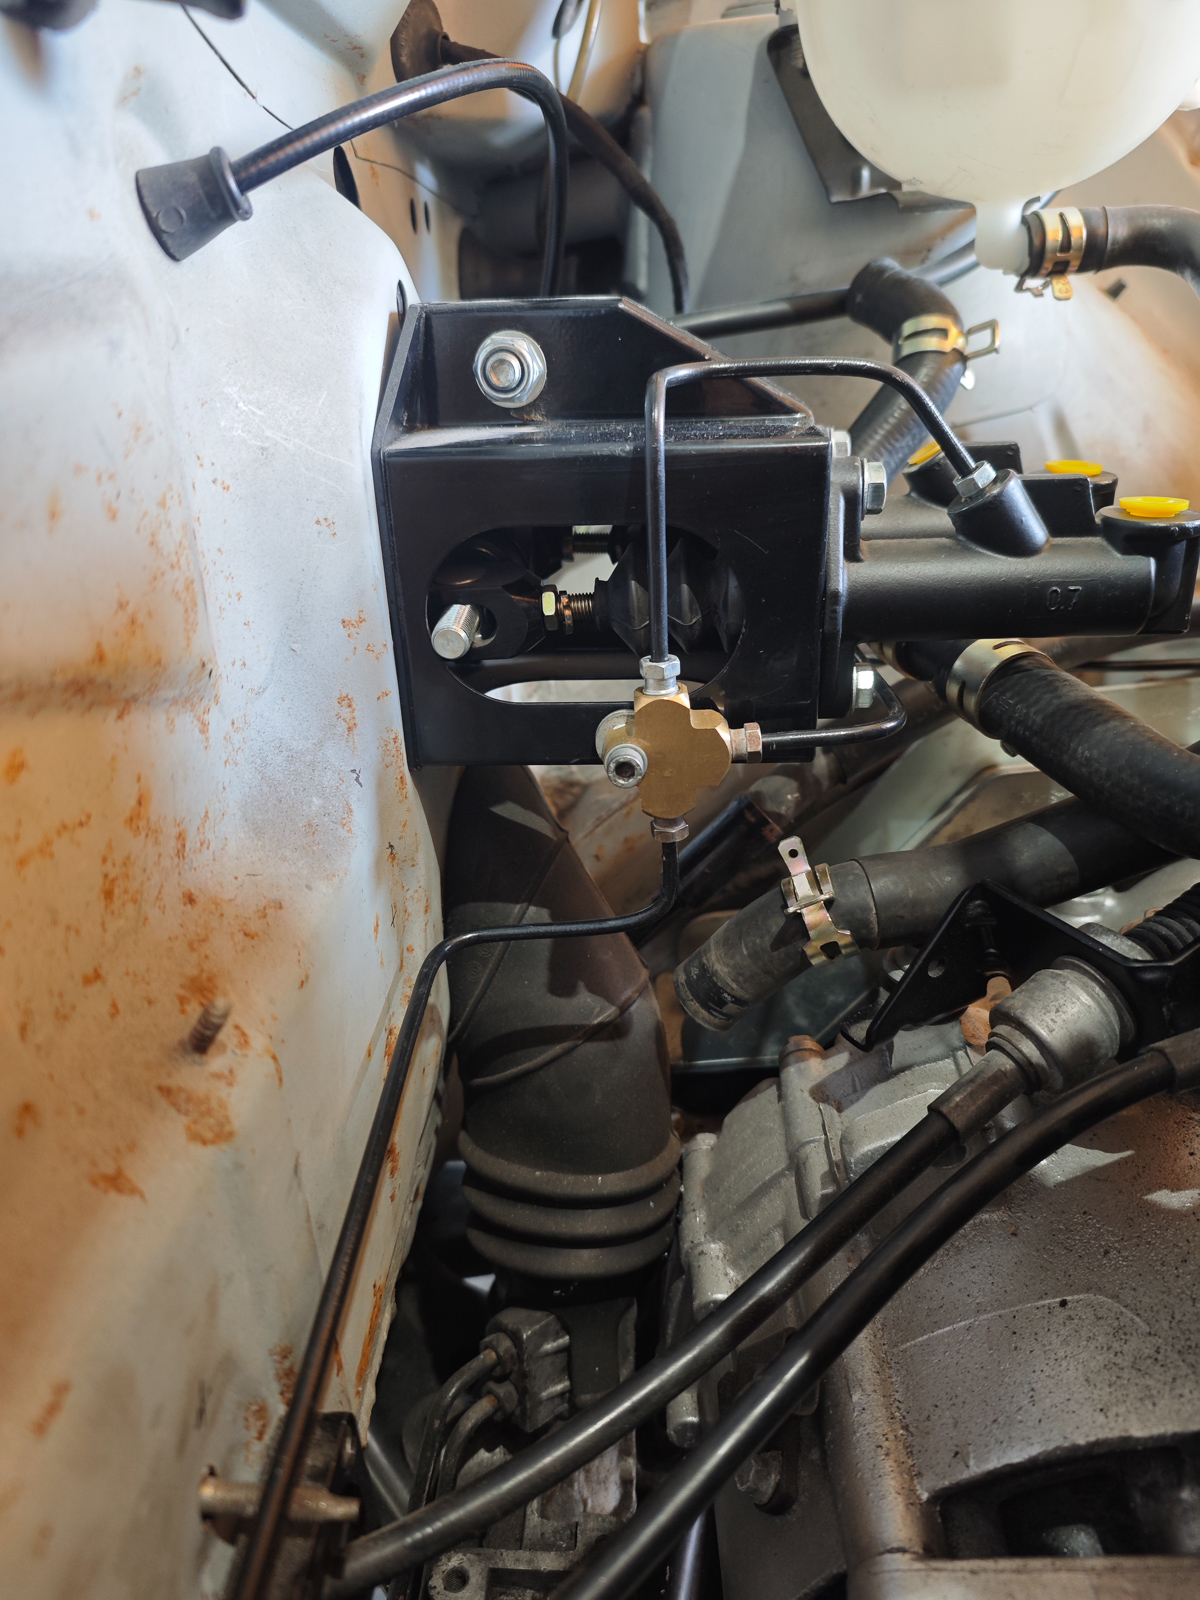
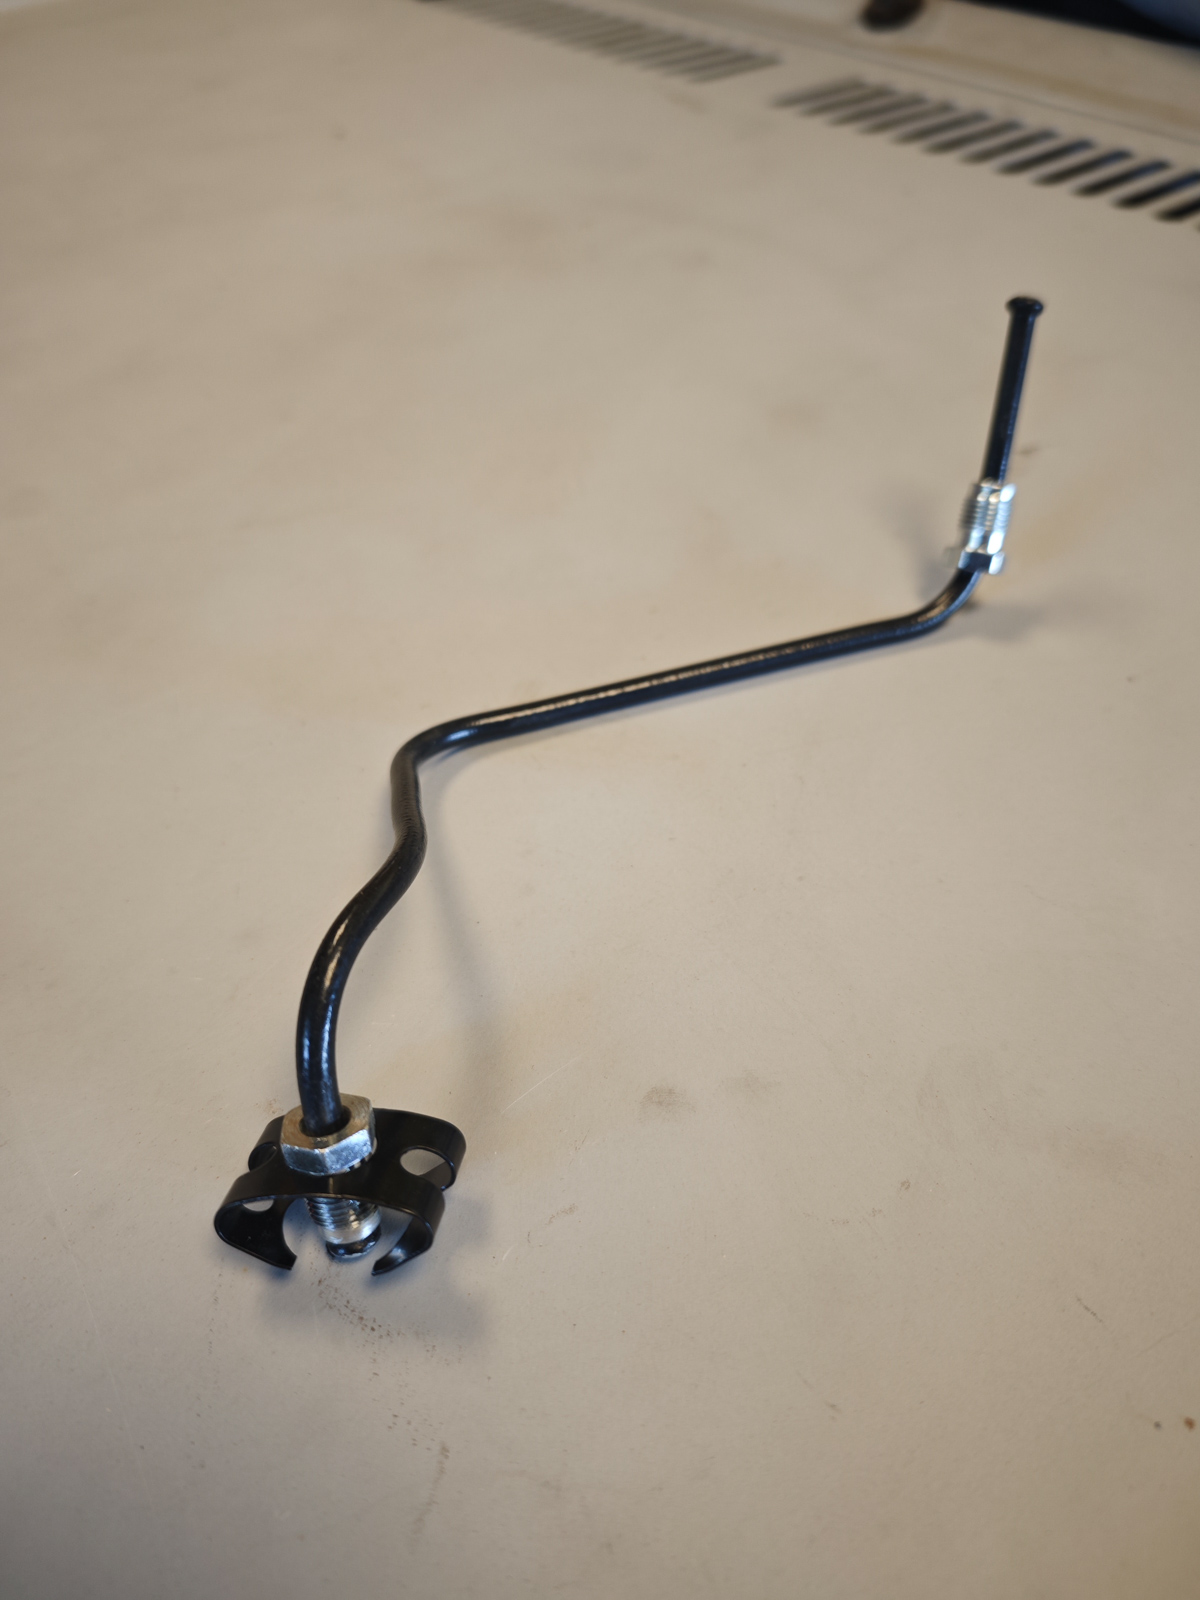
- Interior brake bias adjuster;
- Electrical circuit breaker switch hanger fabrication;
- 12V power source on a center console;
- Battery, starter motor and fuse box battery positive feeding;
- Adding ground points;
- In tank fuel pump installation;
- Some other wiring bits;
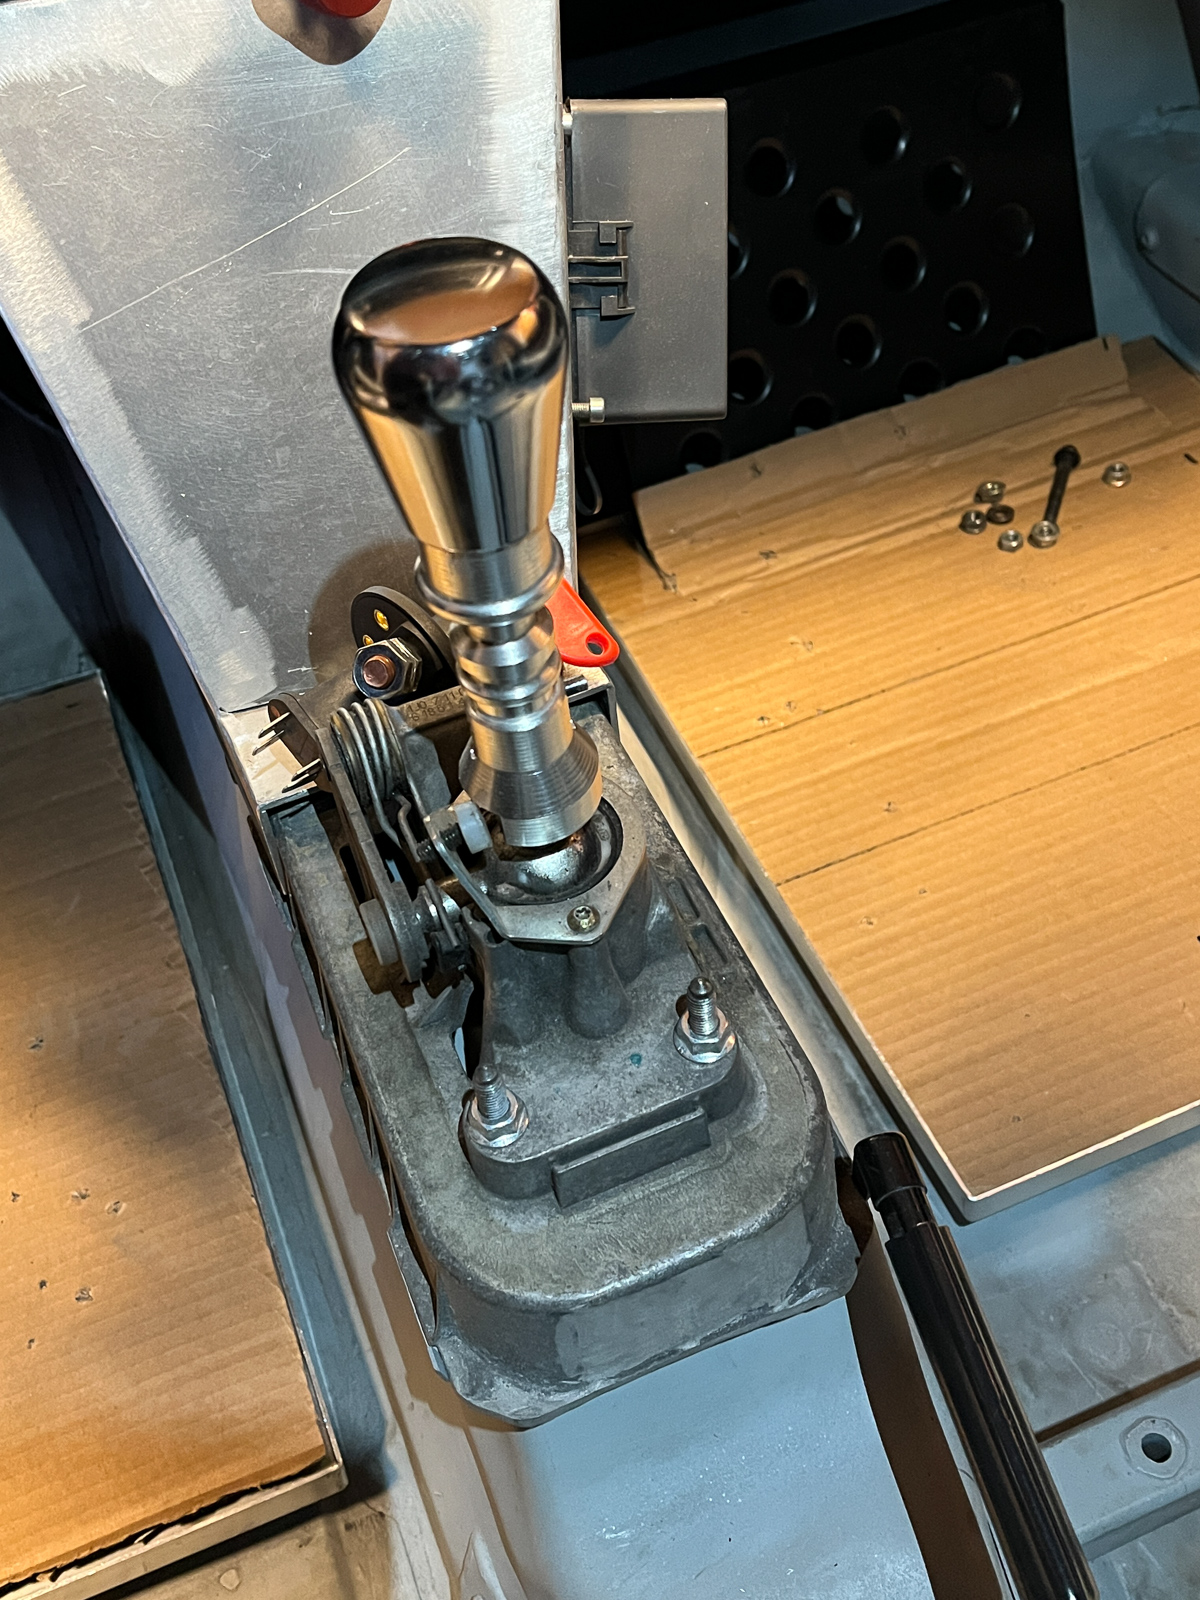
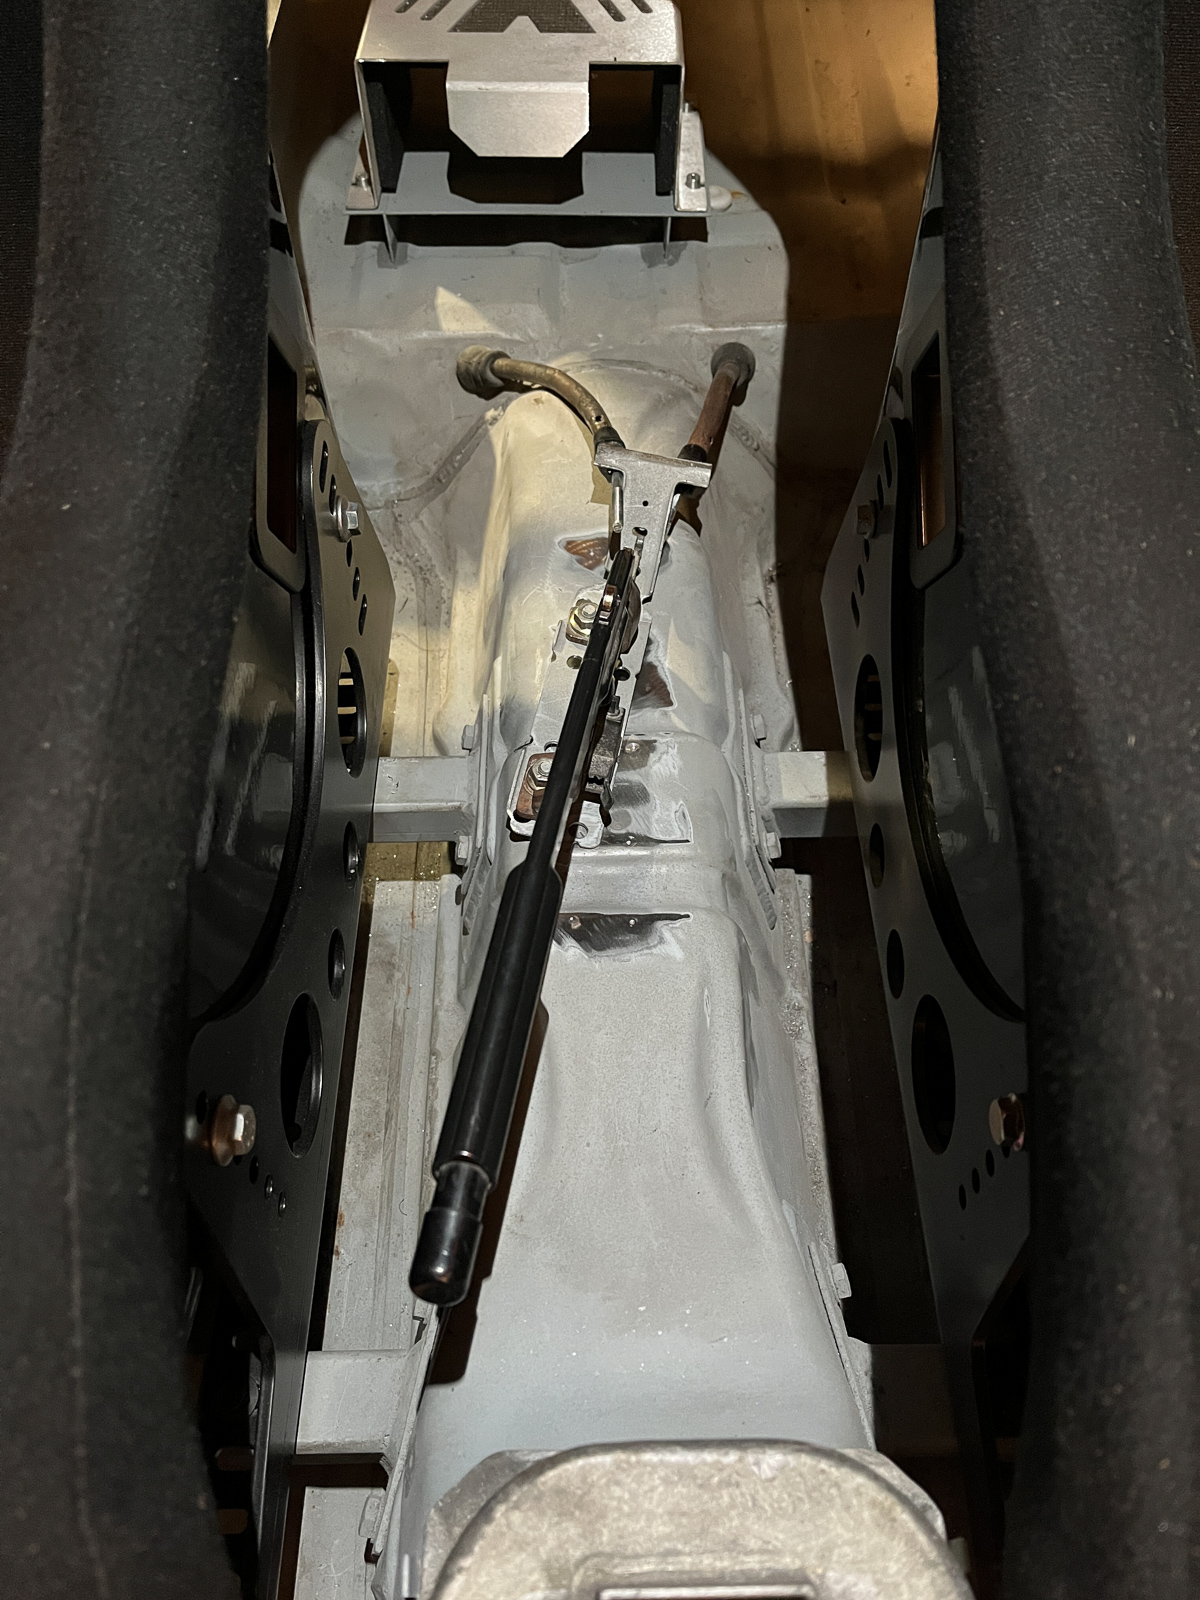
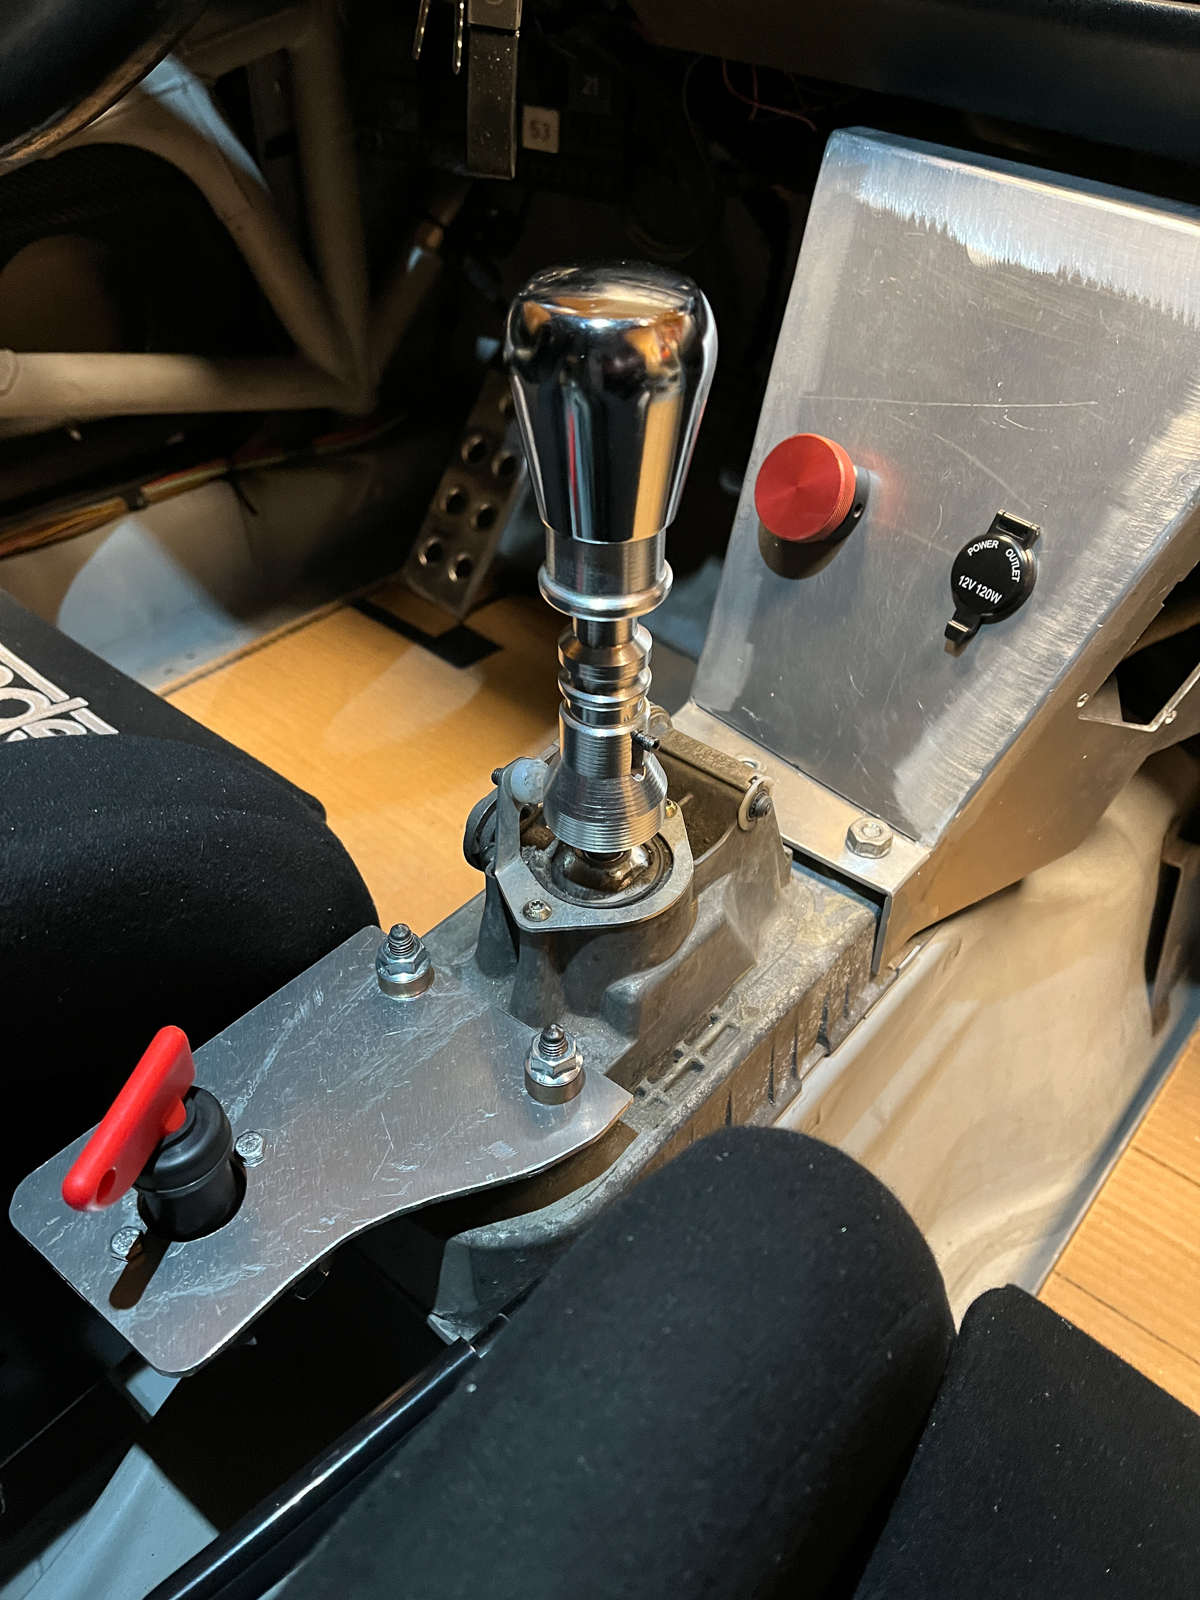
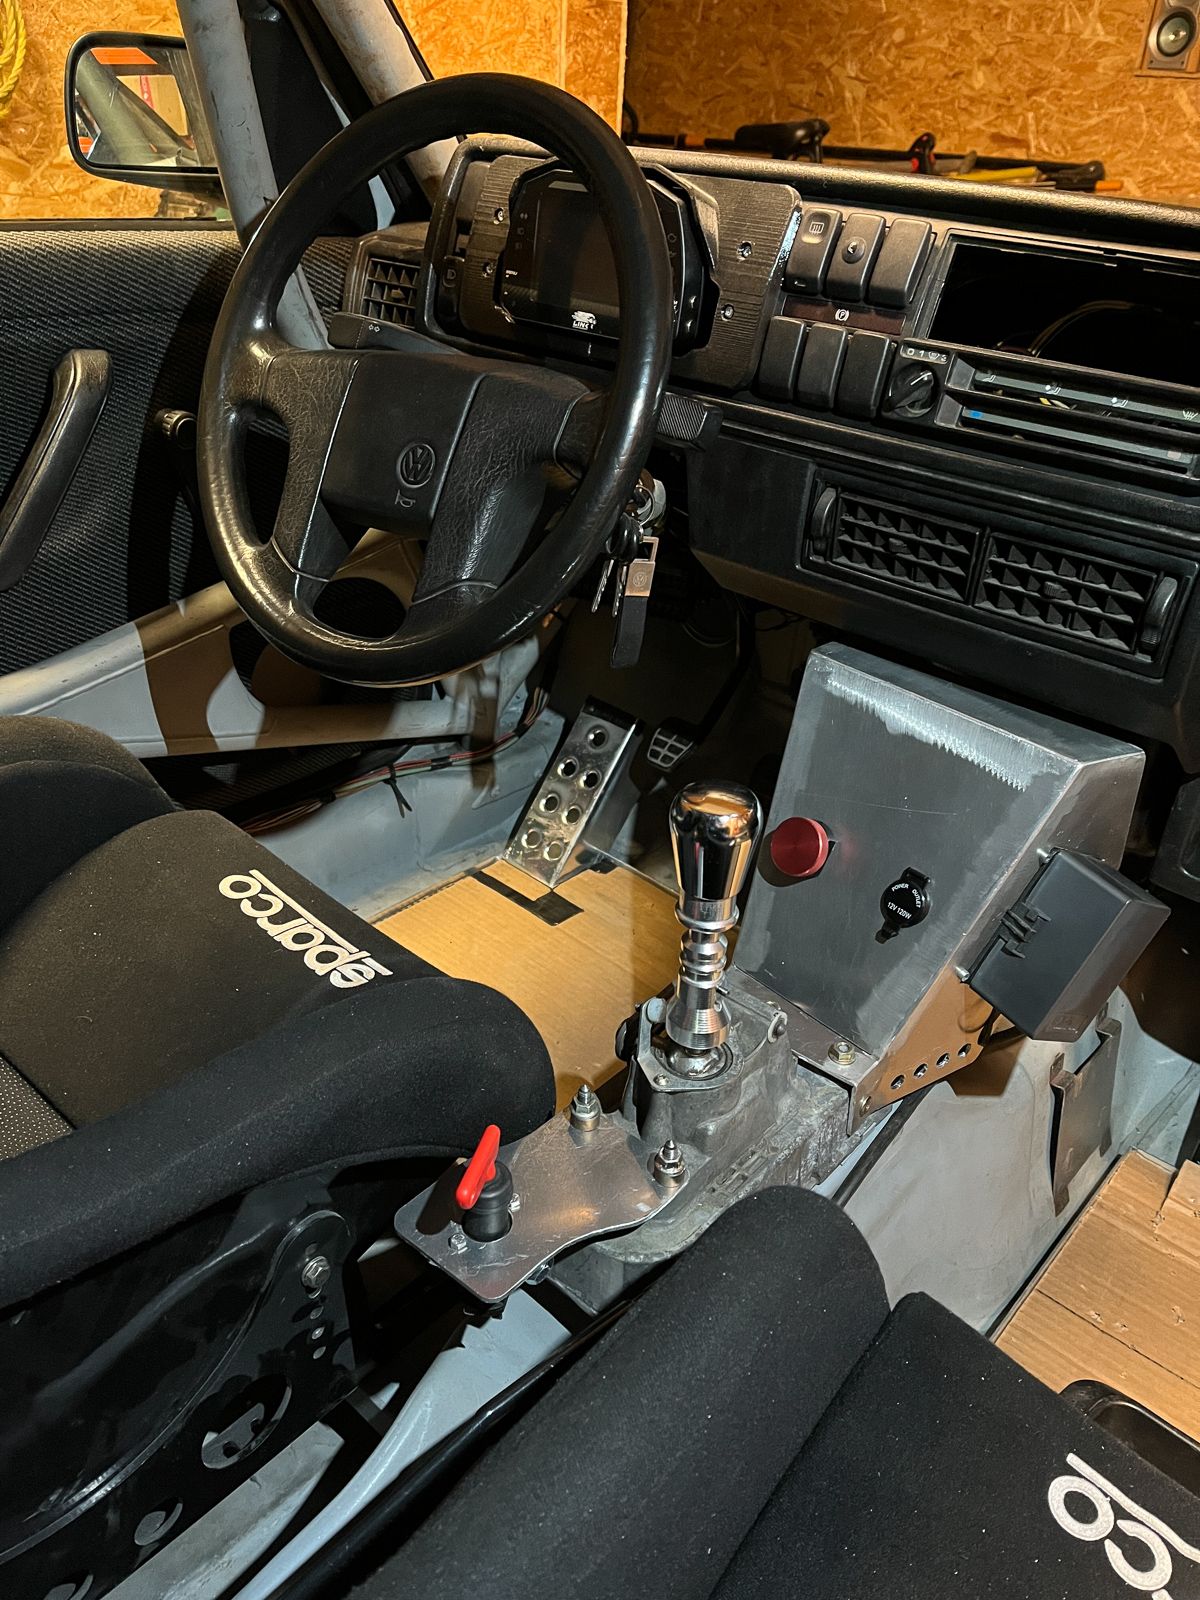
- Relocation of shifter tower;
- Relocation of handbrake lever;
- Feet rest, dead pedal fabrication and installation for both driver and passenger;
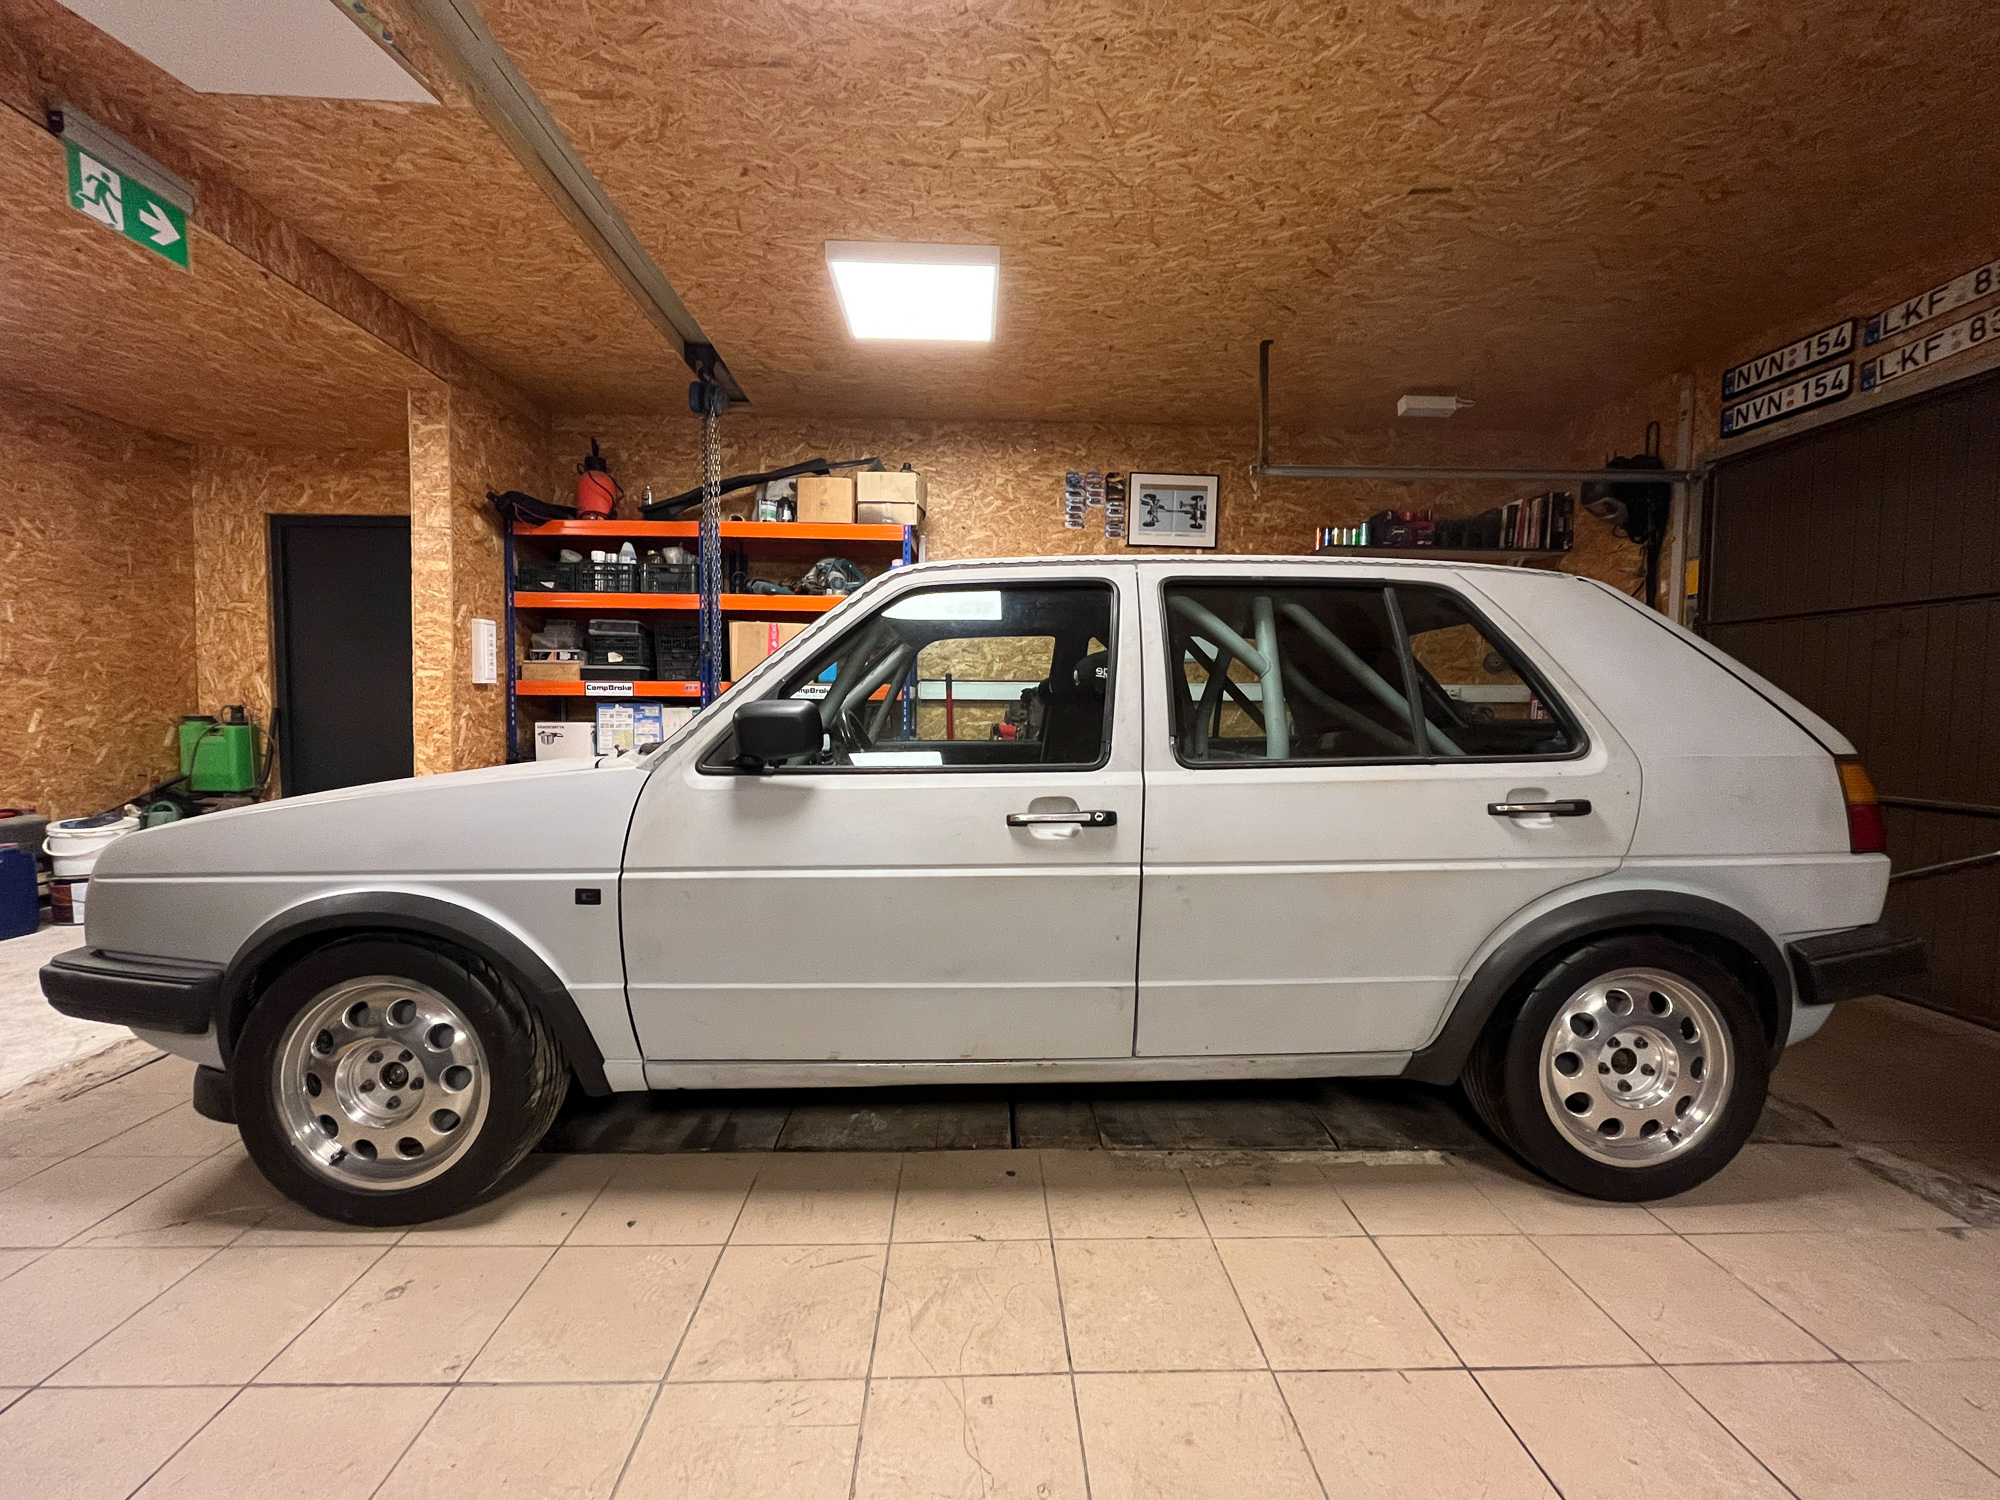
- Installation of side windows, doors assembled entirely;
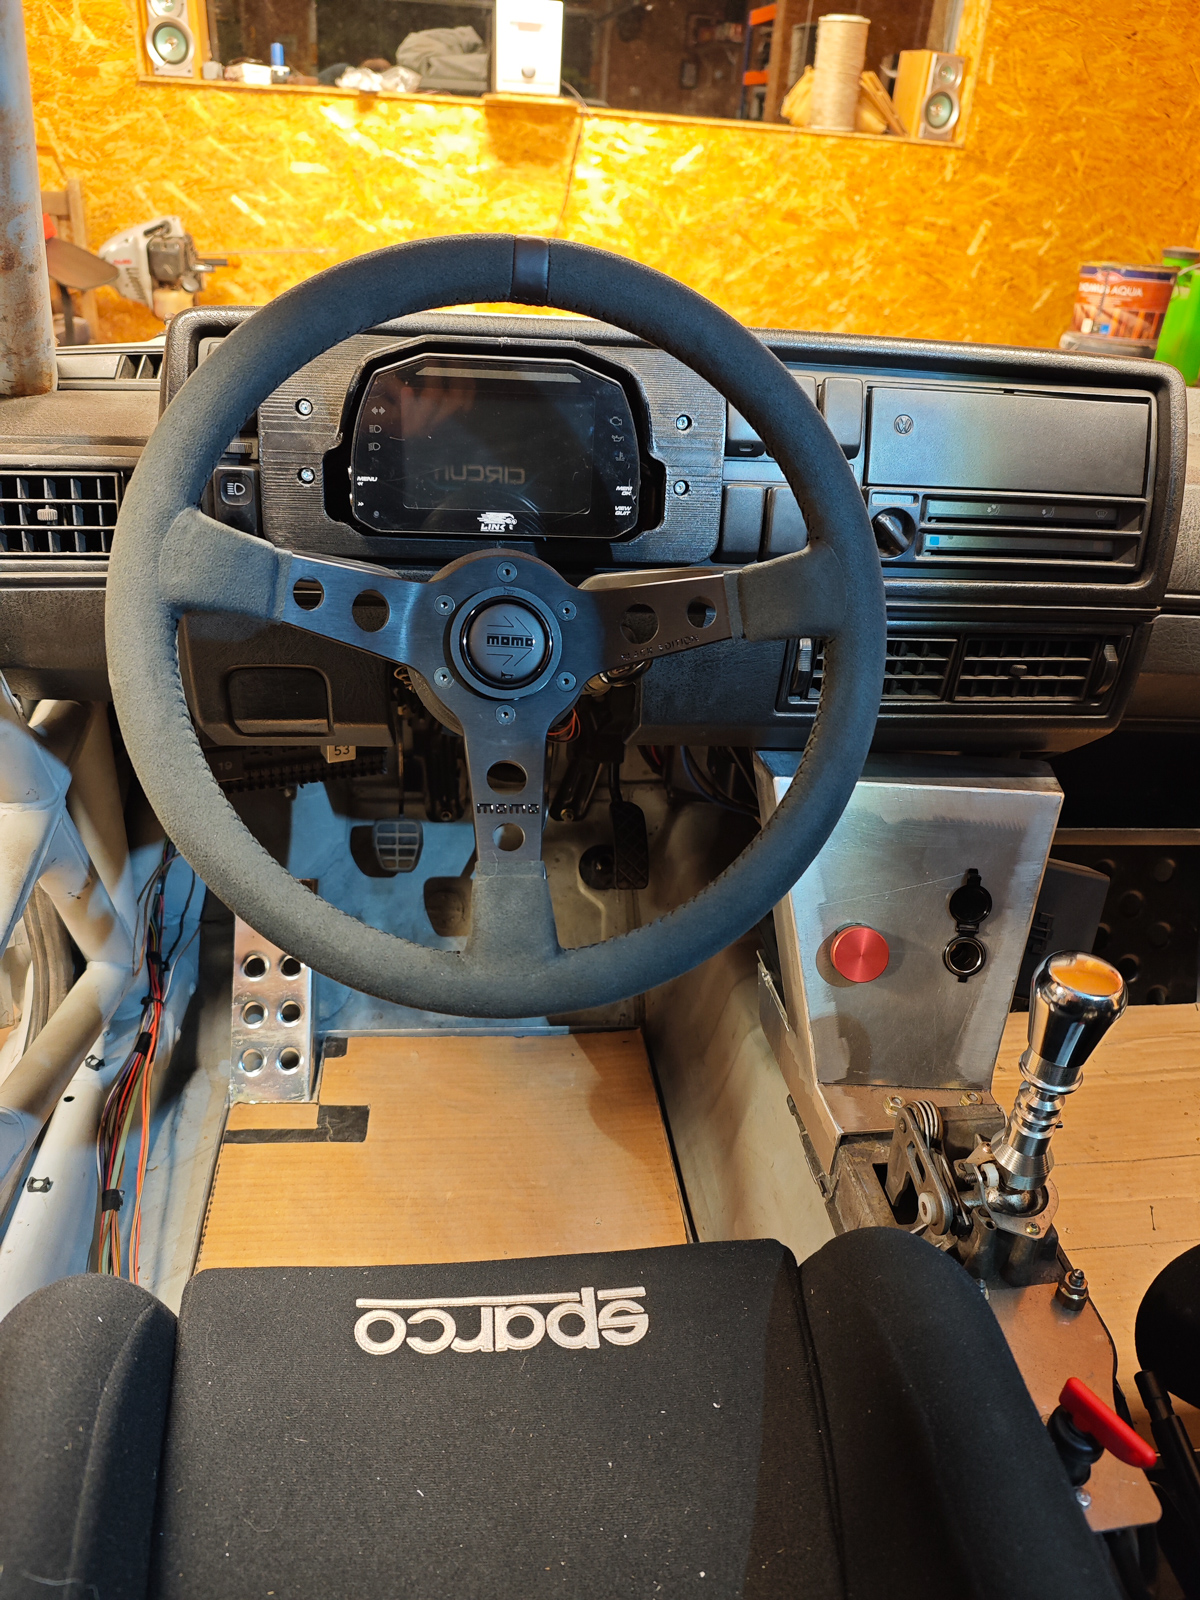
- New steering wheel and boss installation;
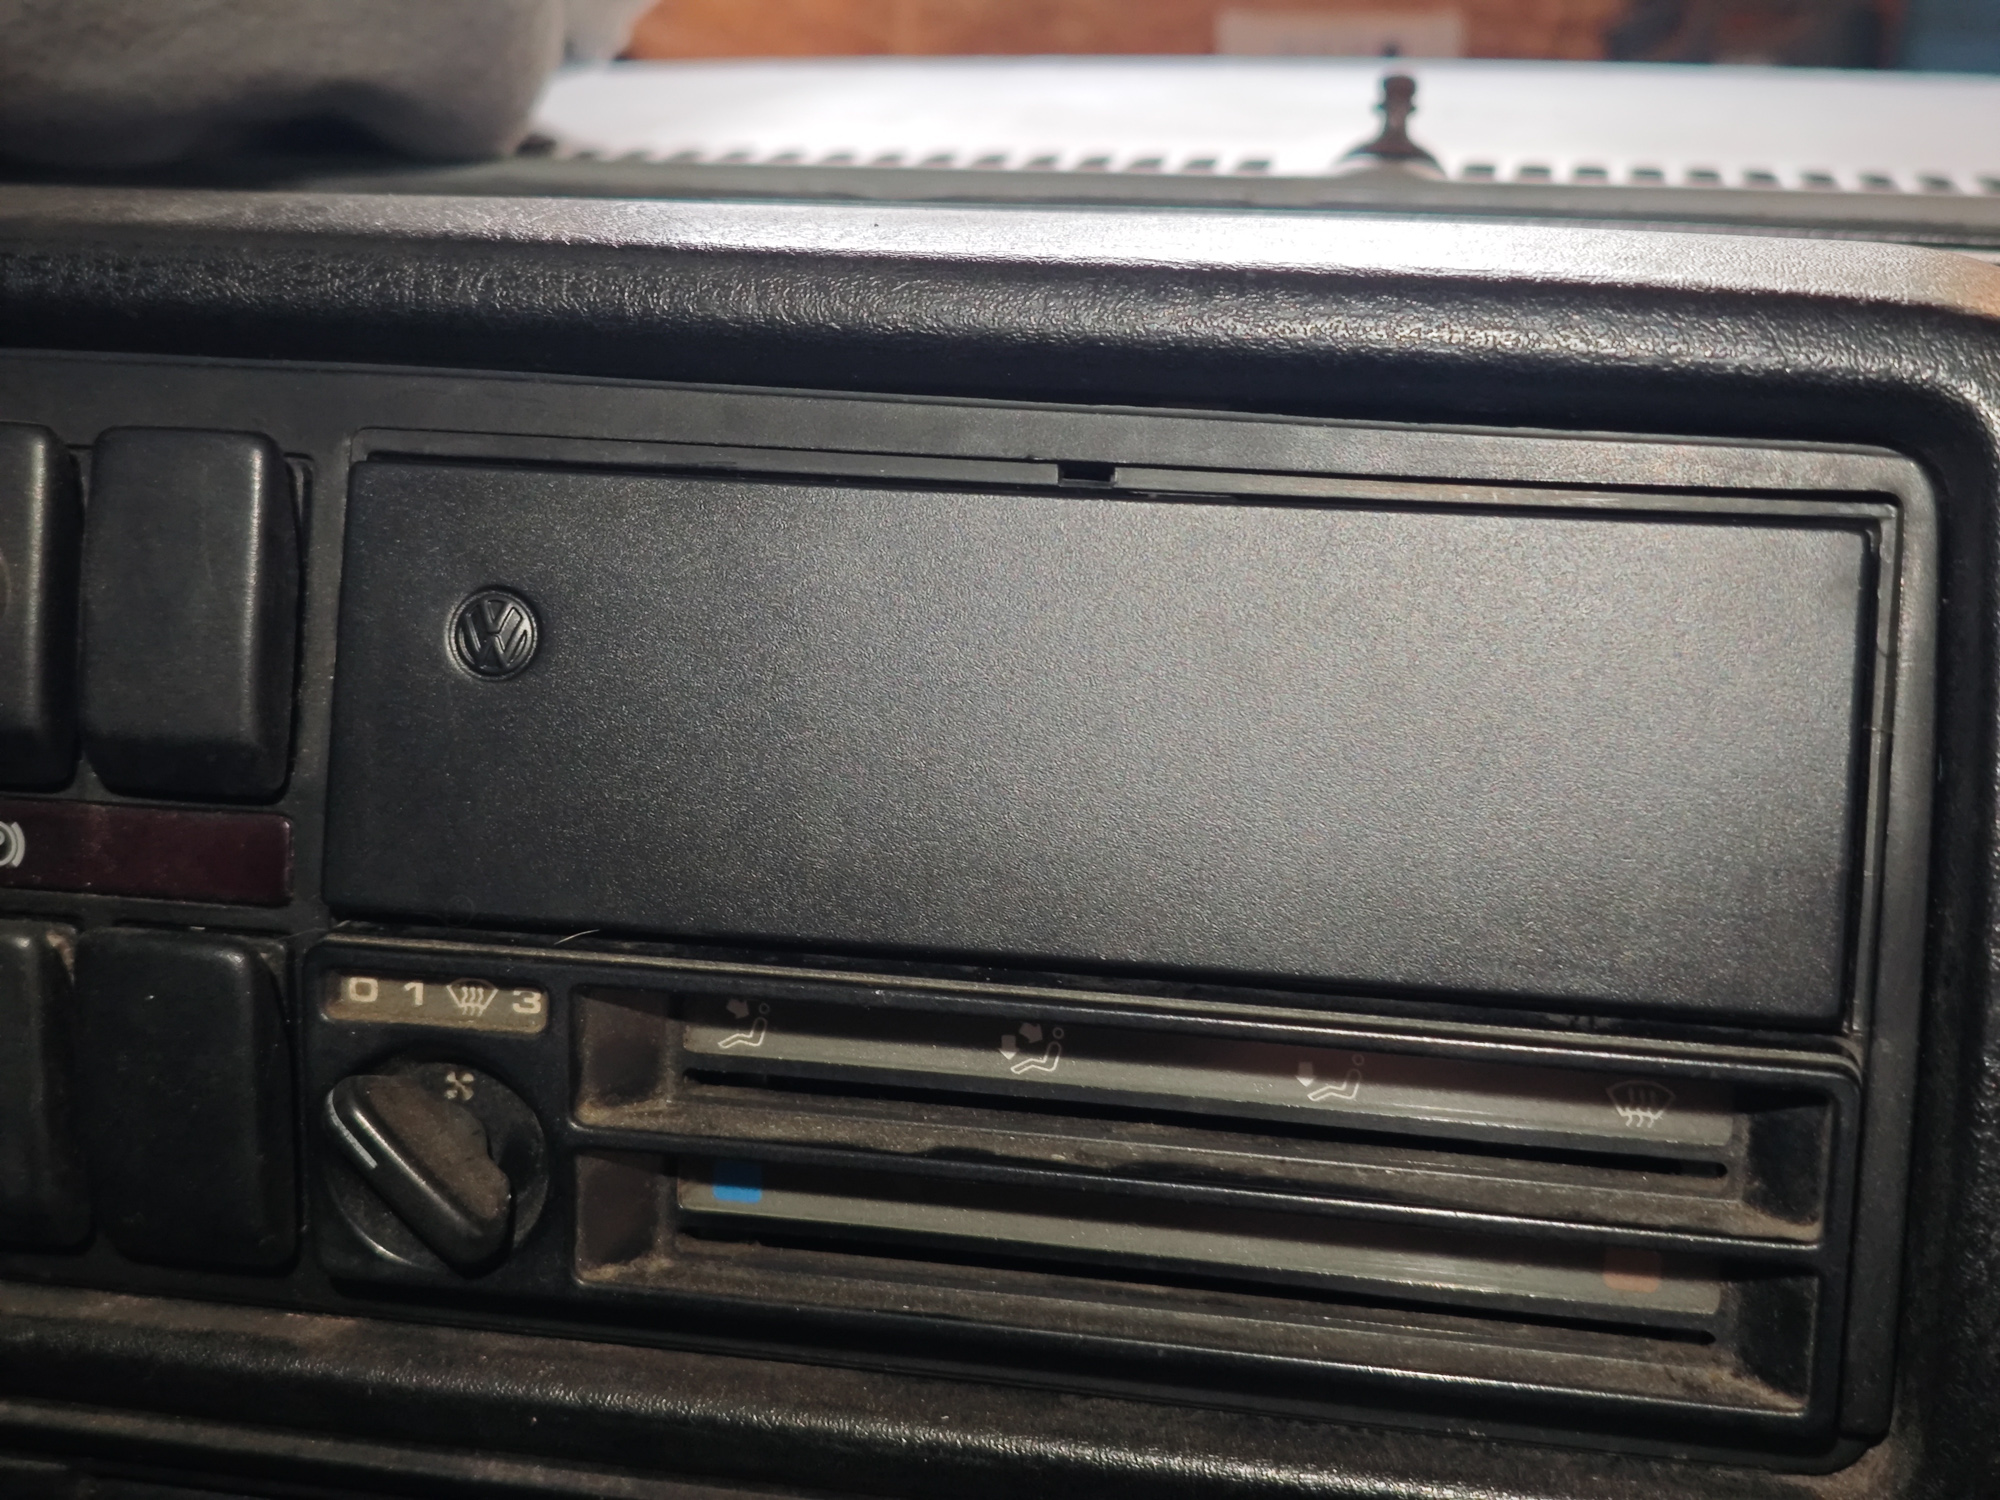
- Stereo DIN cover installation;
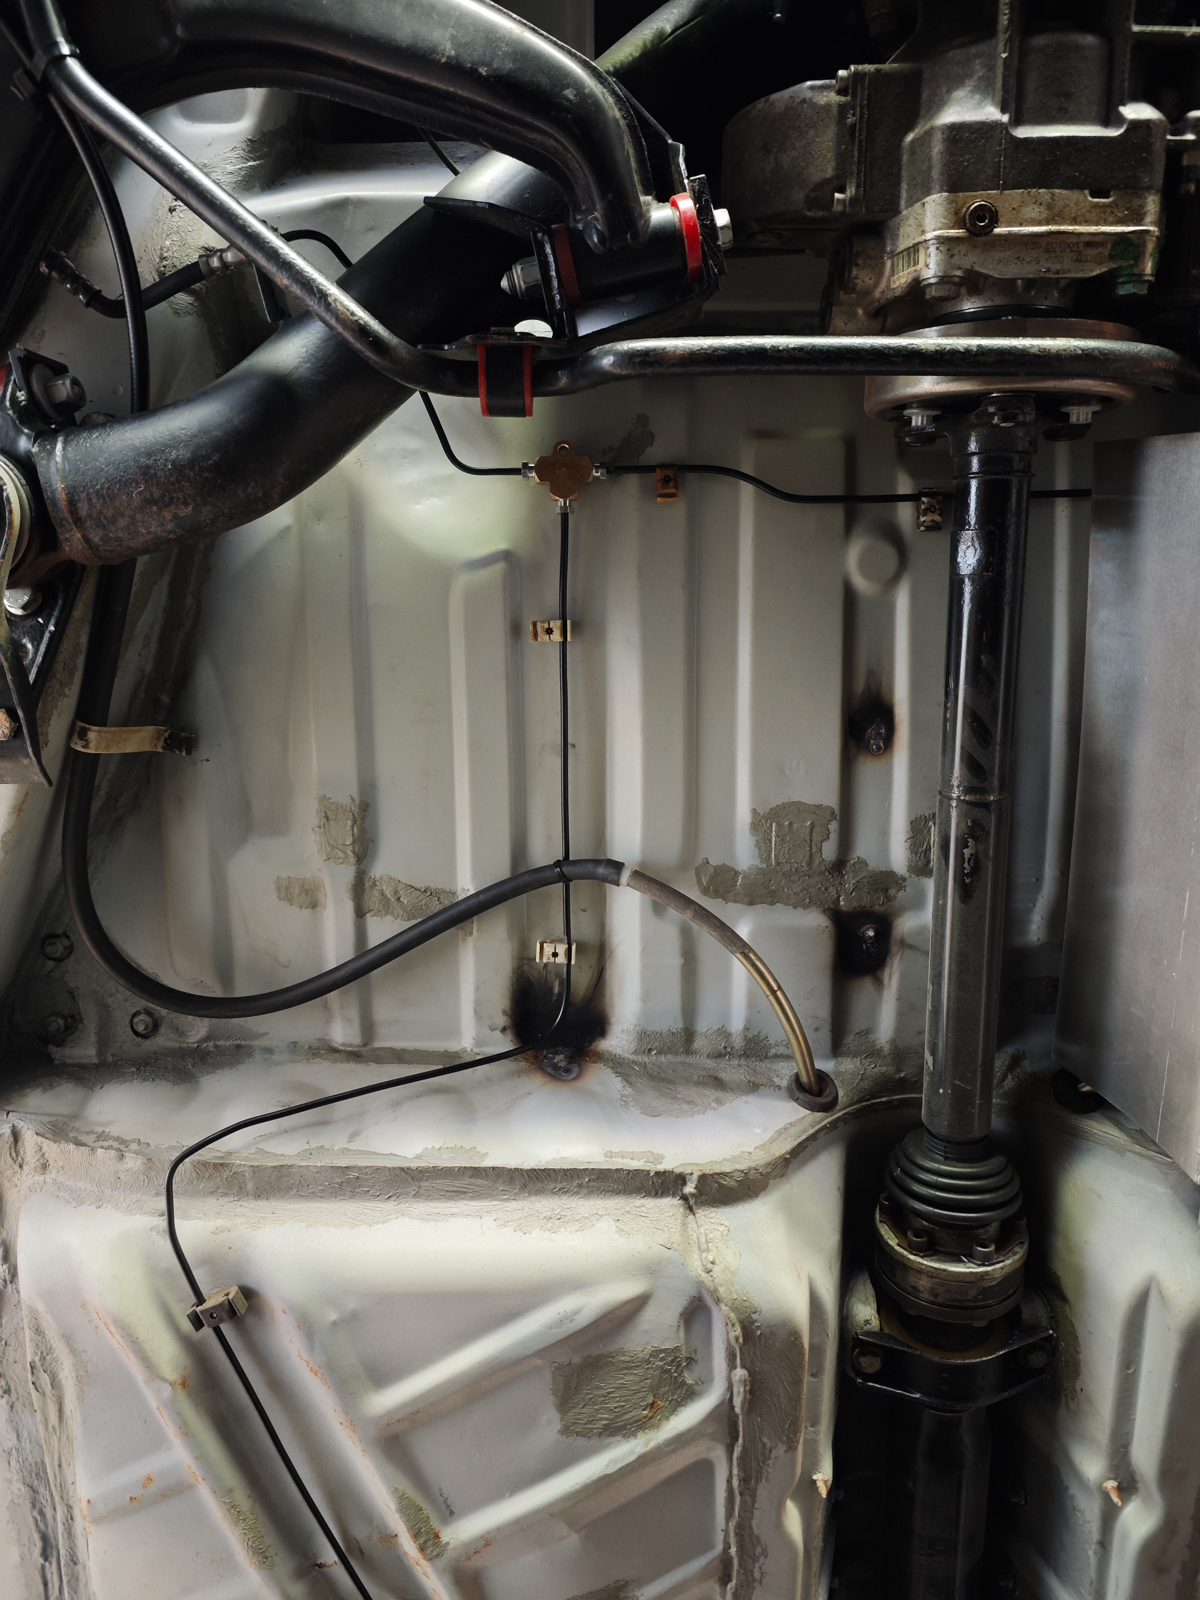
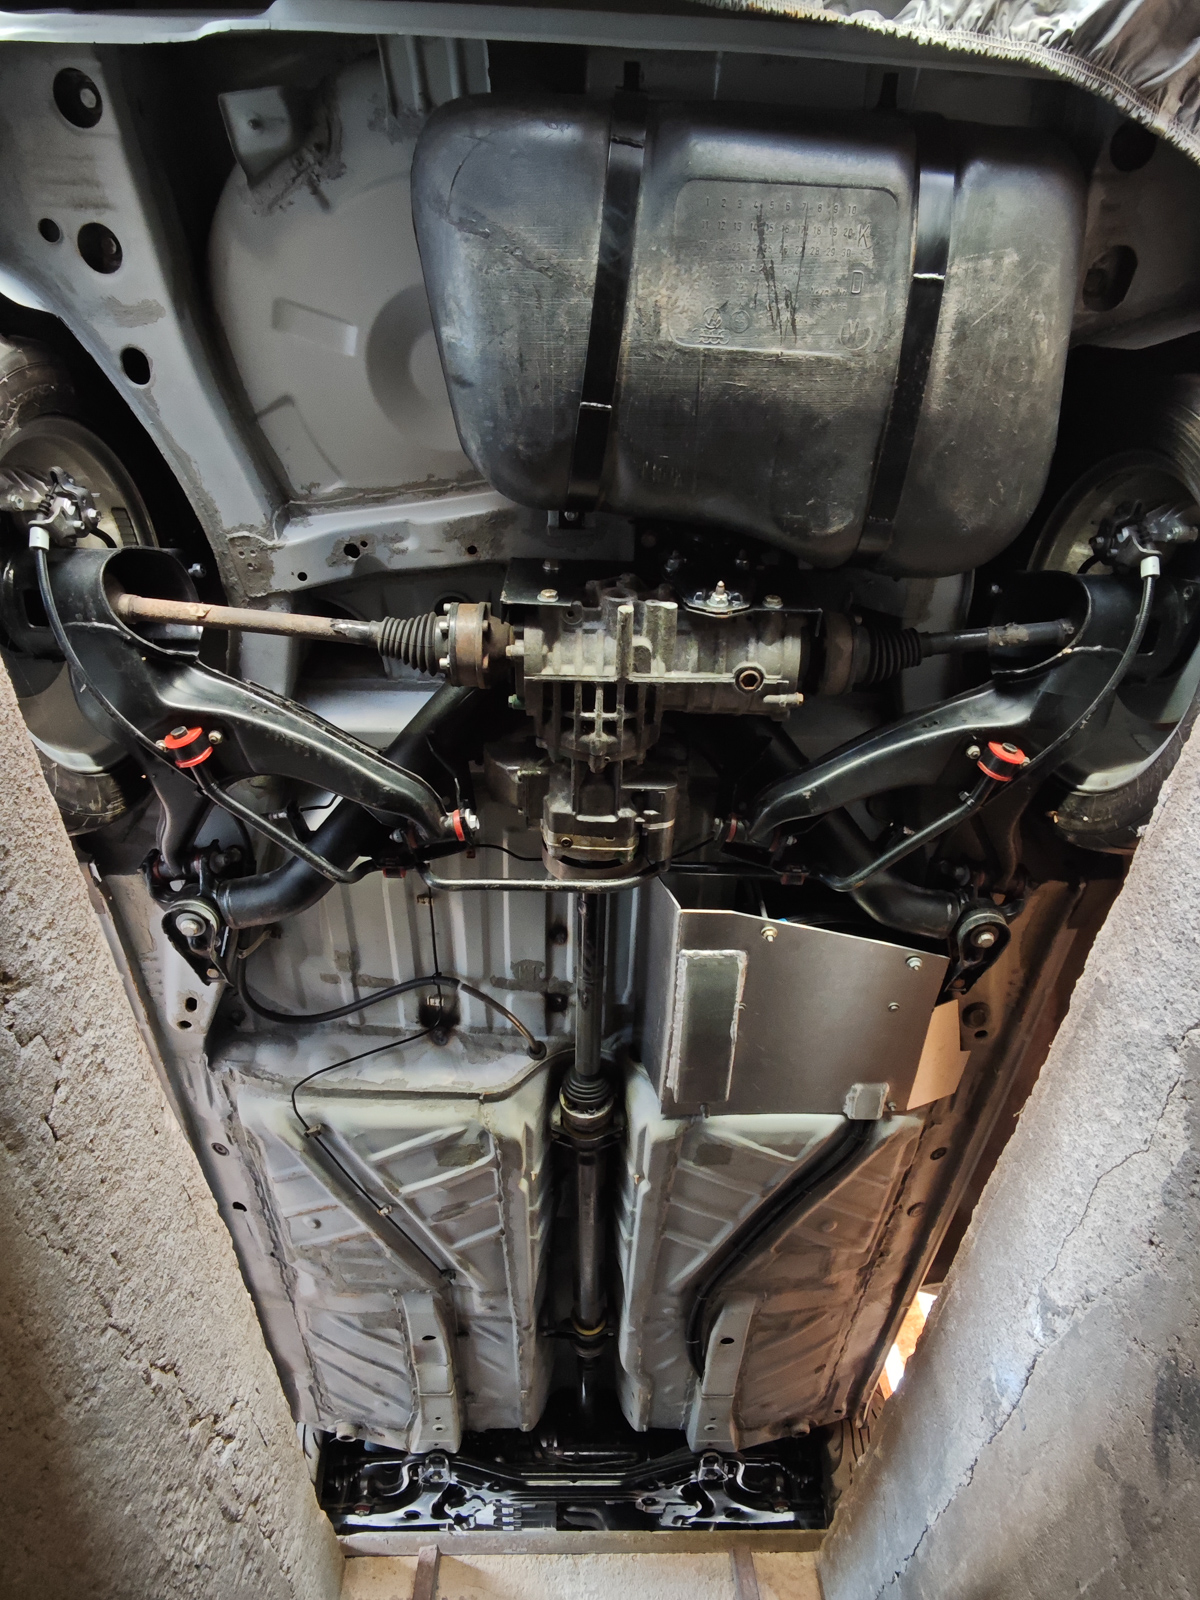
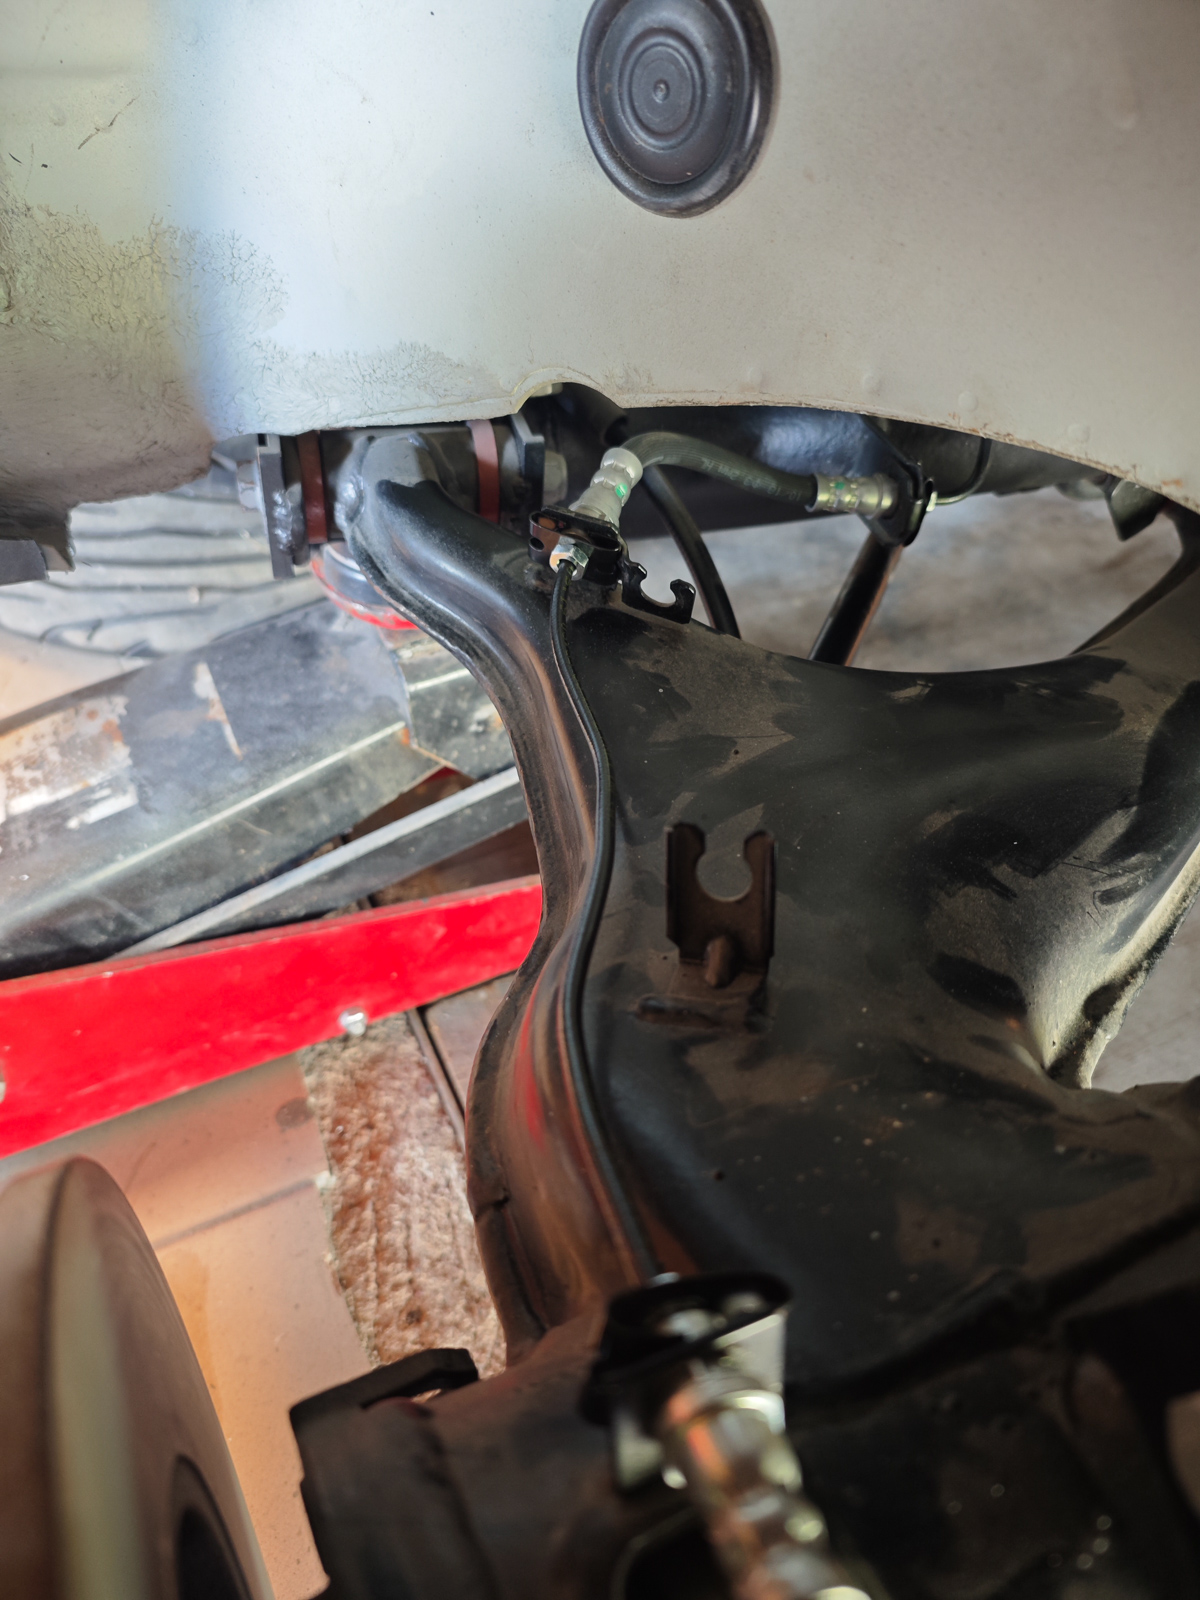
- Brake lines routing all around.
For me interior is pretty much important especially when security and convenience cards are on the table, they even complement each other.
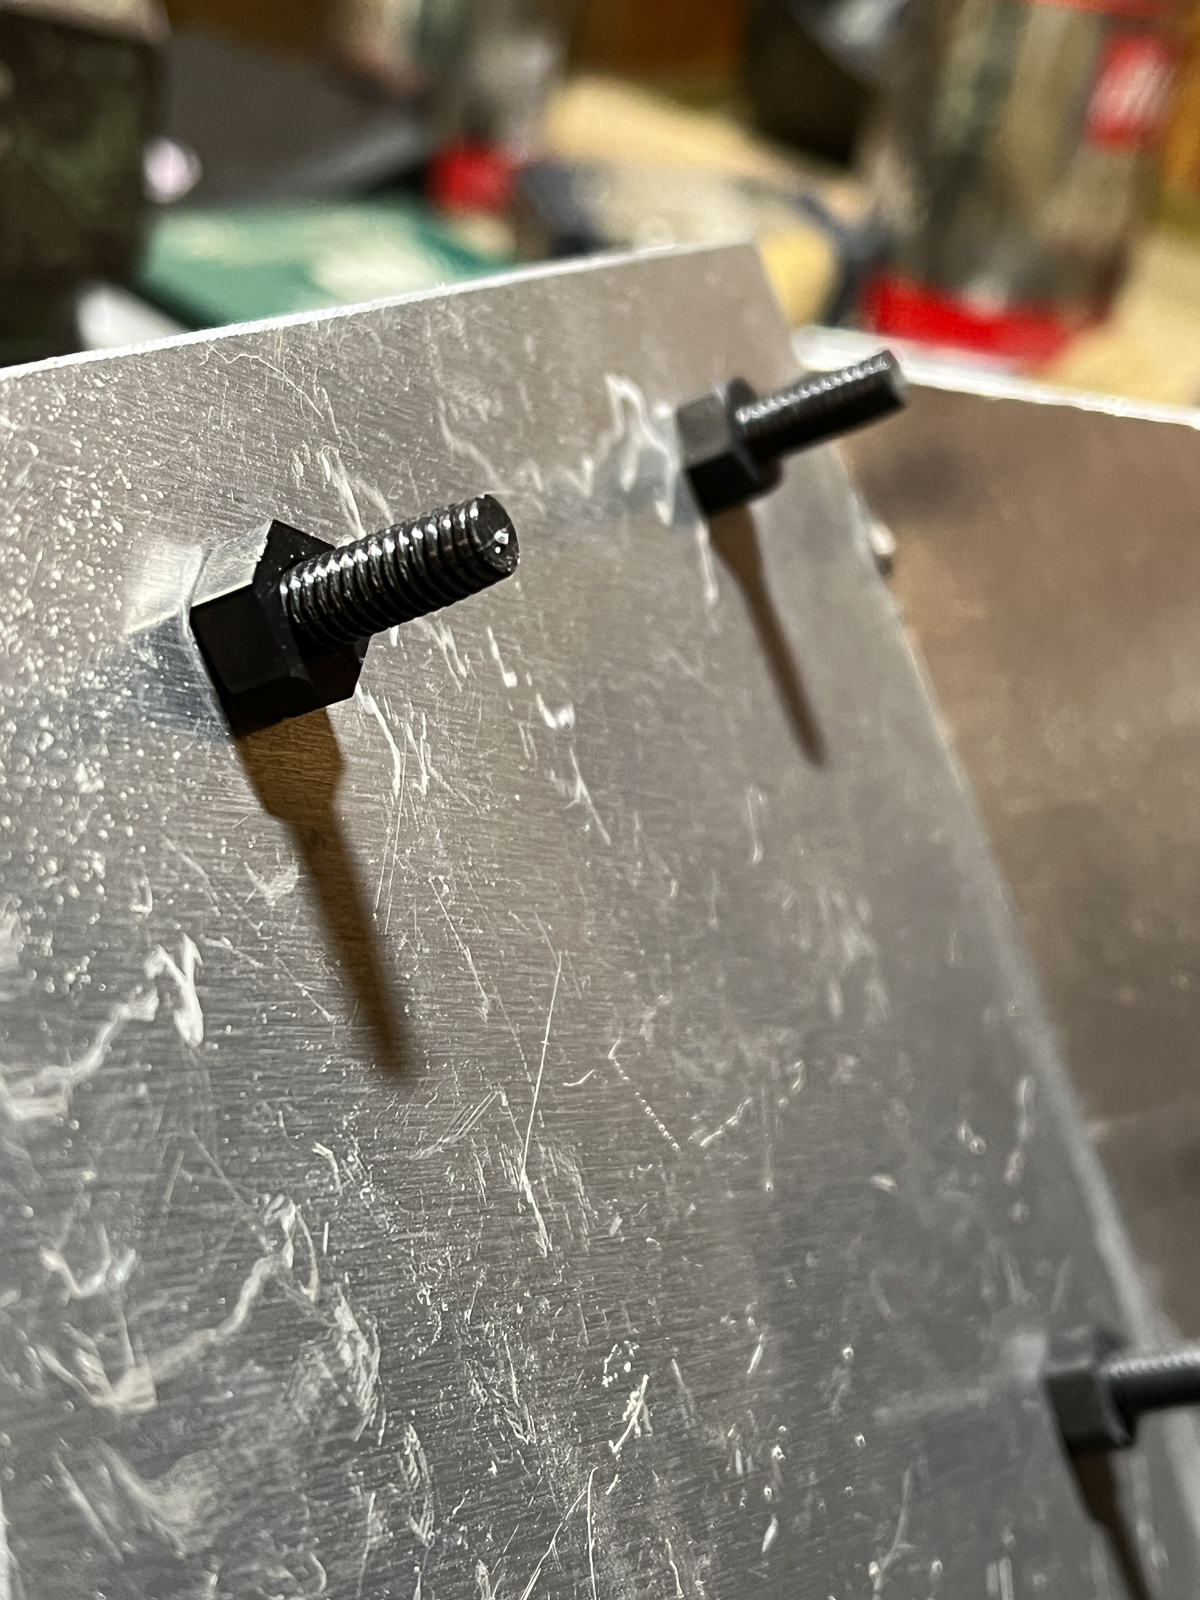
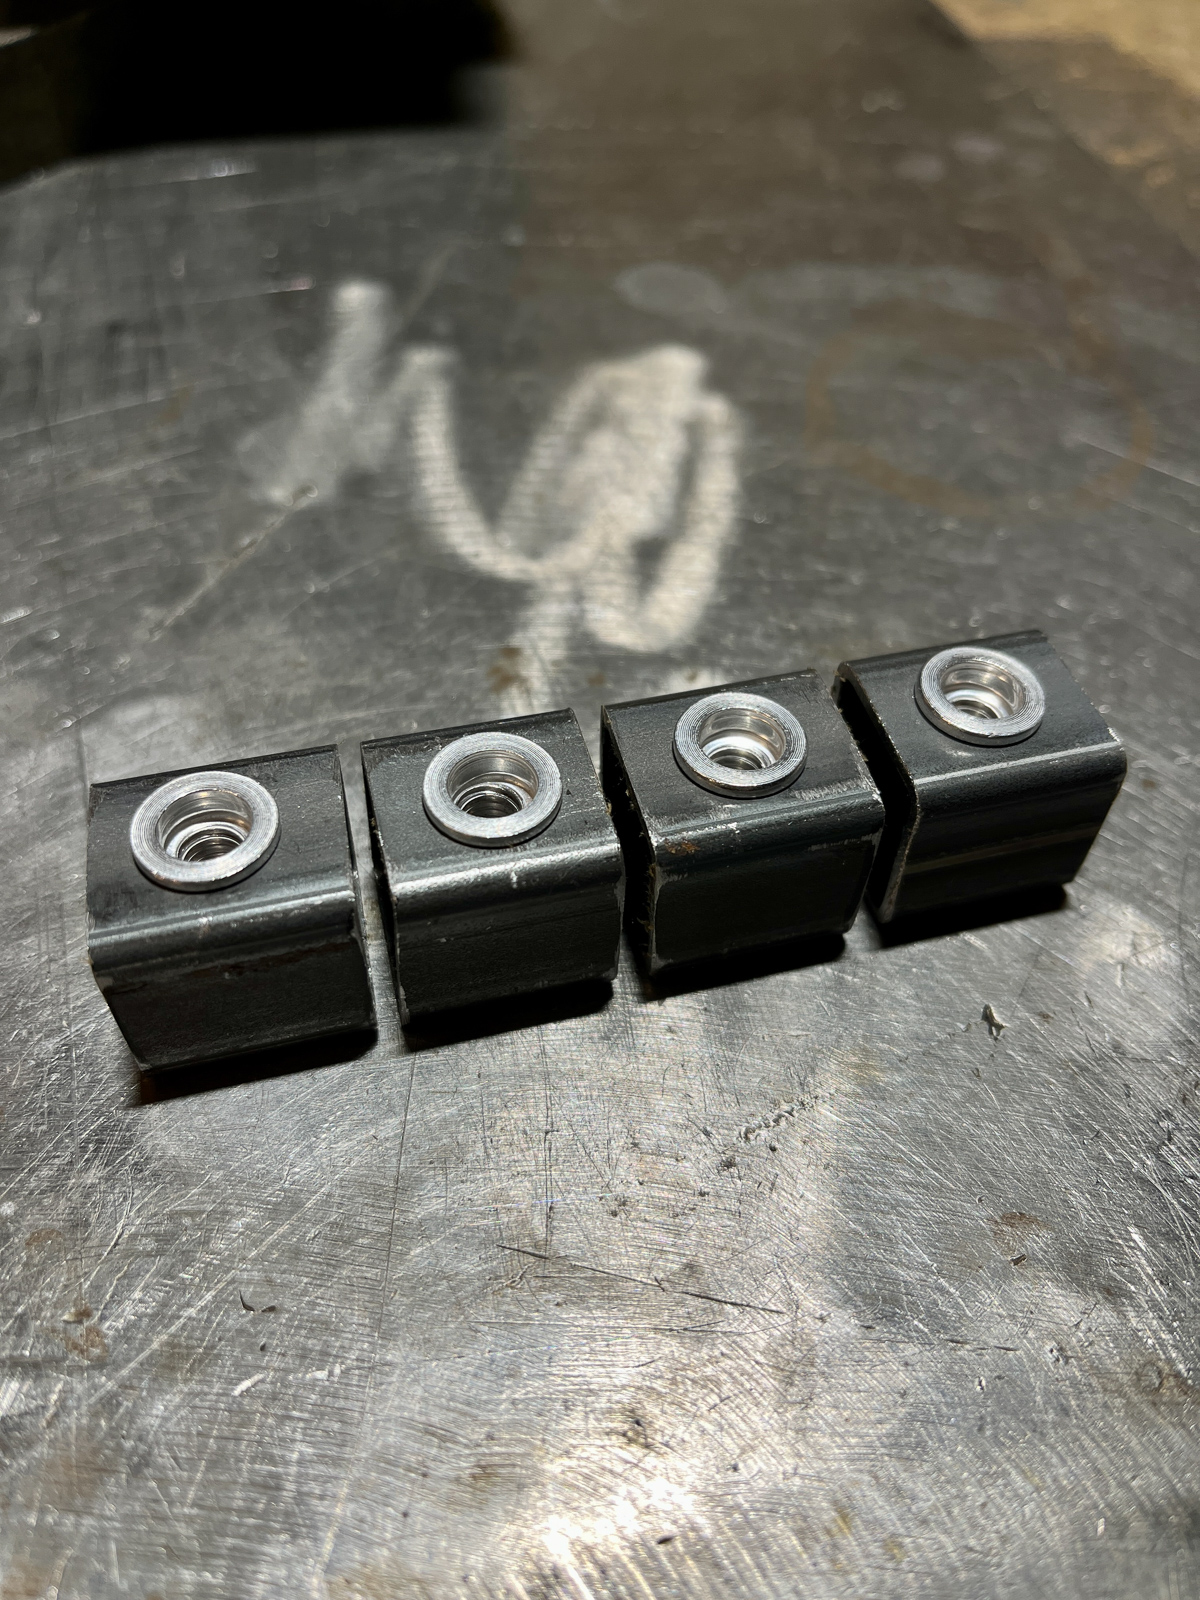
Long time ago I had frames for bucket seat fabricated and welded on. These basically are for side mounted bucket seats with most common brackets:
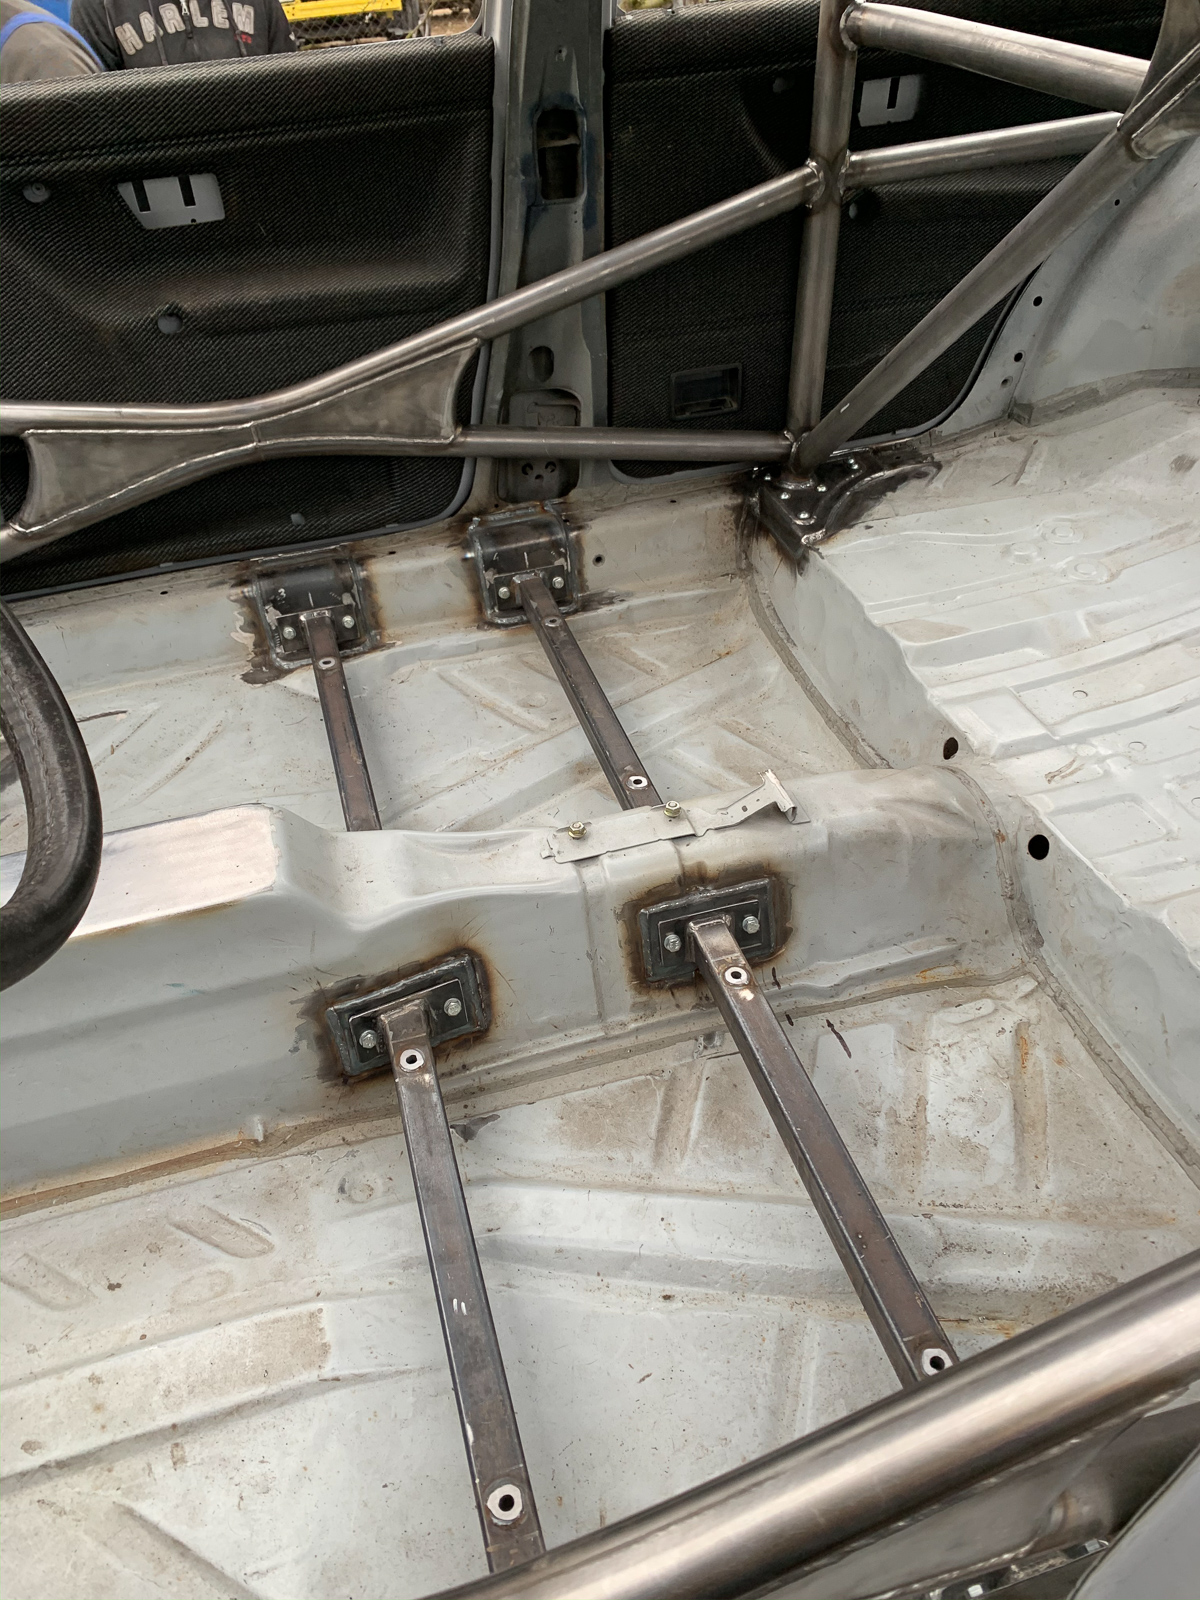
Then I've used traditional type of side mounting bracket to hold these seats in place, together with M8 10.9 bolts:


That's how it turned out. Now I miss seat belts only:

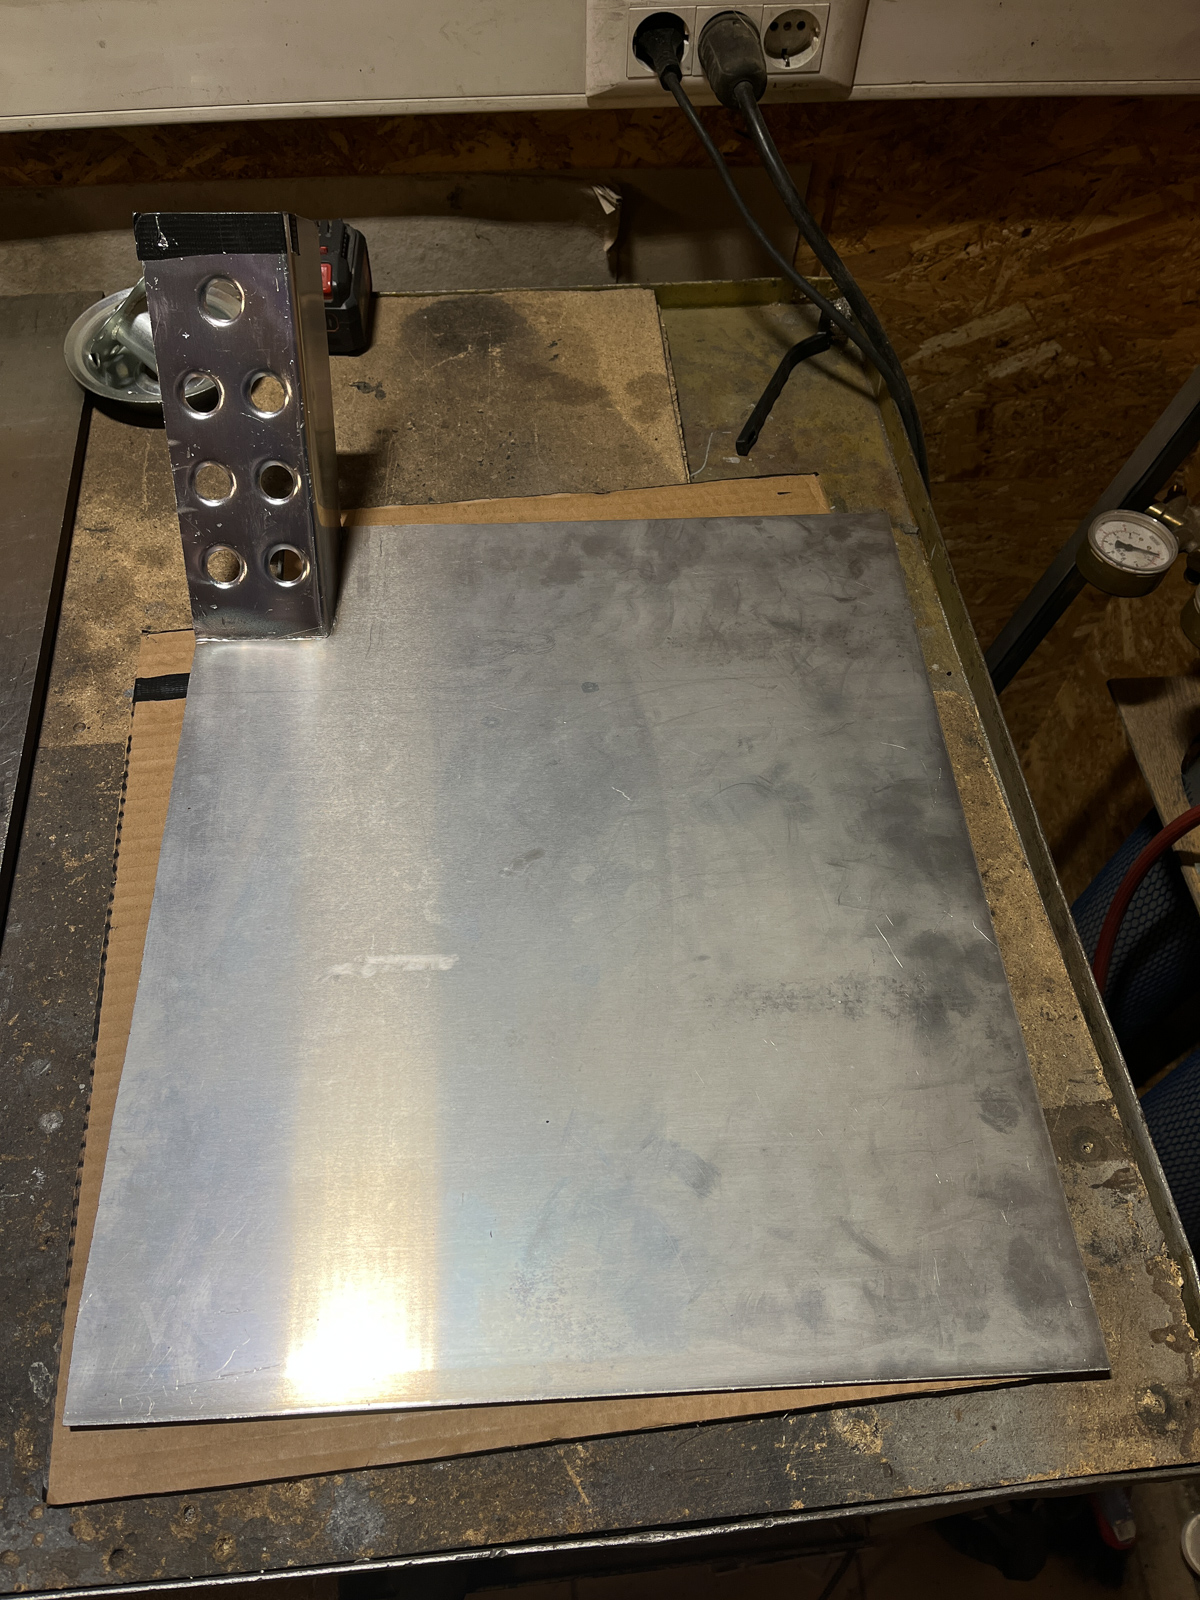
Now let's take a look at center console. Initially I had an intention to use standard Syncro center console but due to significant shifter tower relocation it become totally off positioning wise. So I thought I will design something very simple just to accommodate couple of things: 12V socket, brake bias adjuster and maybe Haldex controller display, and additional fuse box in case I will need it, if not, then not. Anyway the start was with cardboard:
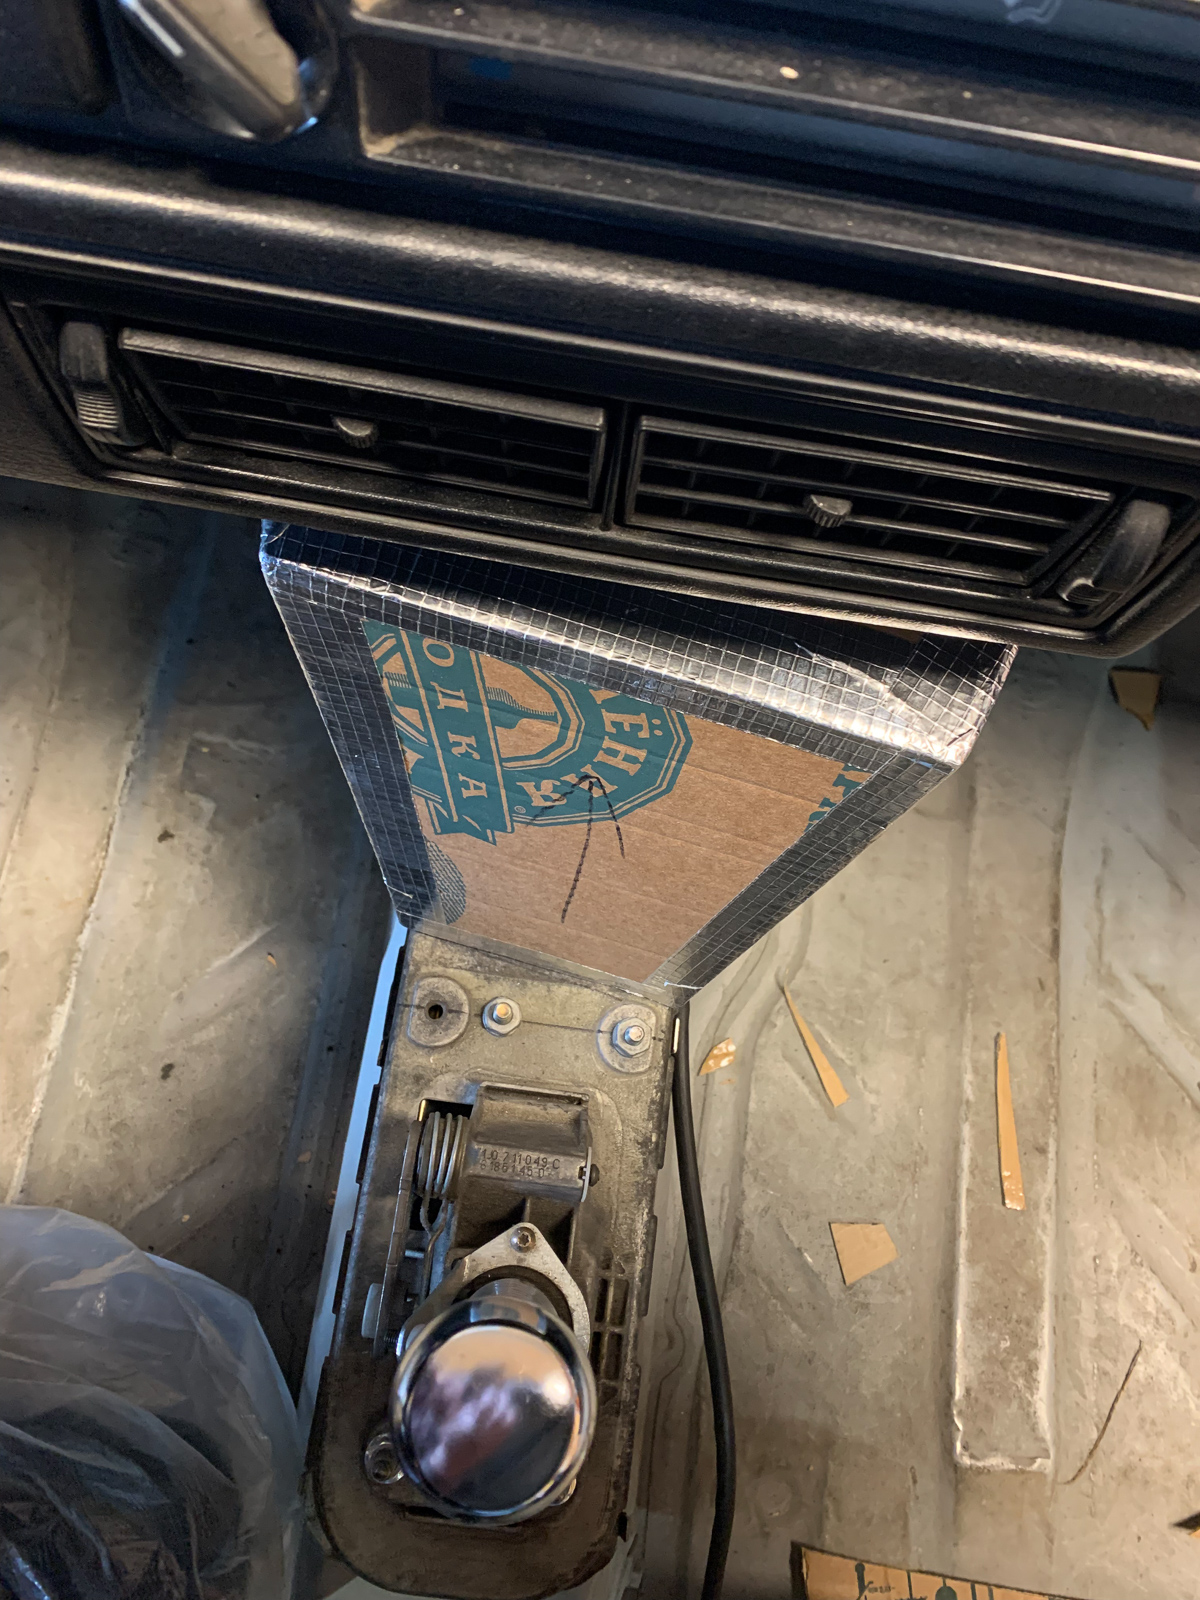
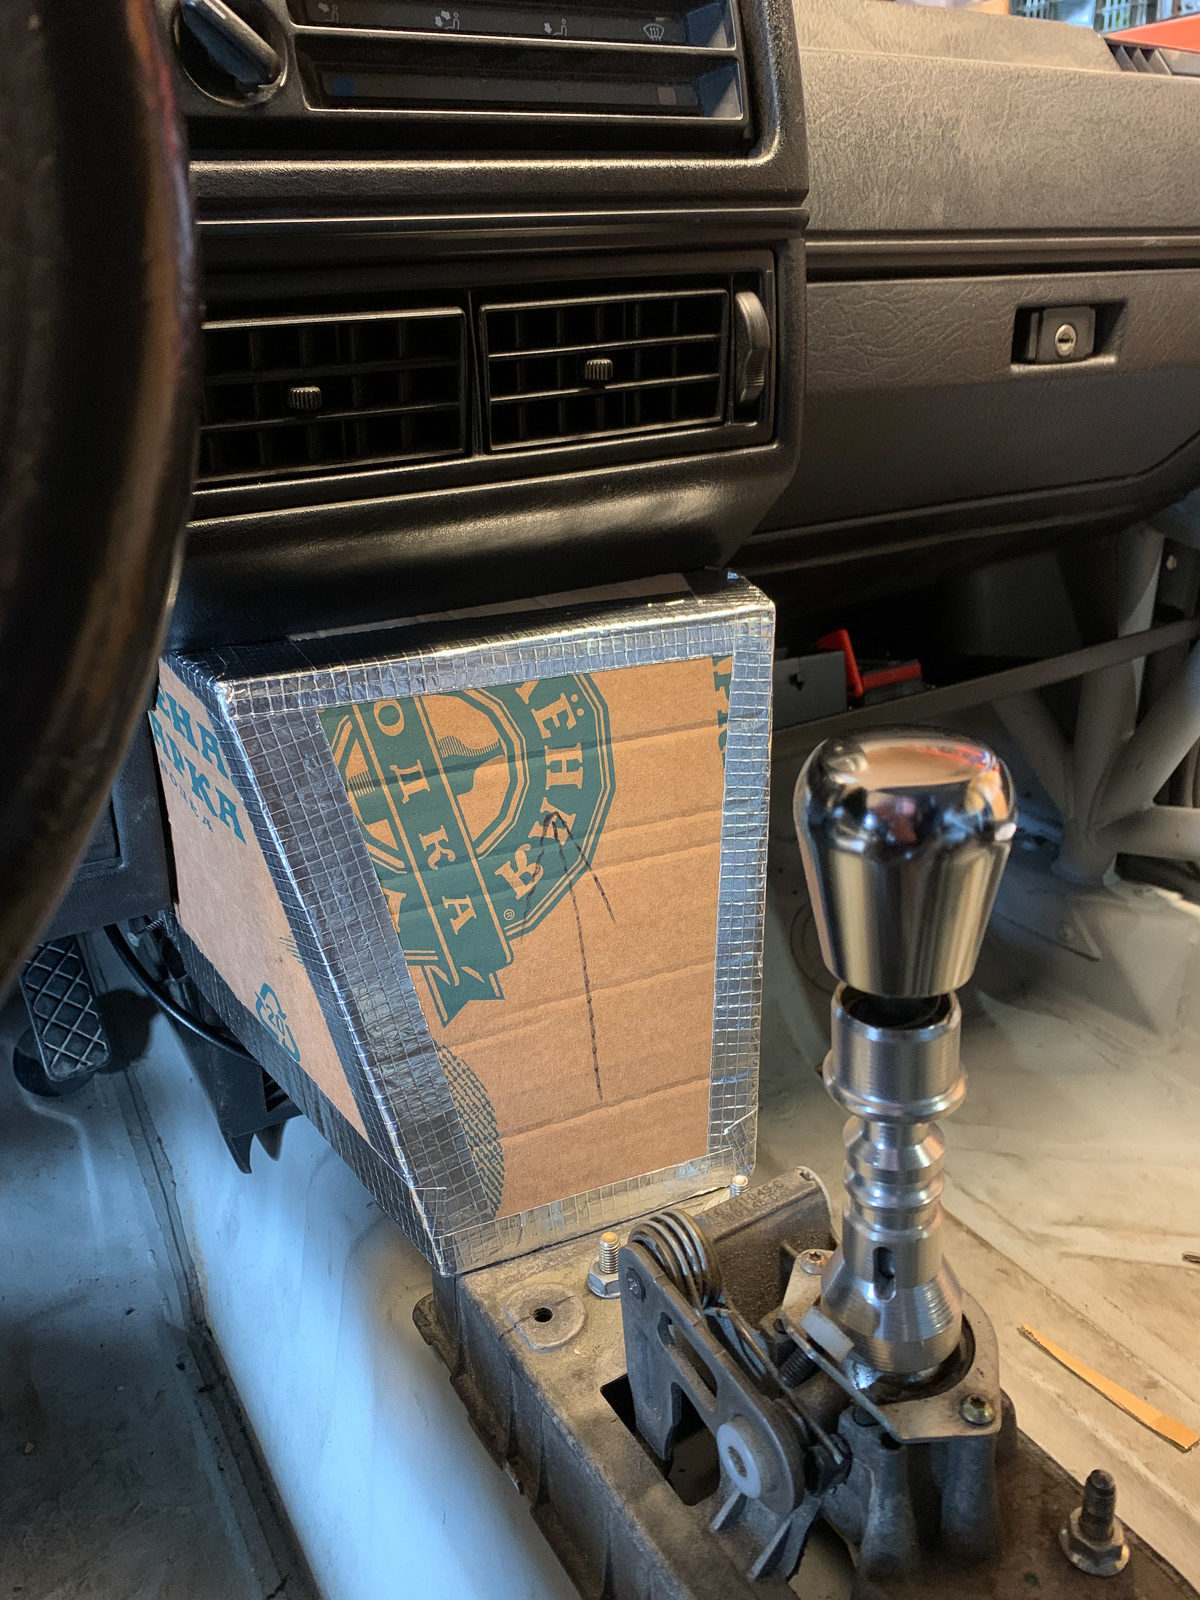
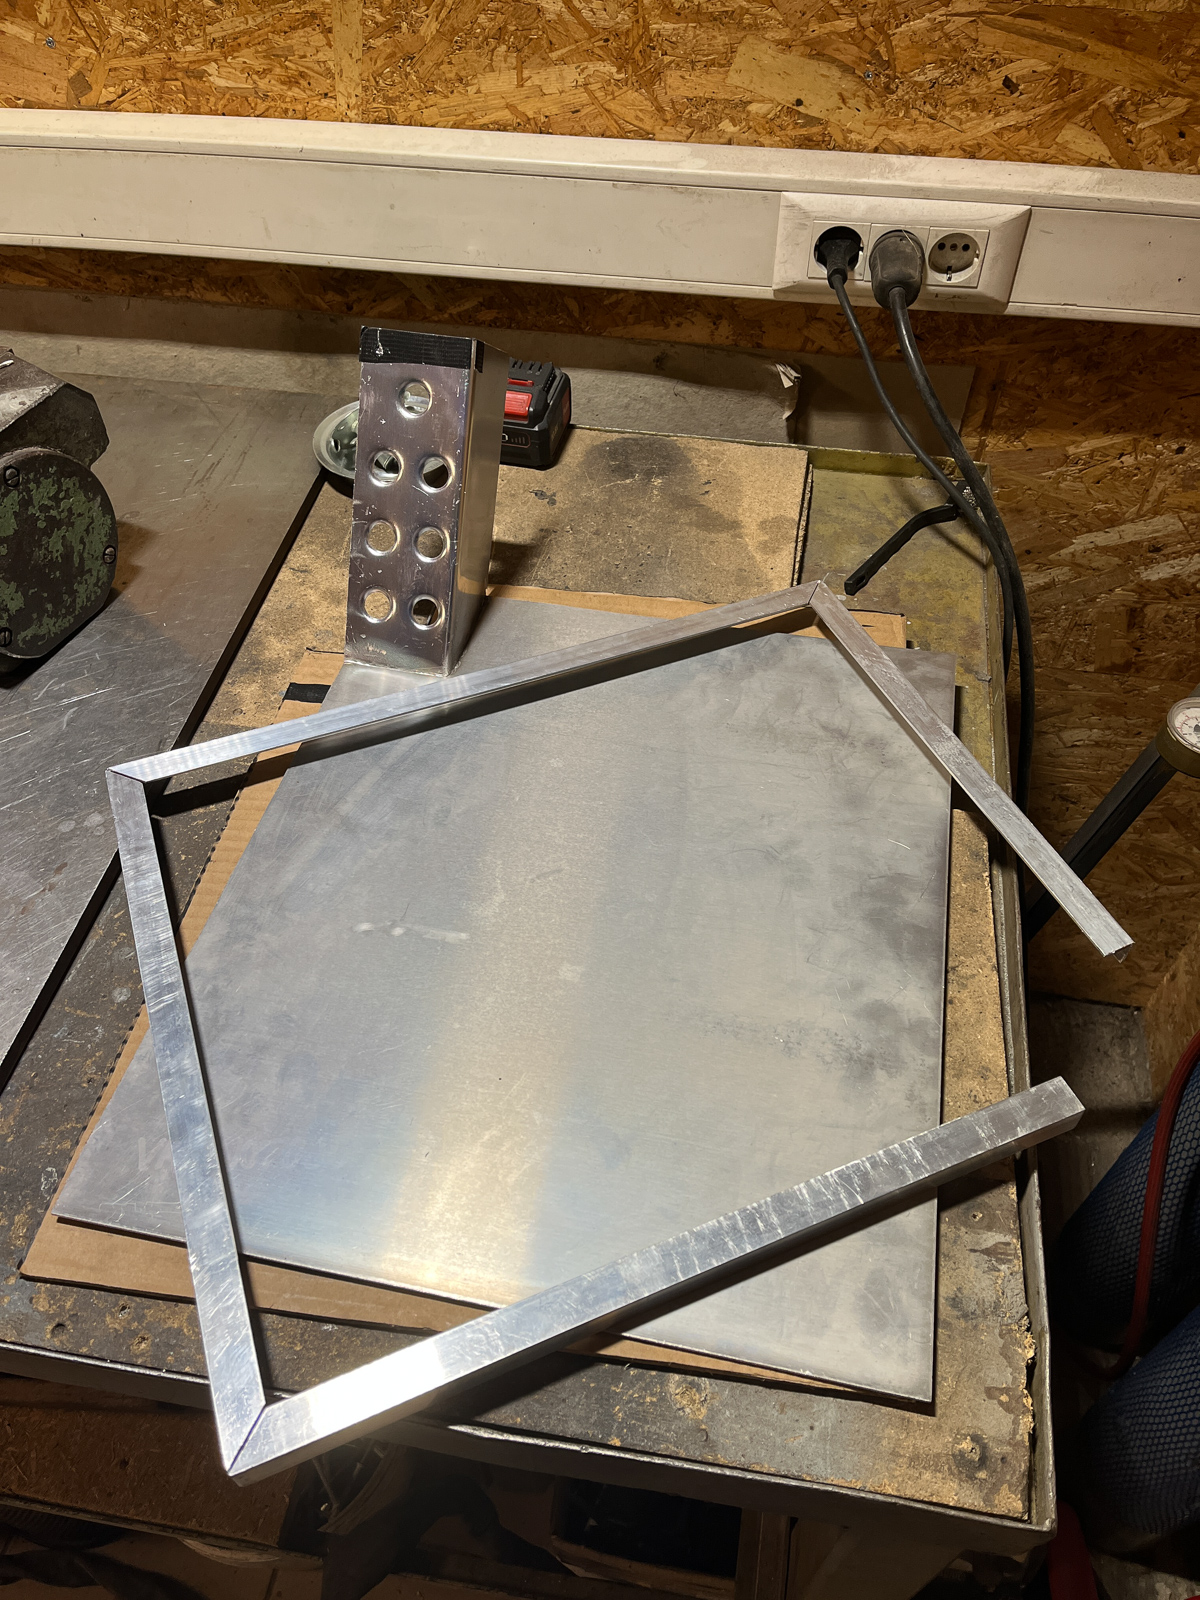
Later I acquired dimensions of aluminum sheets which needed to be cut and all together brought to some of shape:
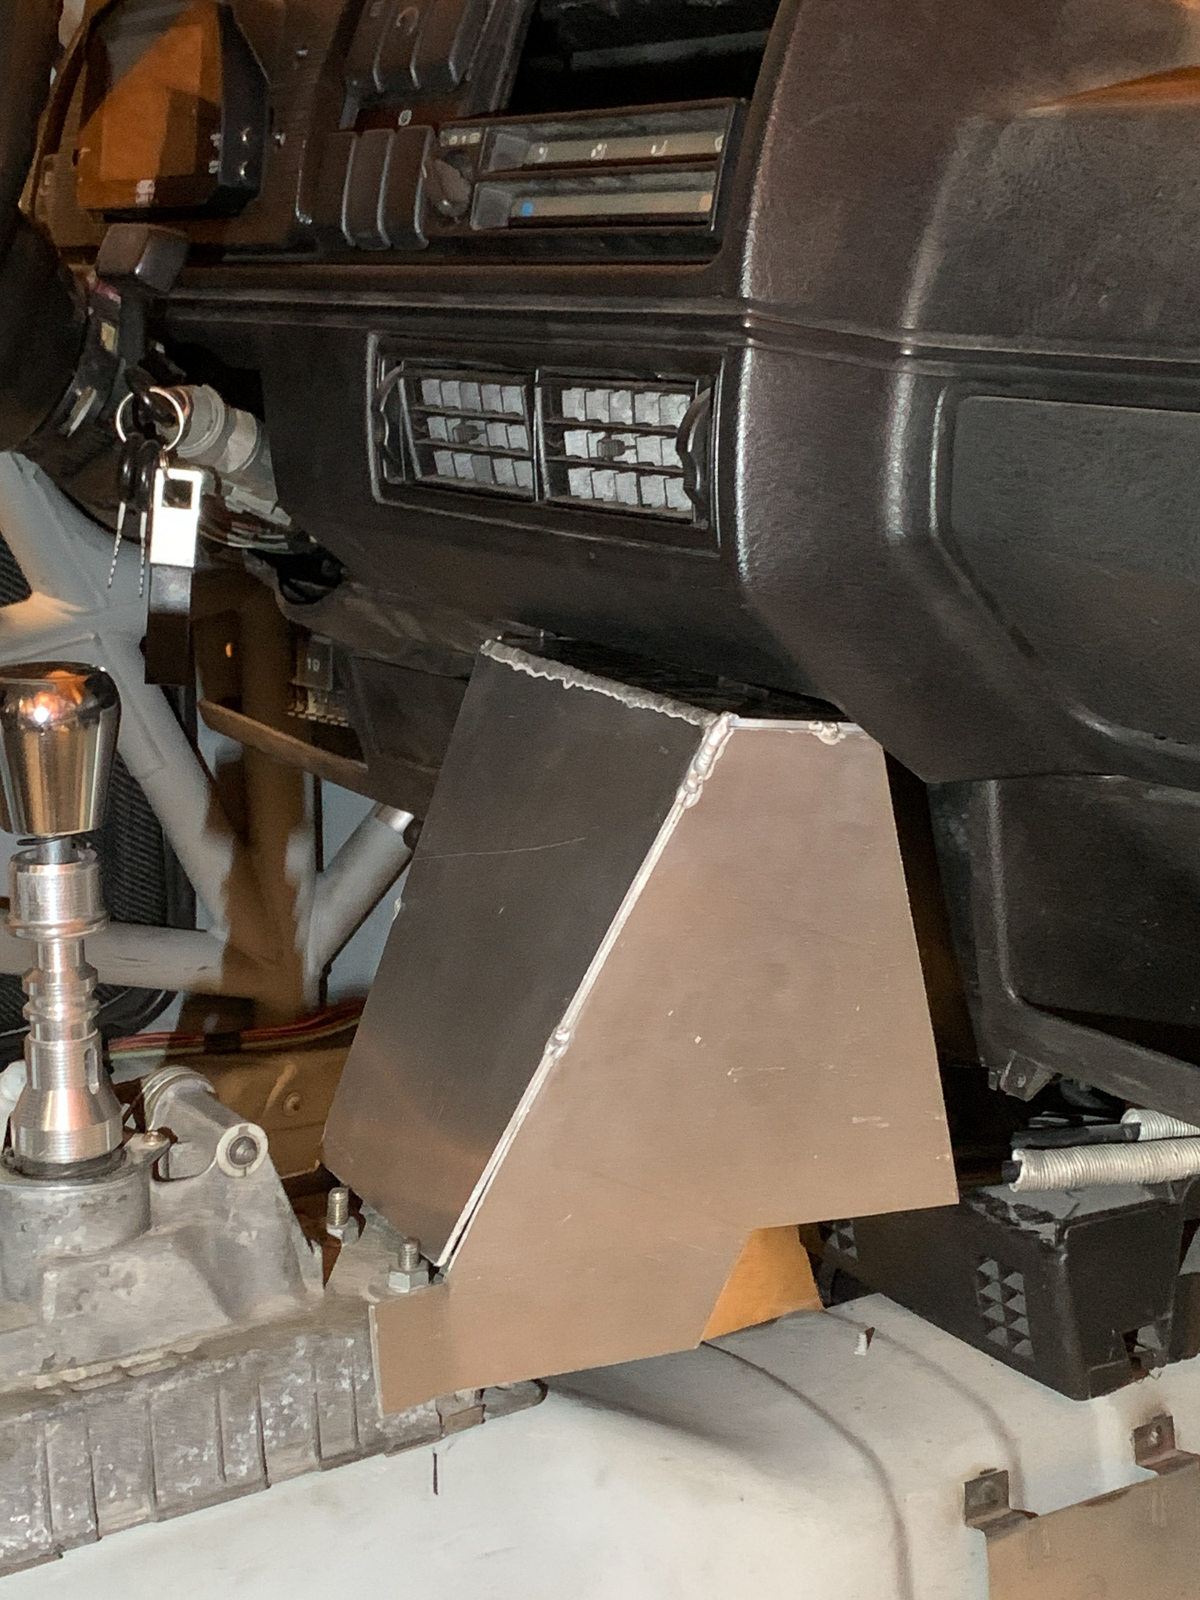
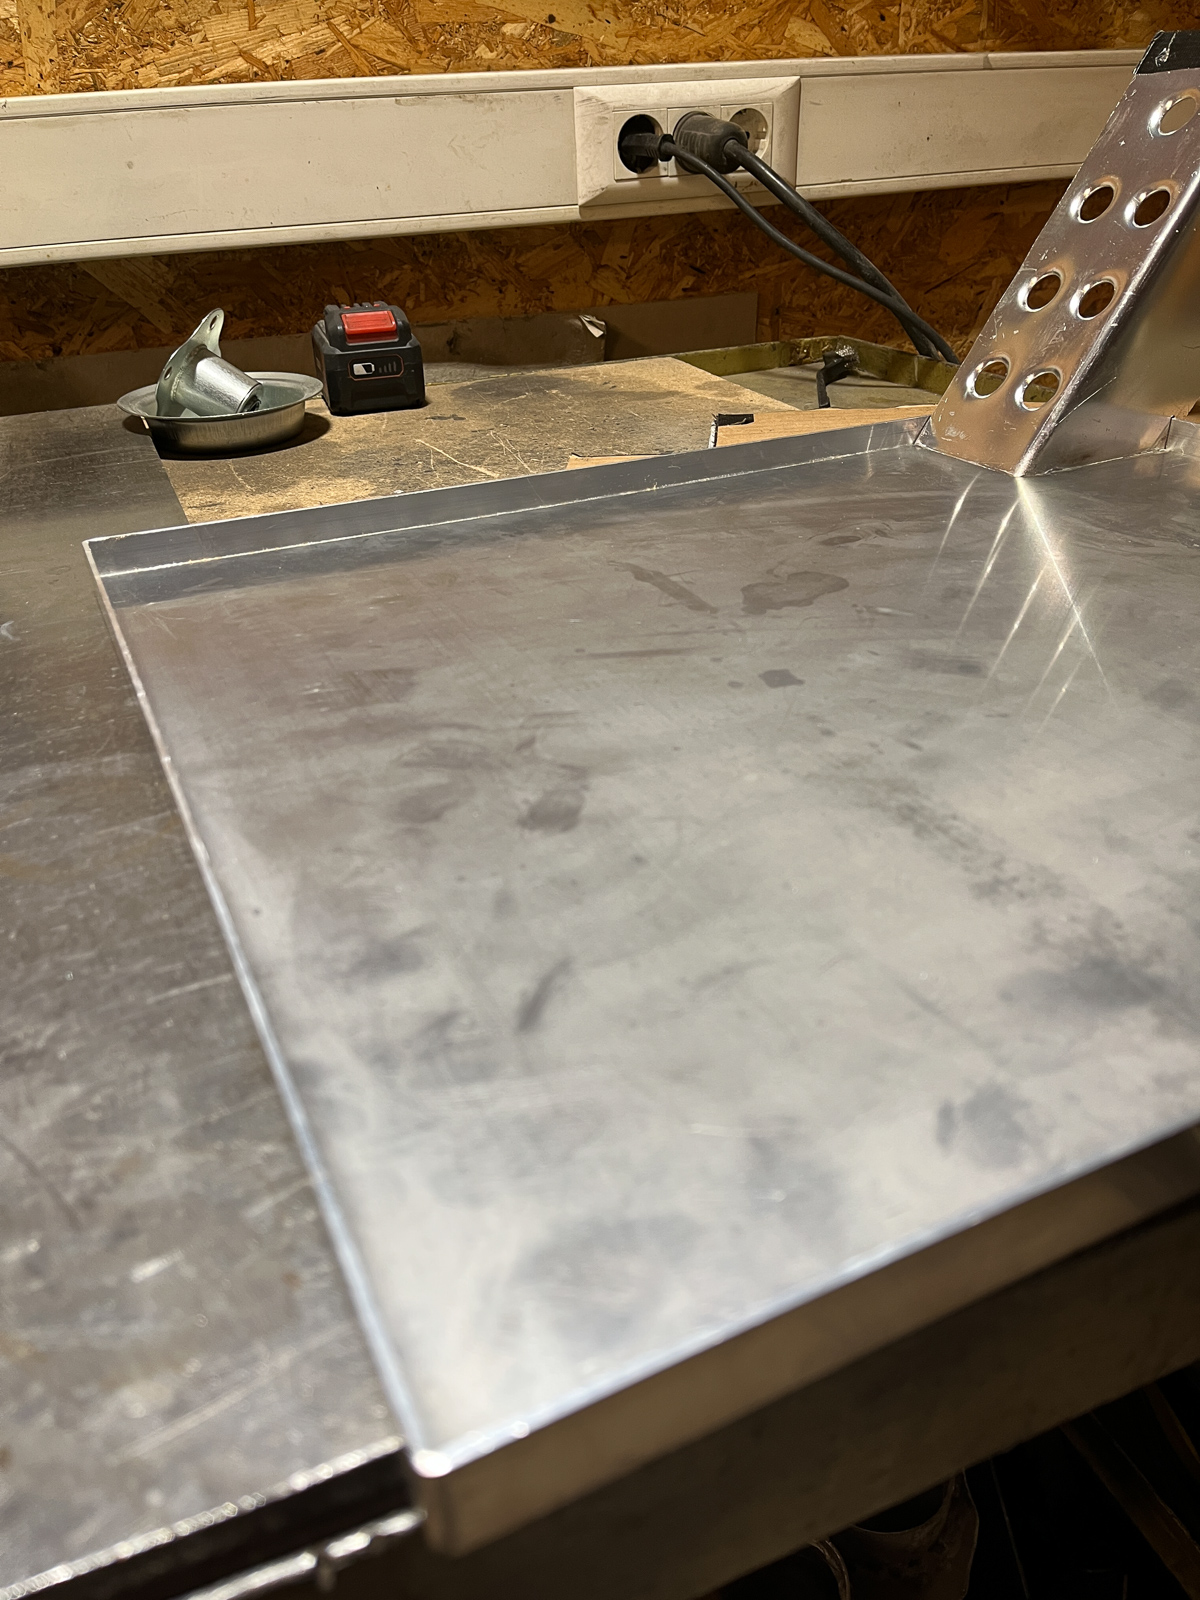
Getting shape:
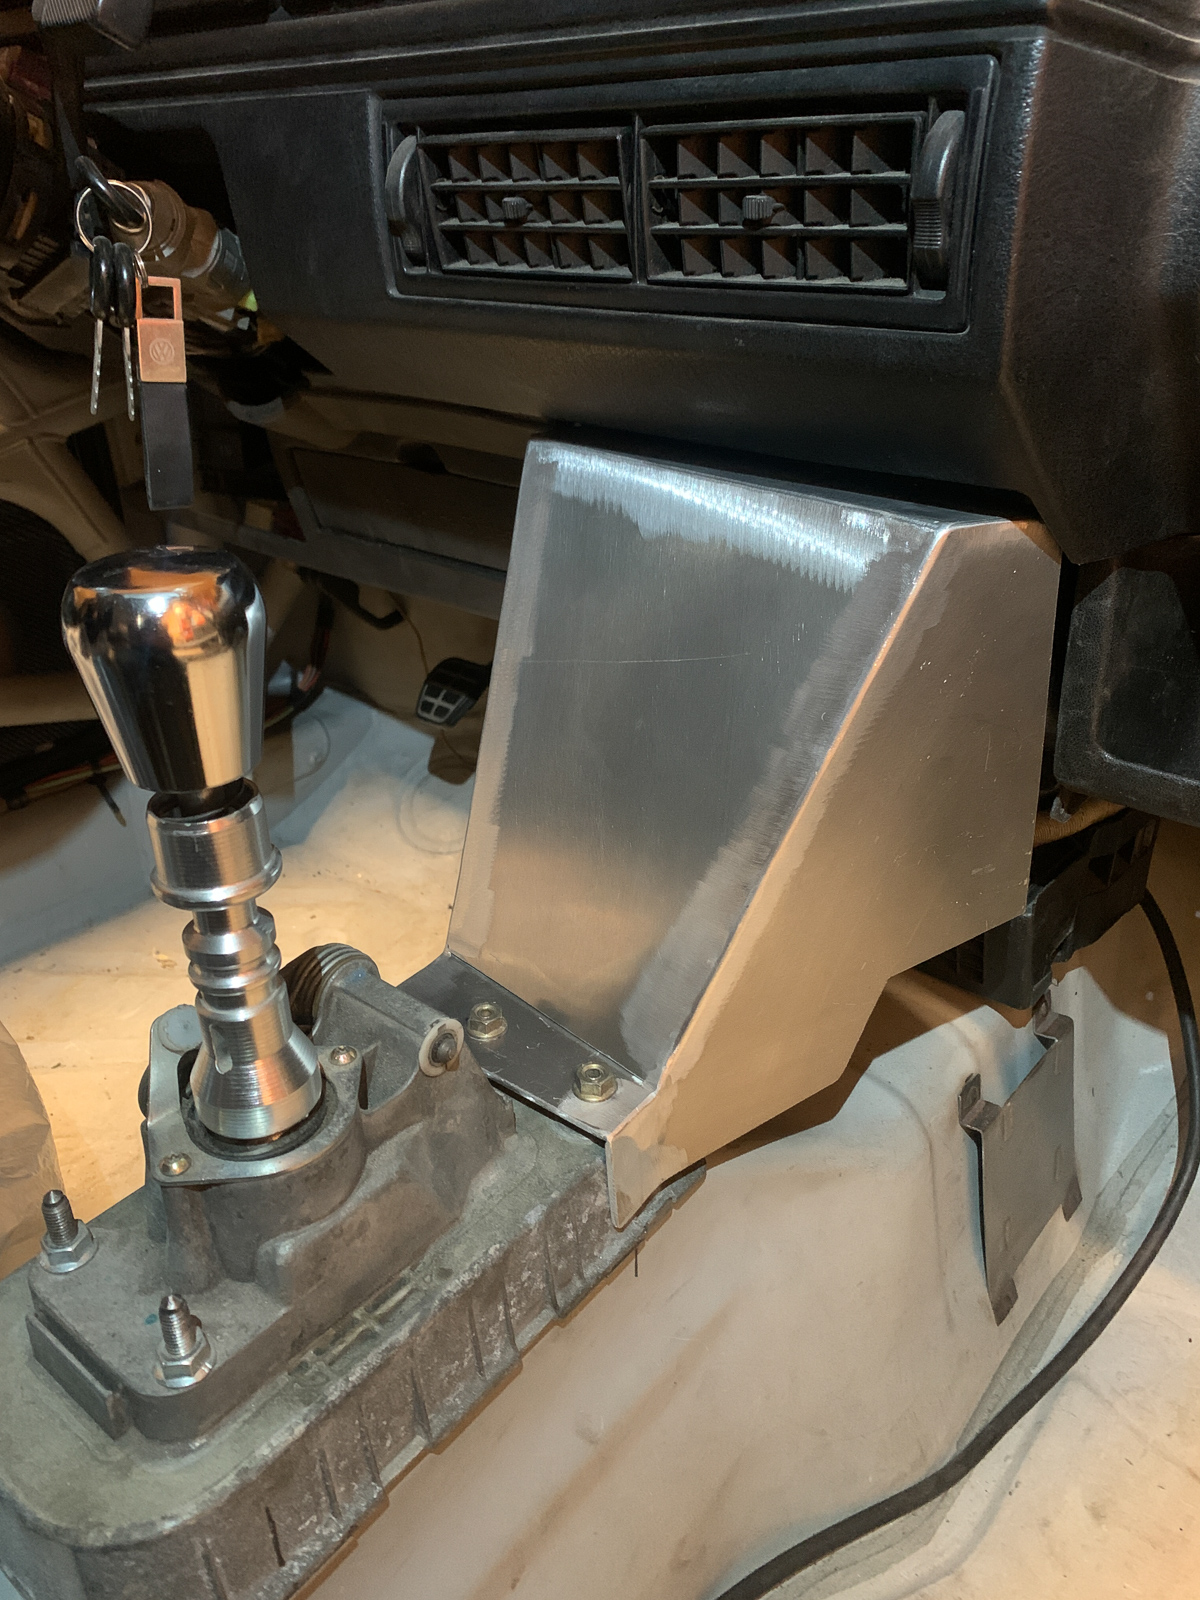
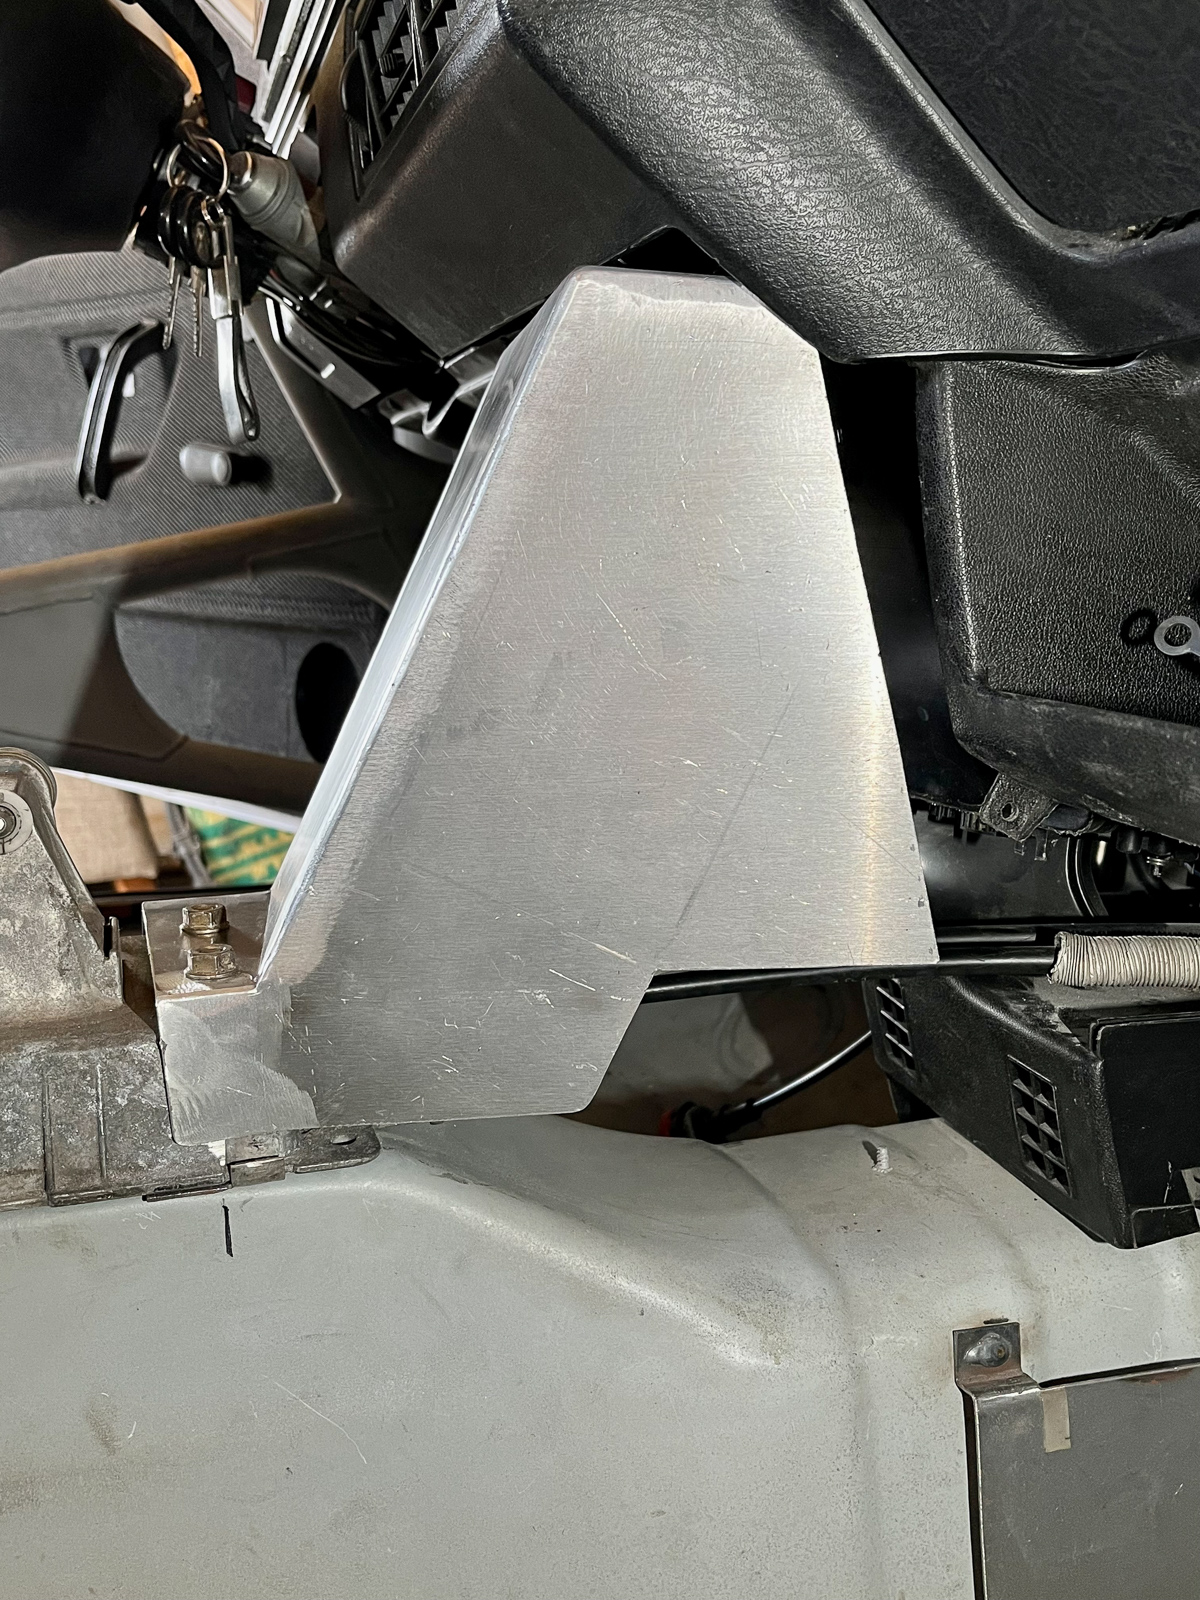
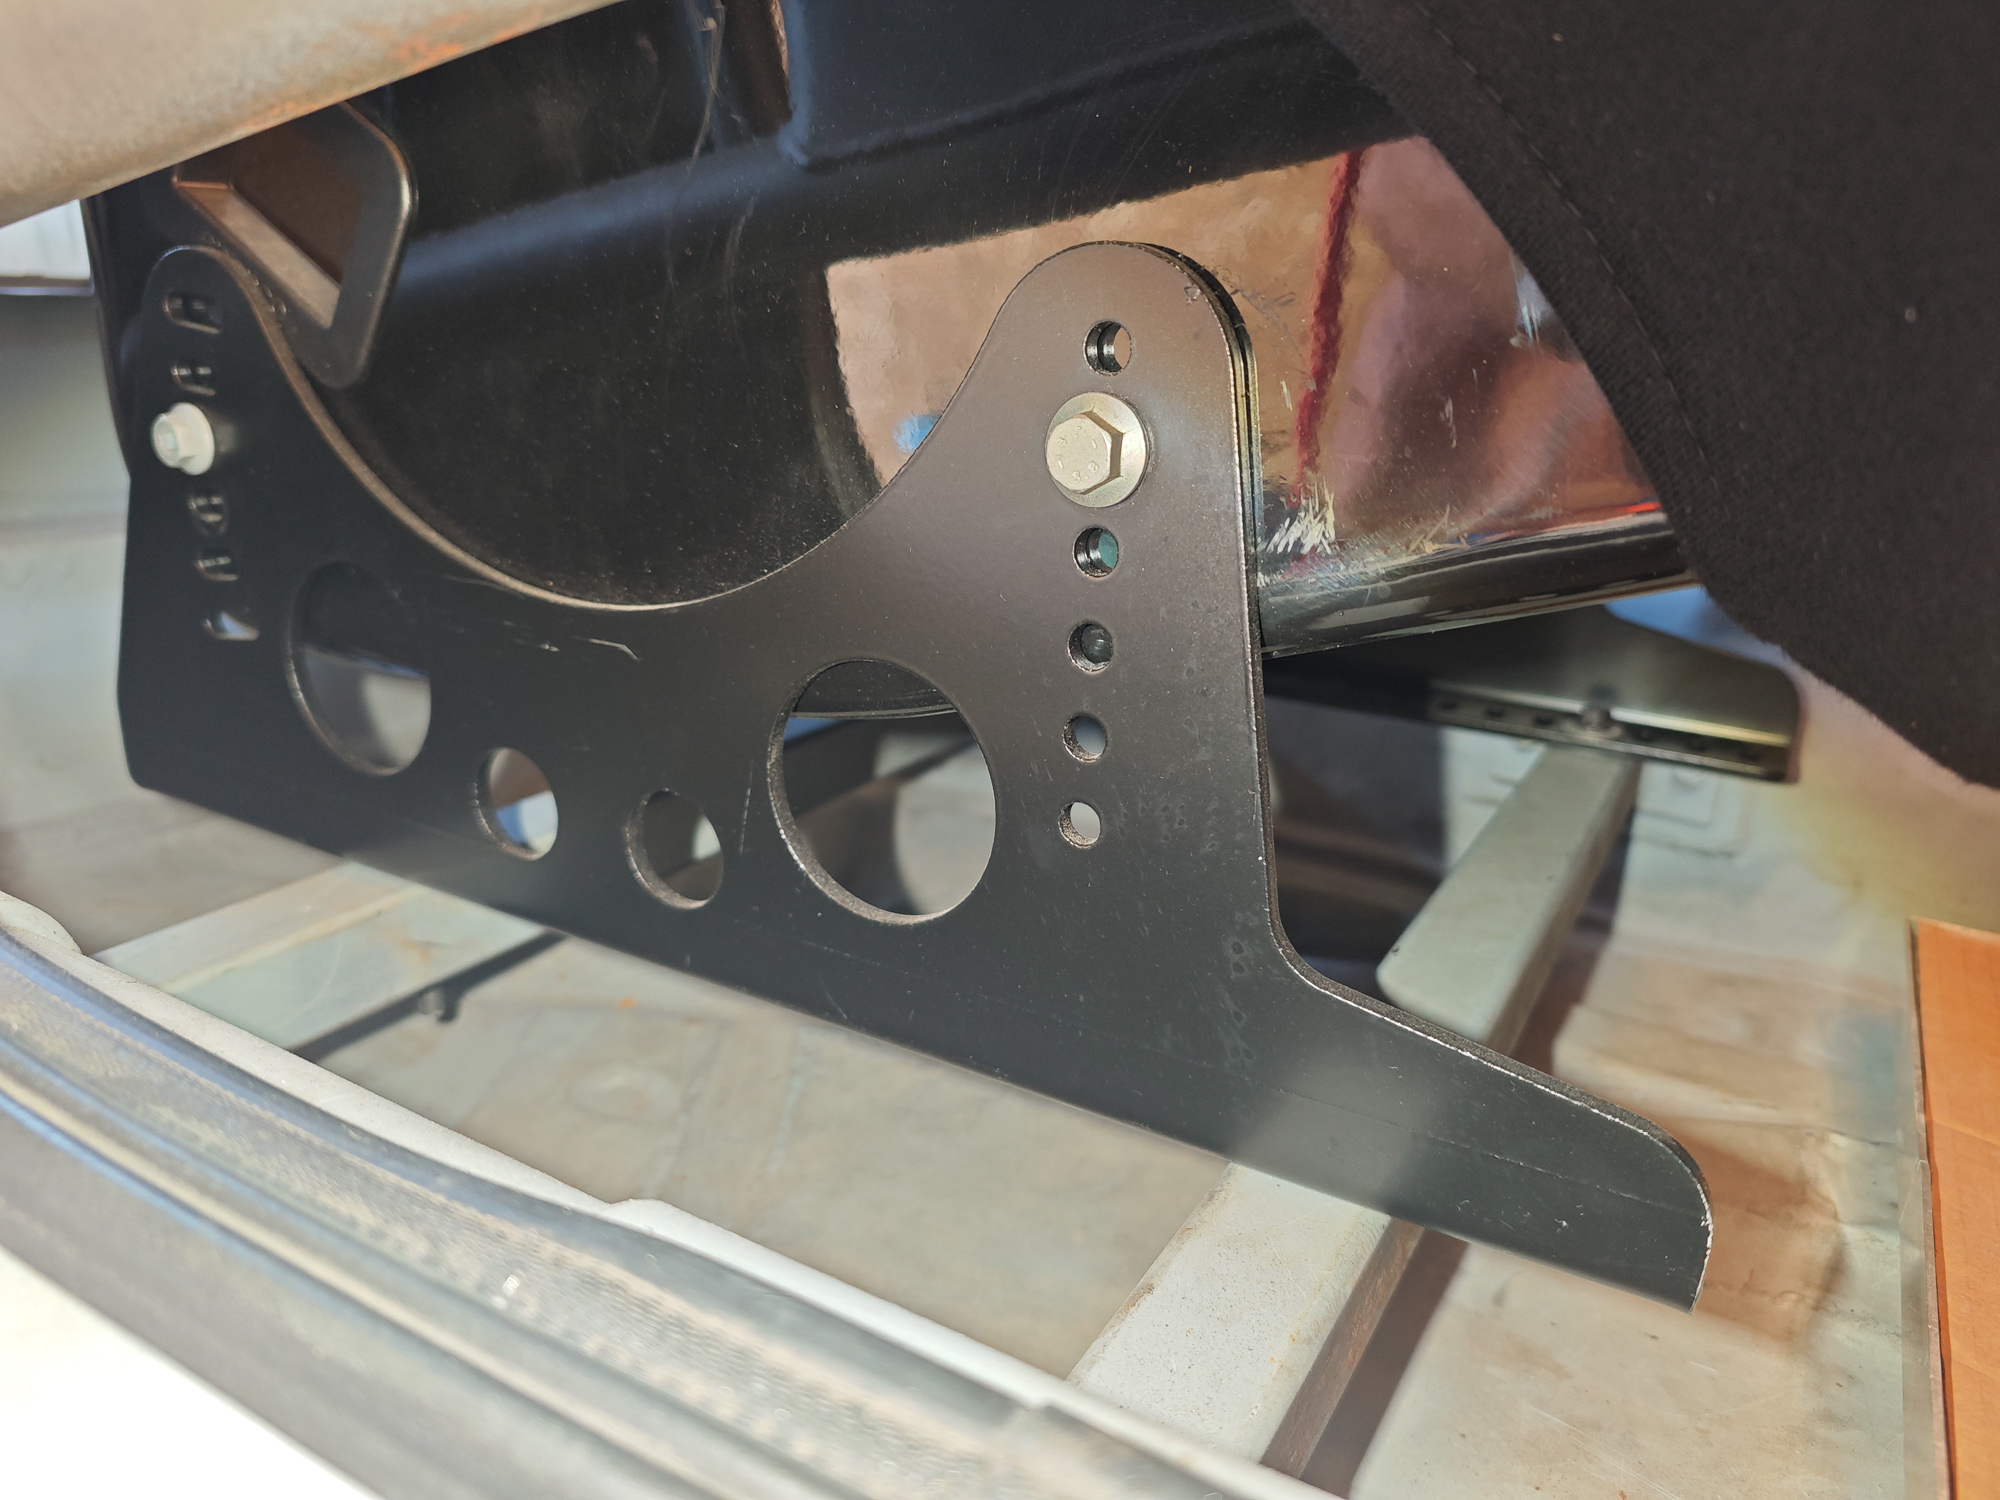
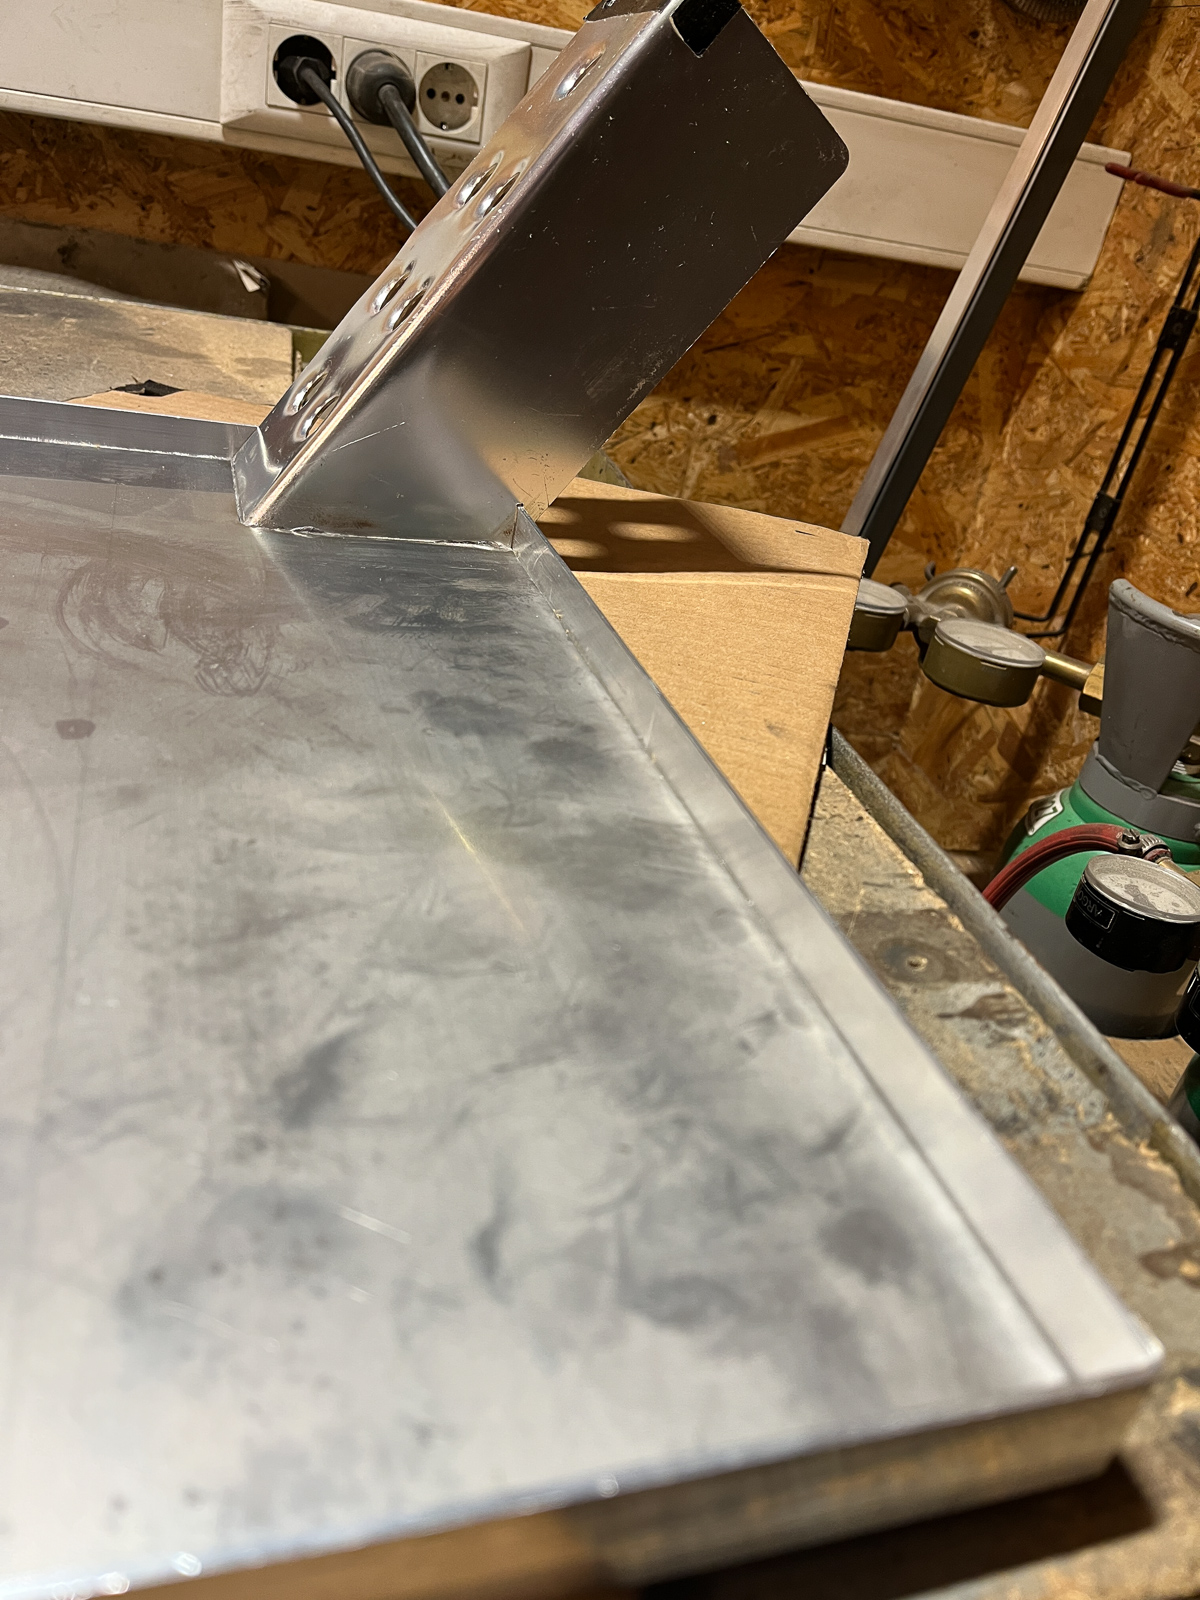
Once the shape started to be visible I decided to relocate ECU inside of it:
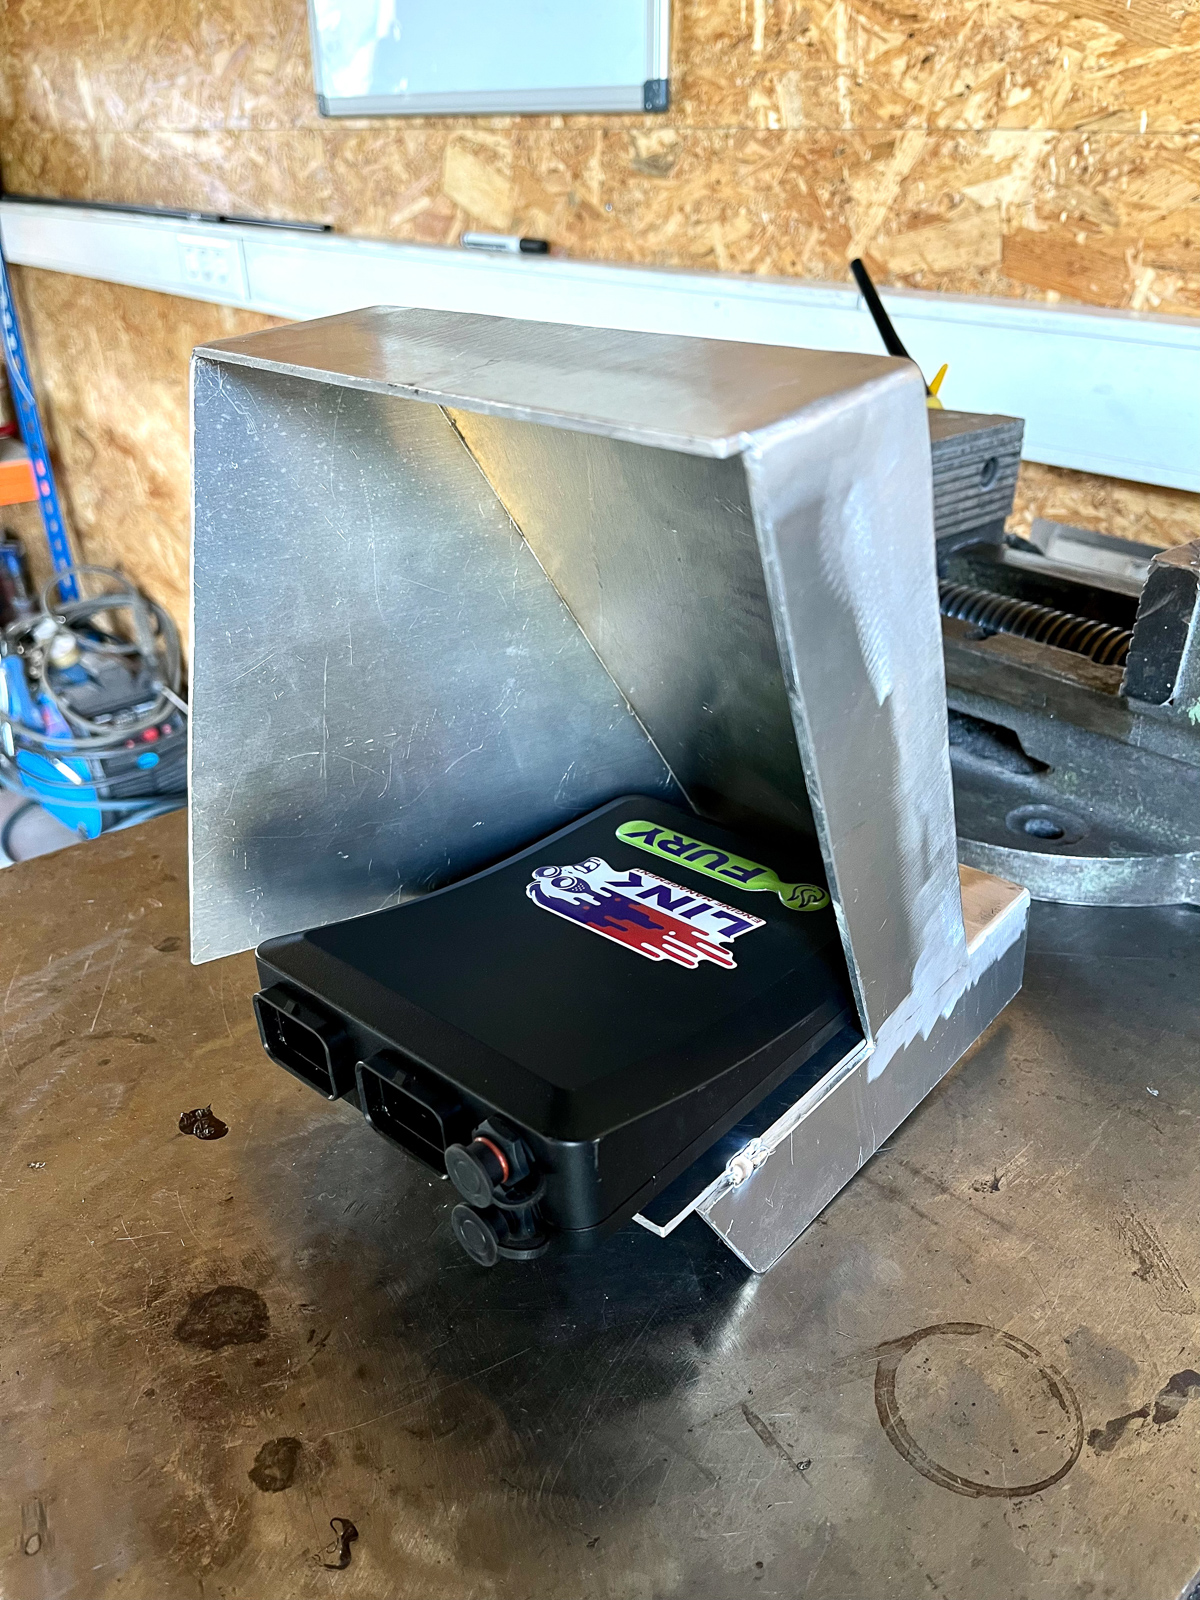
With some of nylon bolts used it eventually found it's home:
In the end, after it got it's location and form, I cut some of it just to have brake bias adjuster, fuse box and 12V power feed socket installed:
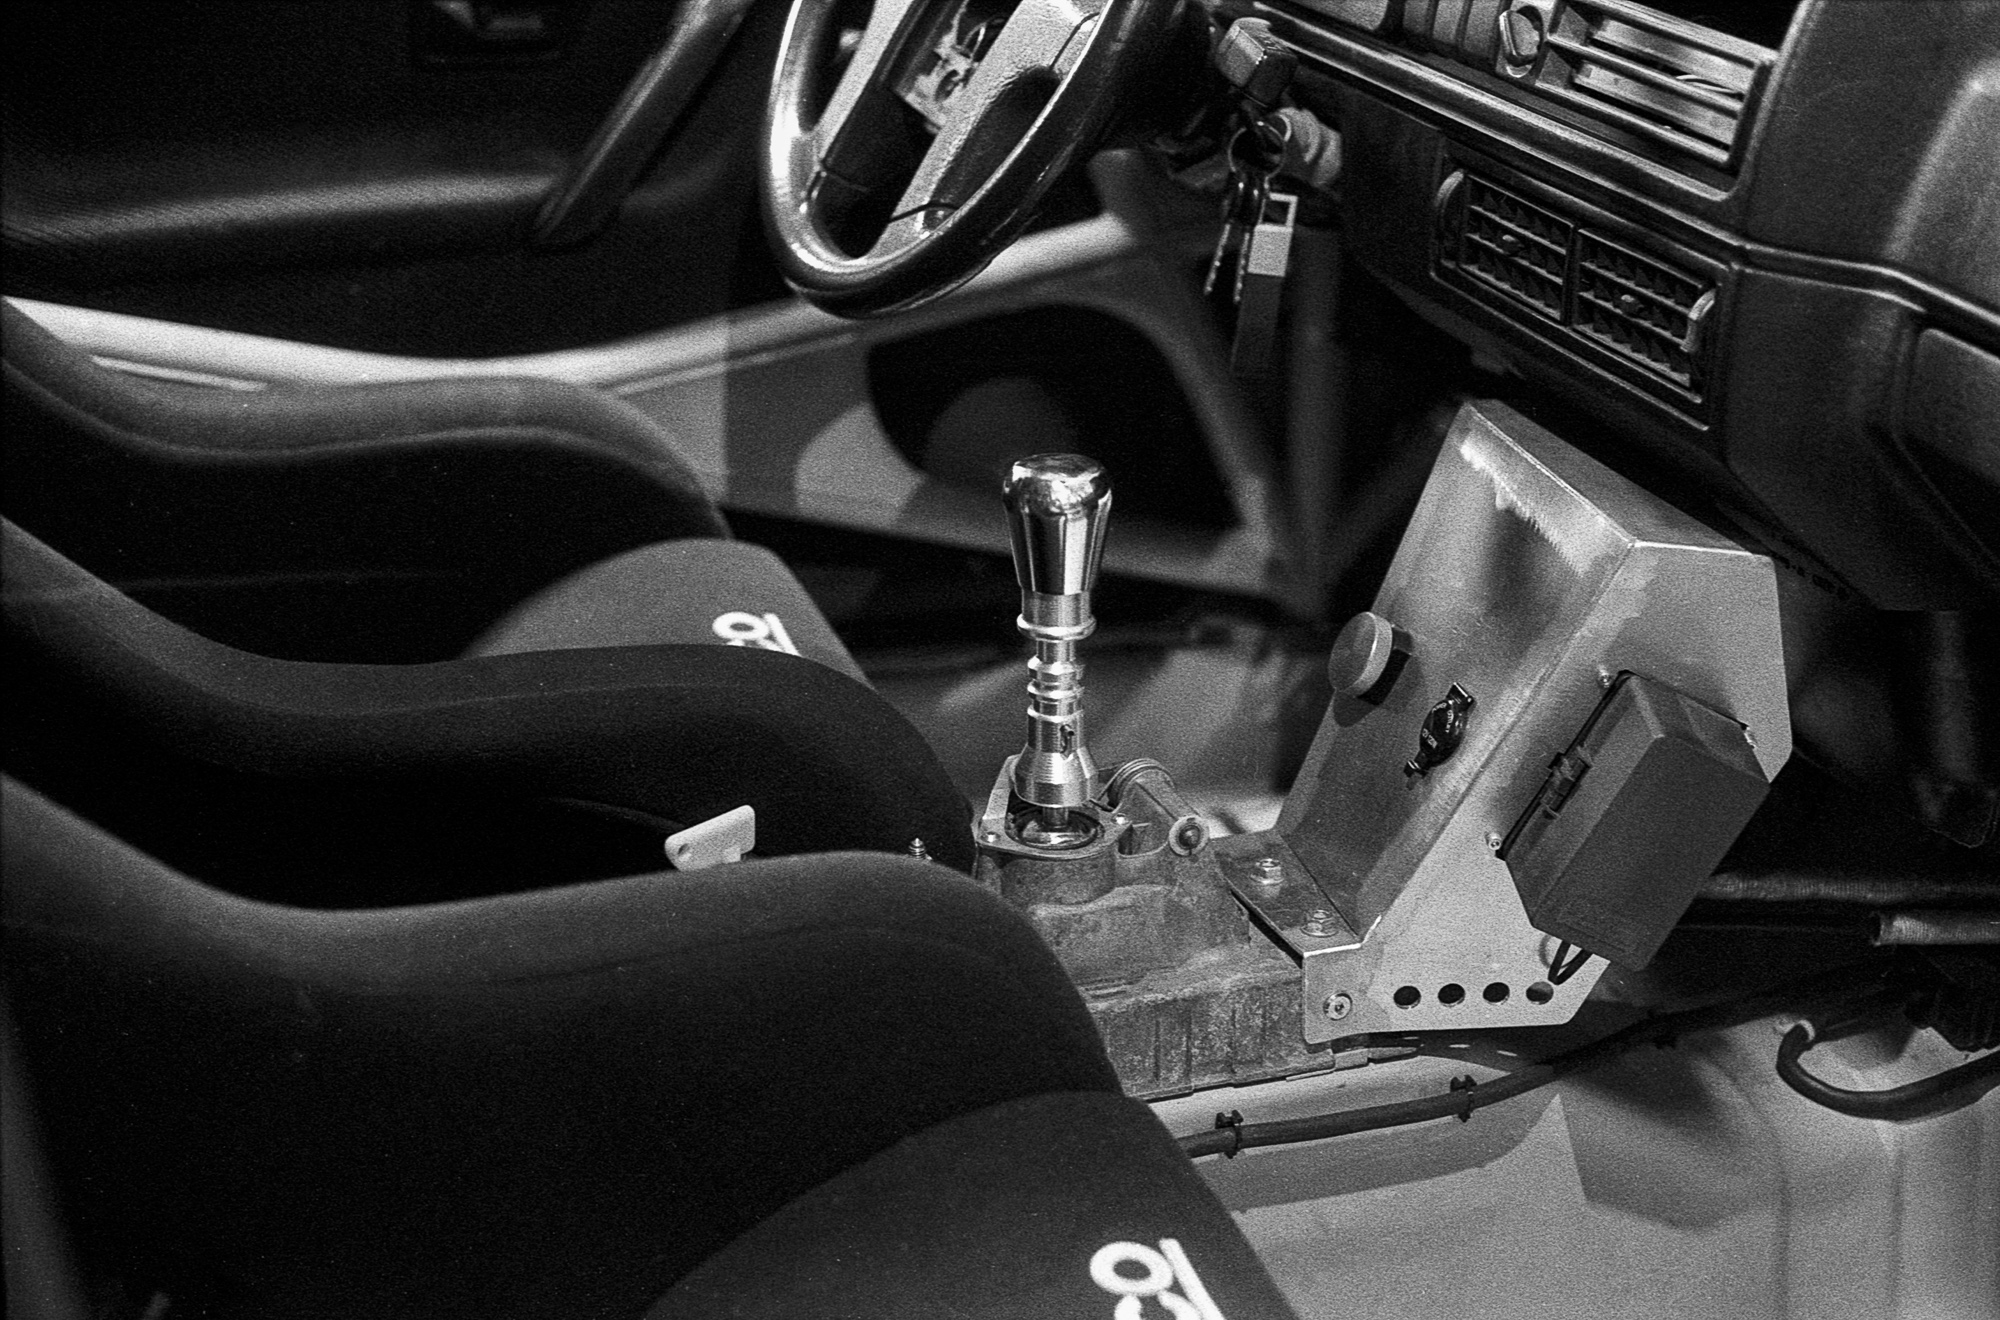
All the time while fitting seats, stick, center console, handbrake and steering wheel I was looking for seating position to be as safe and comfy as possible. Shifter have moved closer to driver, that is nice but eventually it started to interfere with handbrake lever. Shifter versus seat, all good but some other problems out there:
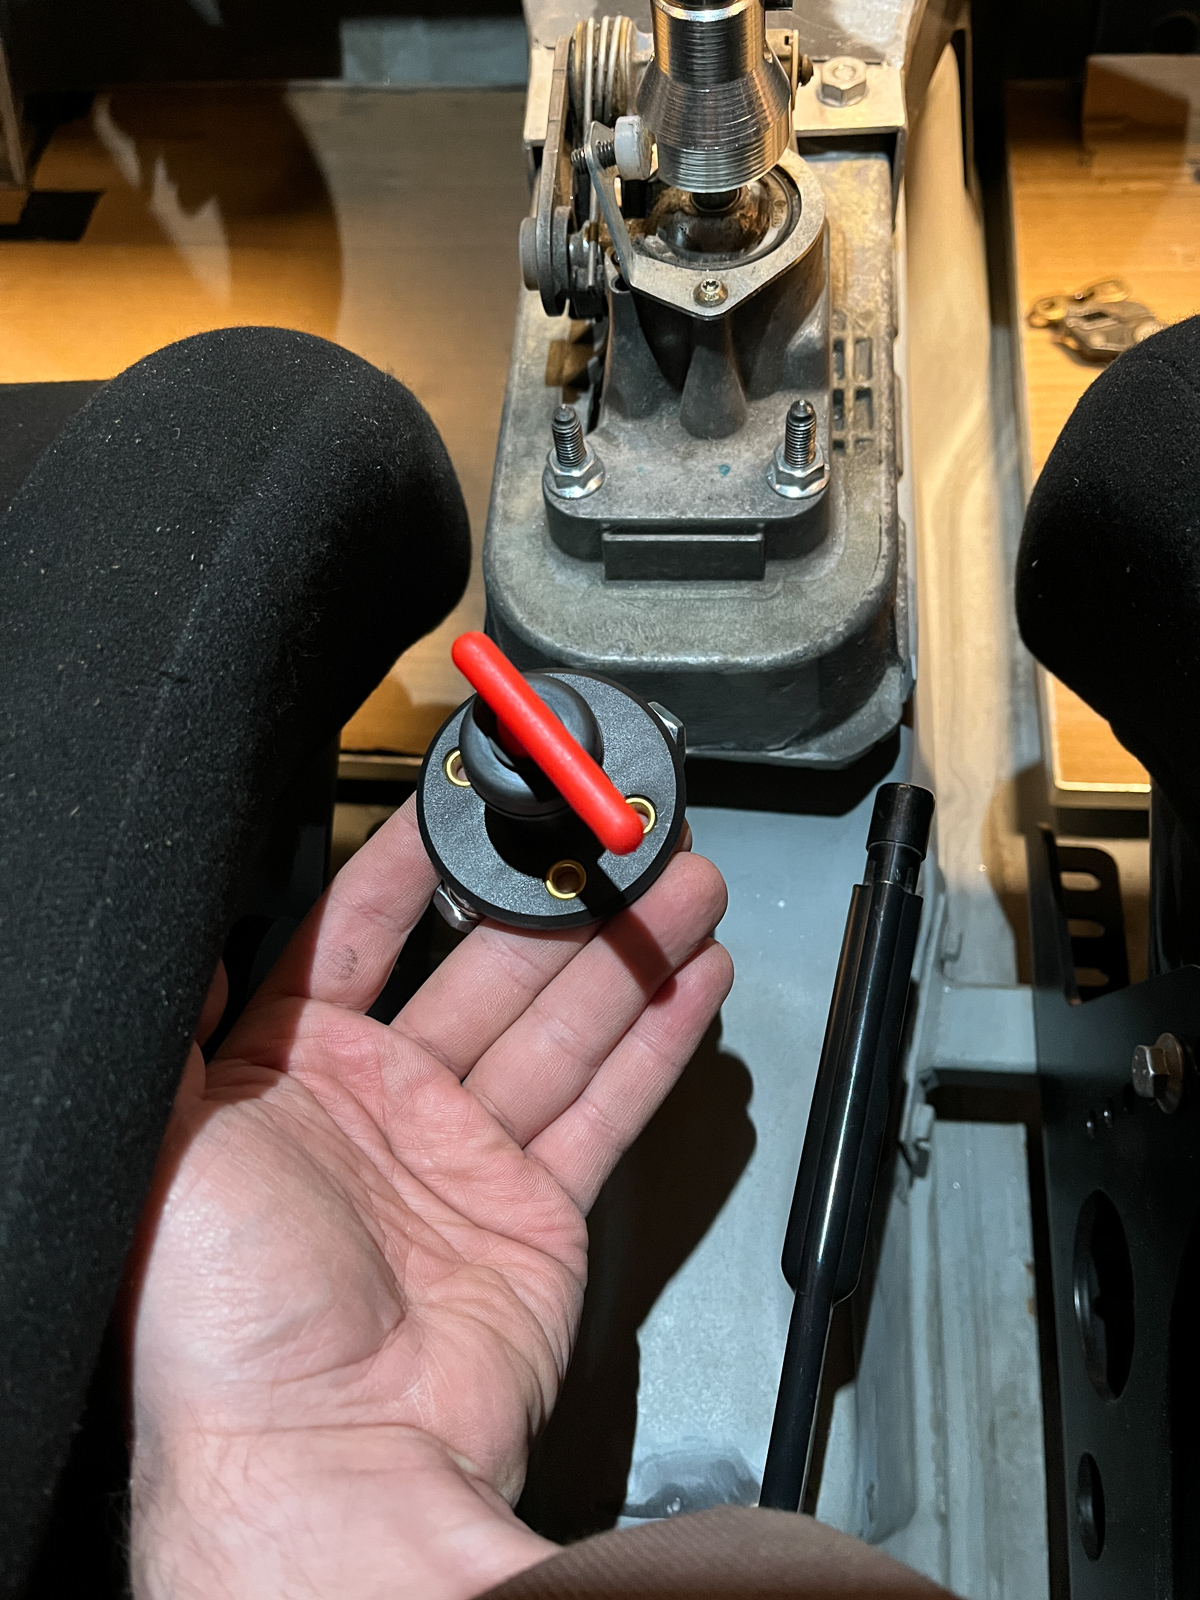
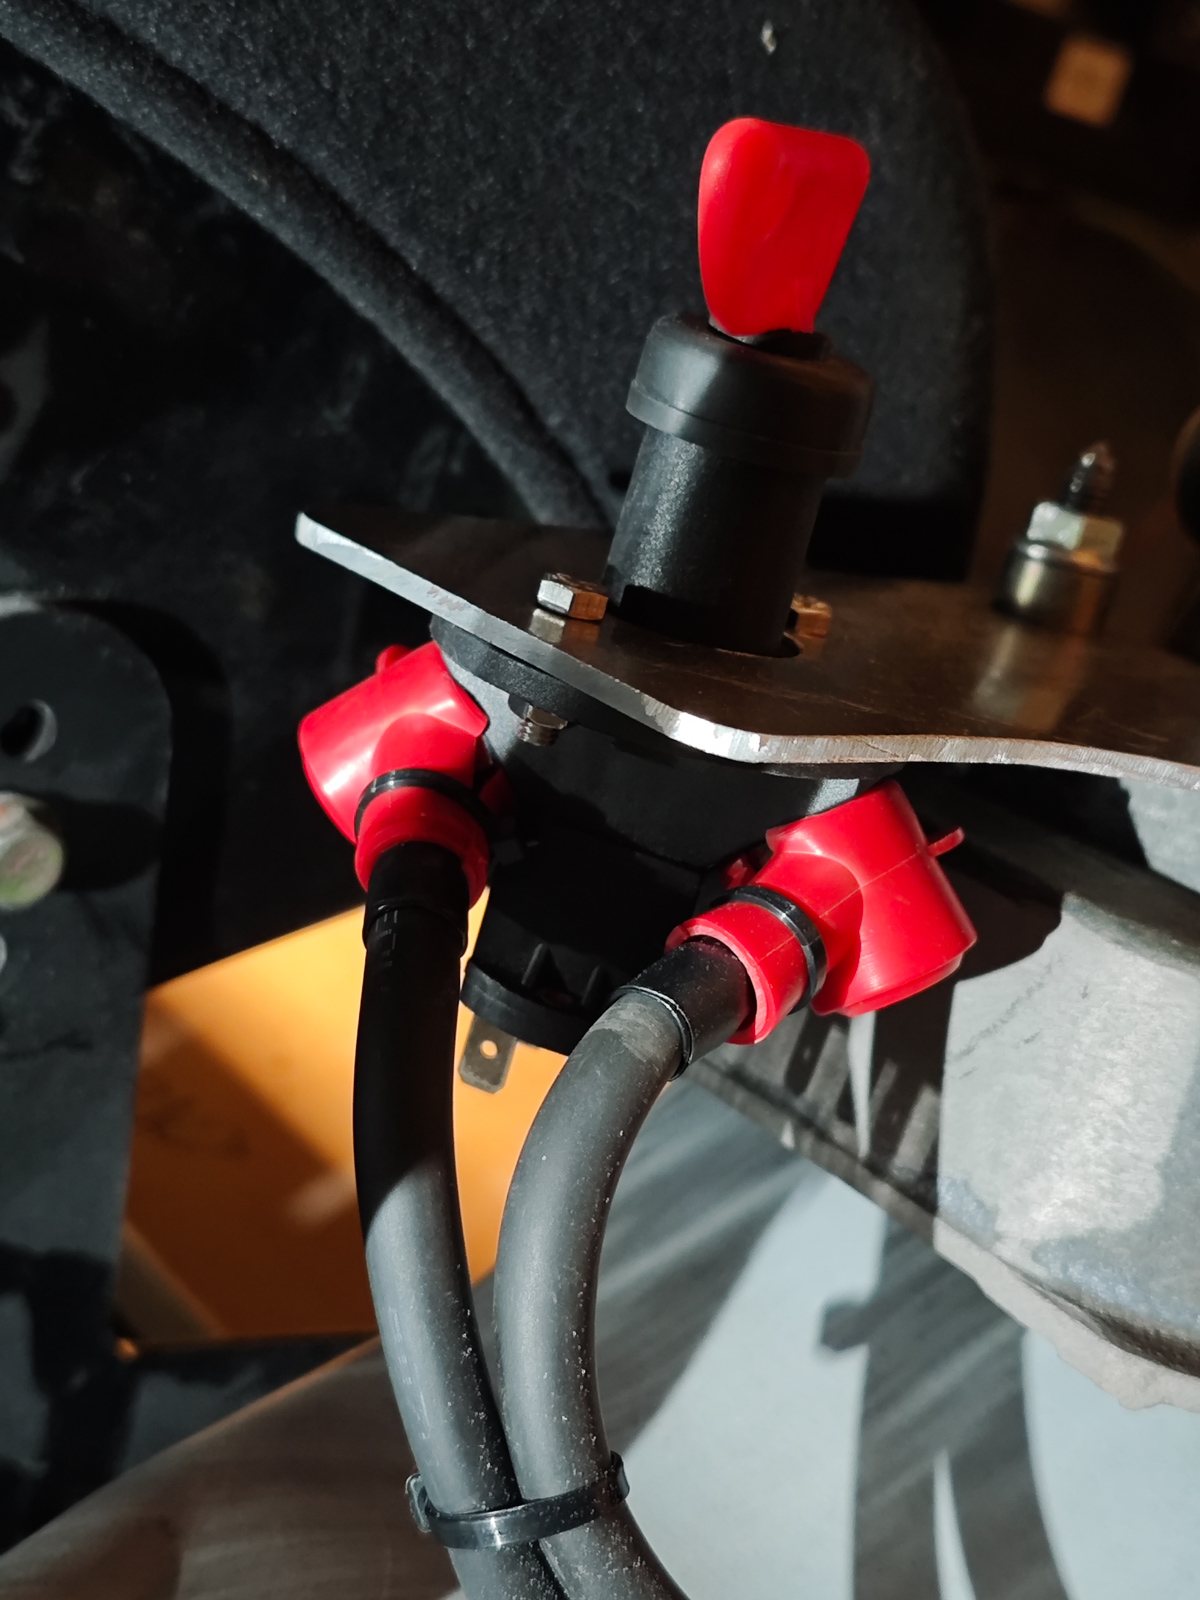
I wanted to keep kill switch next to hand brake. So I just cut off bracket of brake lever, welded it back but at different angle. This trick allowed to have them both just under your palm. So that's how it all started:
Located:
Cut and make it happen:
Welded back:
Added simple kill switch bracket and that's how it all turned out:
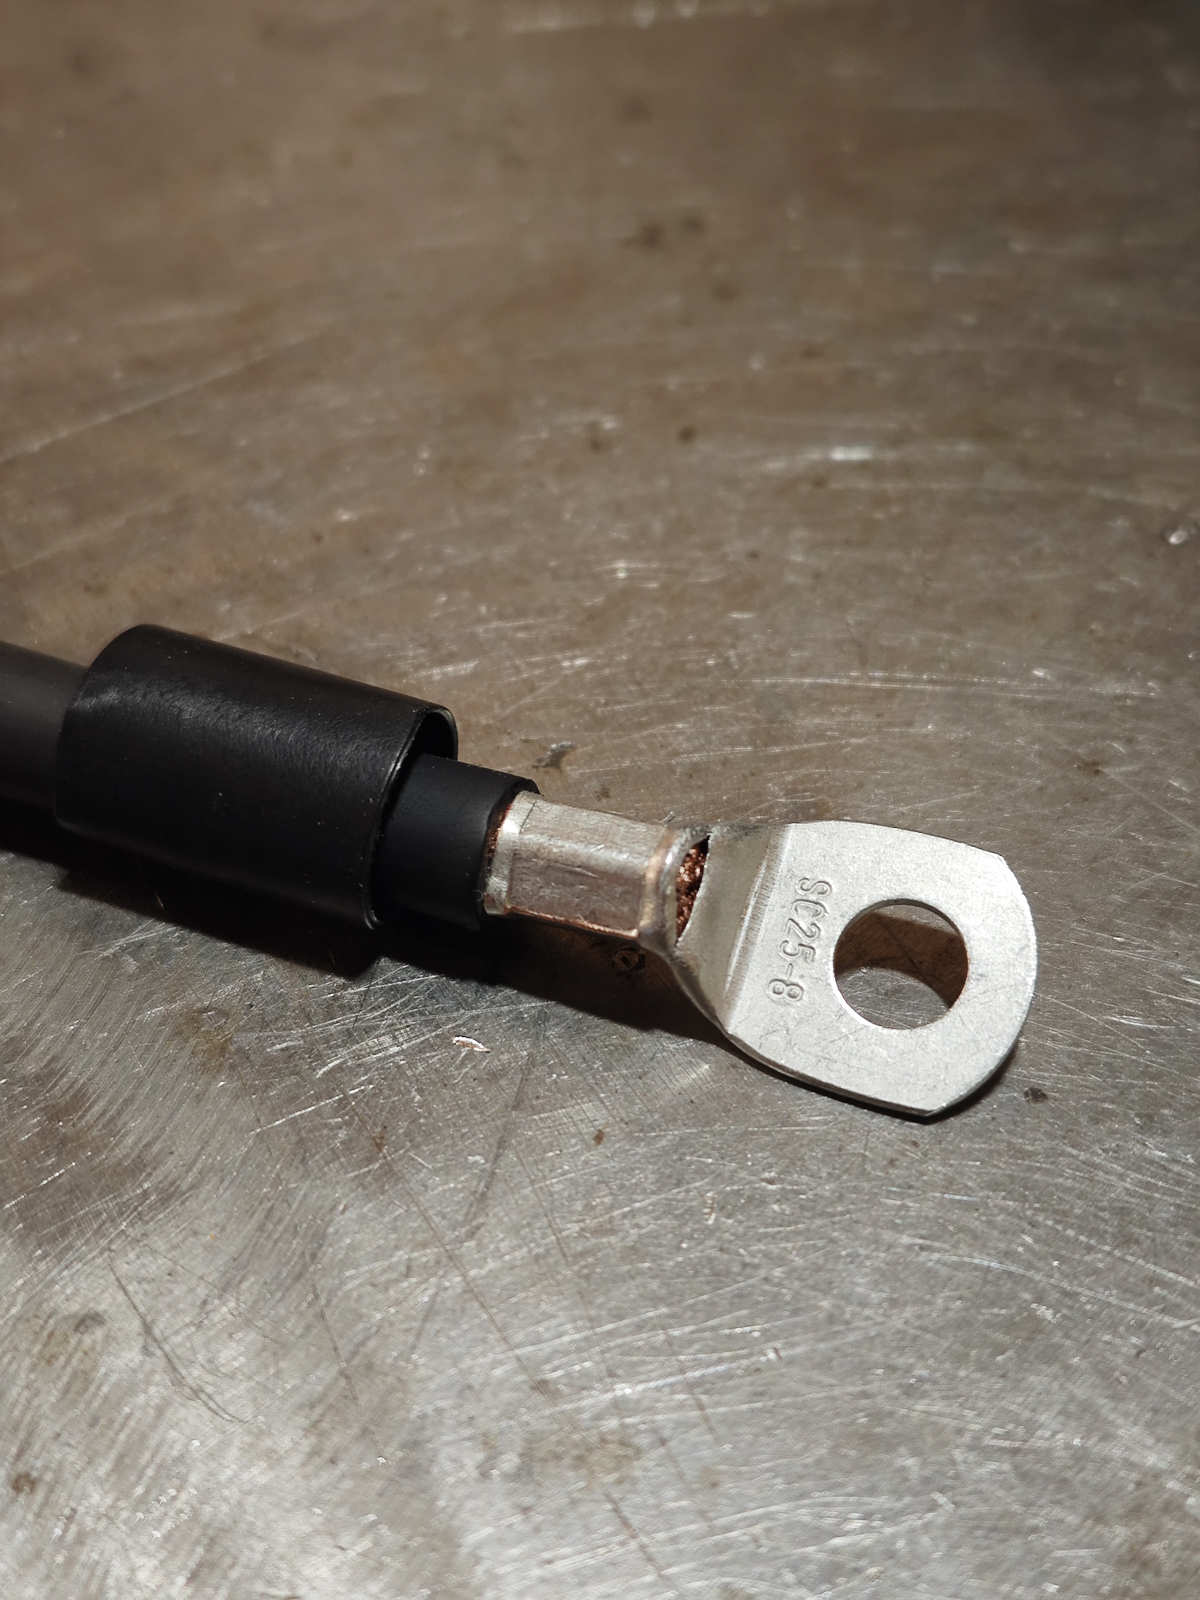
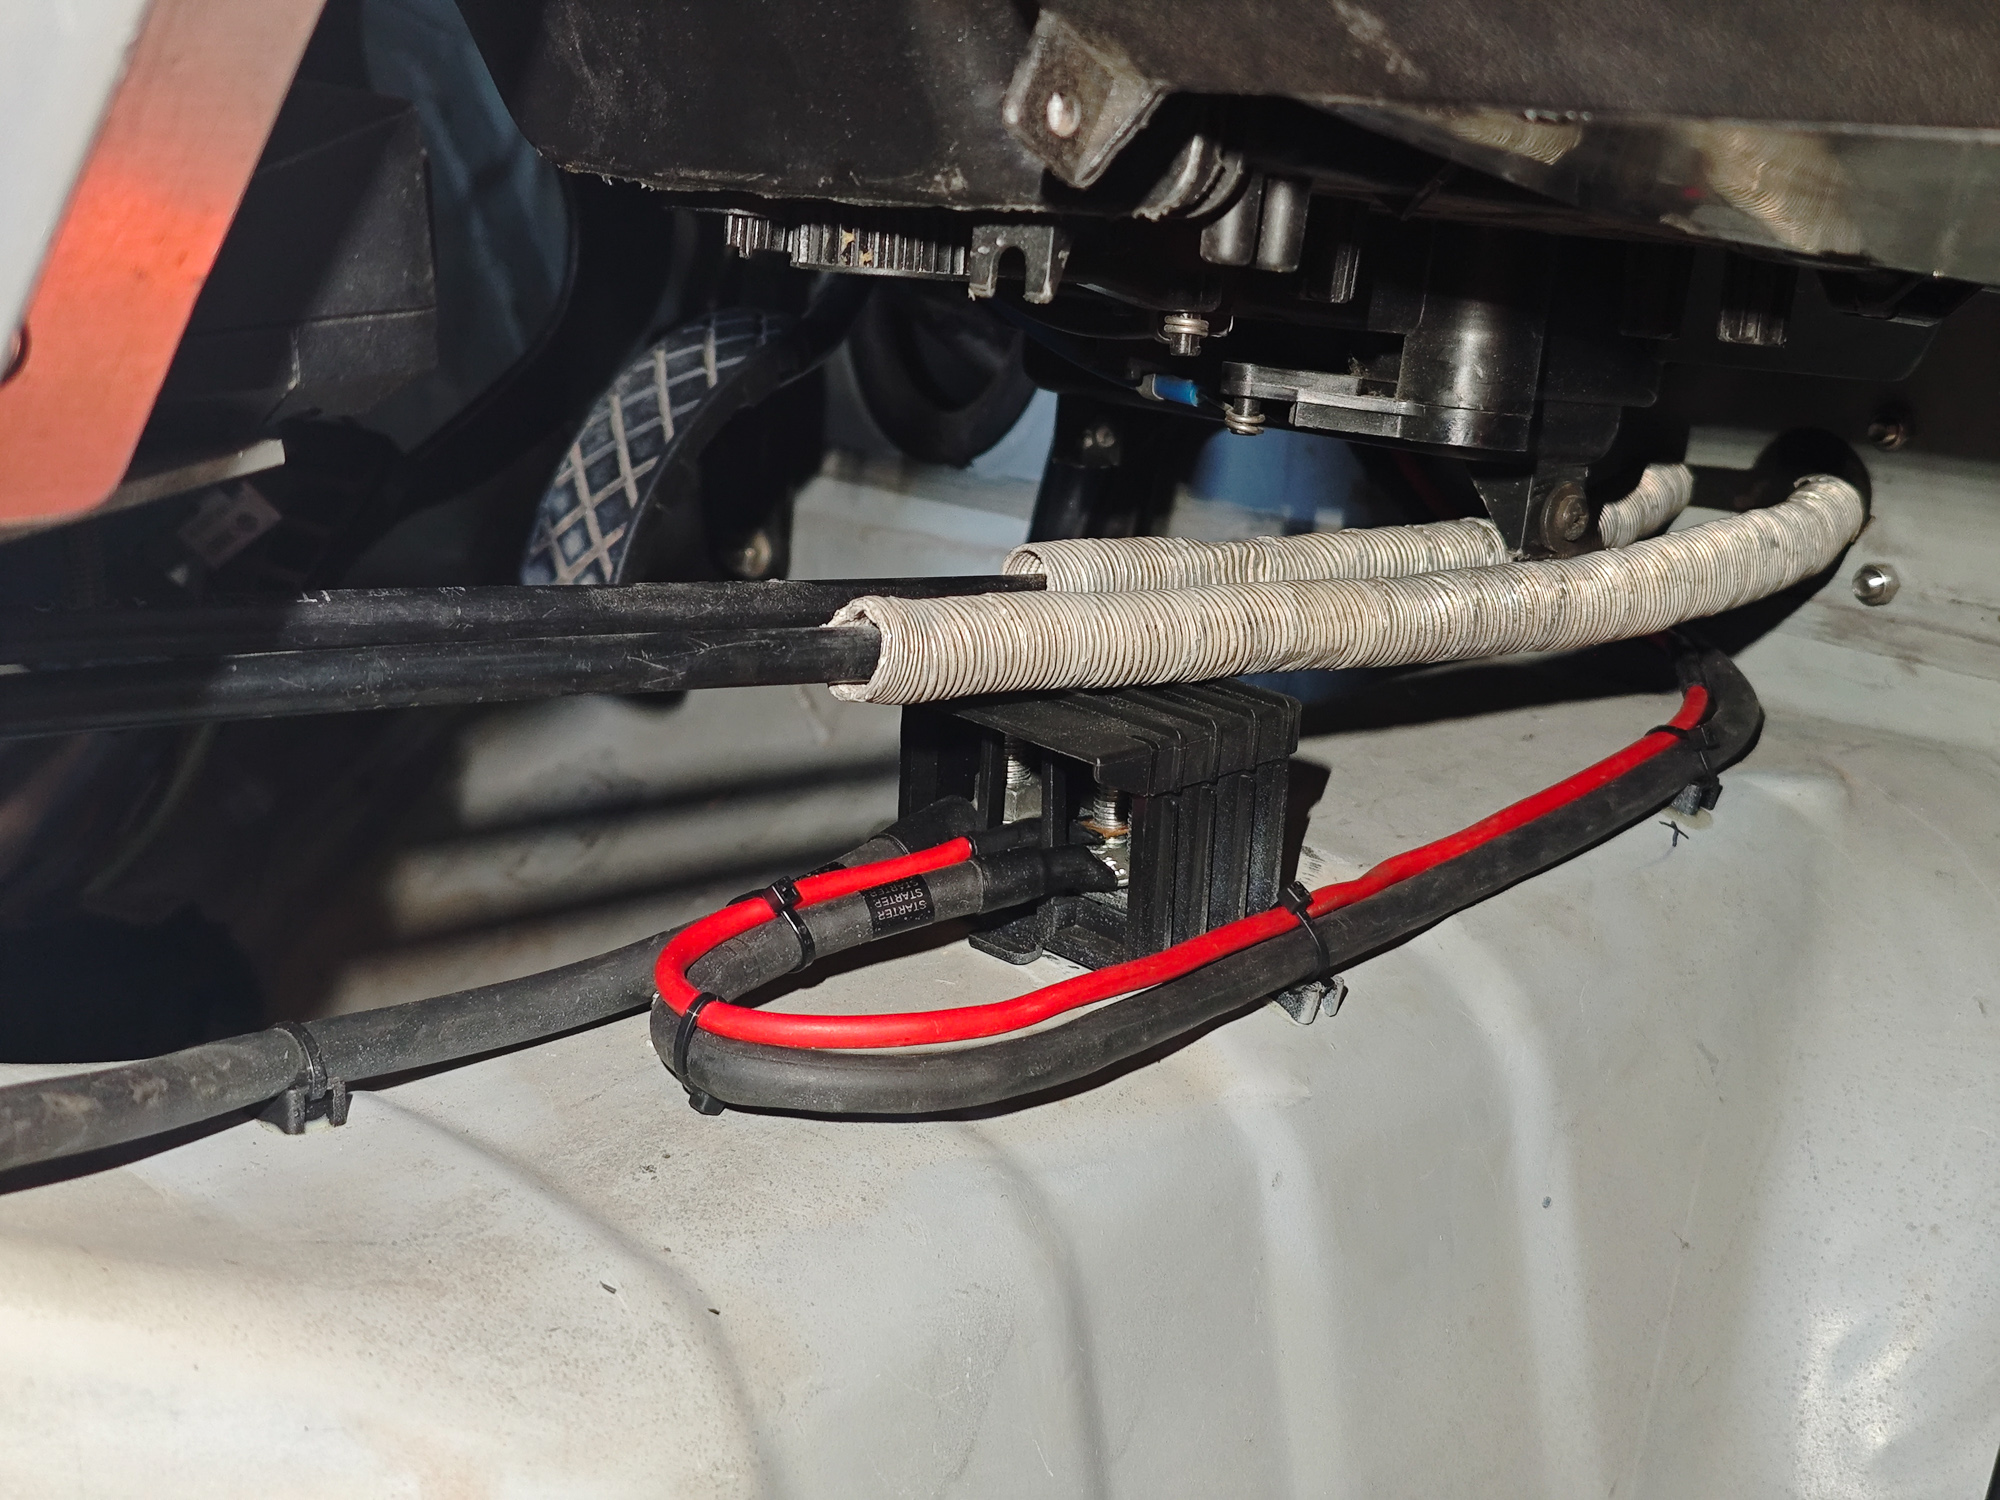
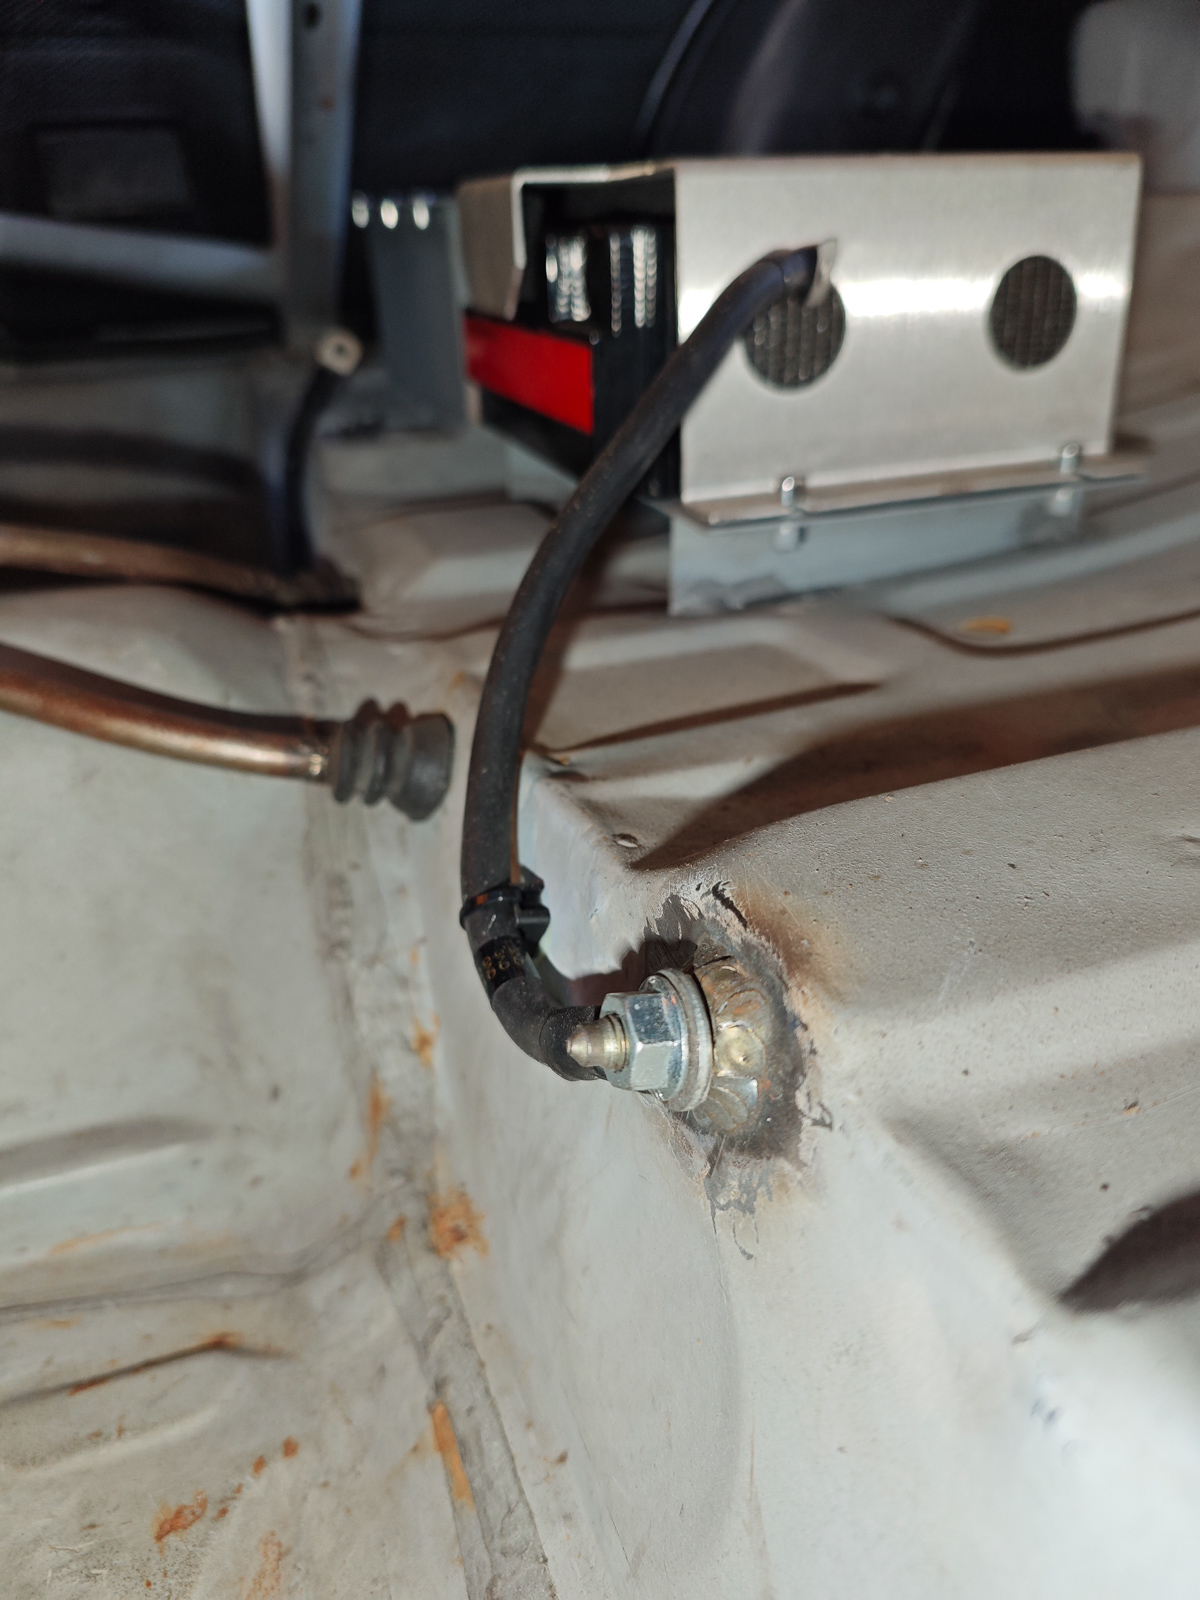
Going further I've fabricated some battery, starter motor and fuse box feed cables passing through kill switch:
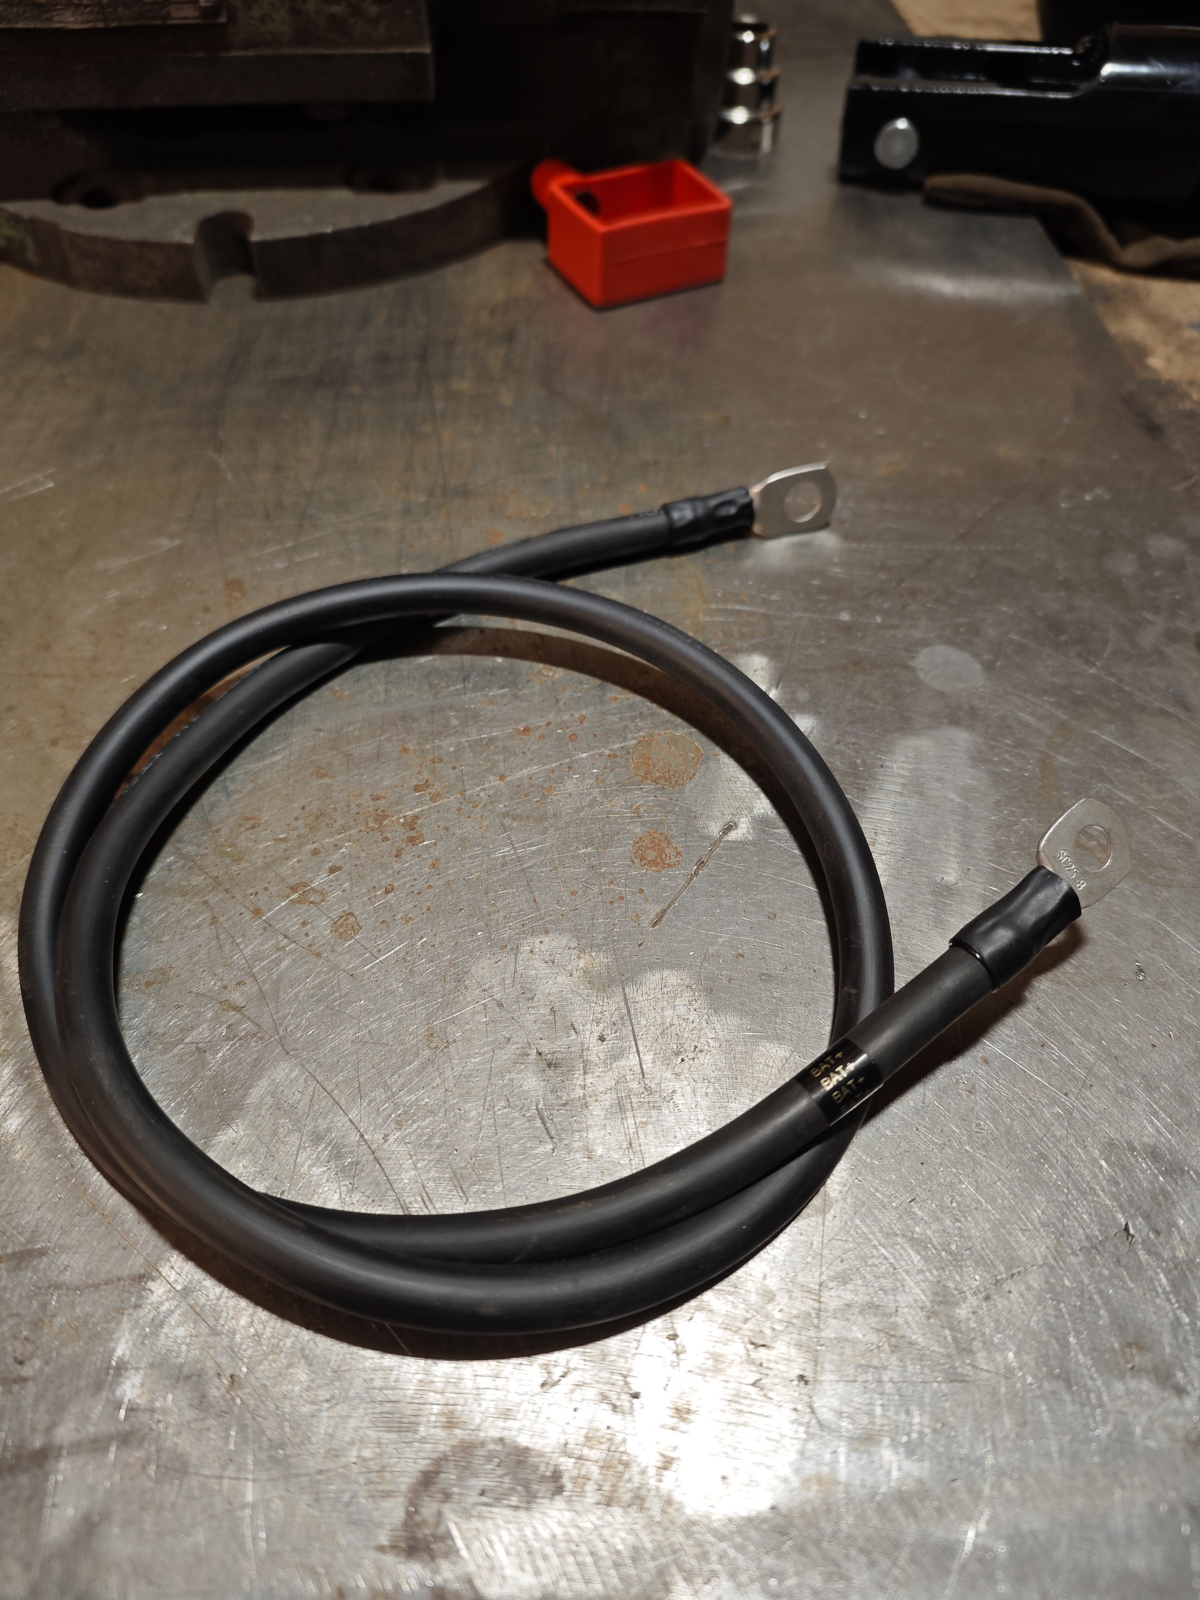
Bus bar for battery feeds:
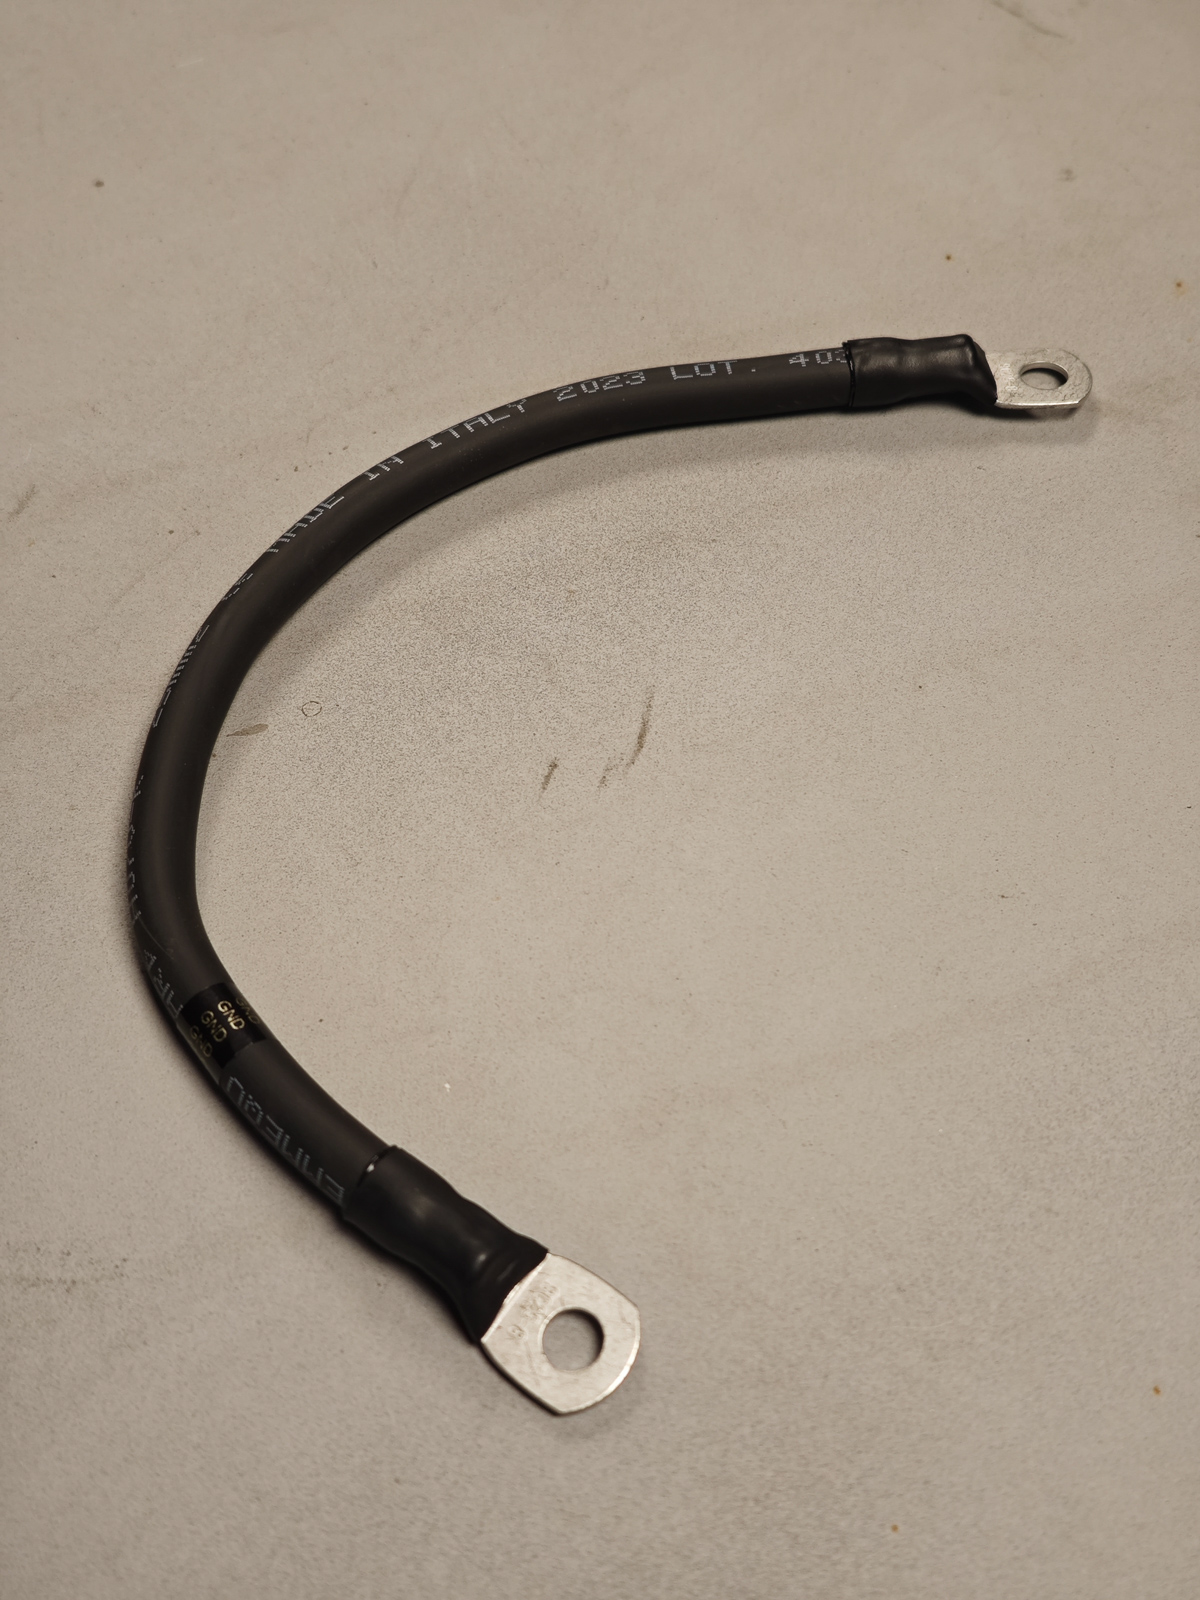
Battery ground point:
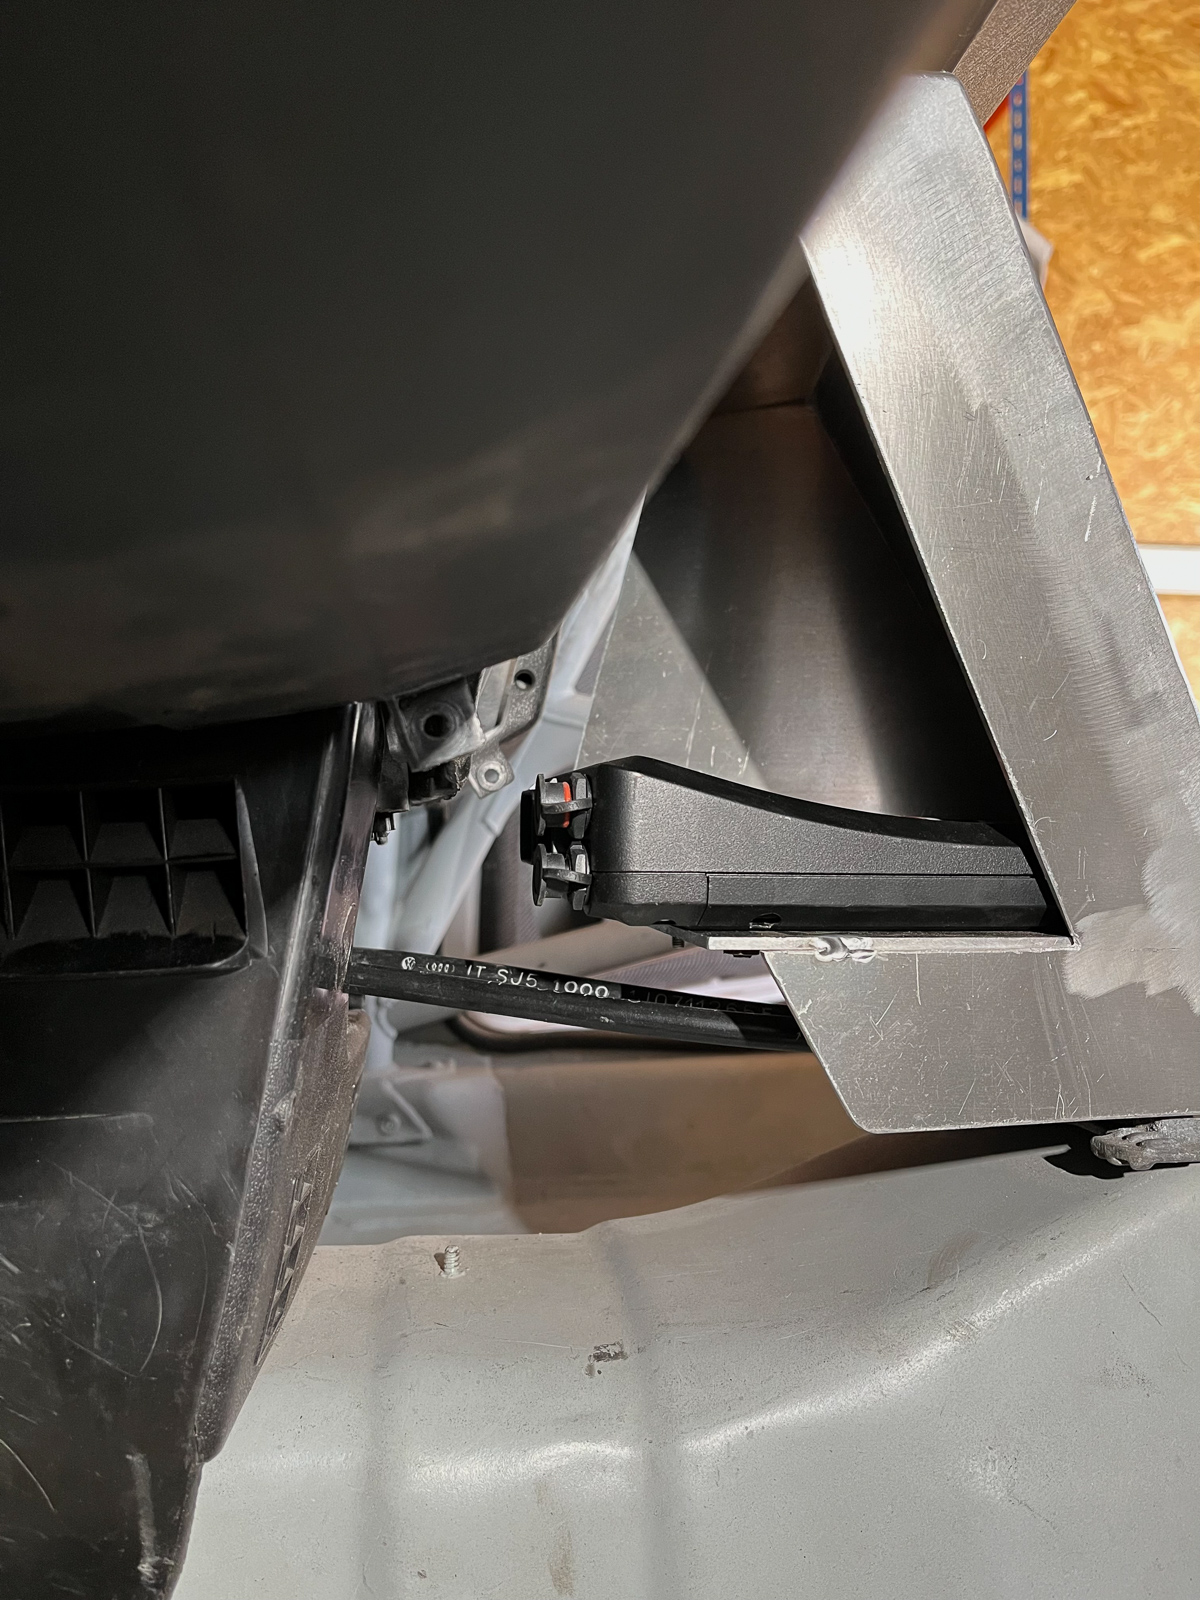
There's one thing I'm less proud of and it's fuel lift pump. My Syncro had no lift pump in tank (on the right). But I had shorter frame of front wheel drive car and pump for it (on the left):
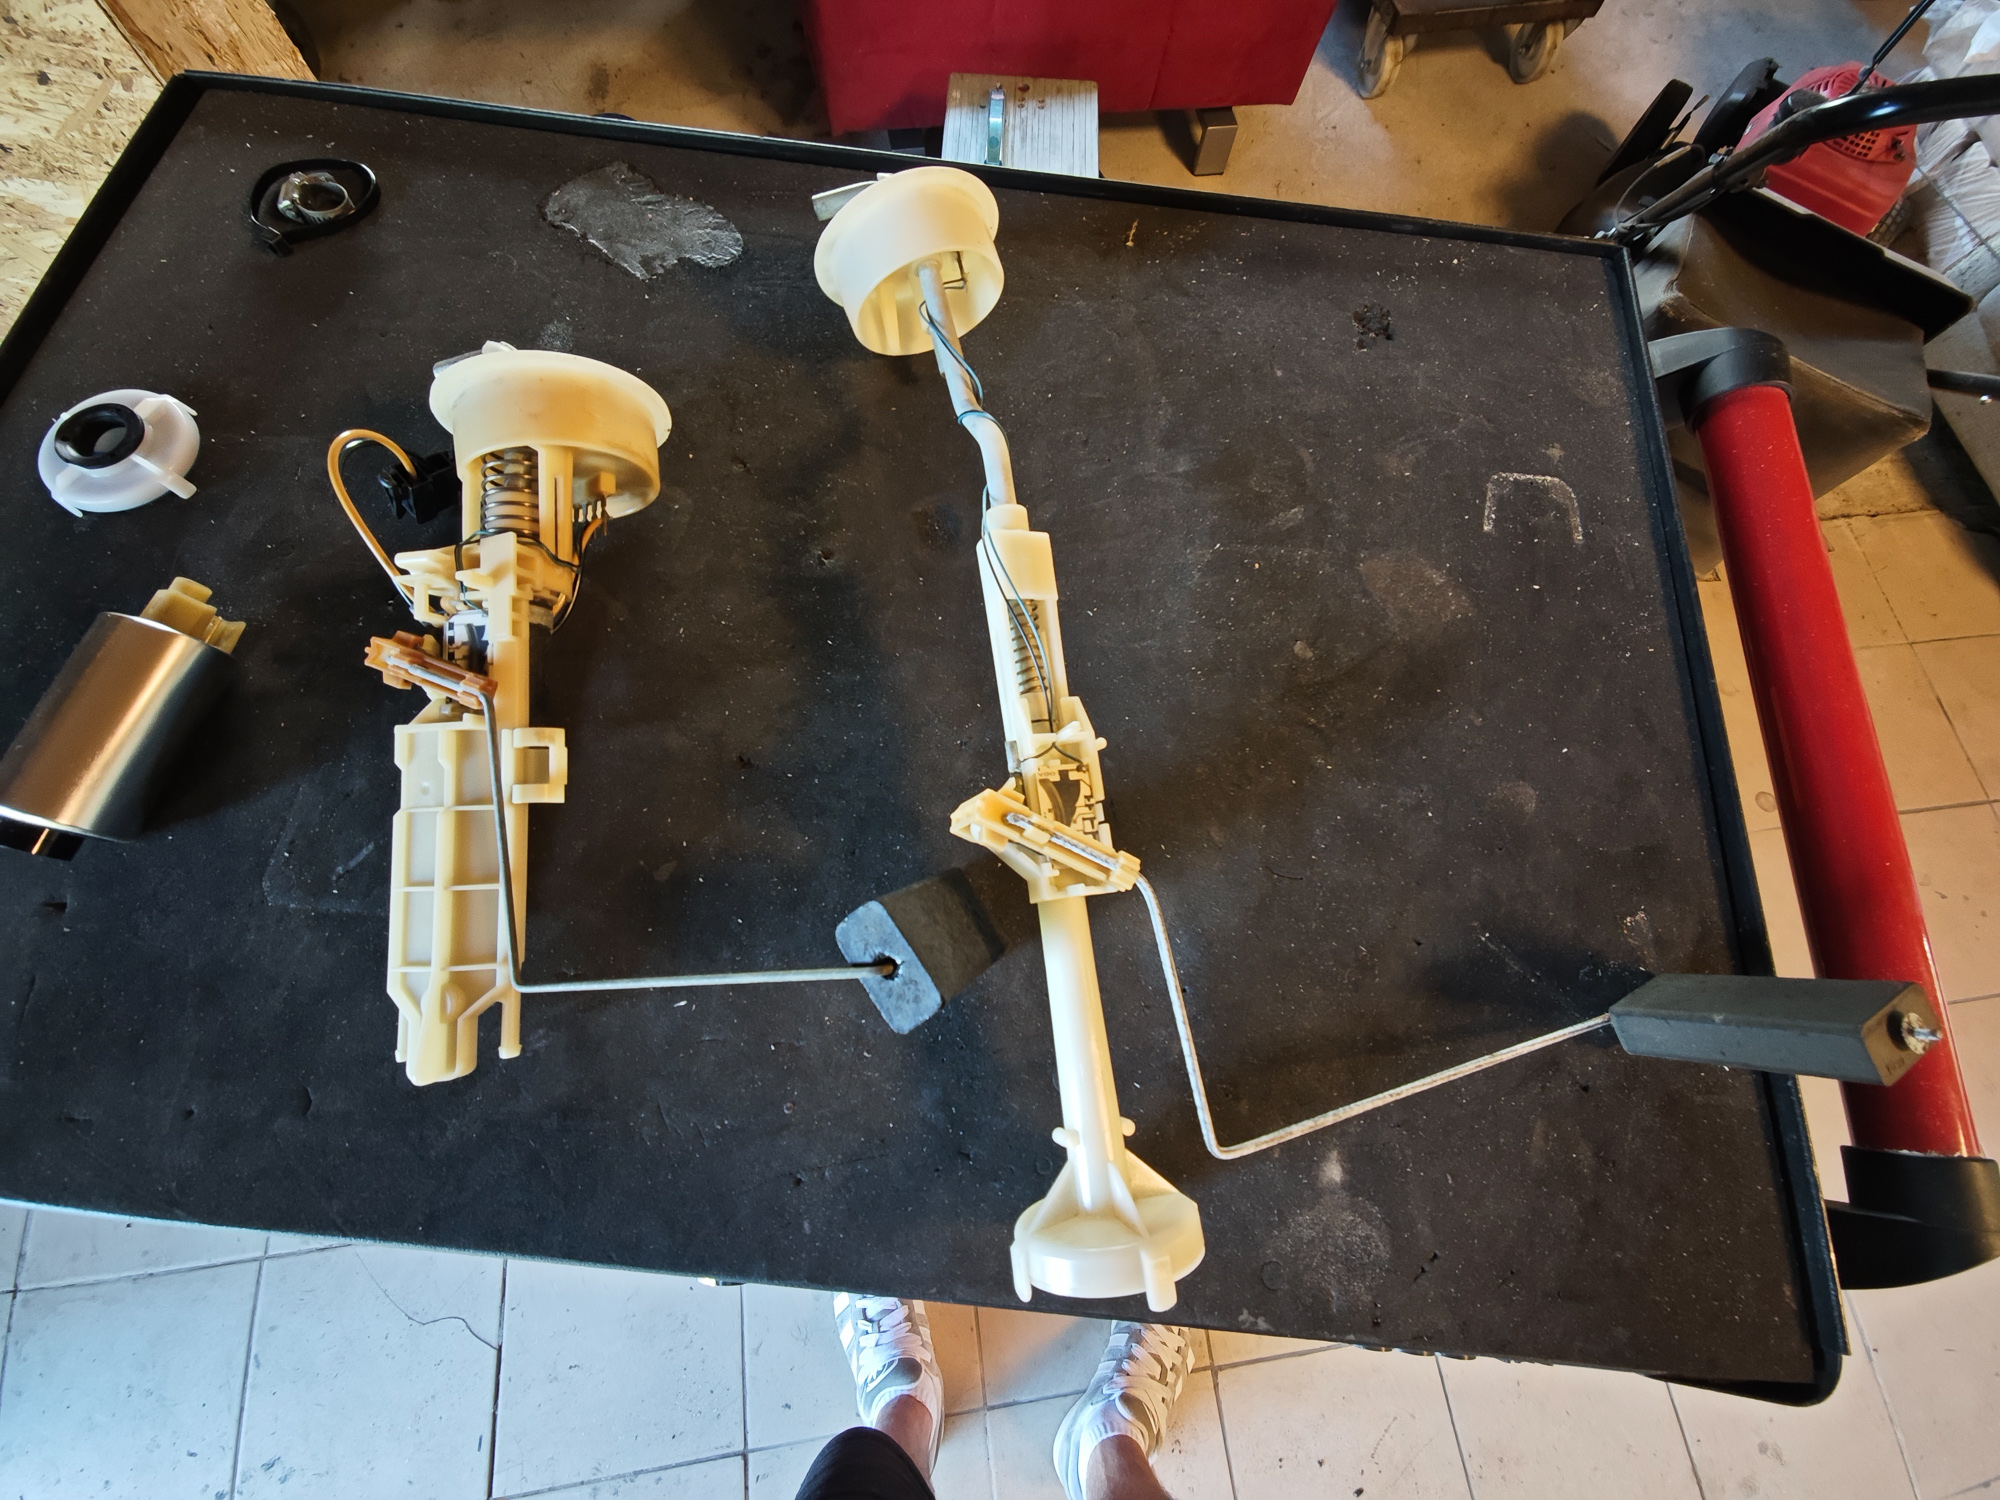
Somehow these frames merged so well without of any major cutting, I got right height frame including pump and fuel level indicator. Probably not the best part of this car but will definitely work:
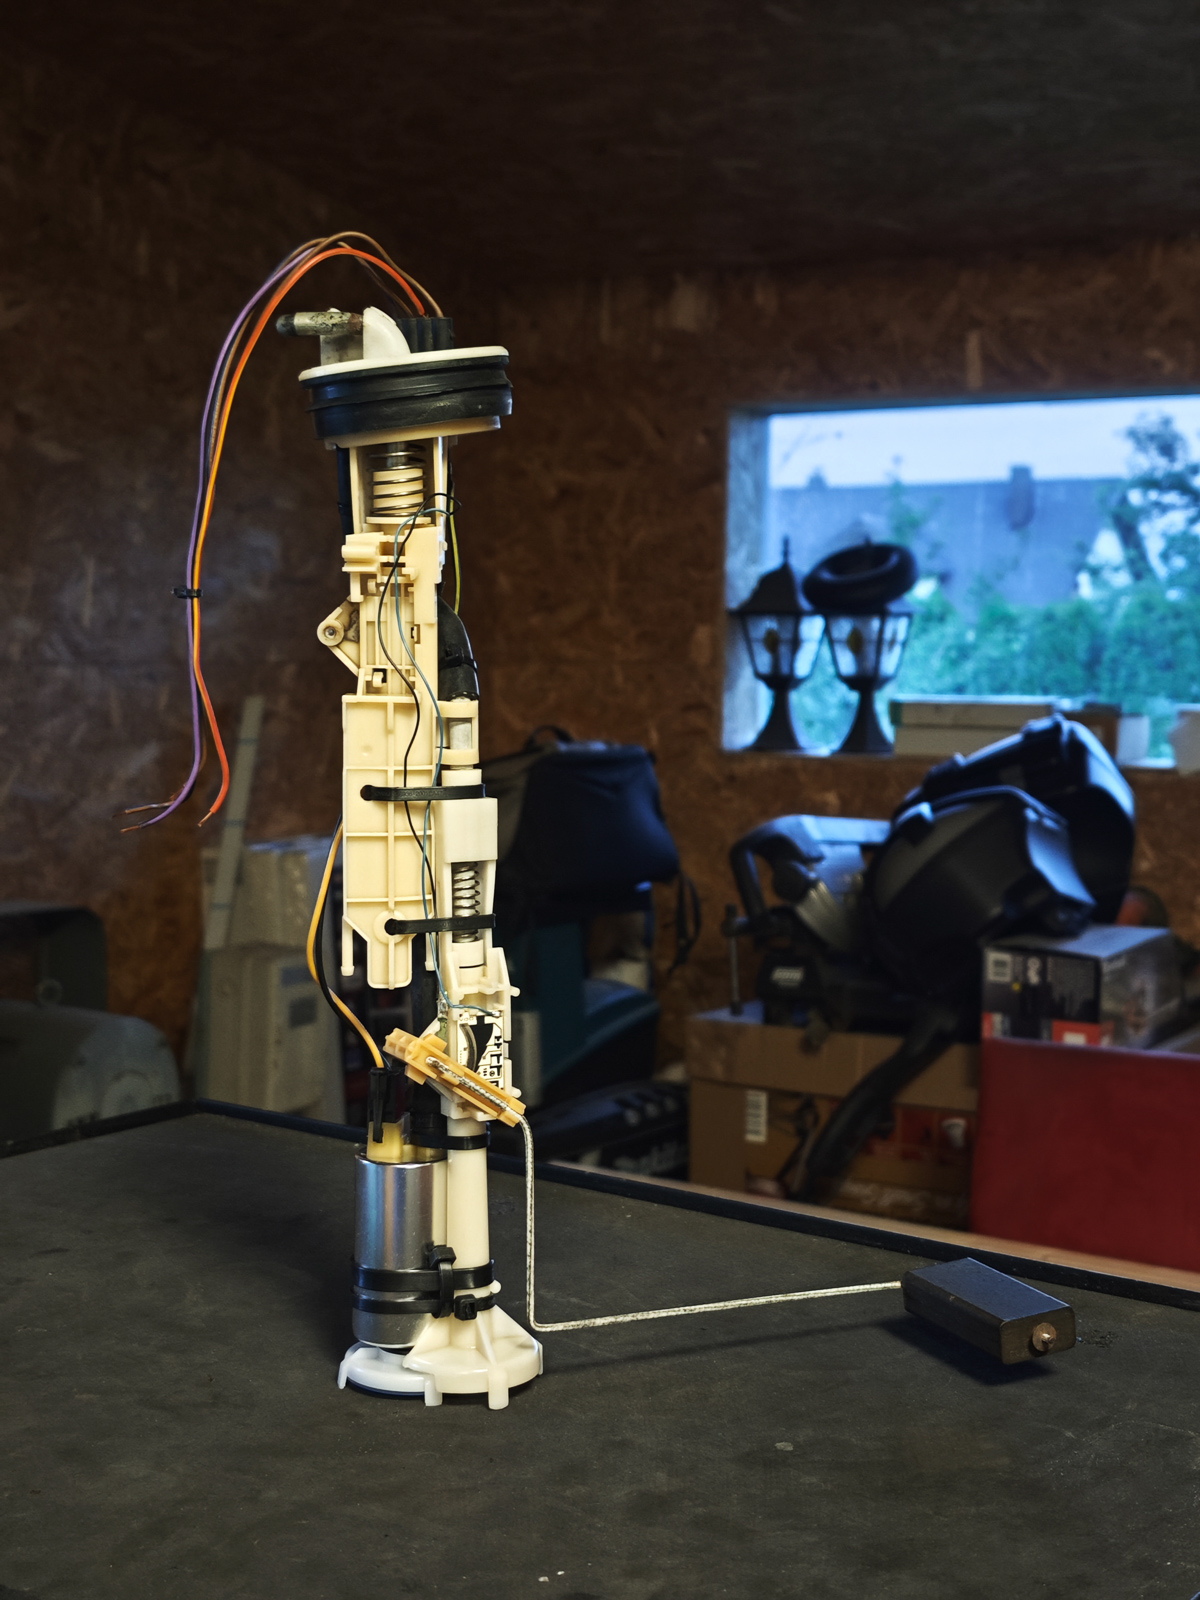
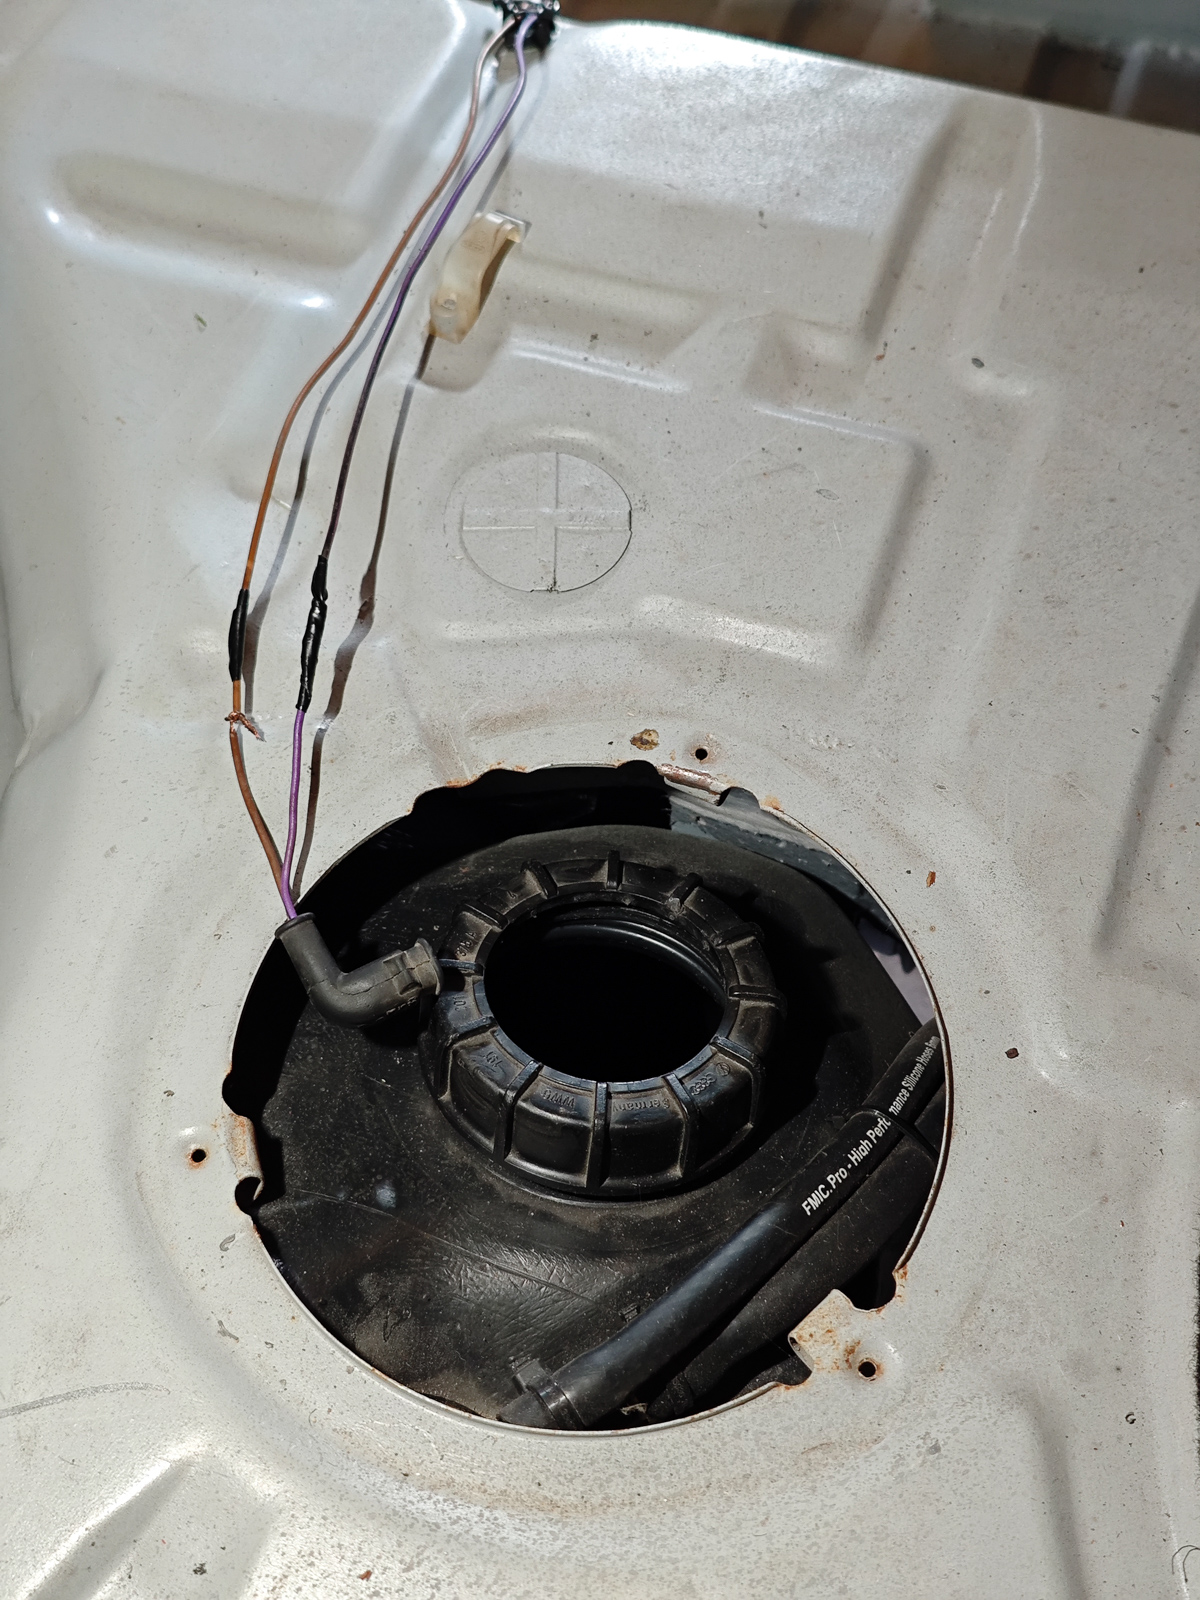
And that's where it goes after wiring is added and existing pieces are fixed:
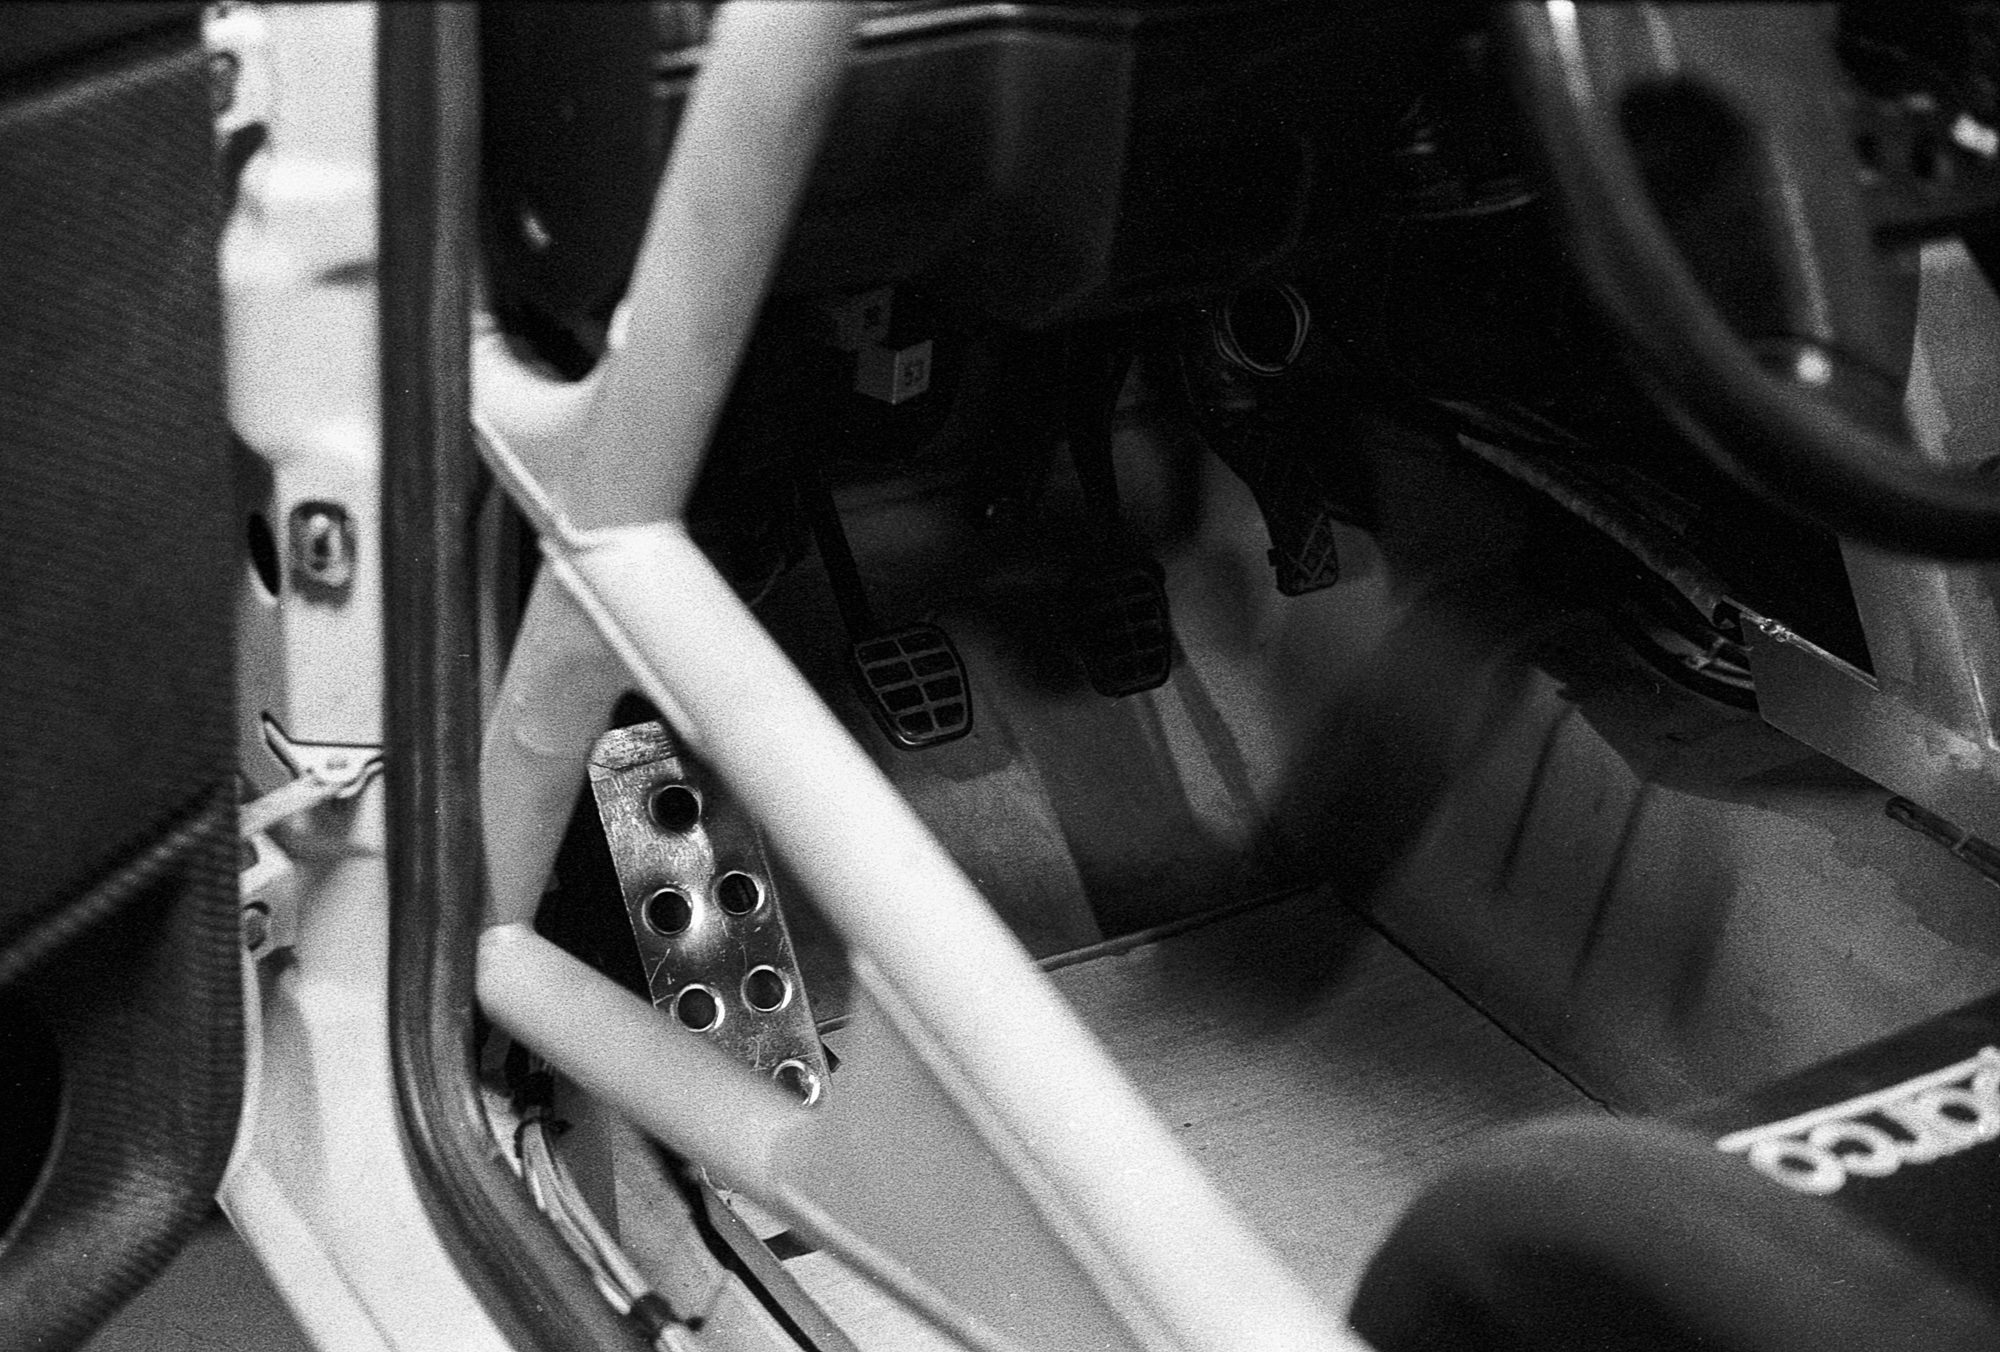
Second largest fabrication in this chapter was driver and passenger foot rest pads with dead pedal:
Made very simple and tiny rise podiums I could fit it on:
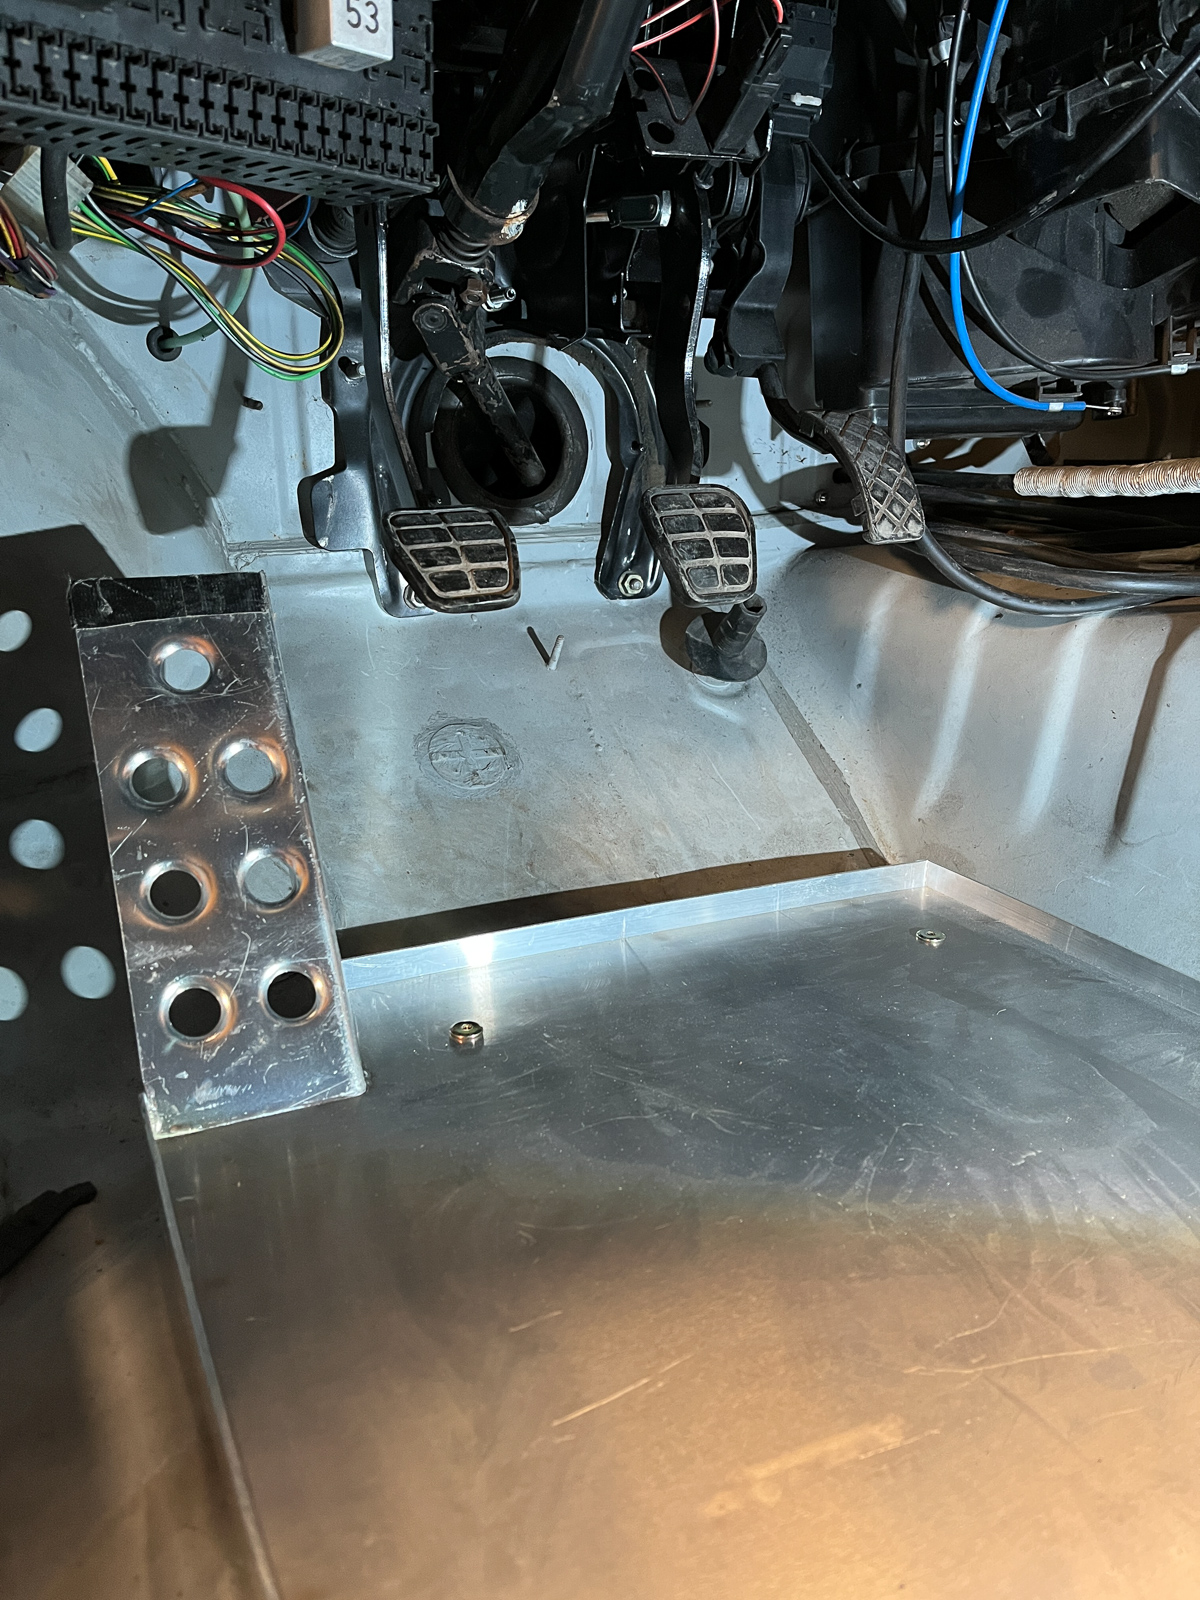
Passengers side a bit different but principal remains the same:

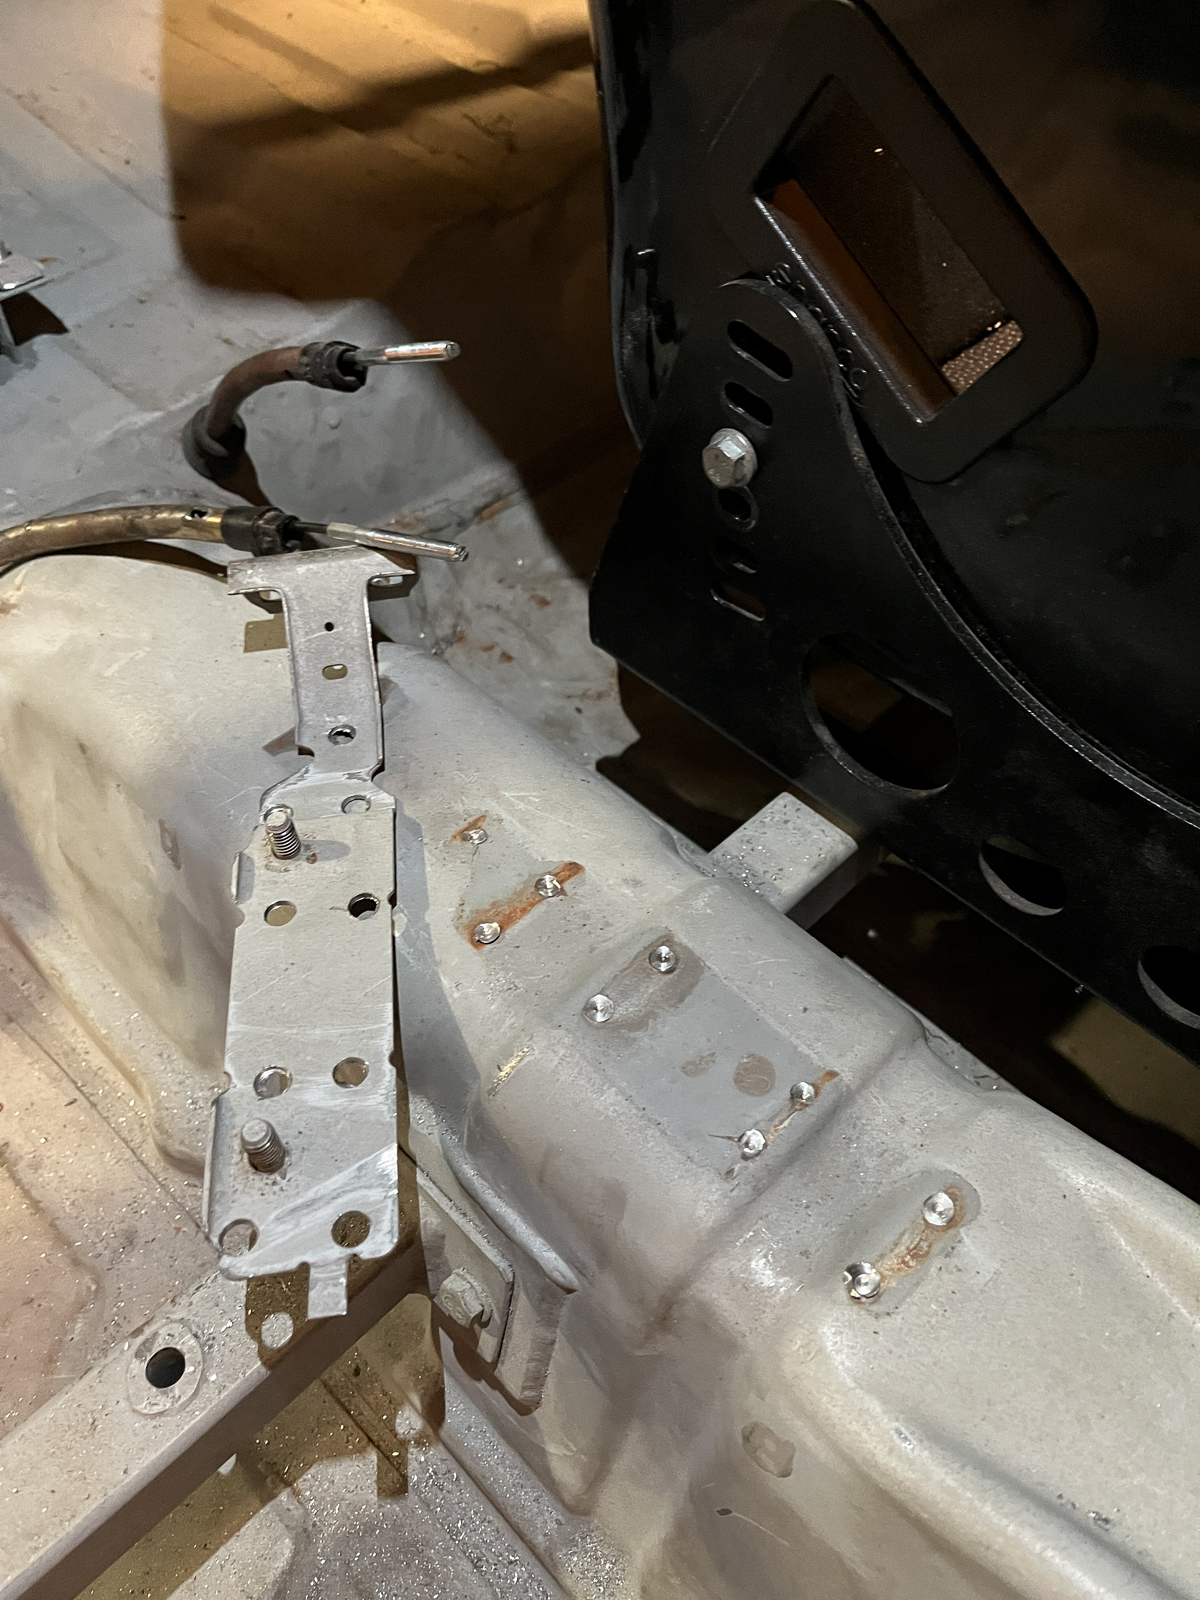
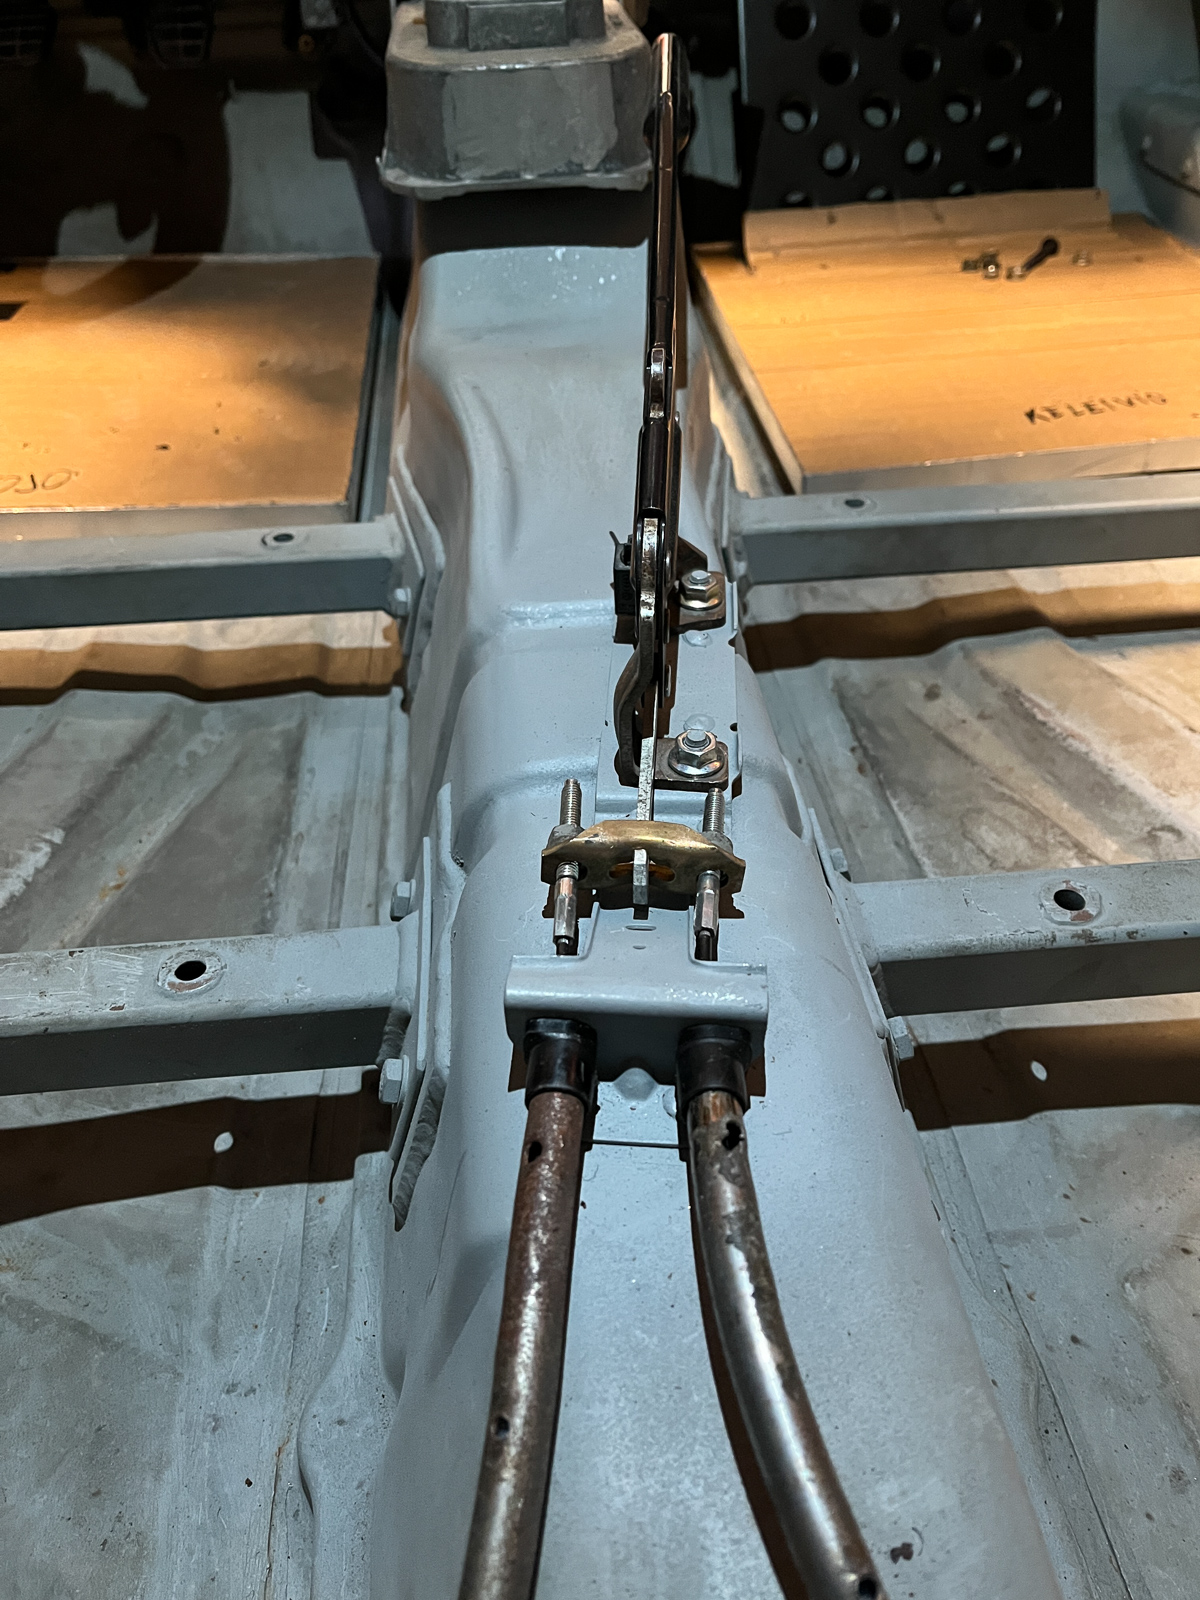
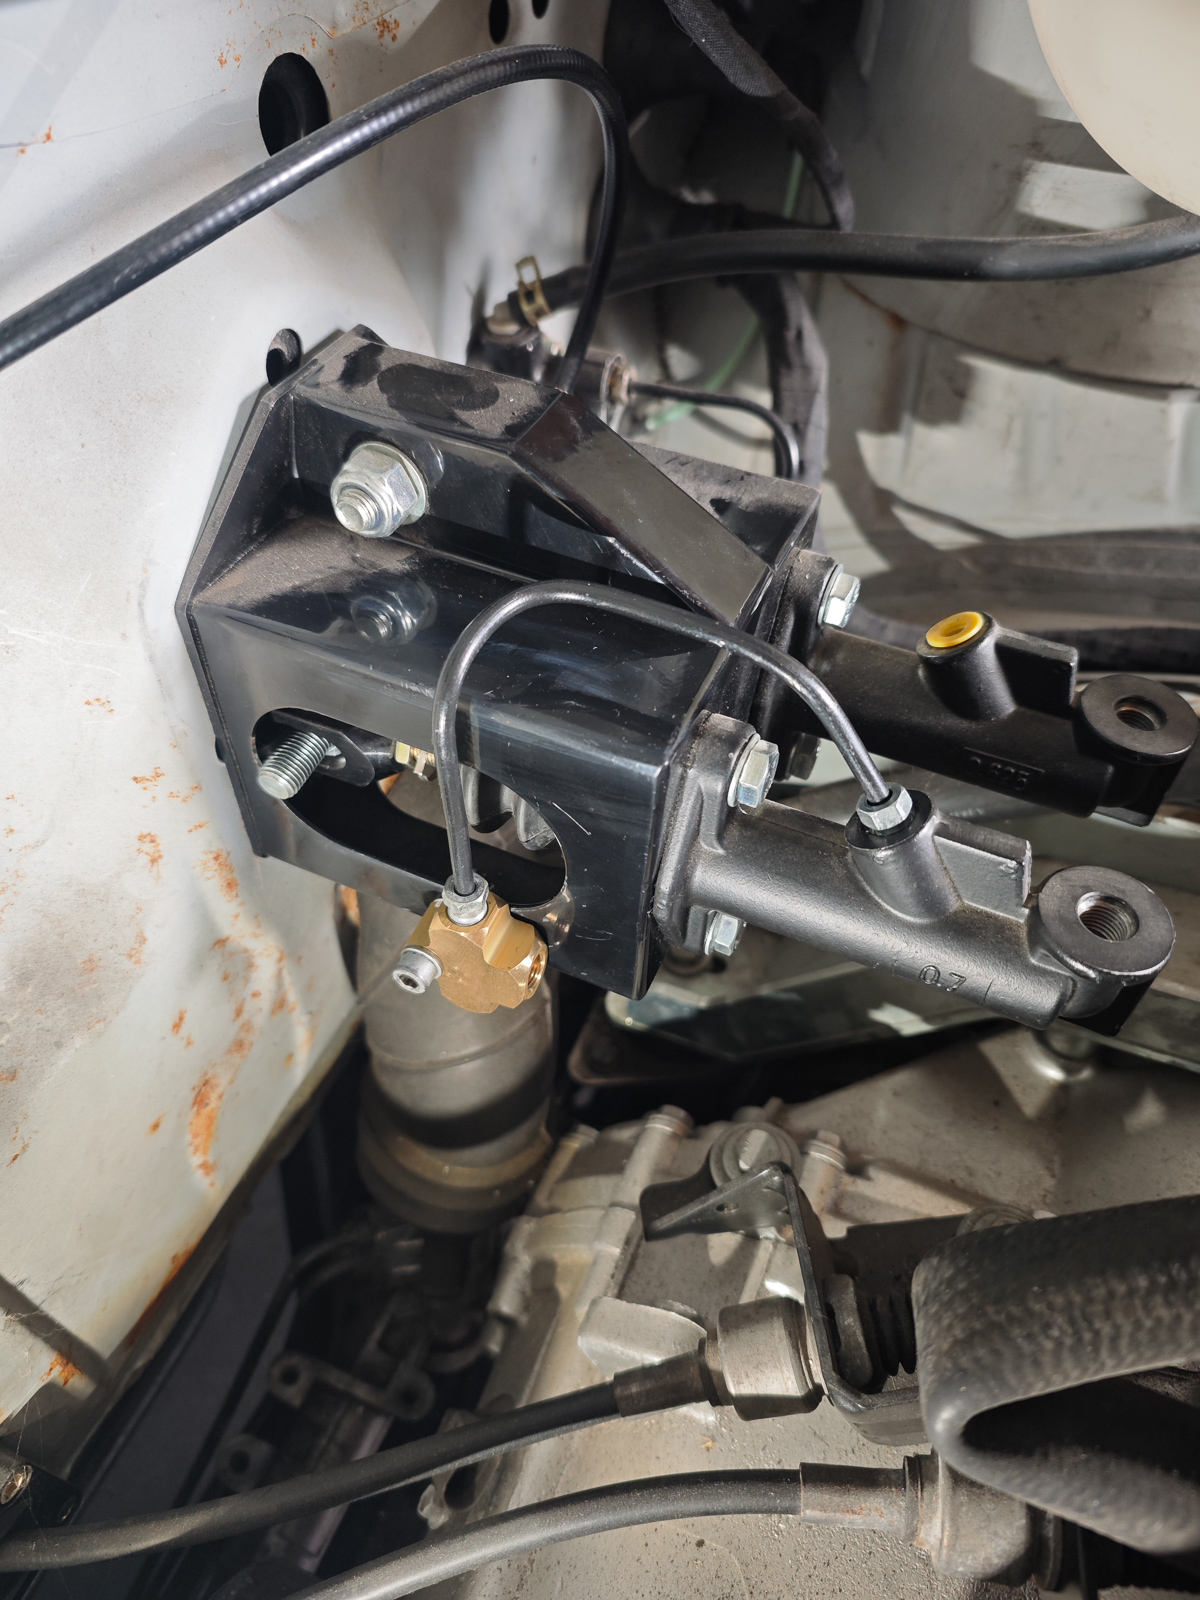
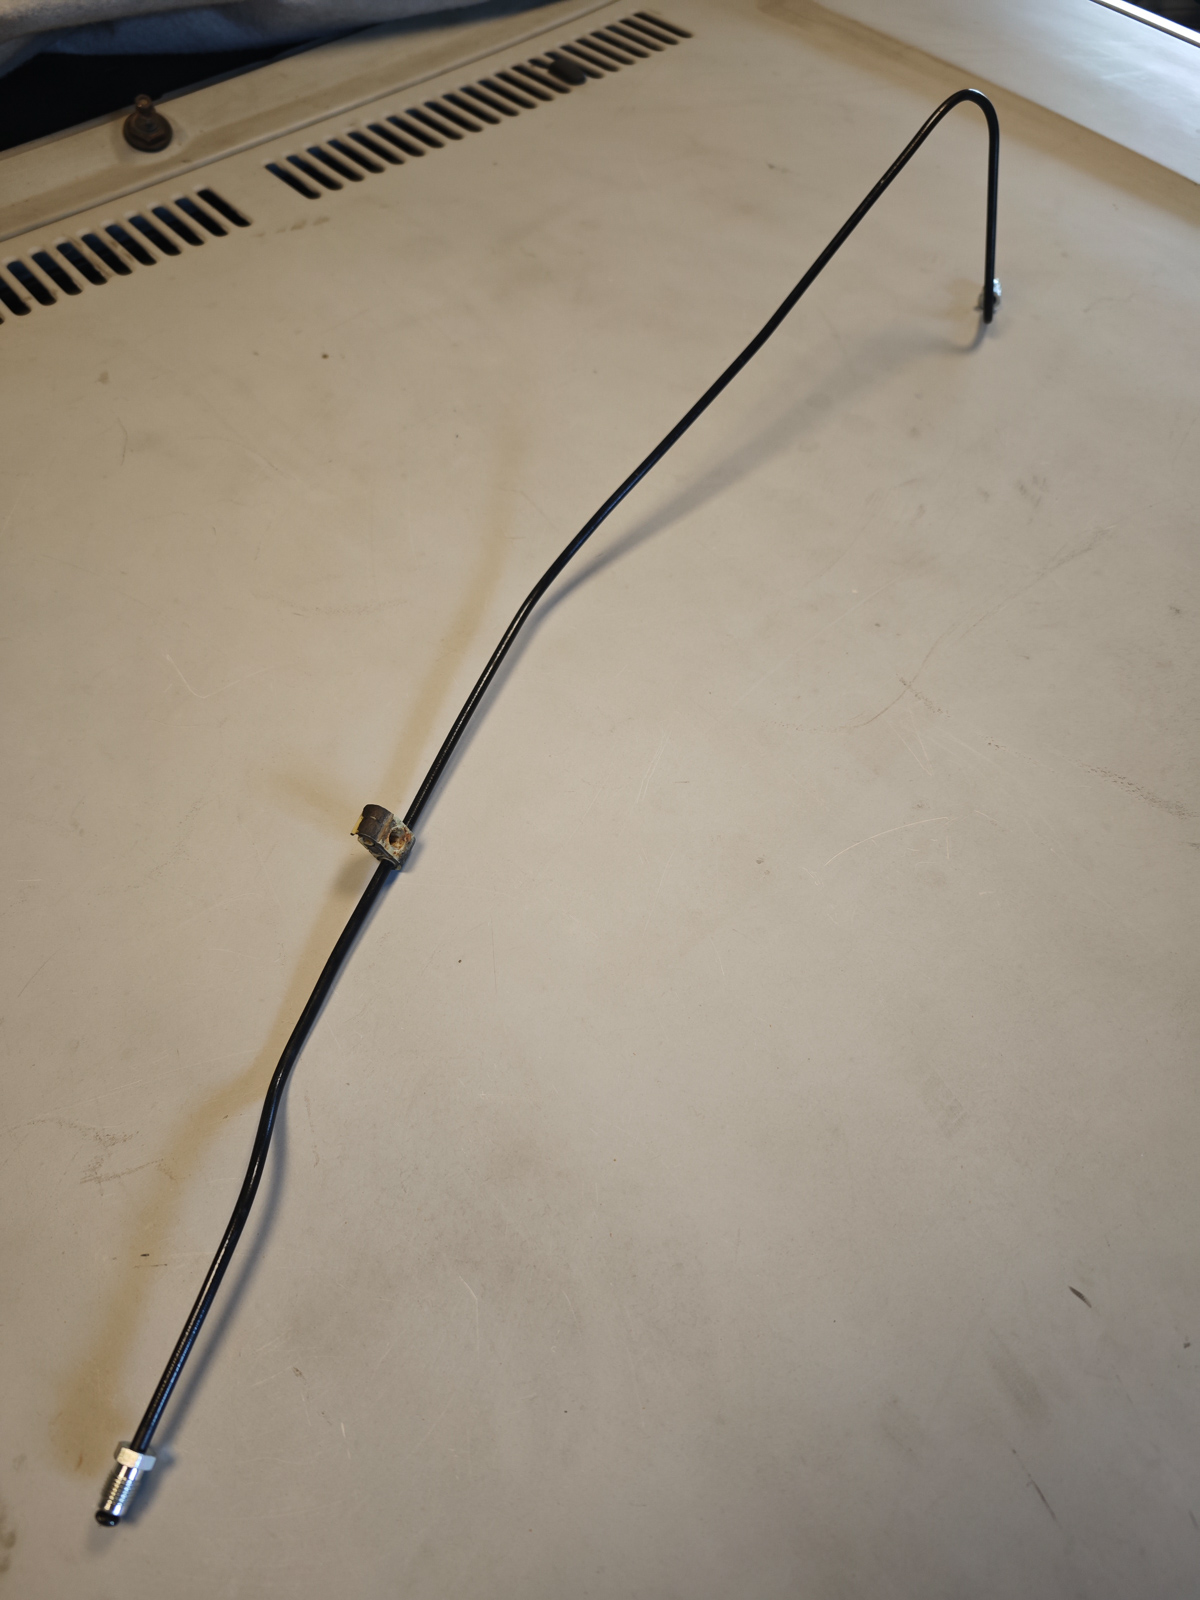
A bit different department - brake lines. It started at brake box keeping brake cylinders:
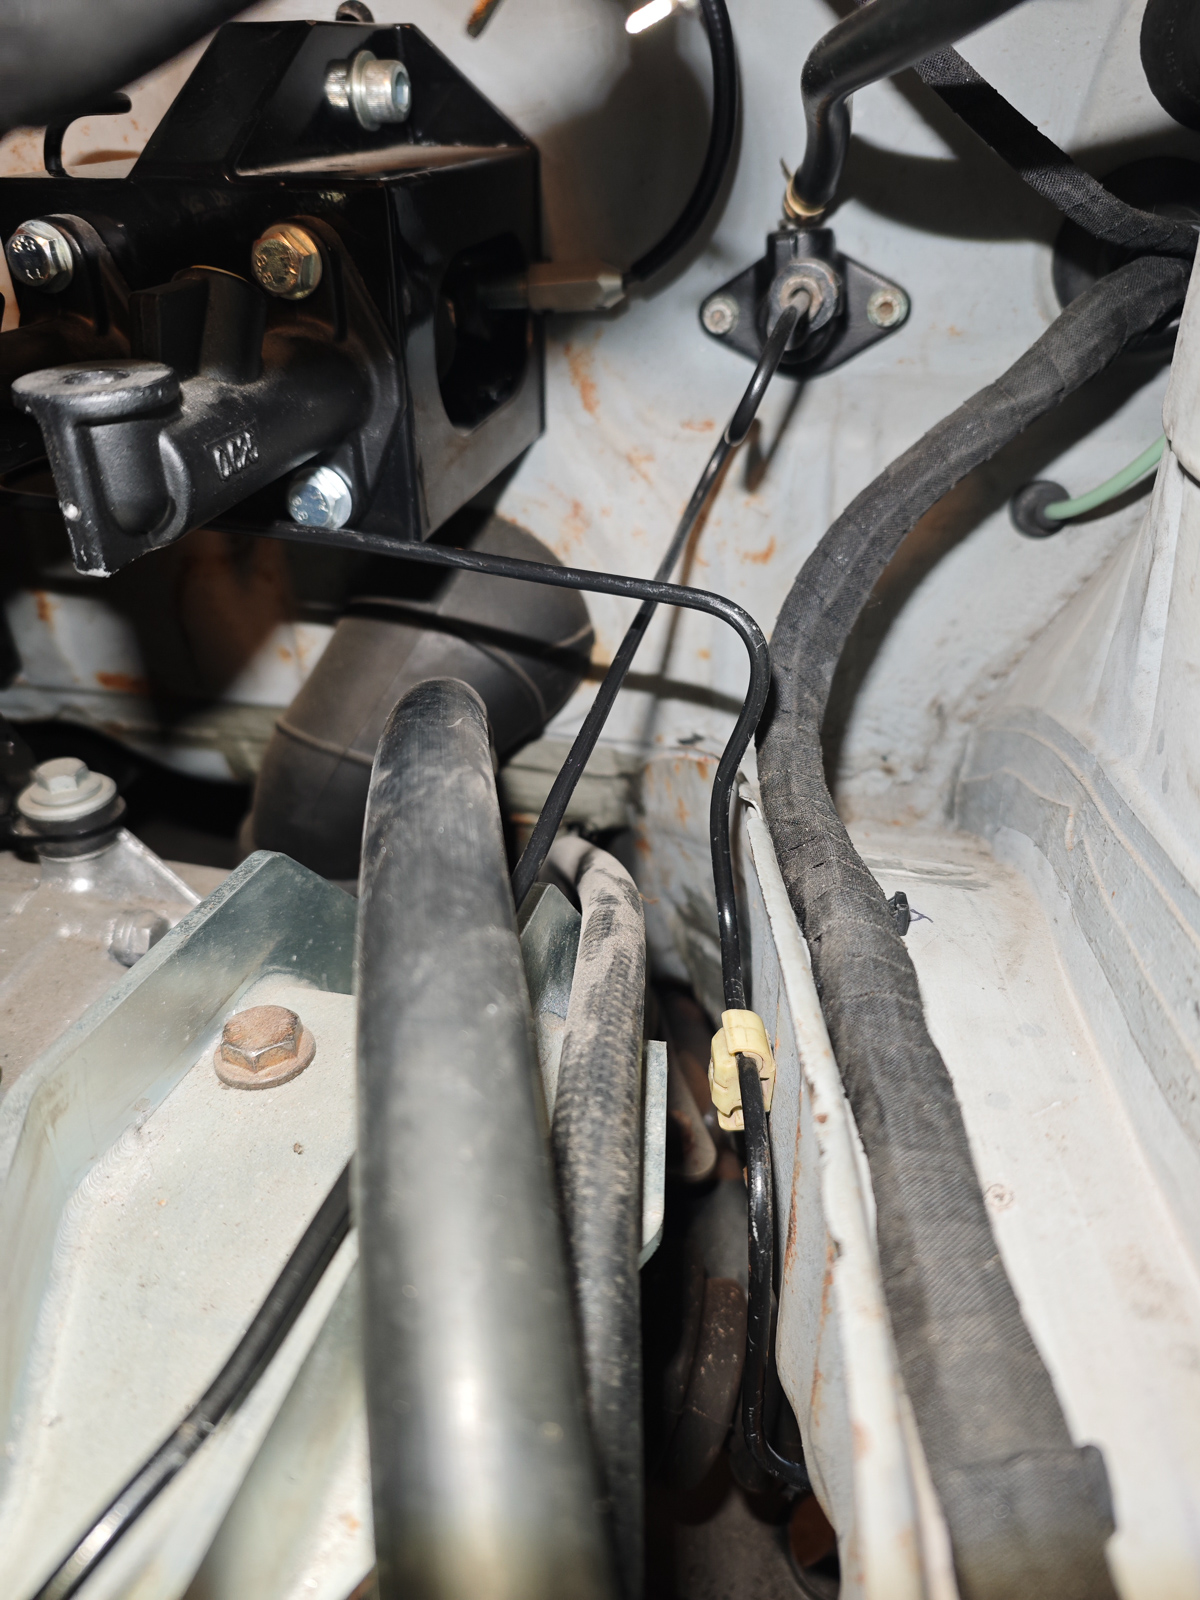
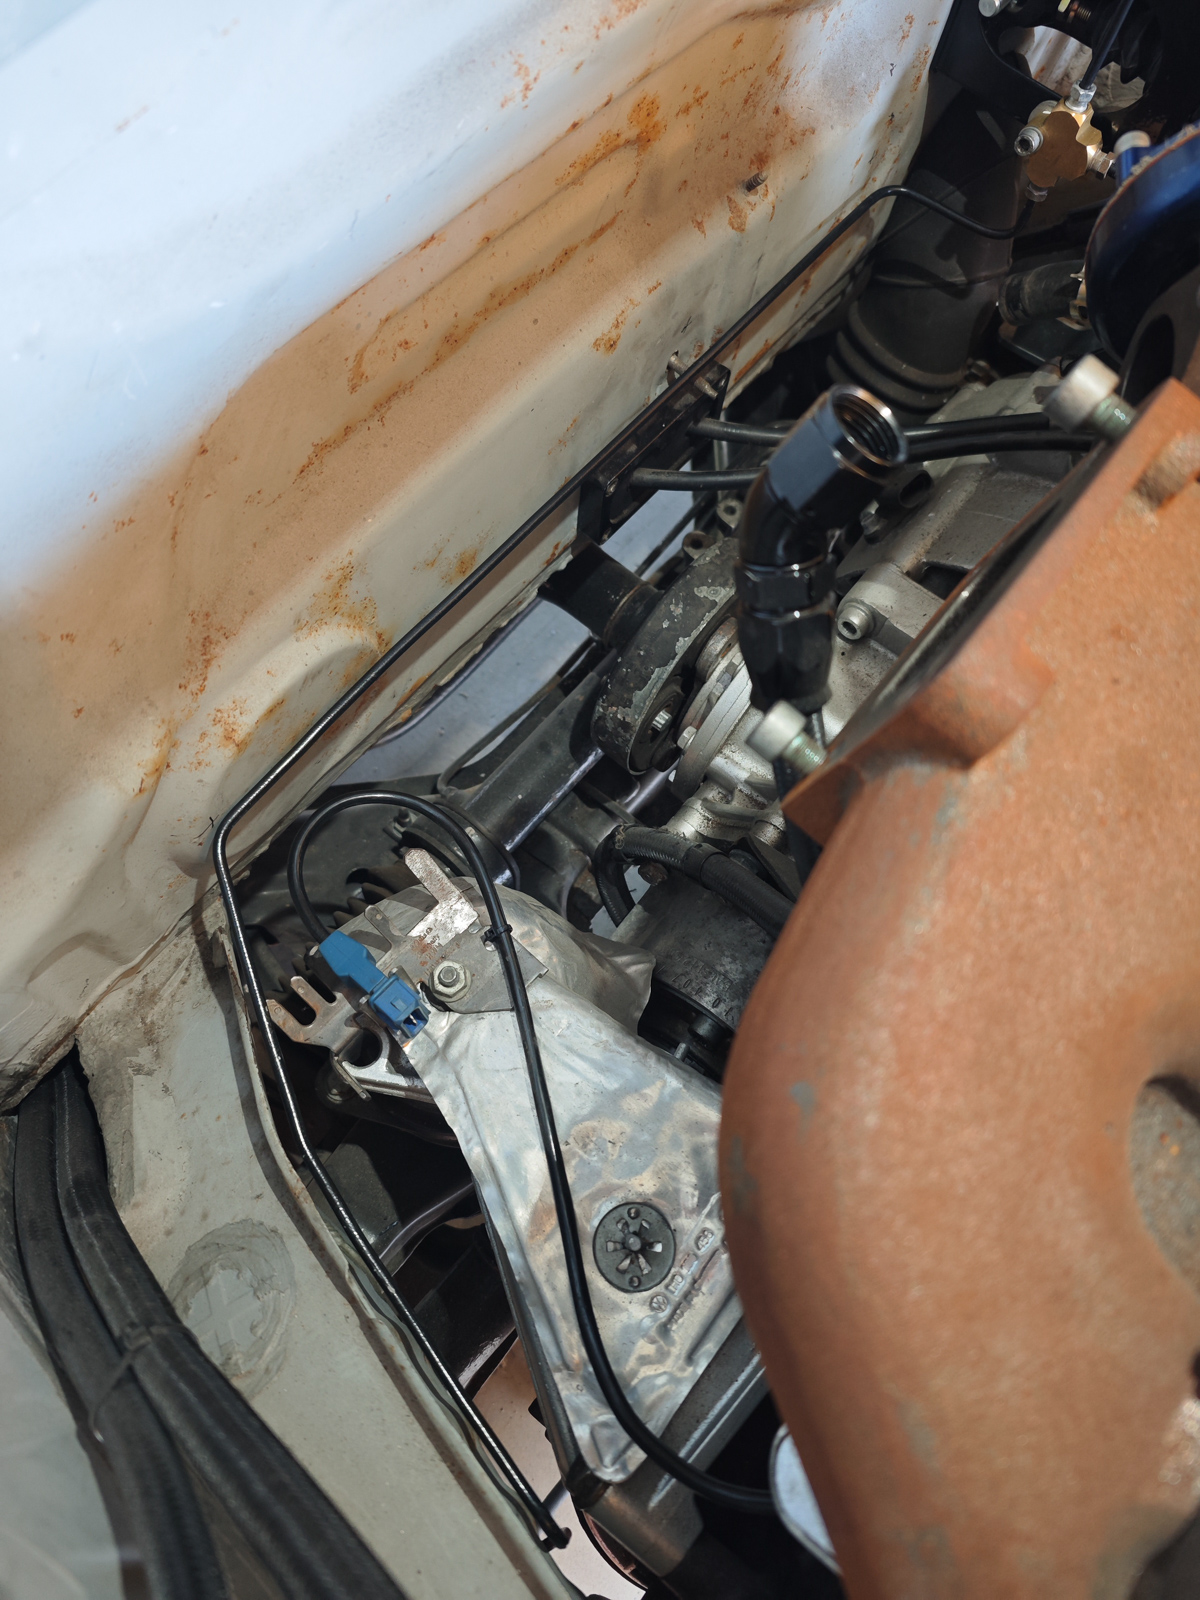
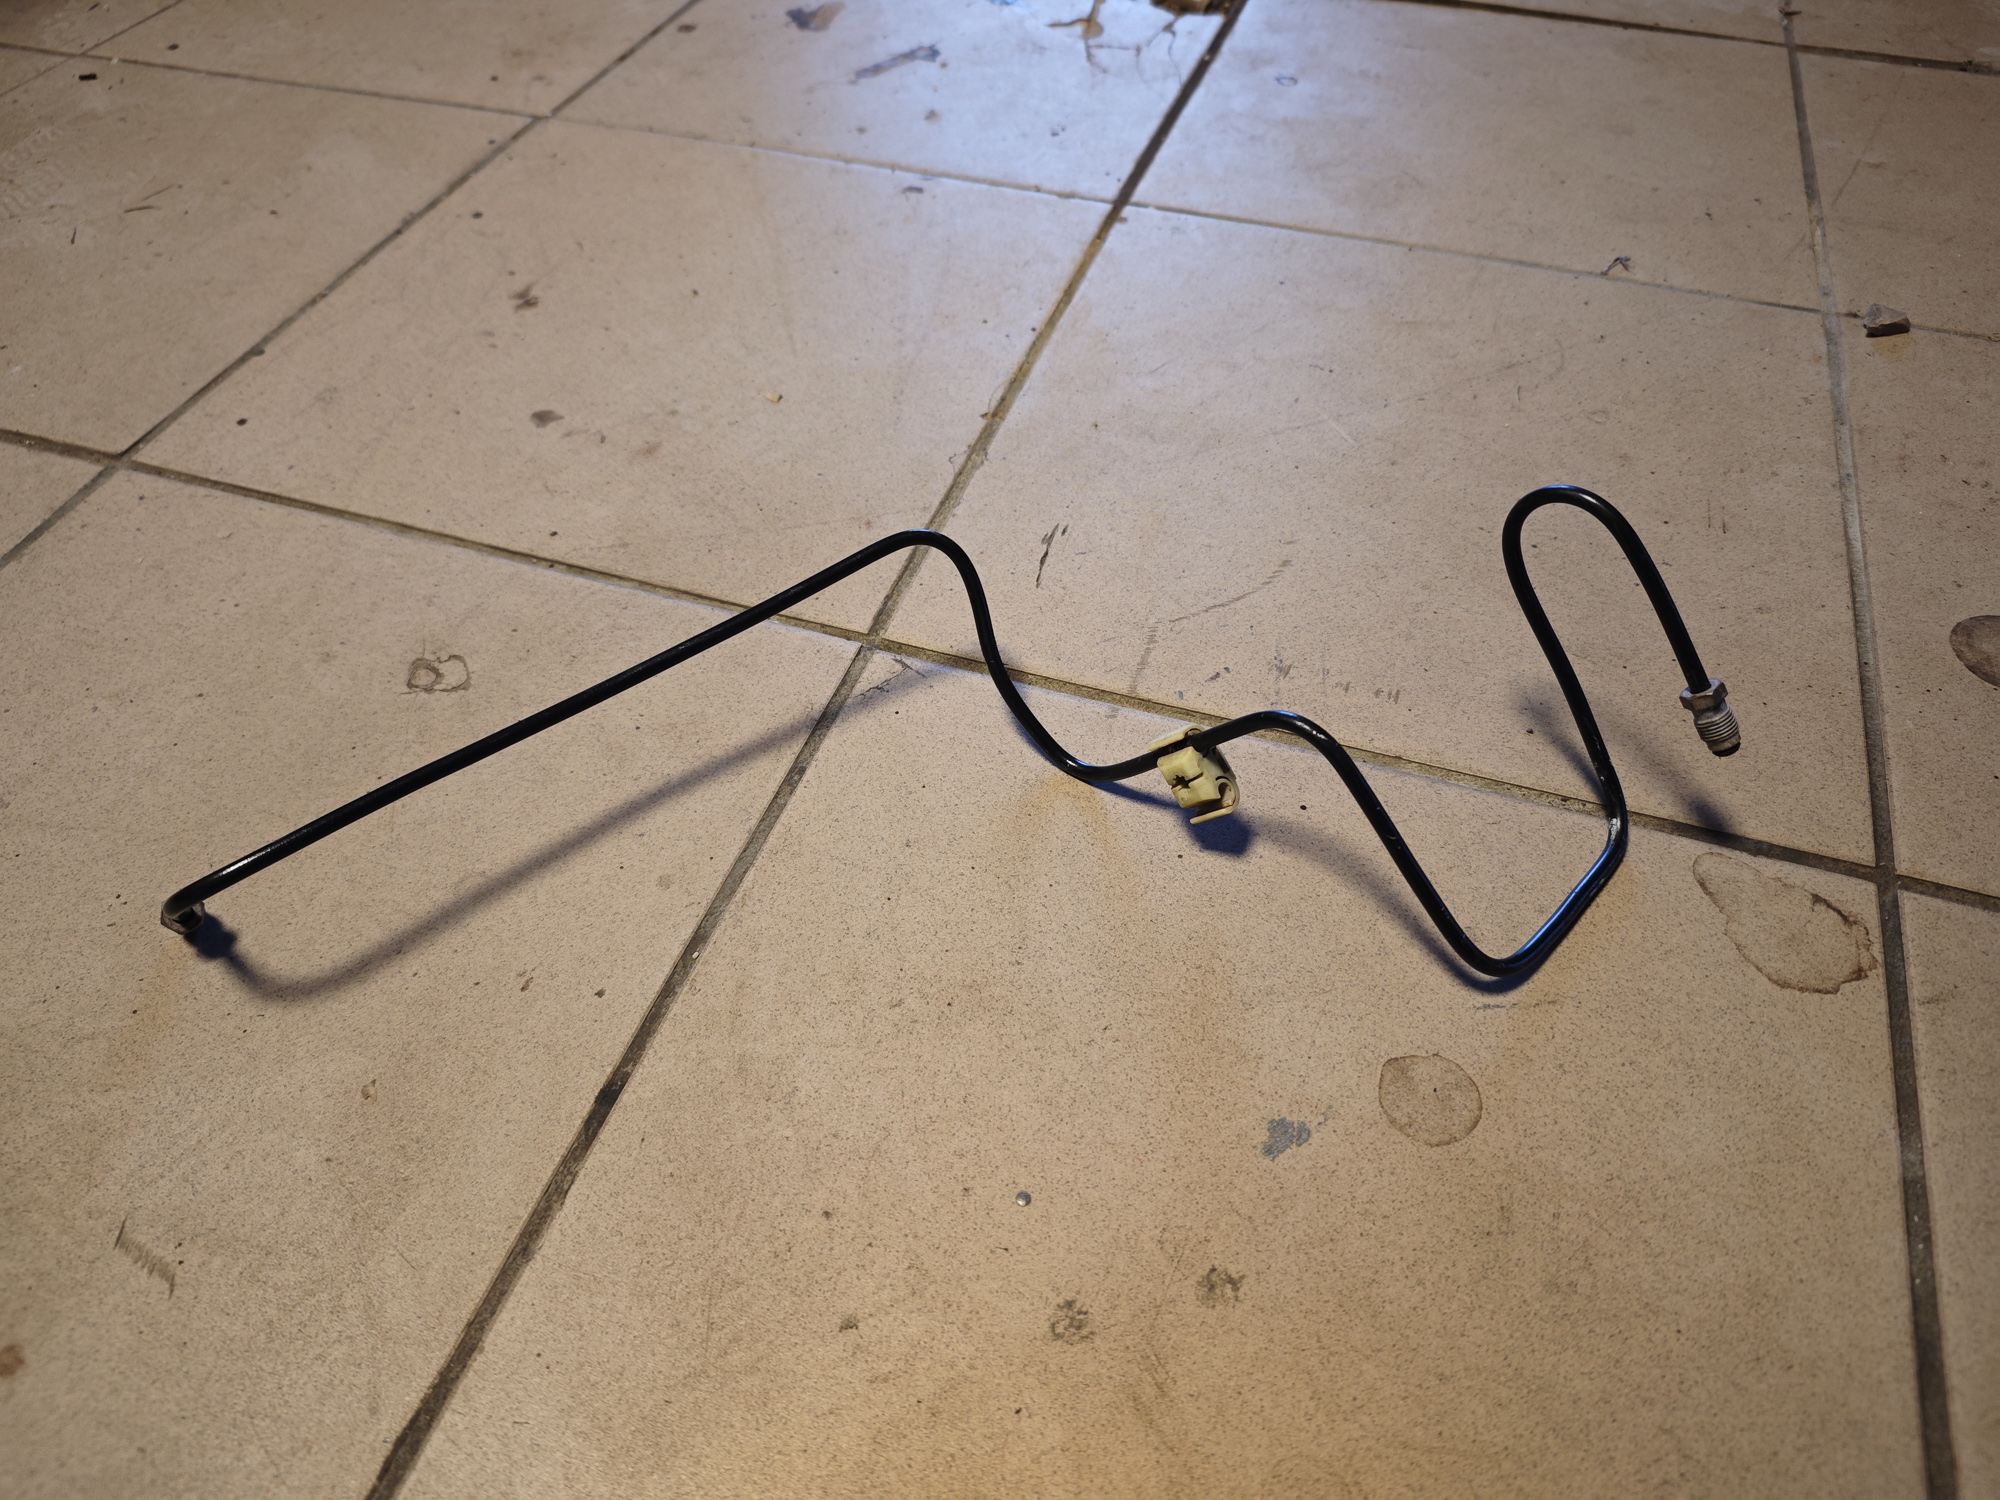
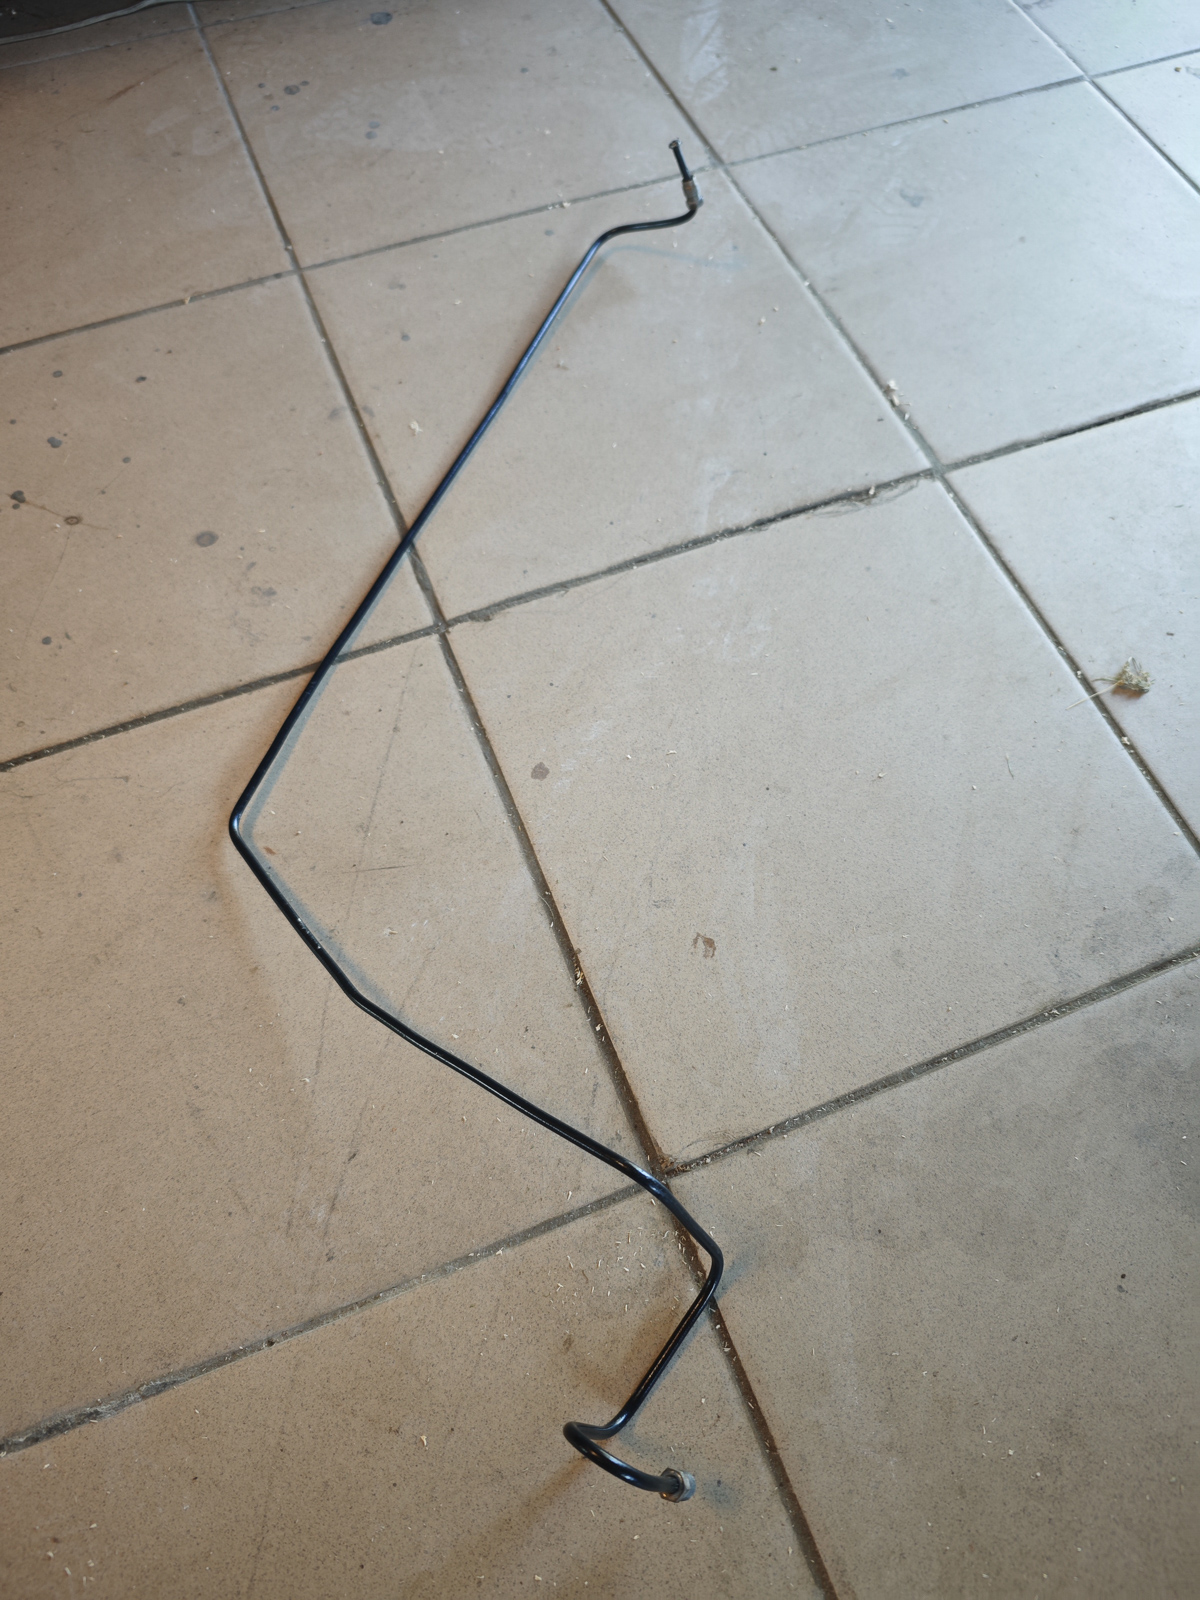
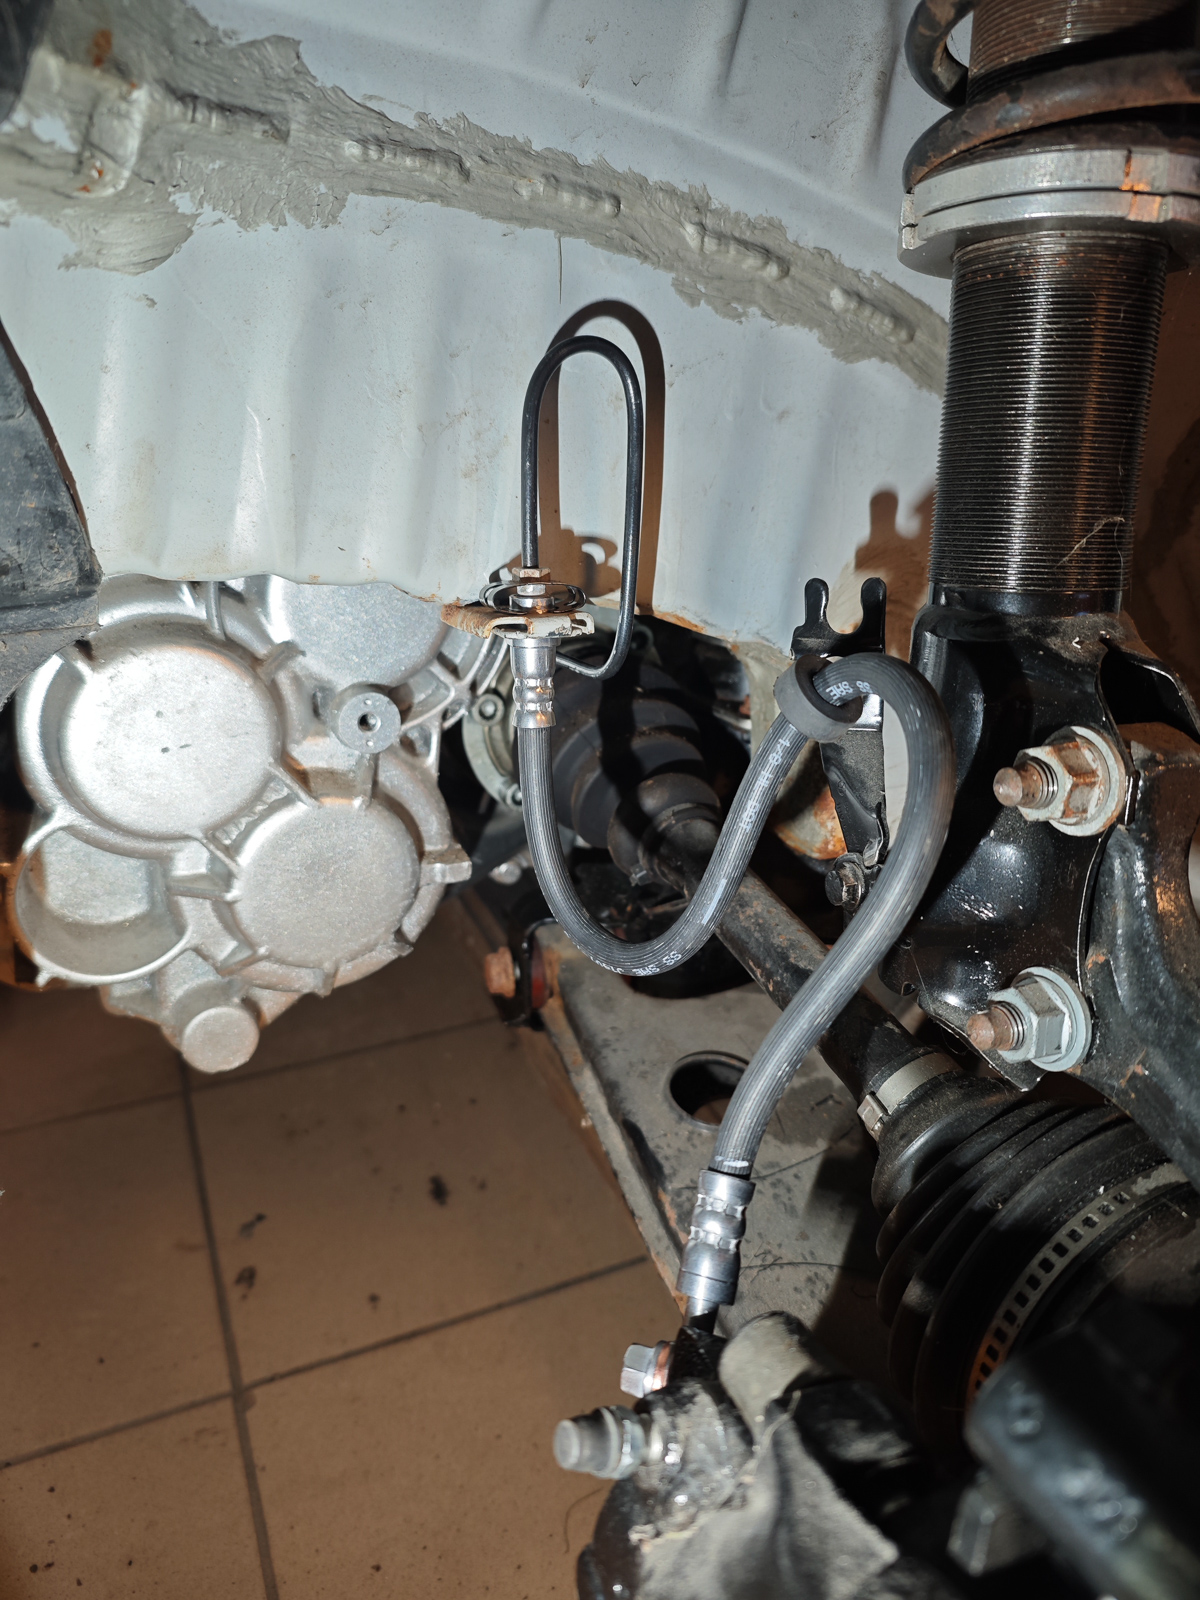
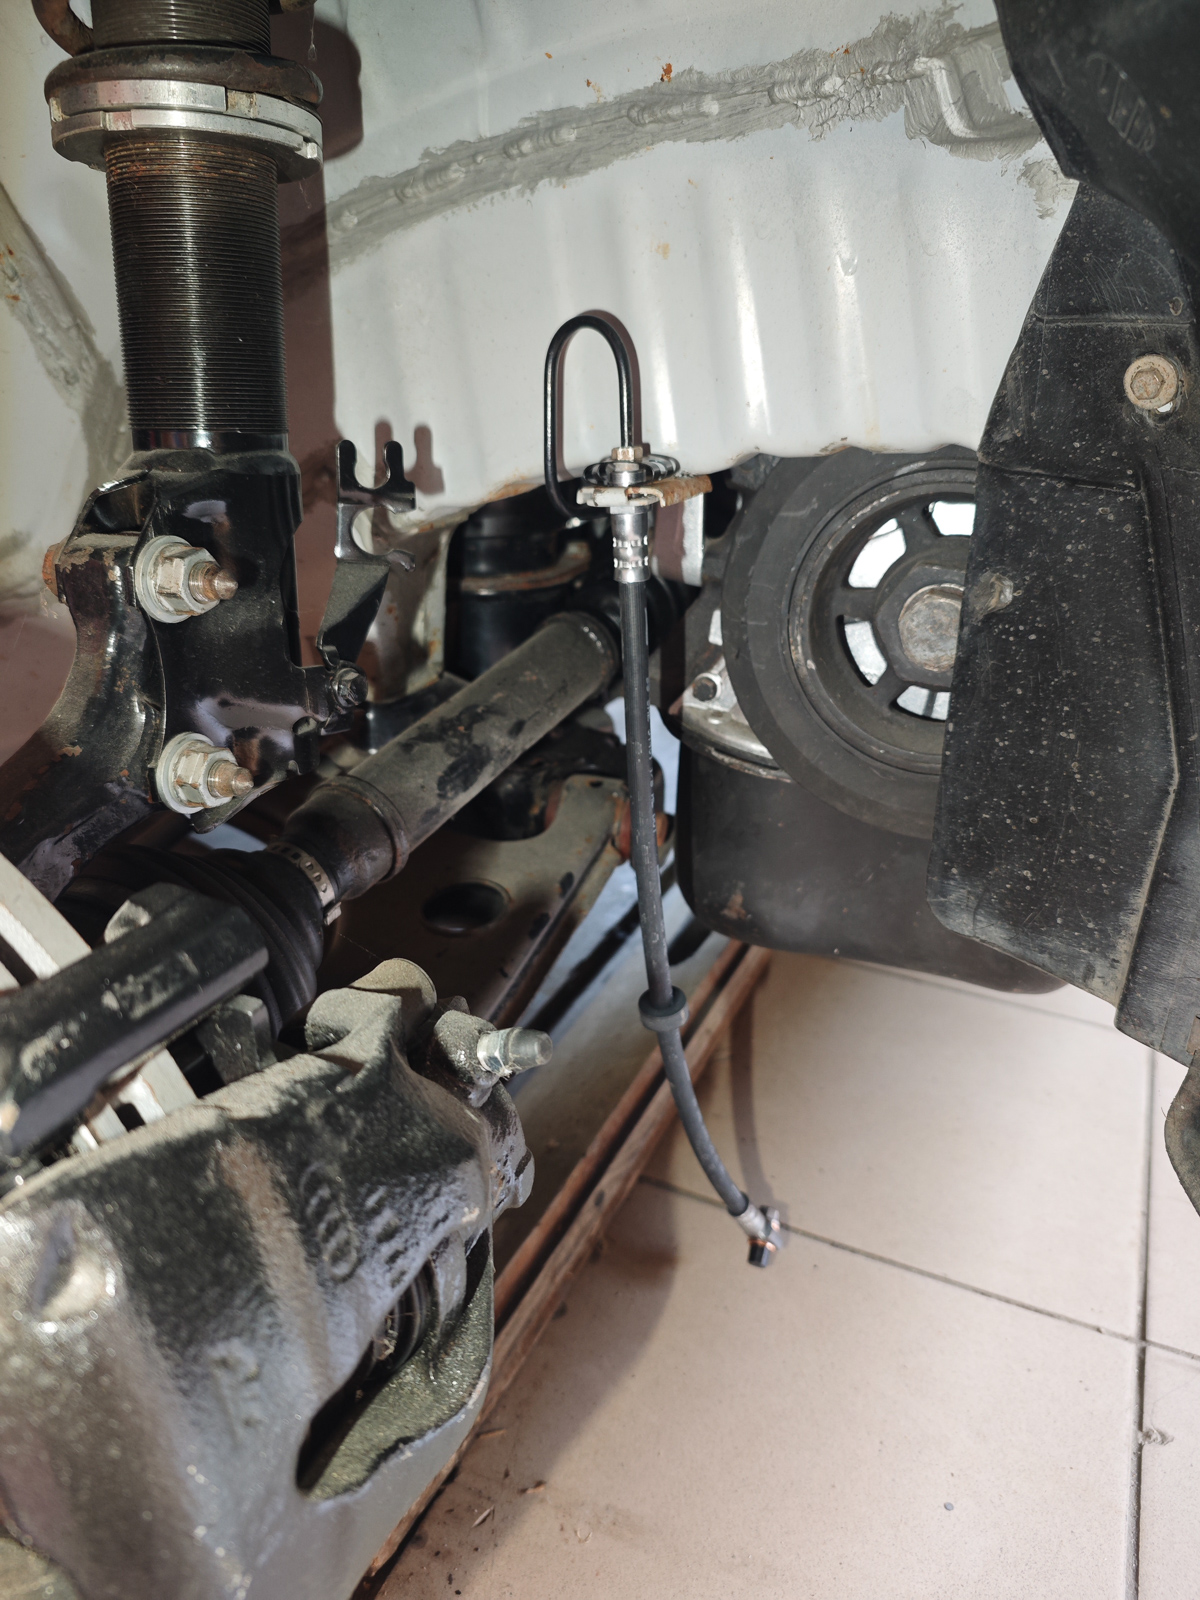
Rear end:

All 4 doors are assembled, have windows working, almost complete door cards in frond and rear:
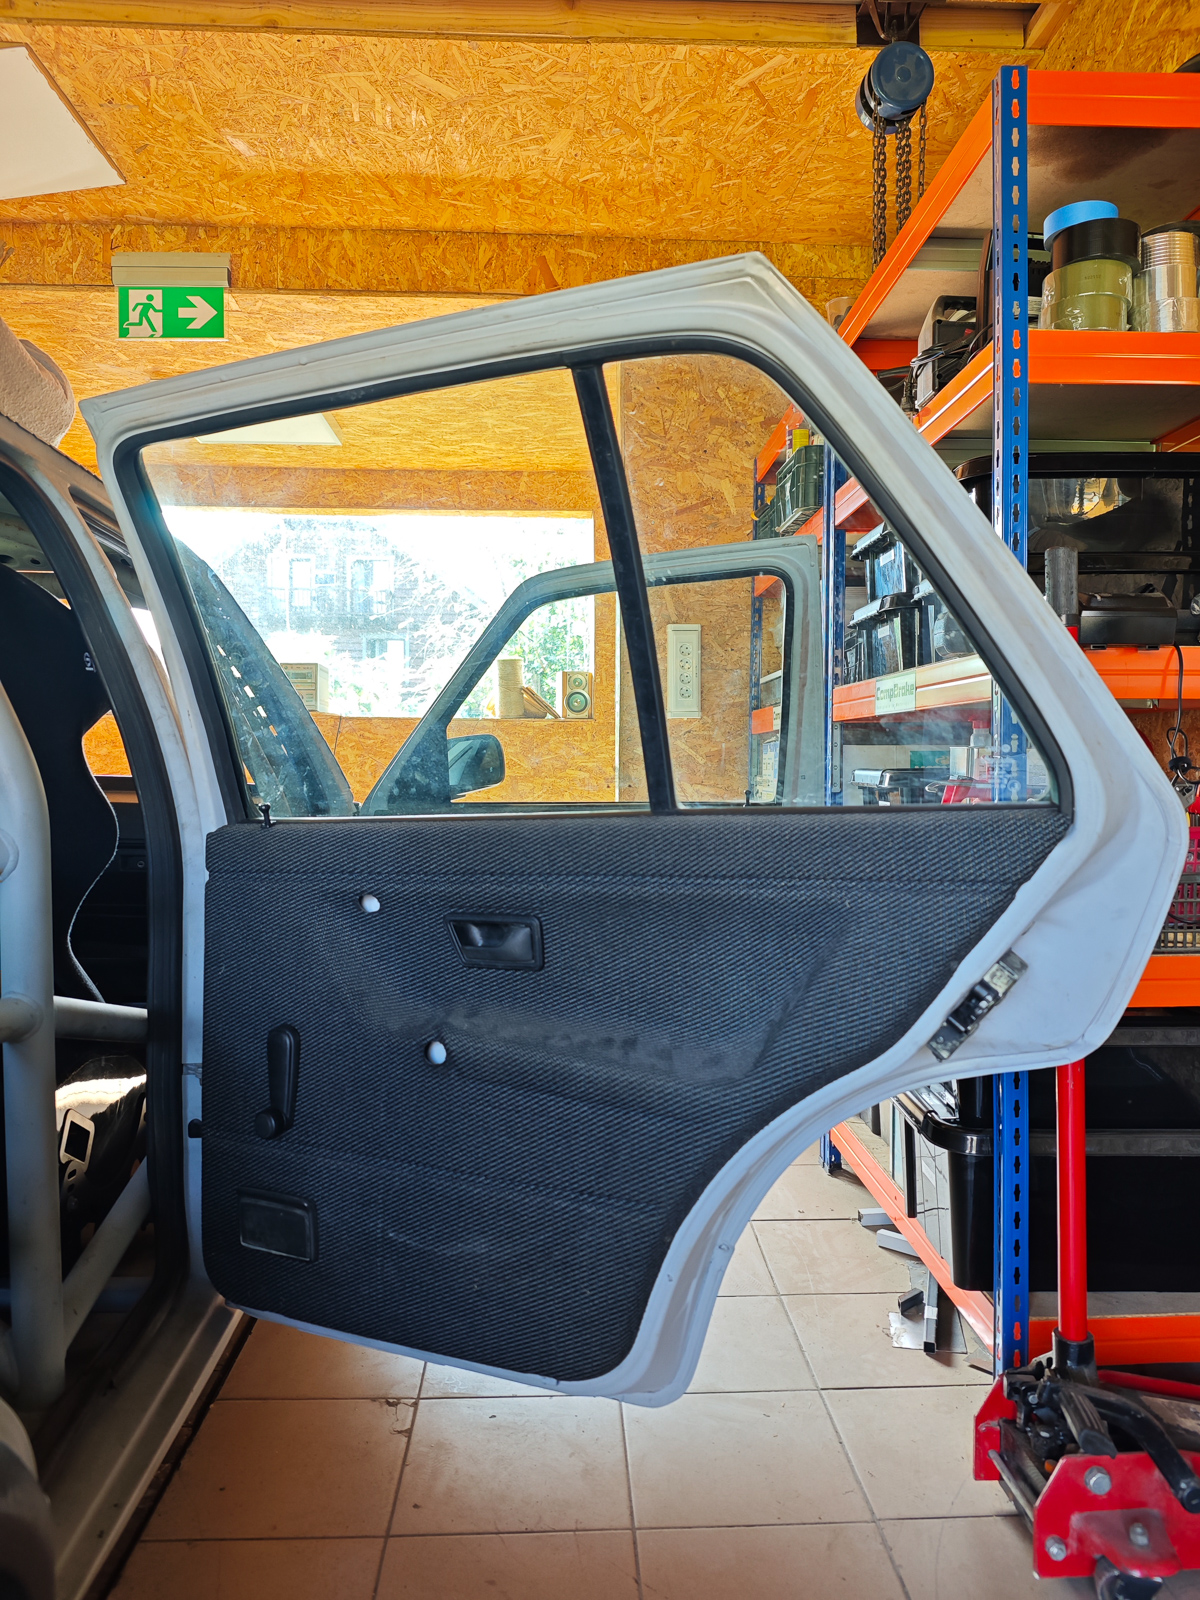
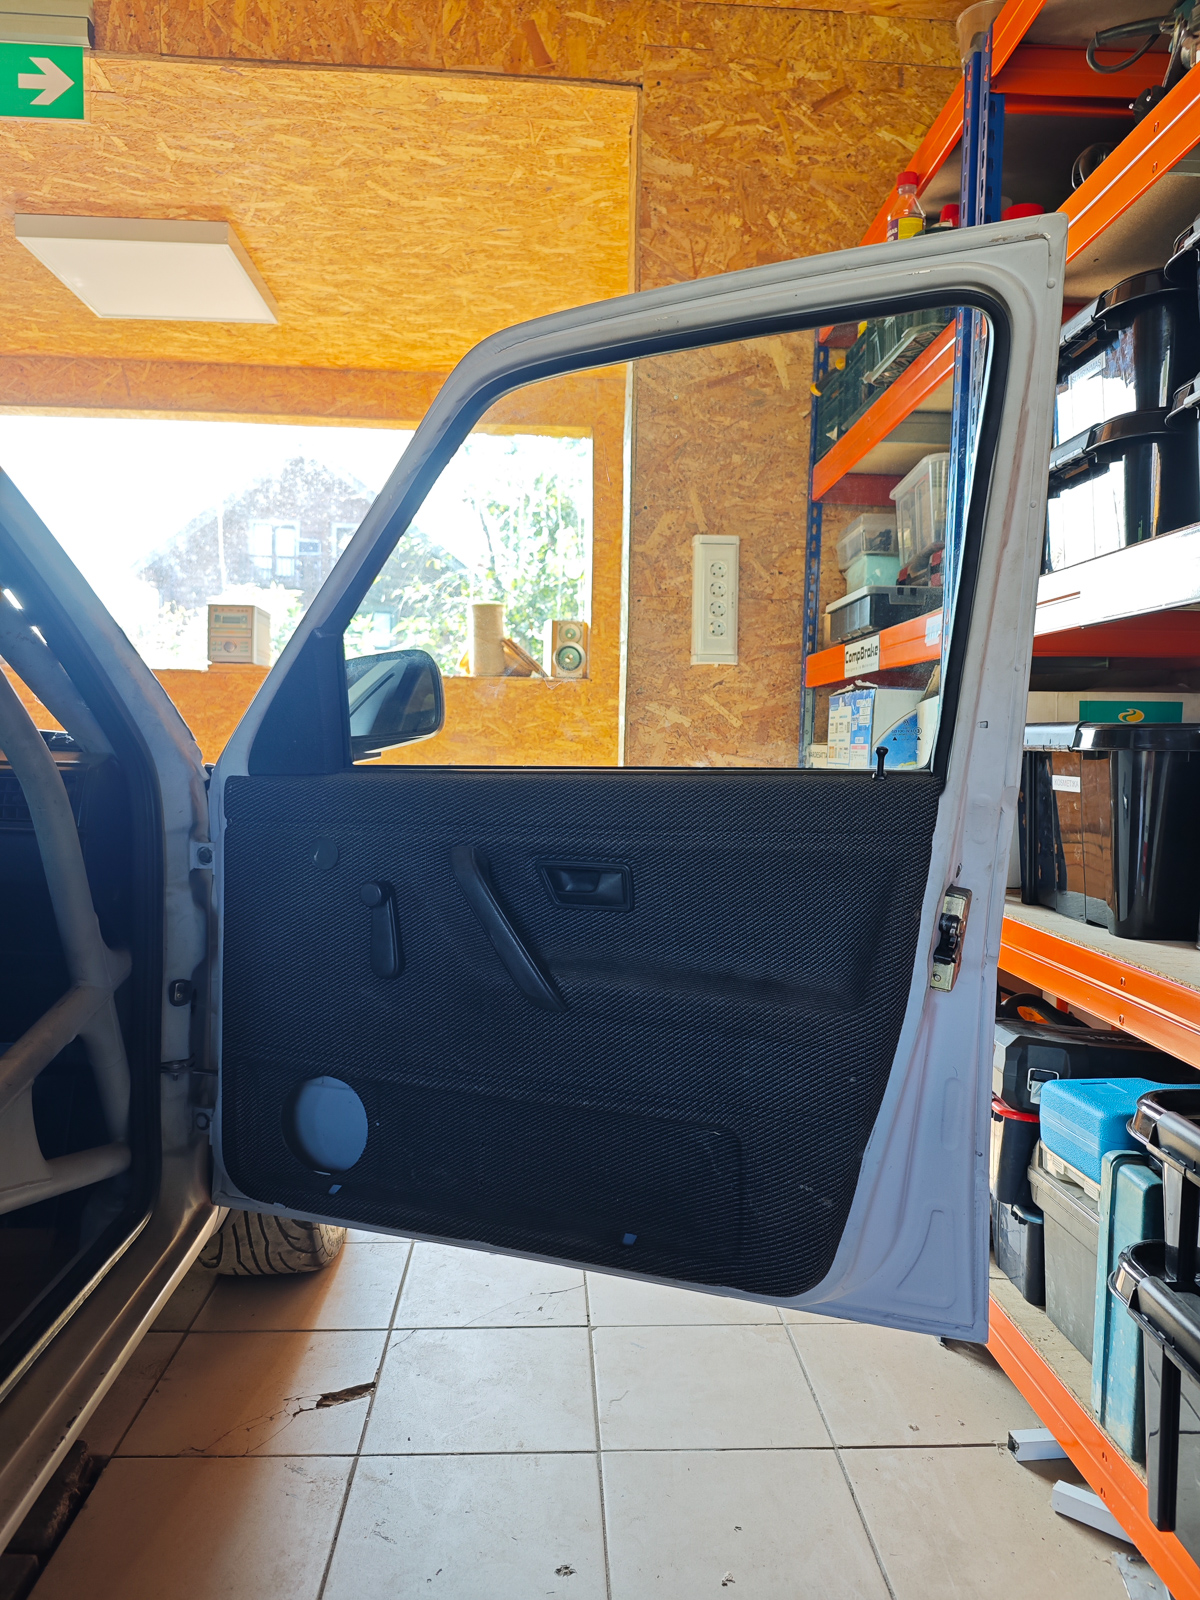
Also plastic arches and A3 pepper pot wheels which are like new:
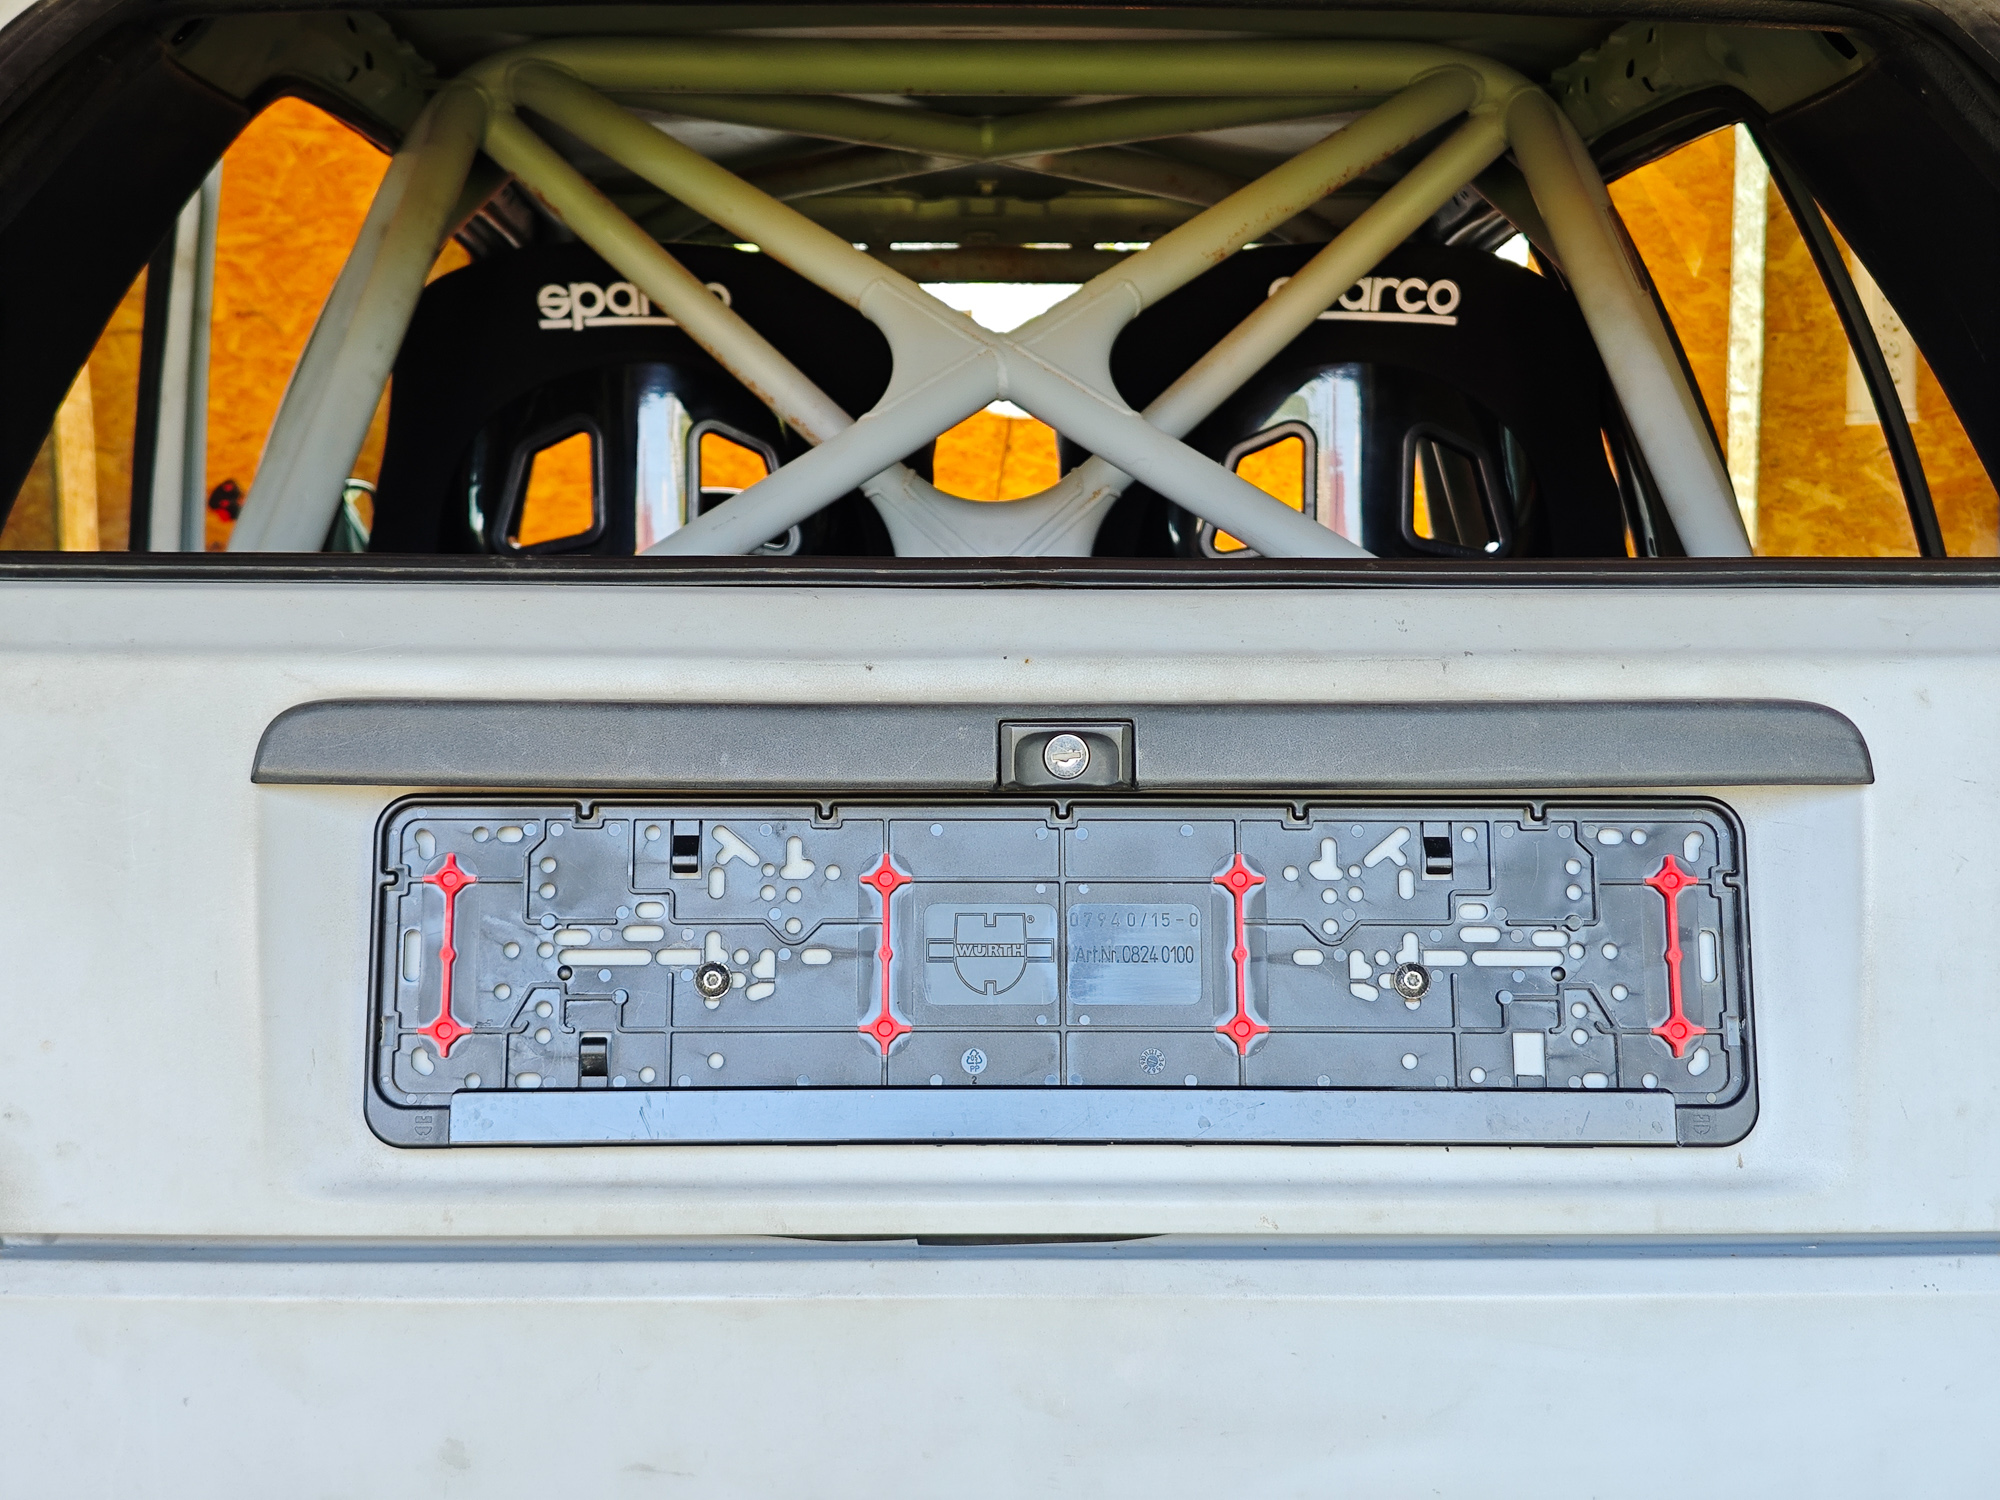
Rear trunk lock and other parts of it:
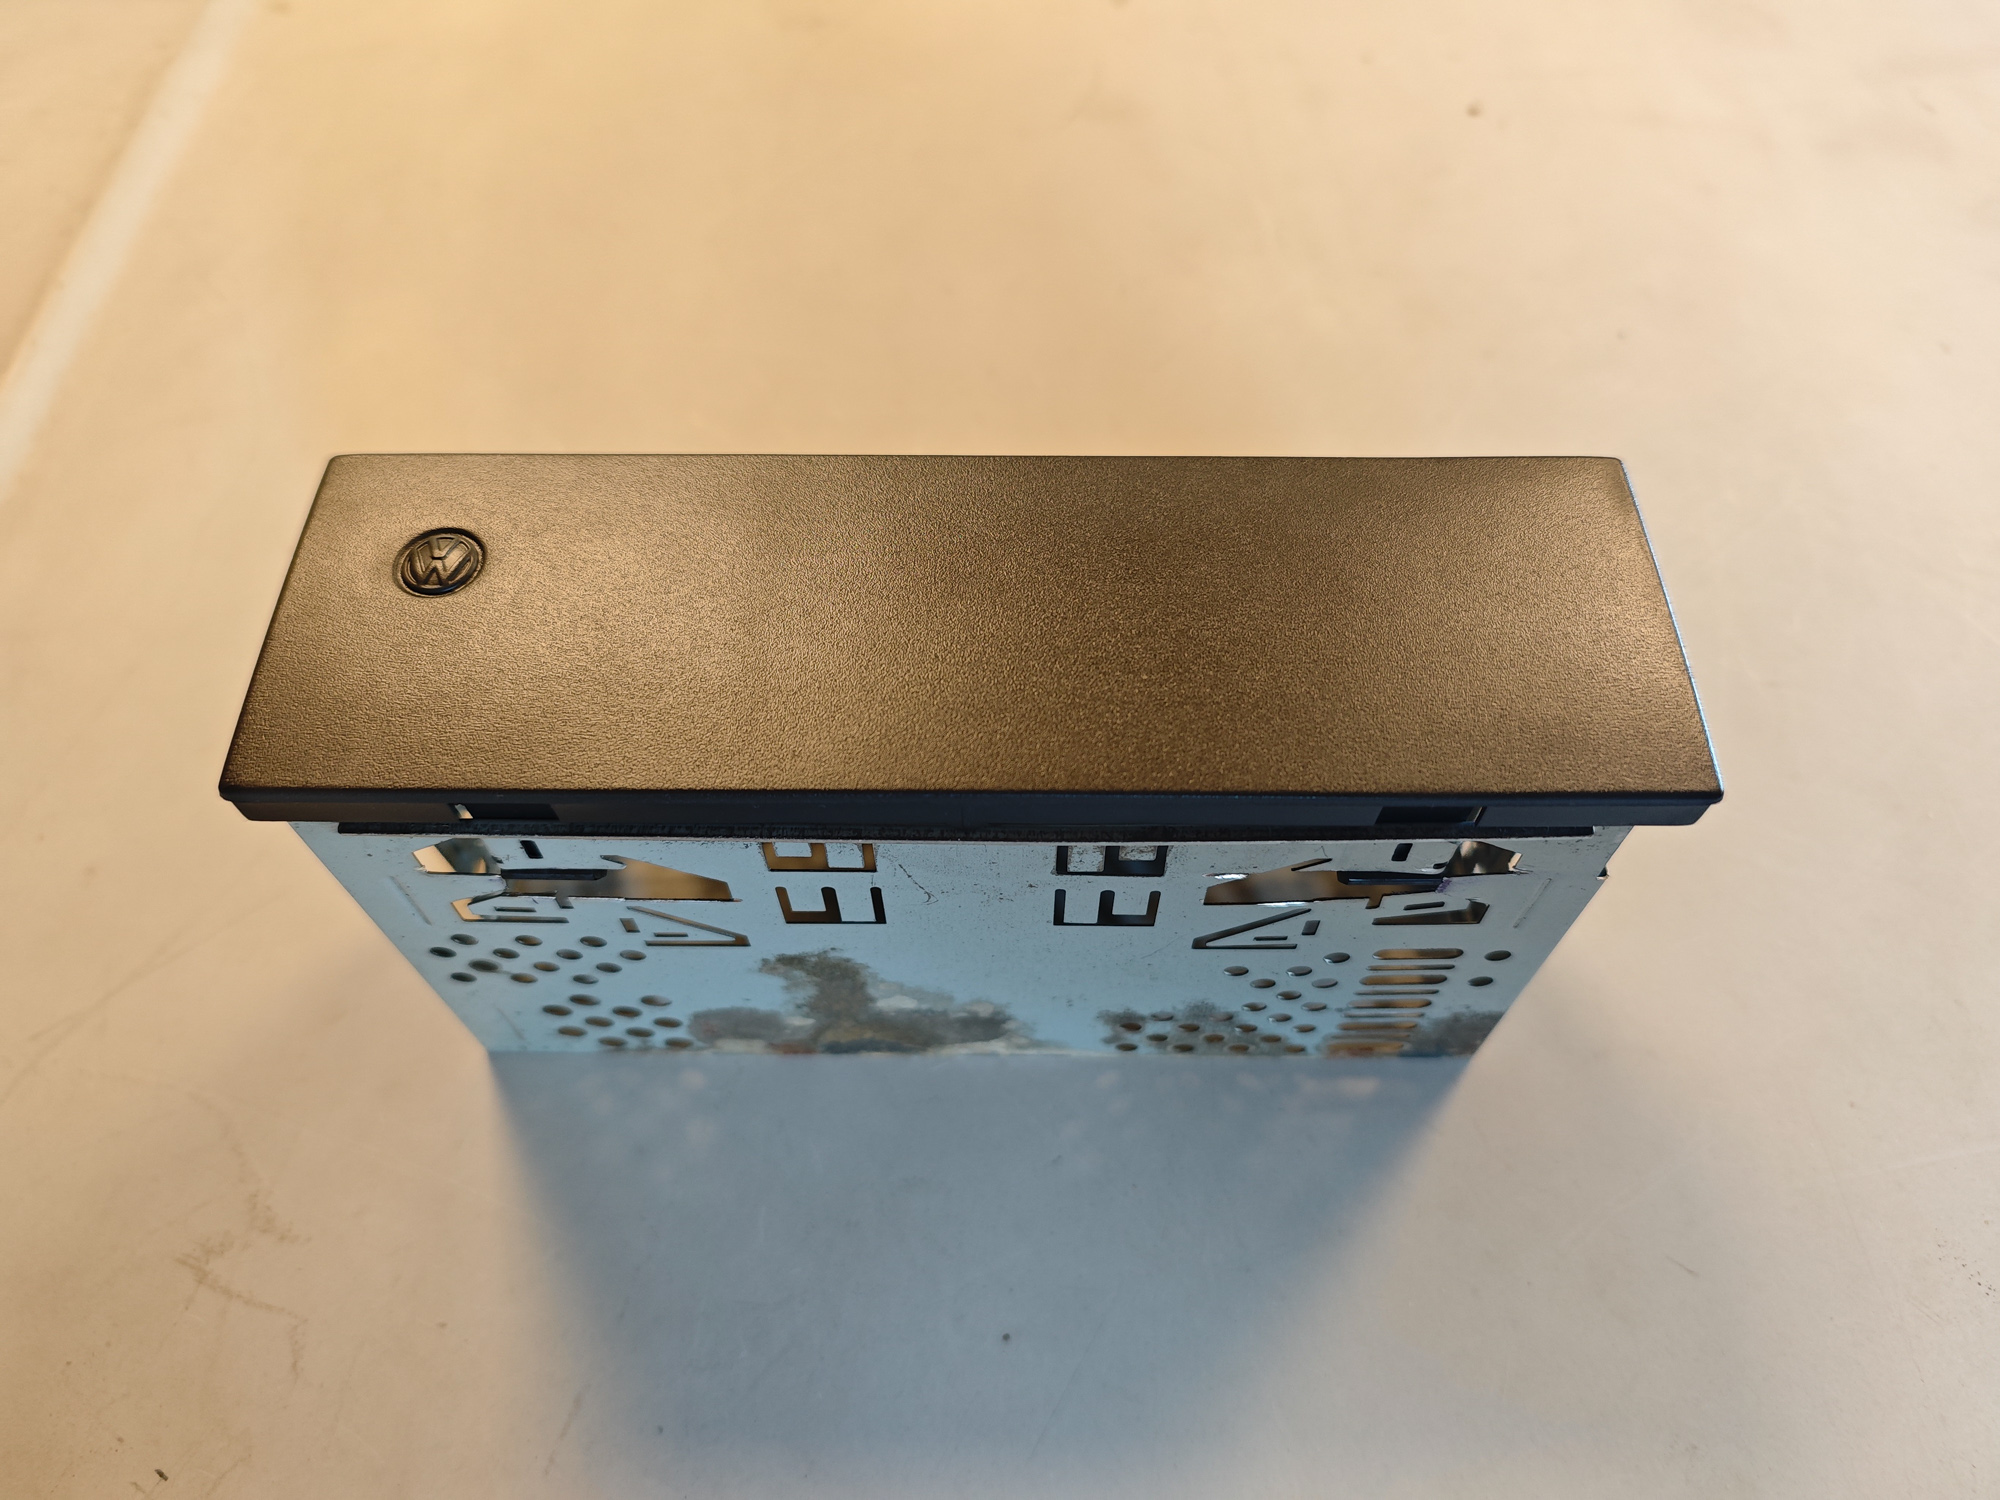
OE DIN cover:
And for the last sip, tiny but very important thing - 350mm MOMO steering wheel:
For now - thank you for your time! Take care!
Hits: 2679