Cut. Weld. Sleep. Part #2
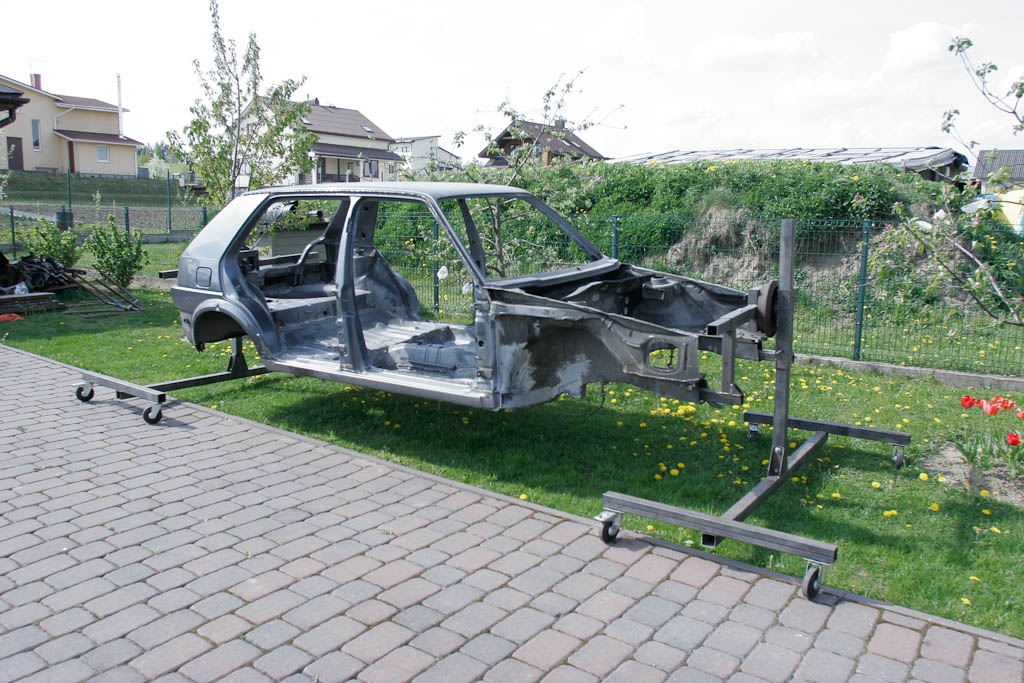
Quite a long period of time is behind since last topic posted. Previously I did show some of initial progress on shell restoration where I cut out sideskirts and welded in new ones. Removed interior sound deadening, unnecessary brackets, started shell stitiching to improve it's stiffness.
As the shell required to bring it to at least good enough condition I did continue to work on.
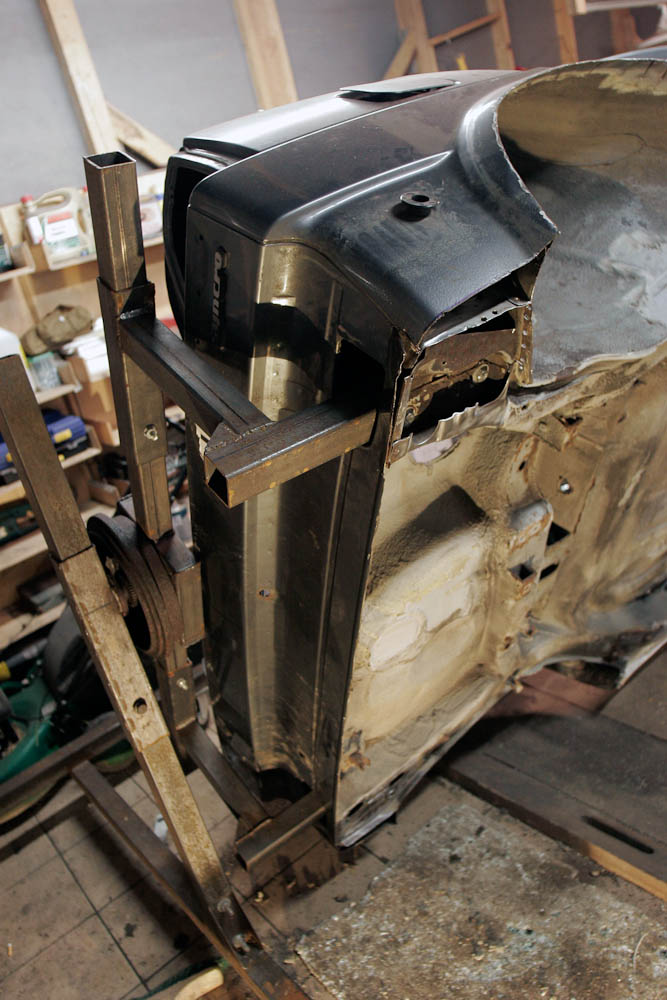
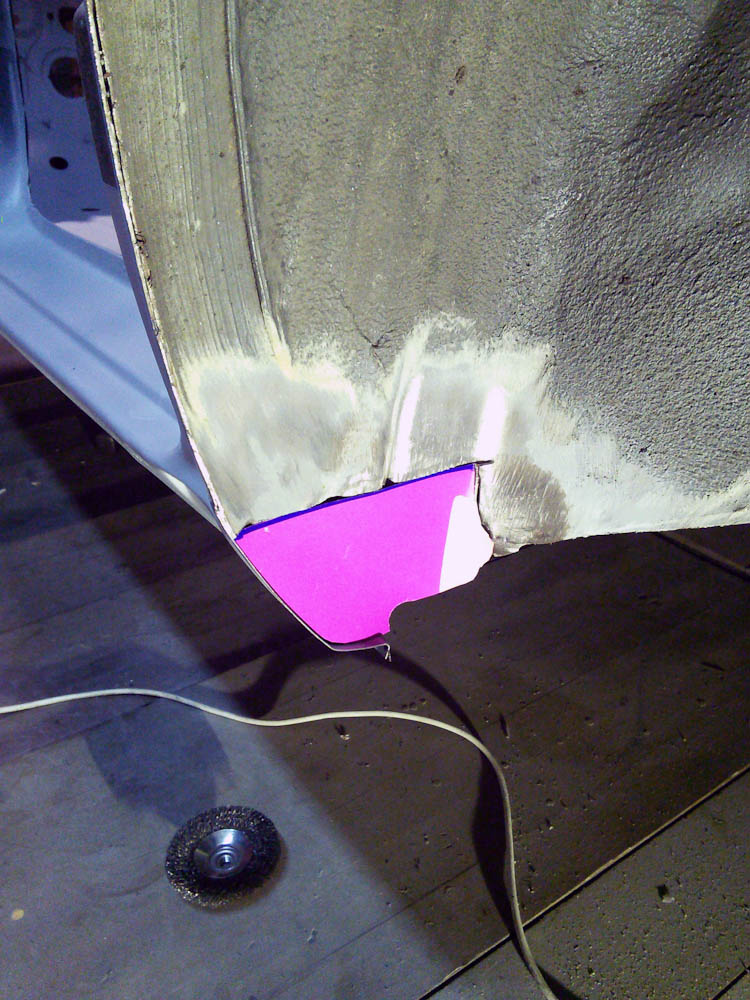
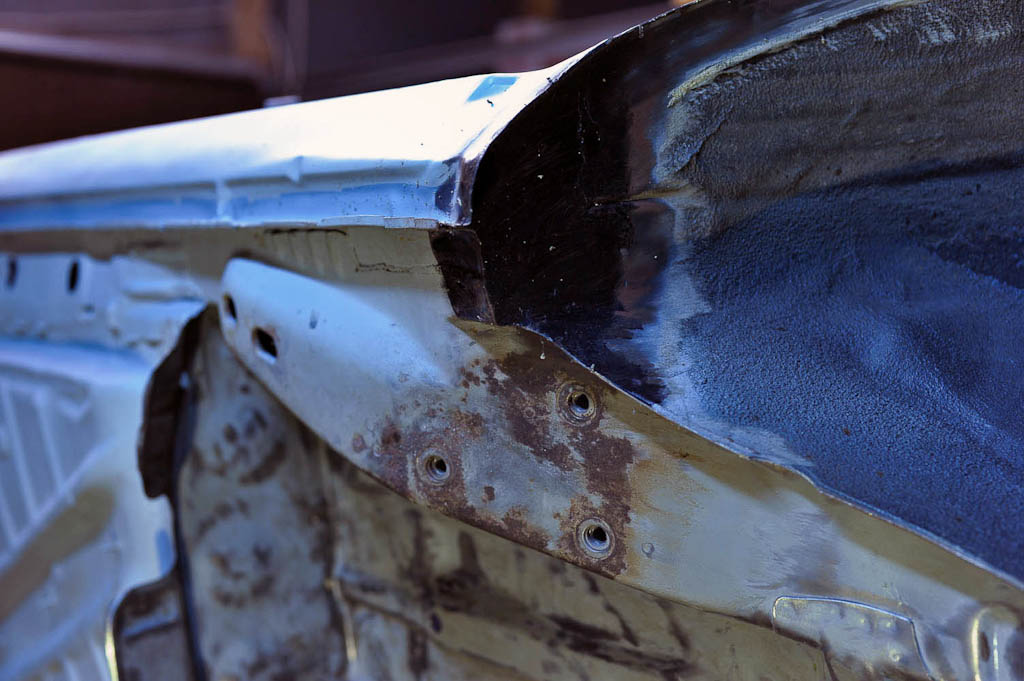
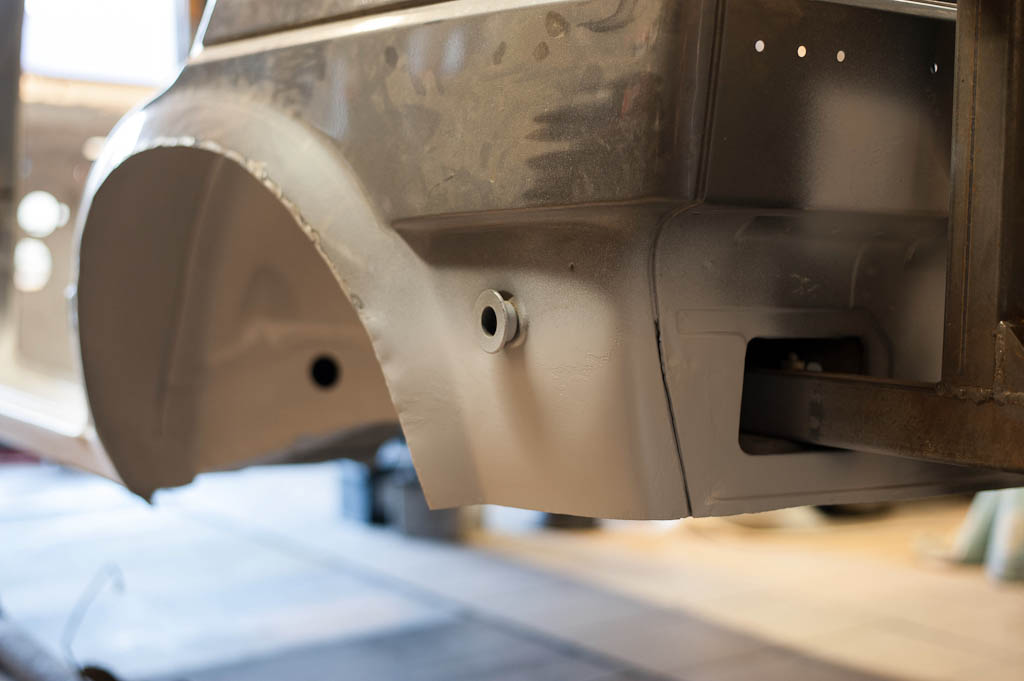
The passengers side skirt been cut out and removed completely to weld a new one.
In this pic you may see passenger side skirt sitting in place it belongs to.
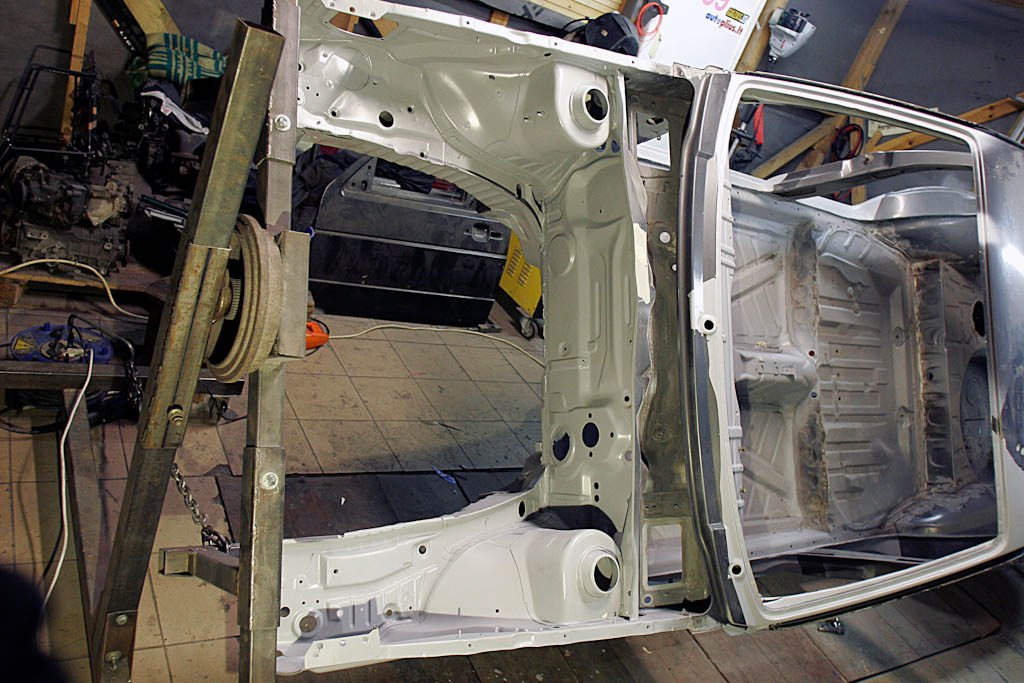
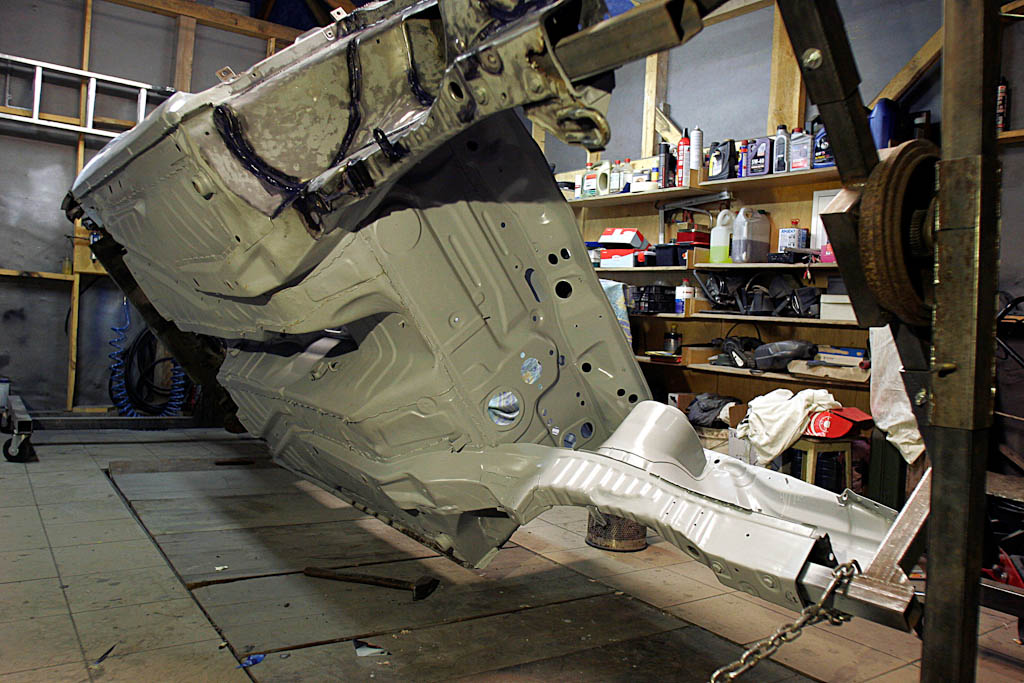
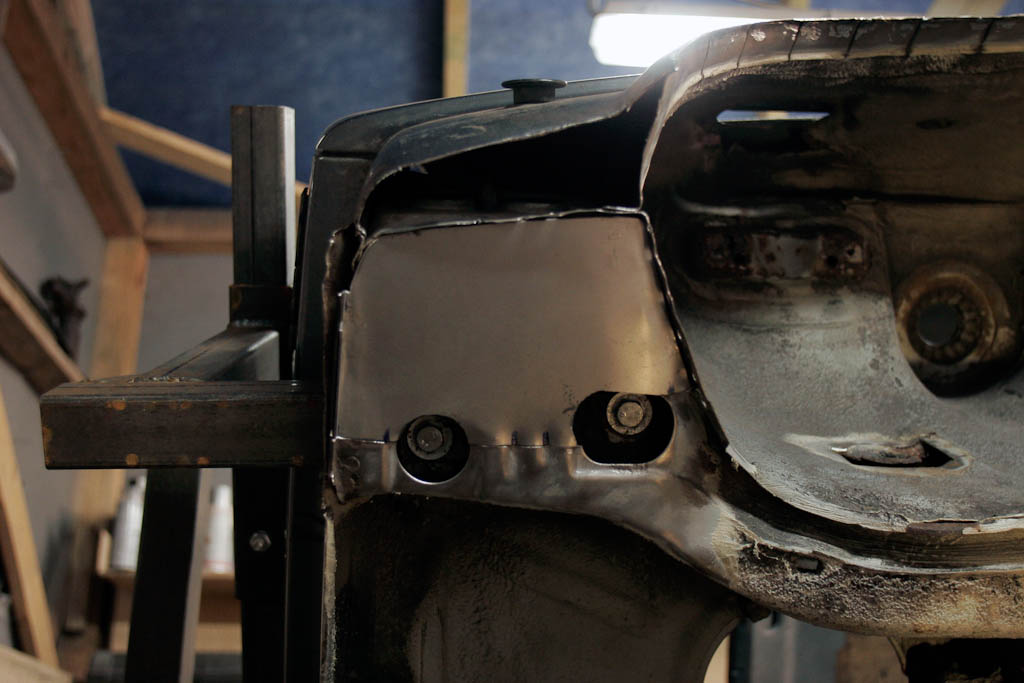
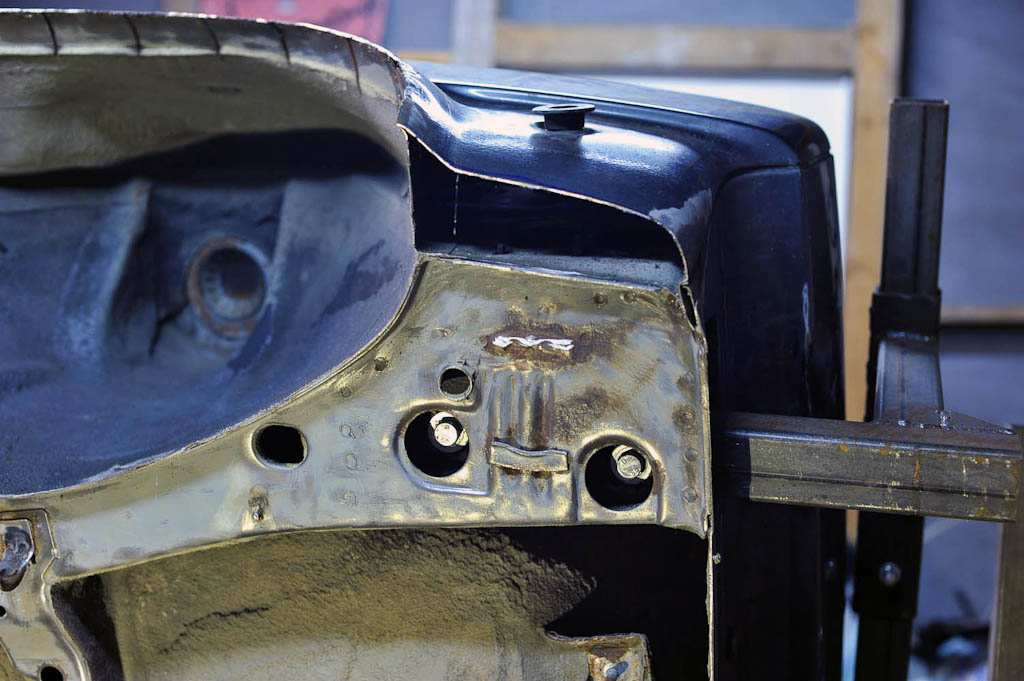
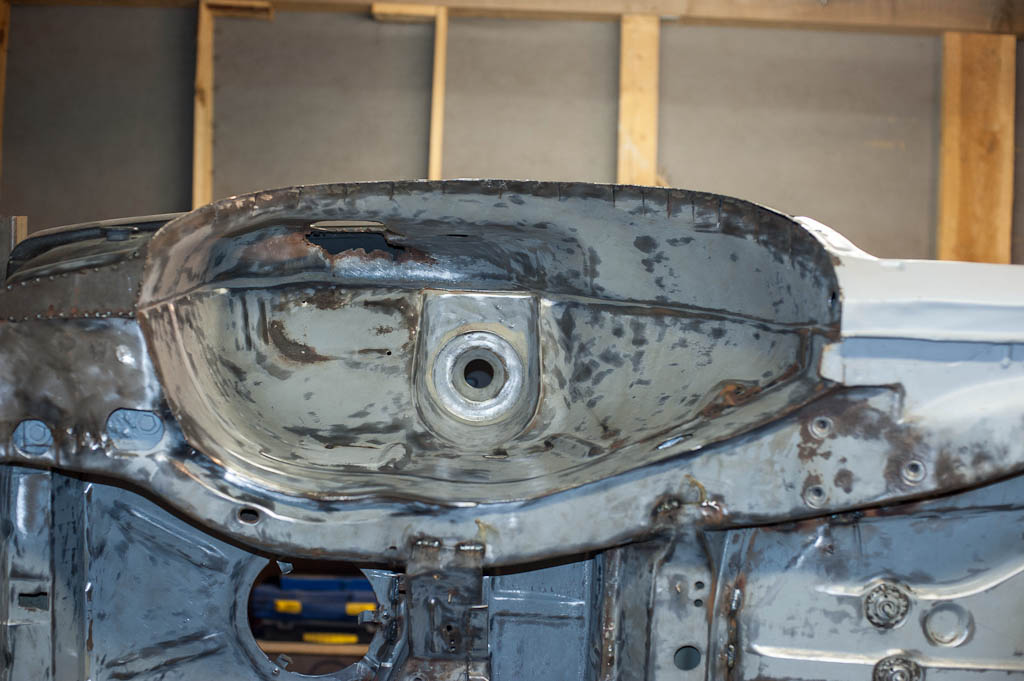
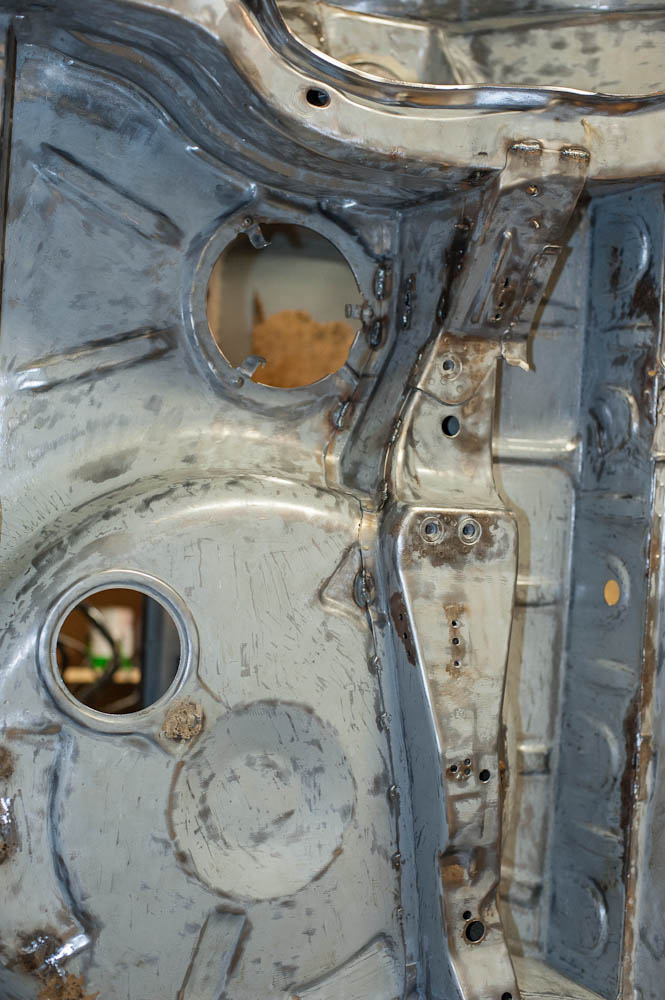
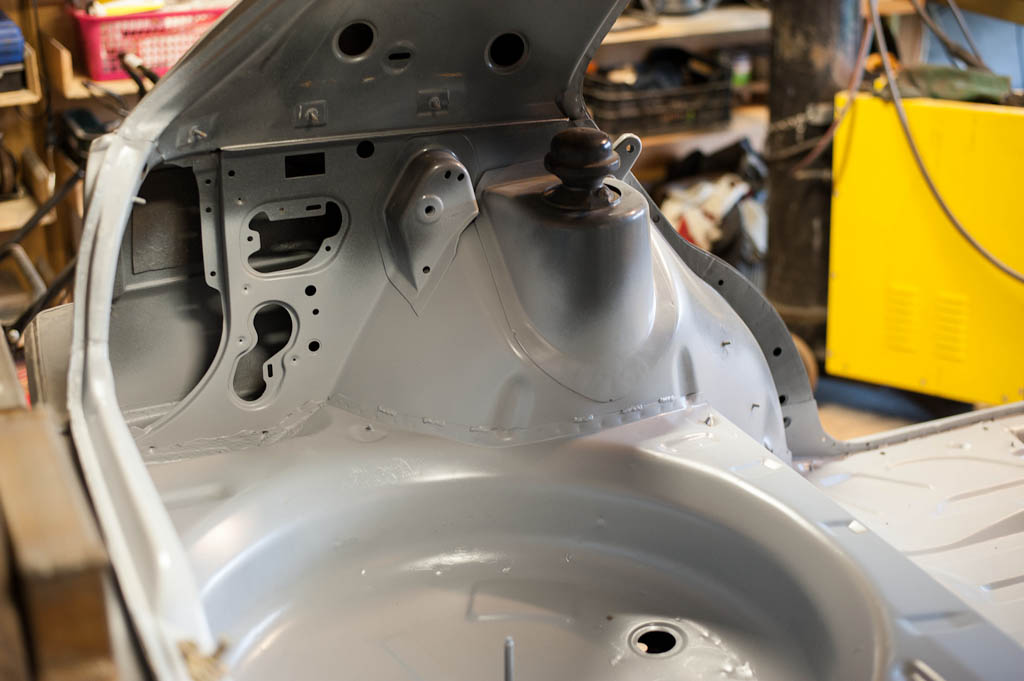
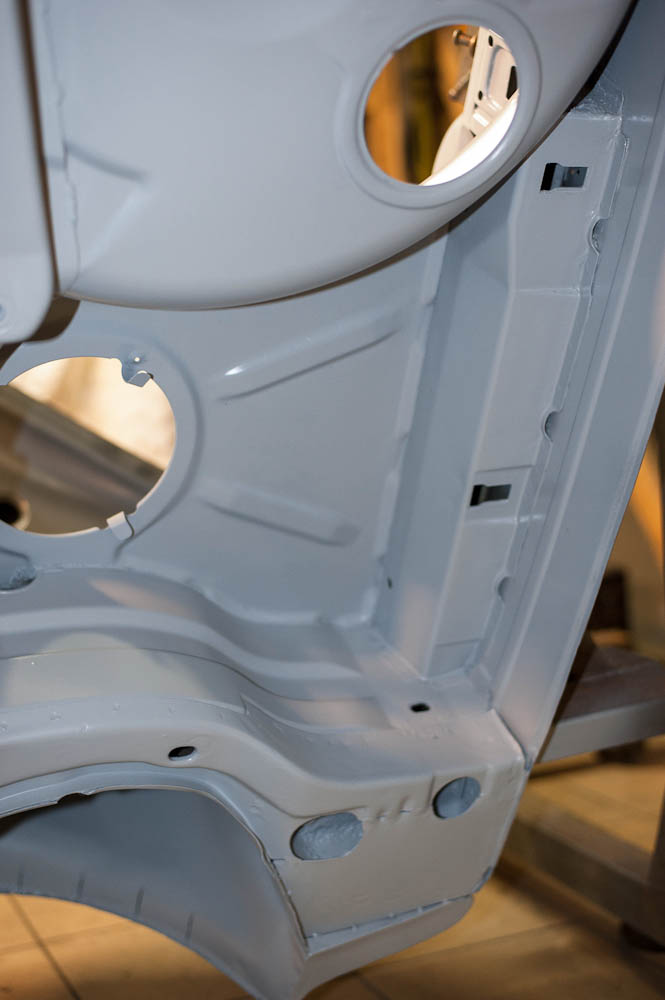
After it engine bay was the next. As said and shown in previous topics everything was clean under bonnet except one minor place under battery.
So it was just covered with new layer of epoxy primer:
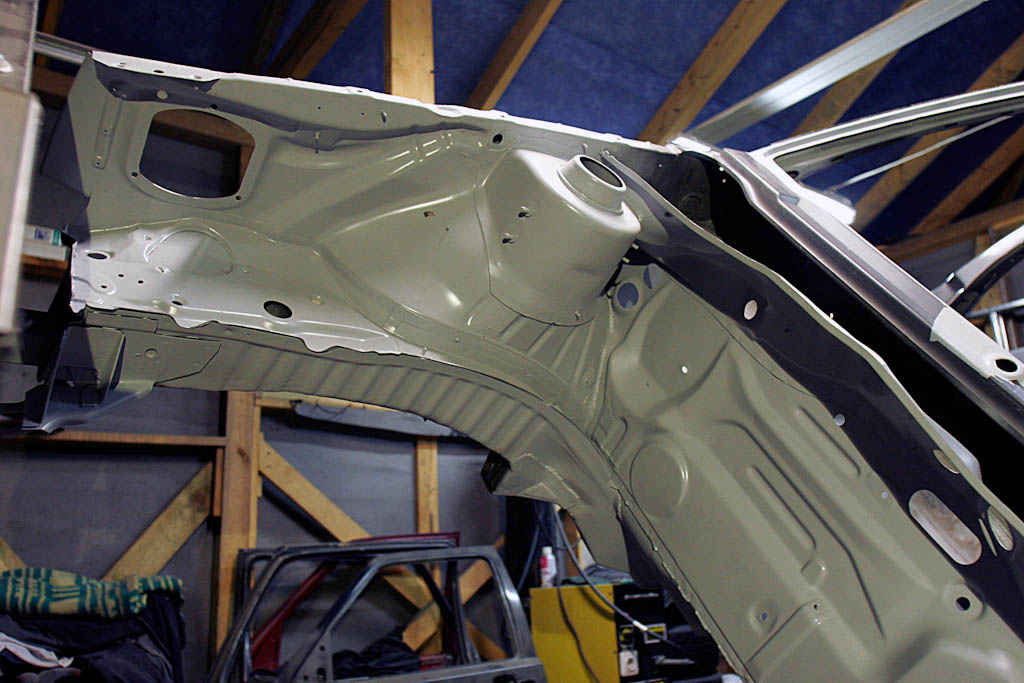

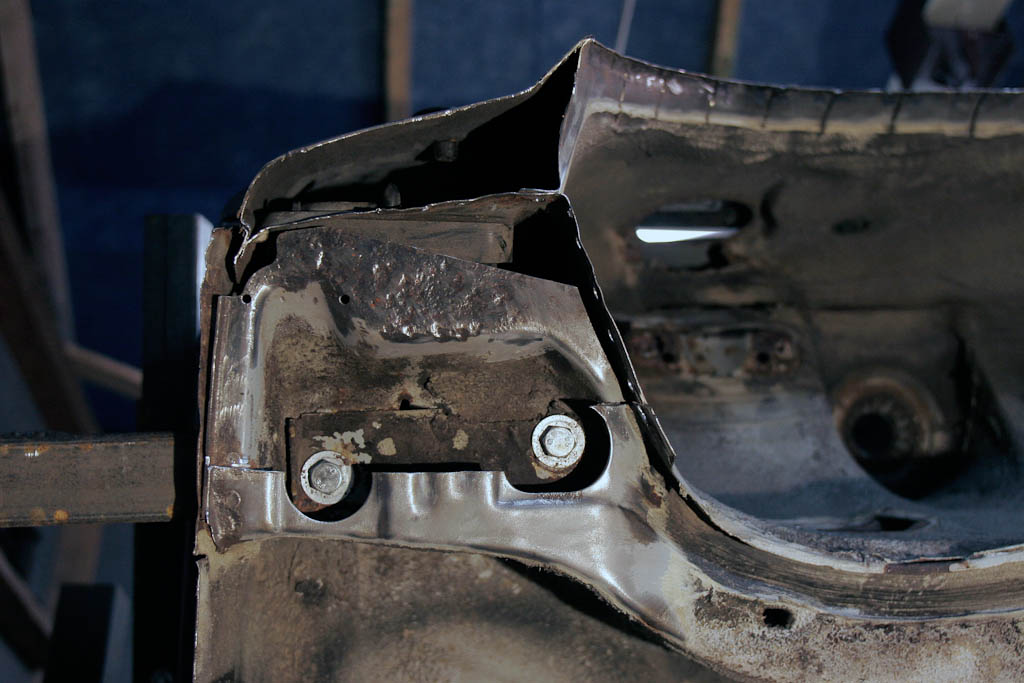
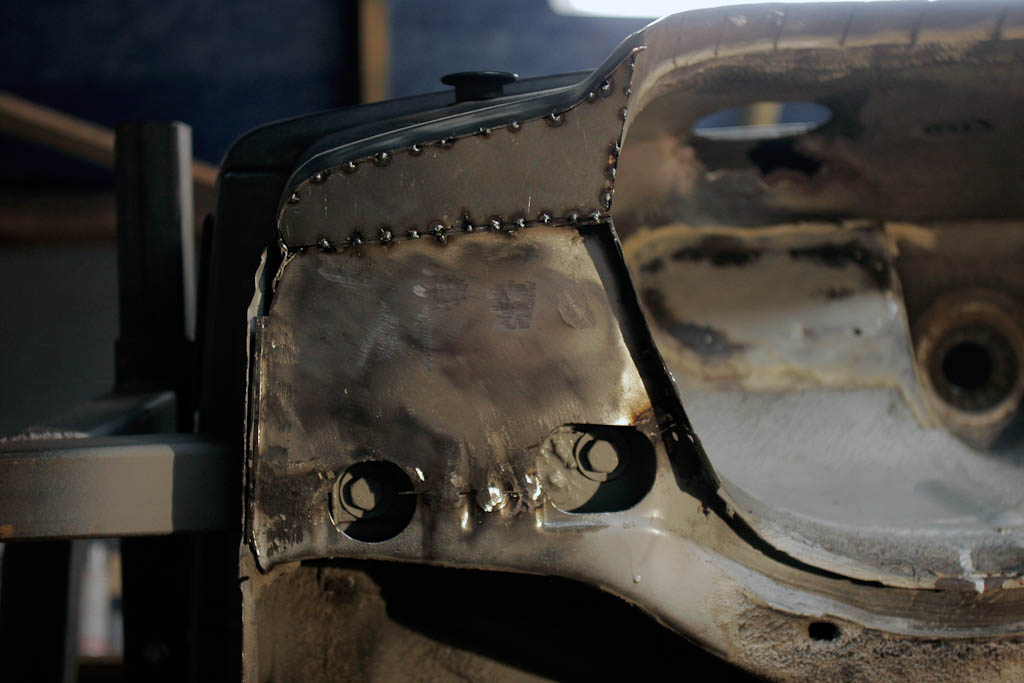
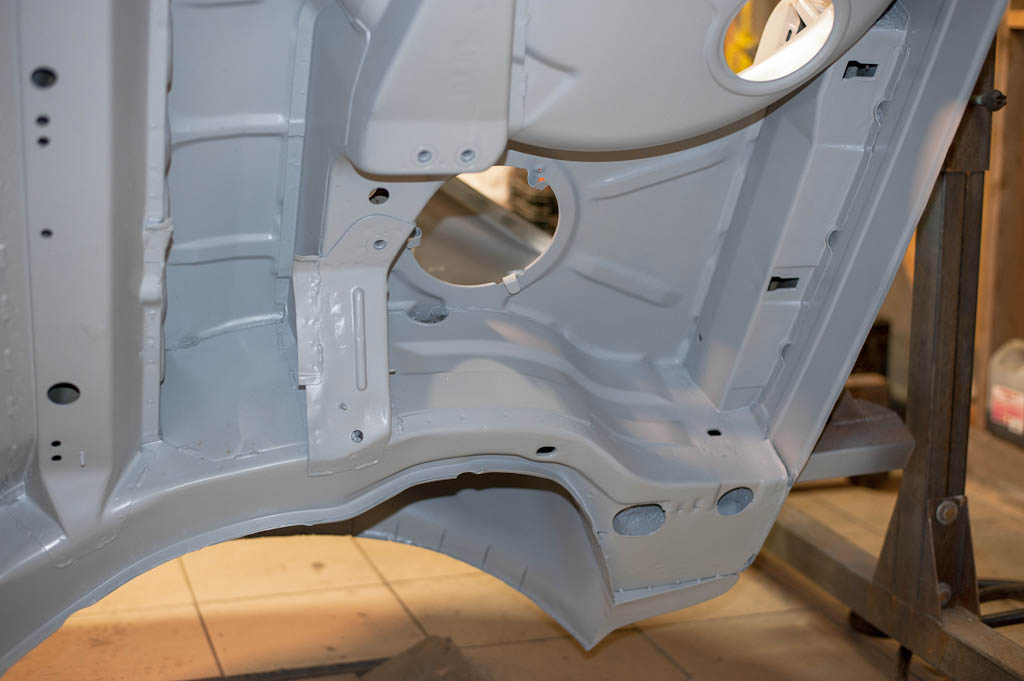
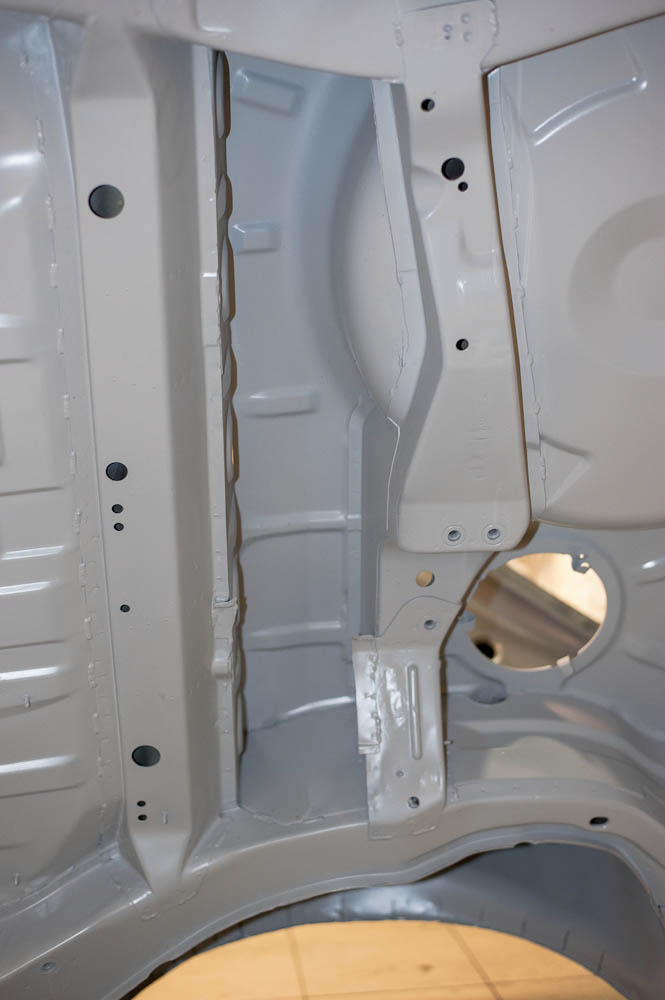
Front chassis legs and front wing supports stitched to give addtional stiffness and later epoxy primed. Those blue/black places have been rust treated after stitch welding before using epoxy primer.

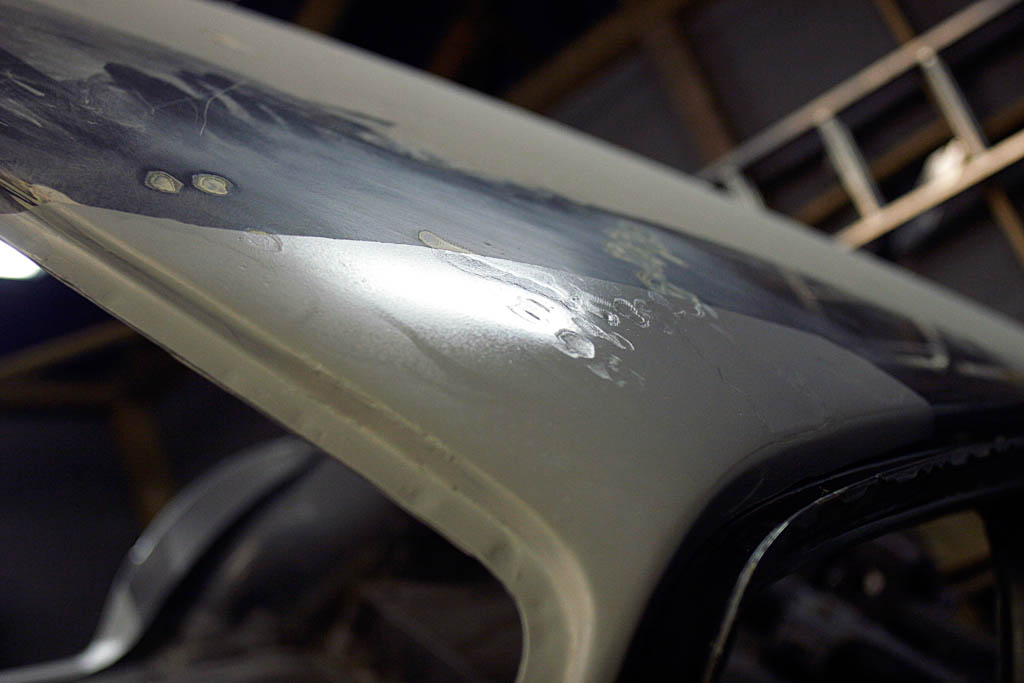
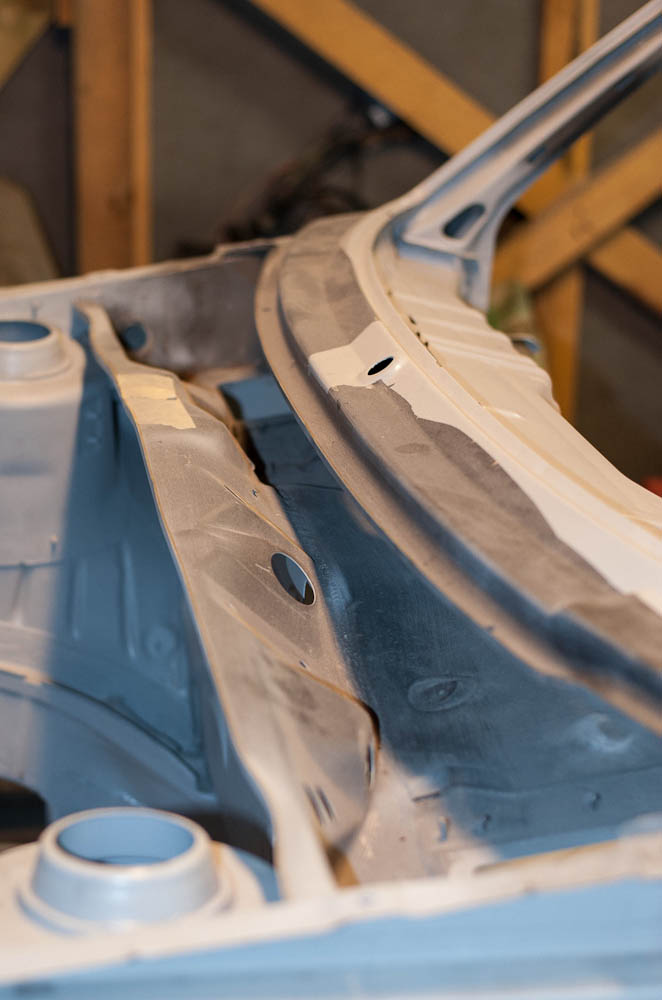
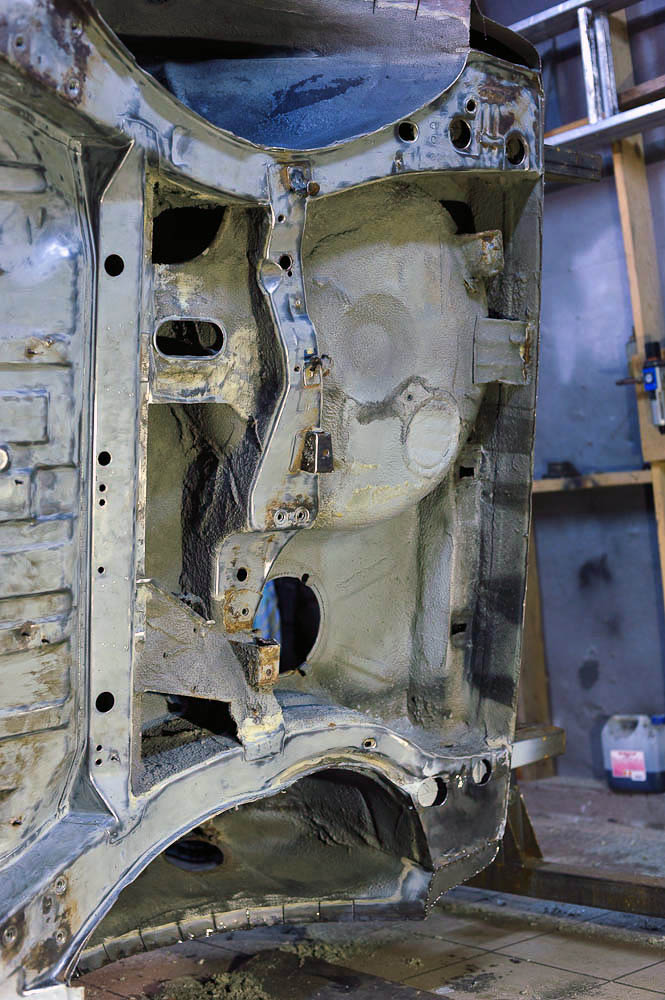
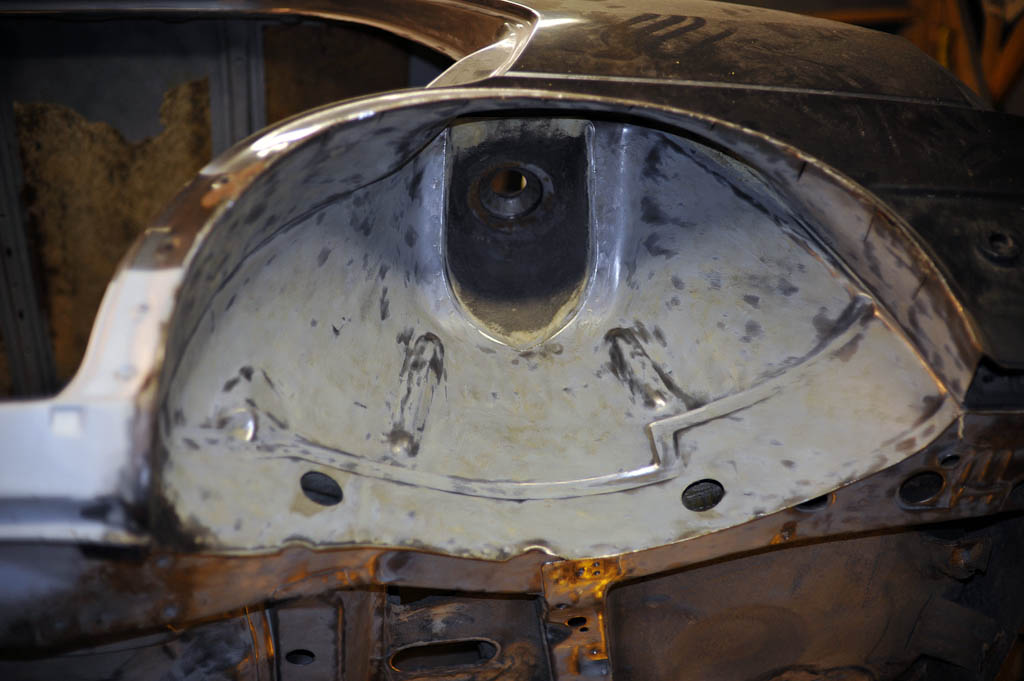
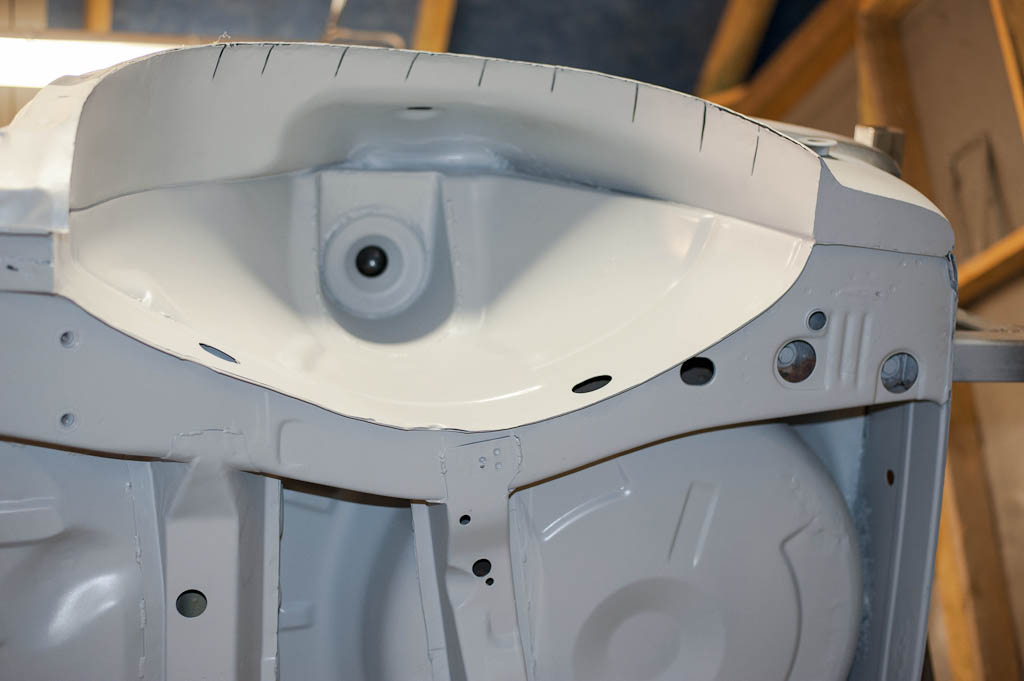
Upper A pillar had some of rust under windscreen sills. The corner of roof had damage obviously. Everything fixed and isolated.
Plenum chamber will be shaved too
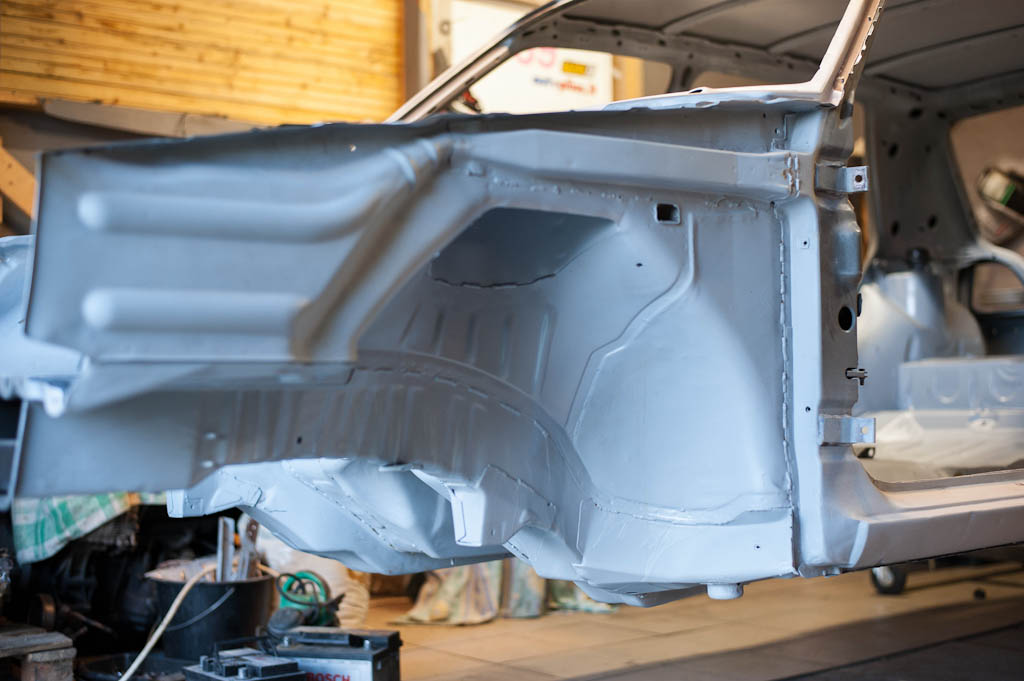
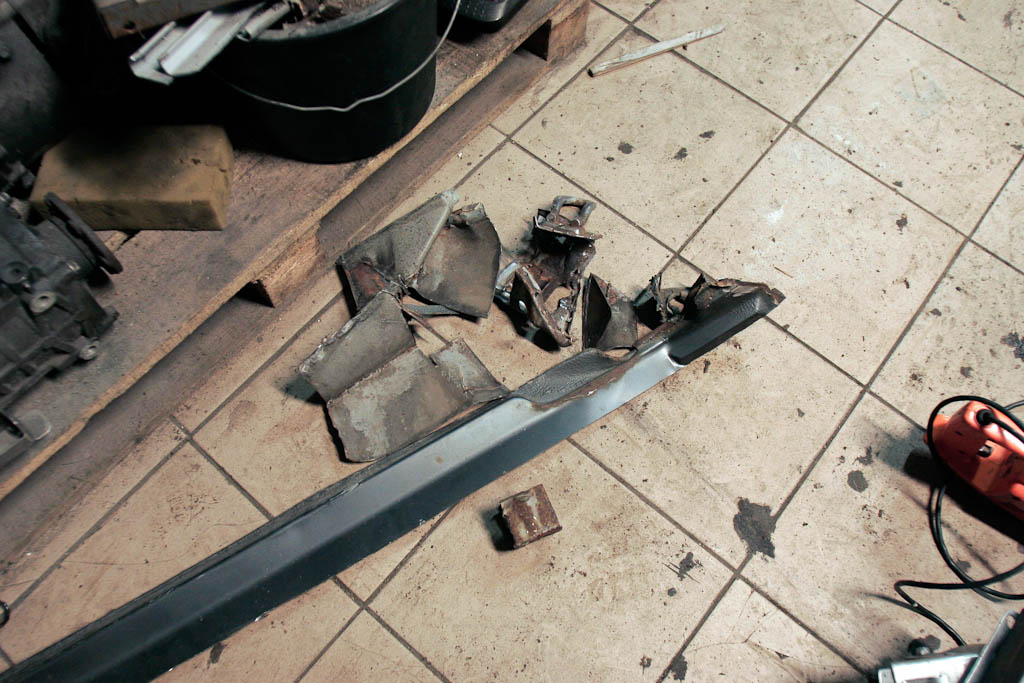
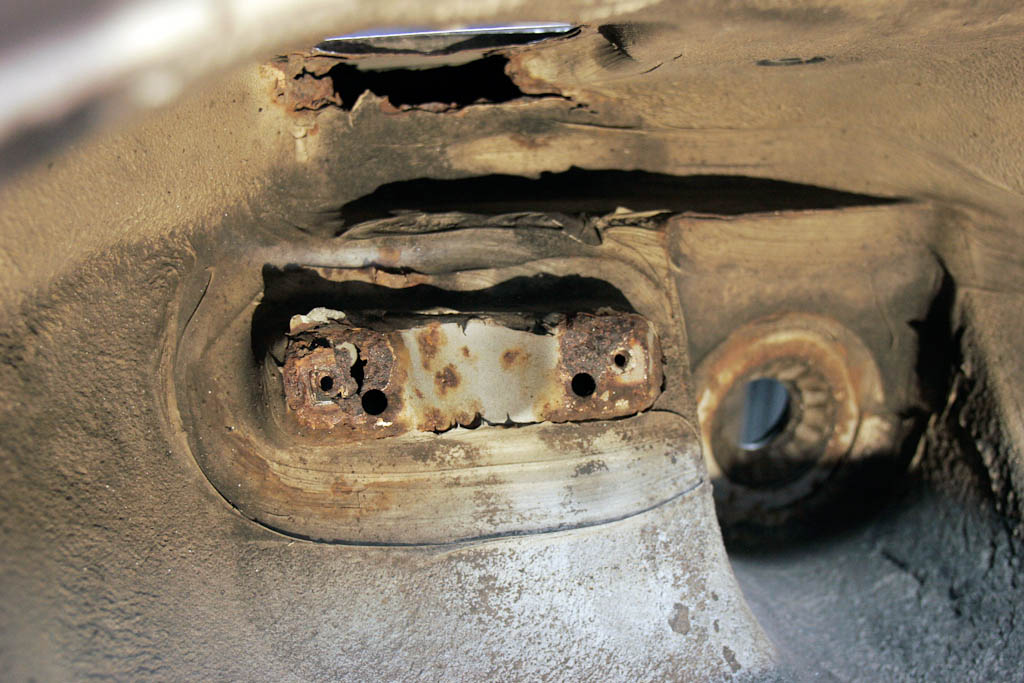
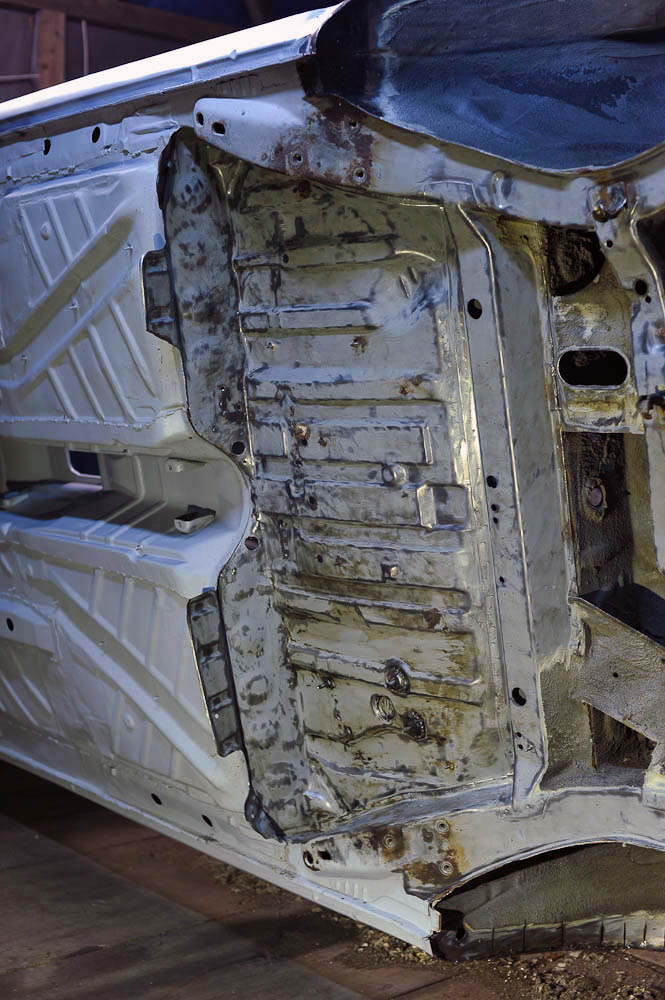
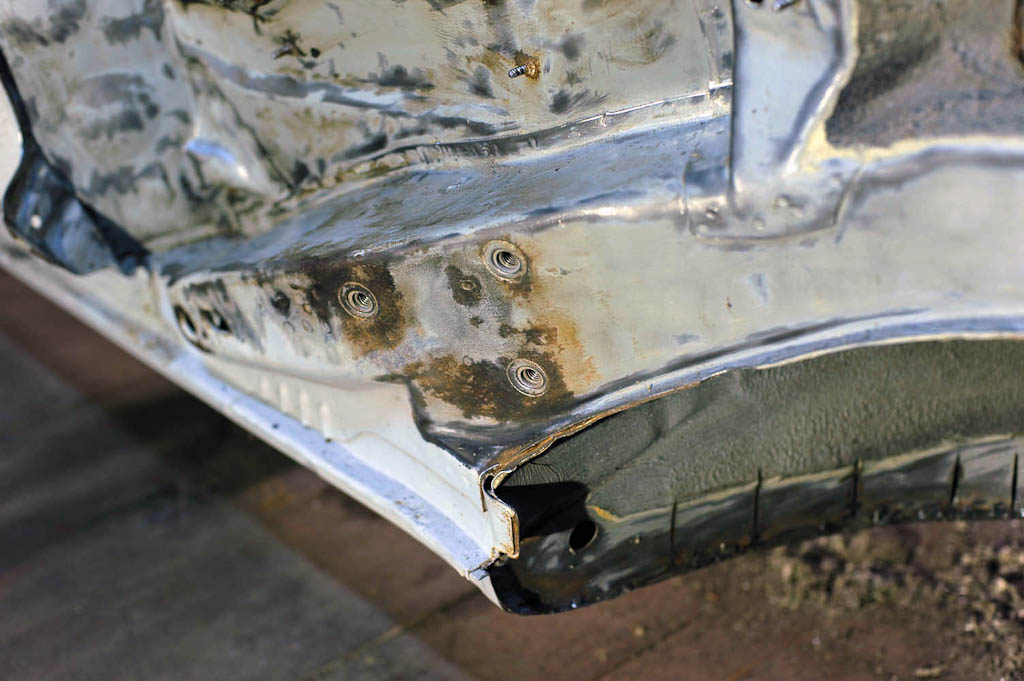
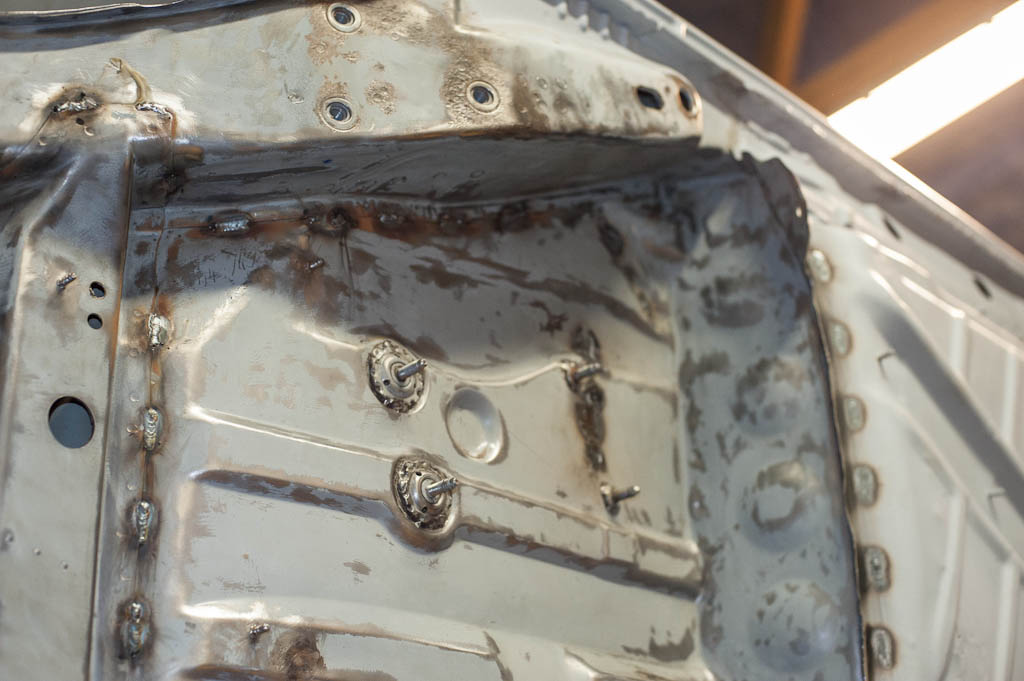
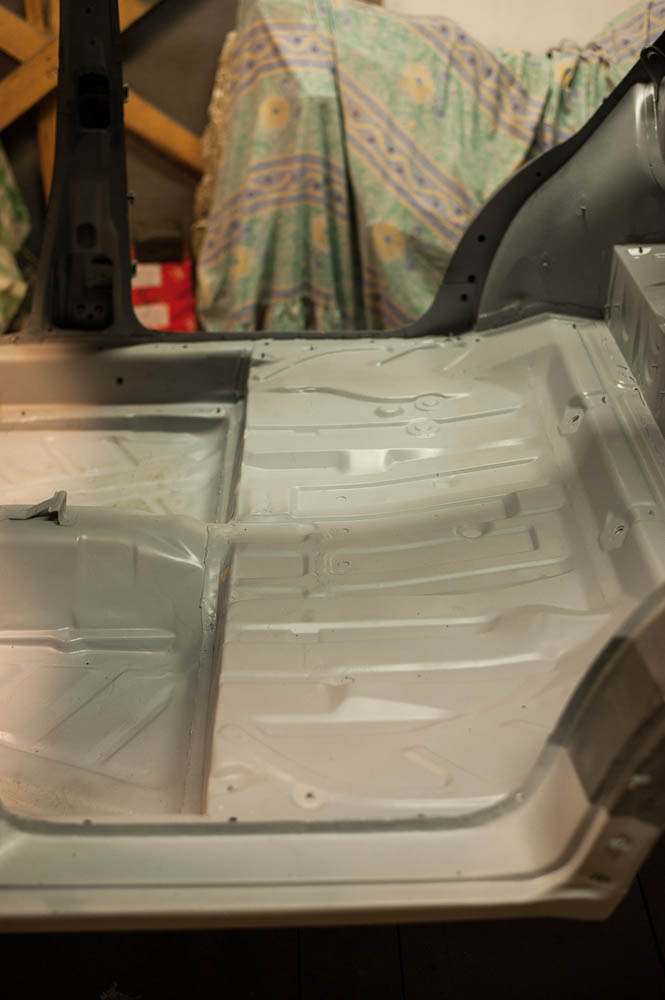
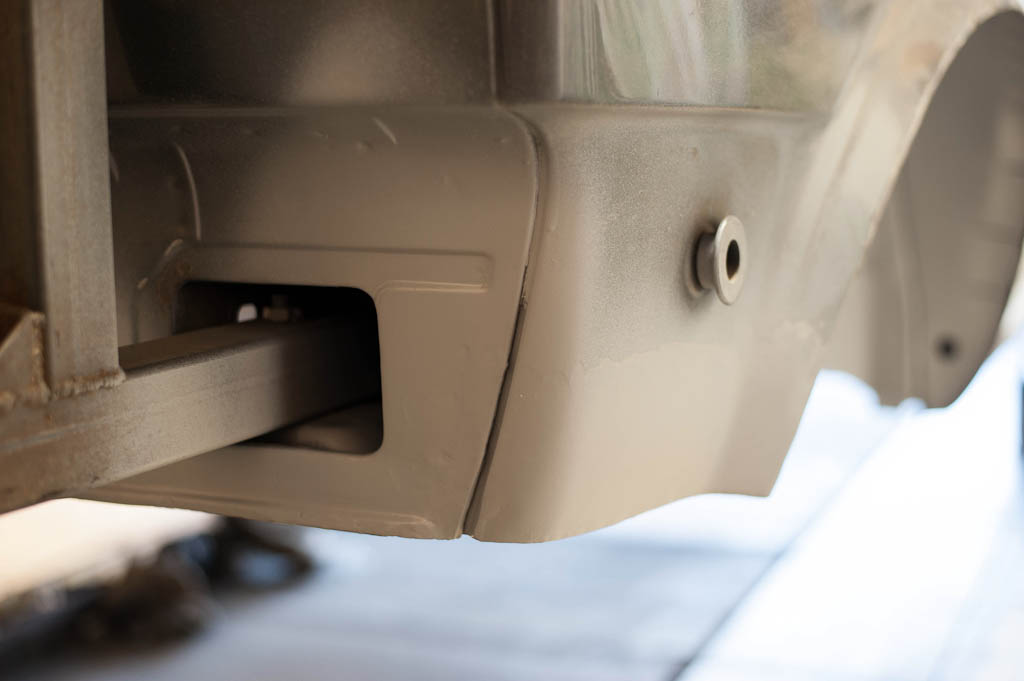
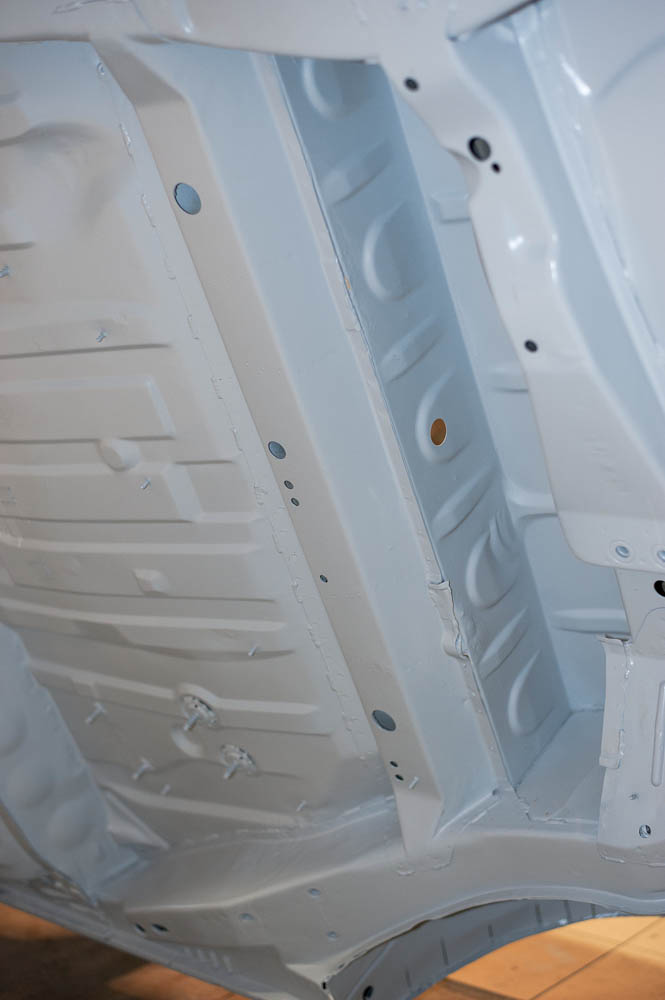
That's it for front chassis part which remained quite well. I can't say so about rear part which I moved later to. First of all I cut lower part of trunk panel. Lowest spots of that panel were rusted.
I had no reason to restore it because of:
a) Having no lower part makes you able to fit diffuser easier
b) I have a body kit, which anyway will completely cover it.
c) Even uncovered these short ass mk2's looks better.
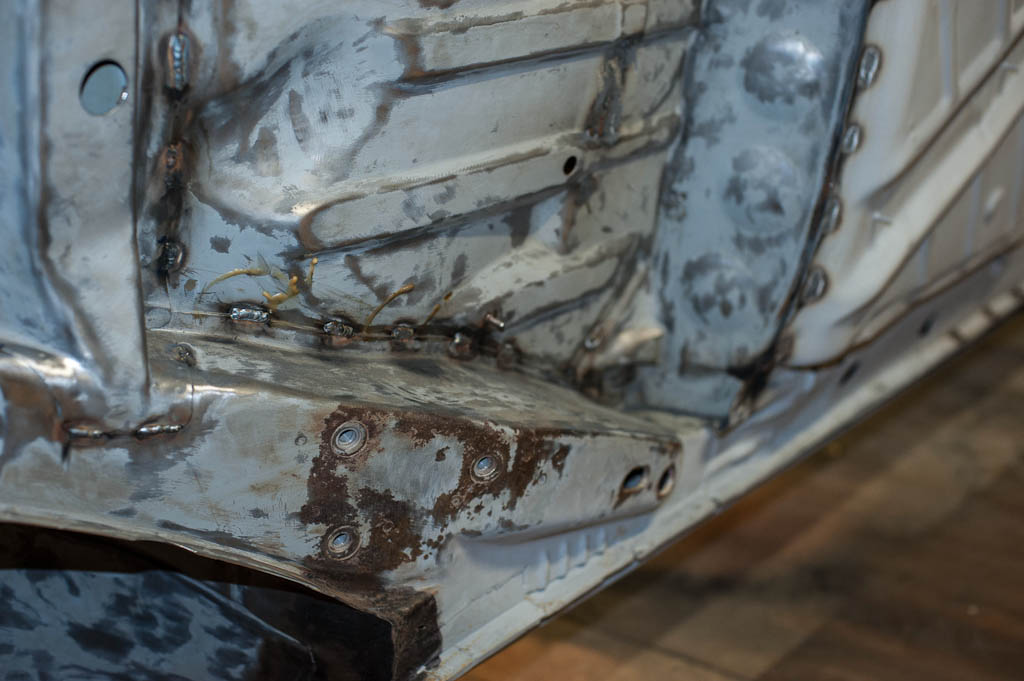
Found some bad places there and after sealant removed on other places
That one deeply wouldn't be easy to get access to...
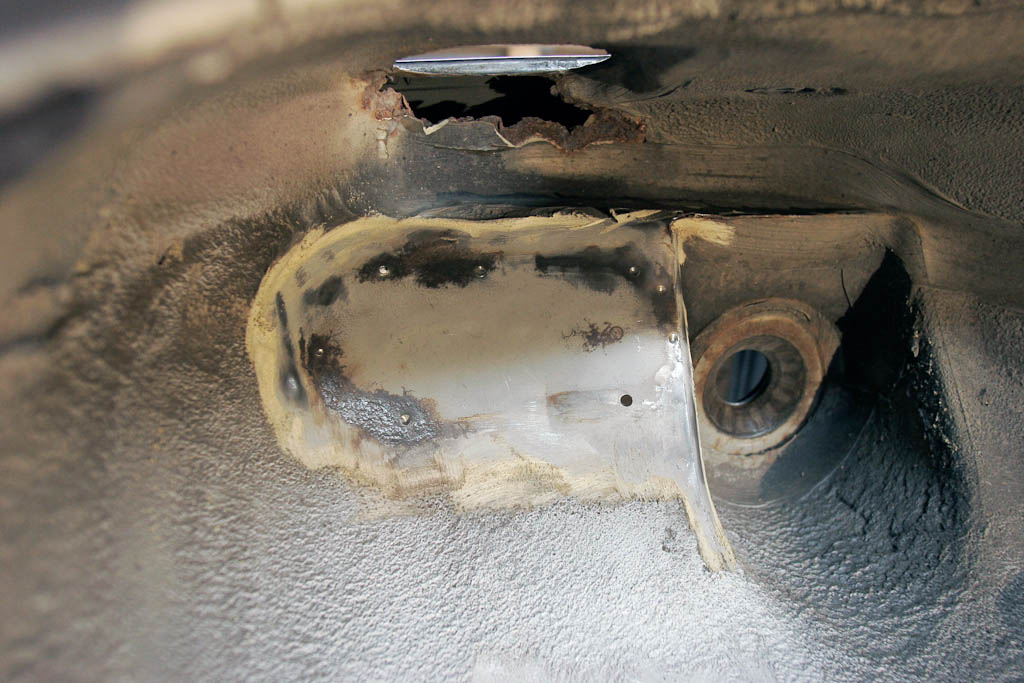
Making a new part..
Moved to other side but there was only one place which needed to be fixed. That's a simple way I'm using to fabricate a part precisely.
After the major bad places where restored I started LONG&BORING shaving of old sealants...

Nearly done...
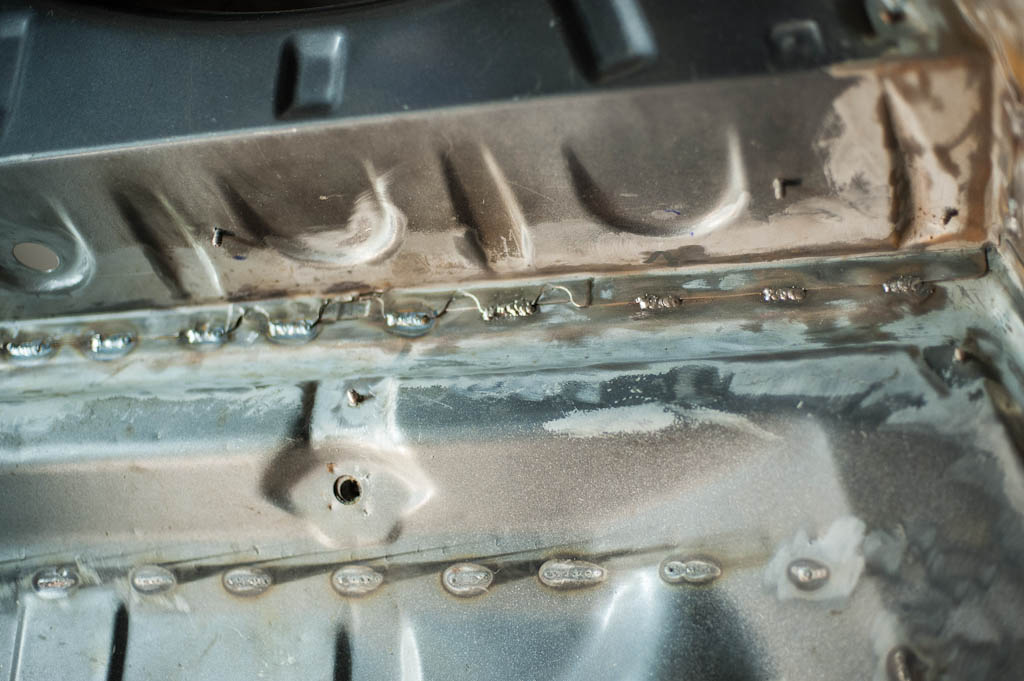
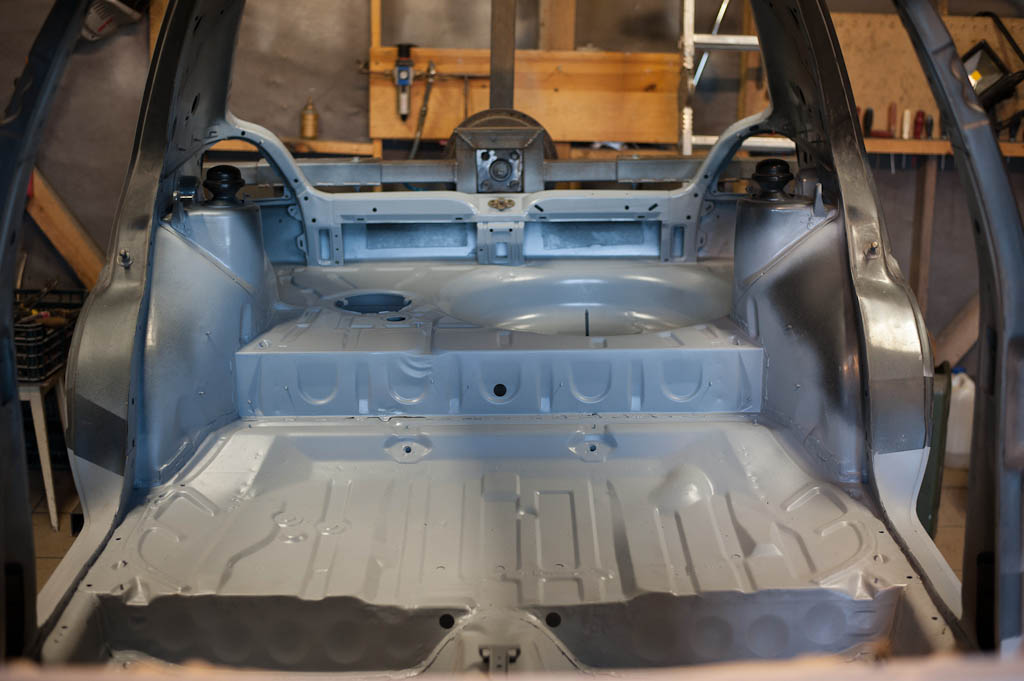
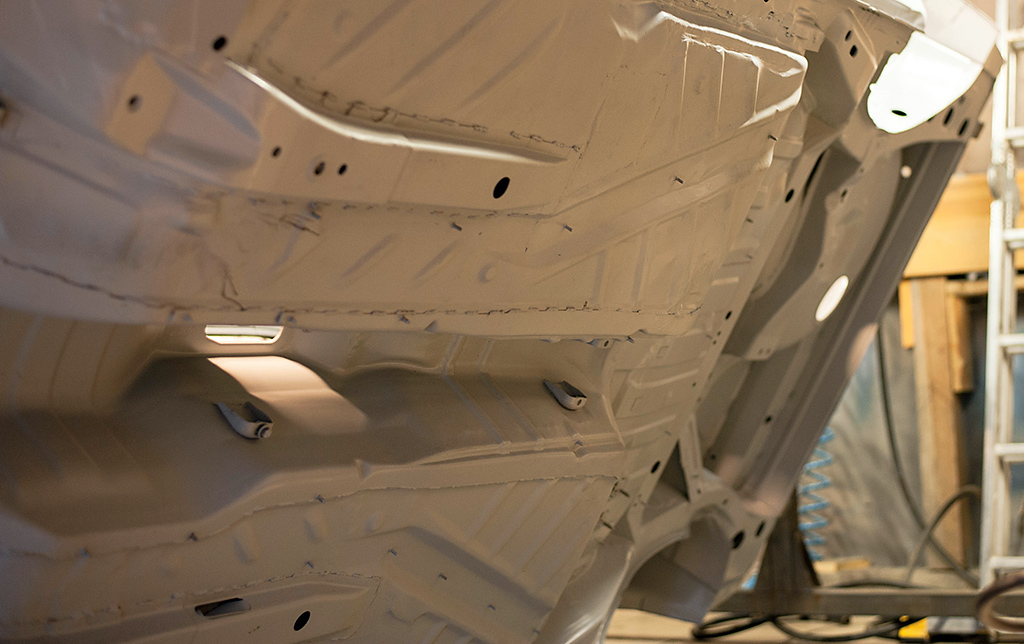
Added additional stiches and welded tiny holes which appeared after drilling out old brackets
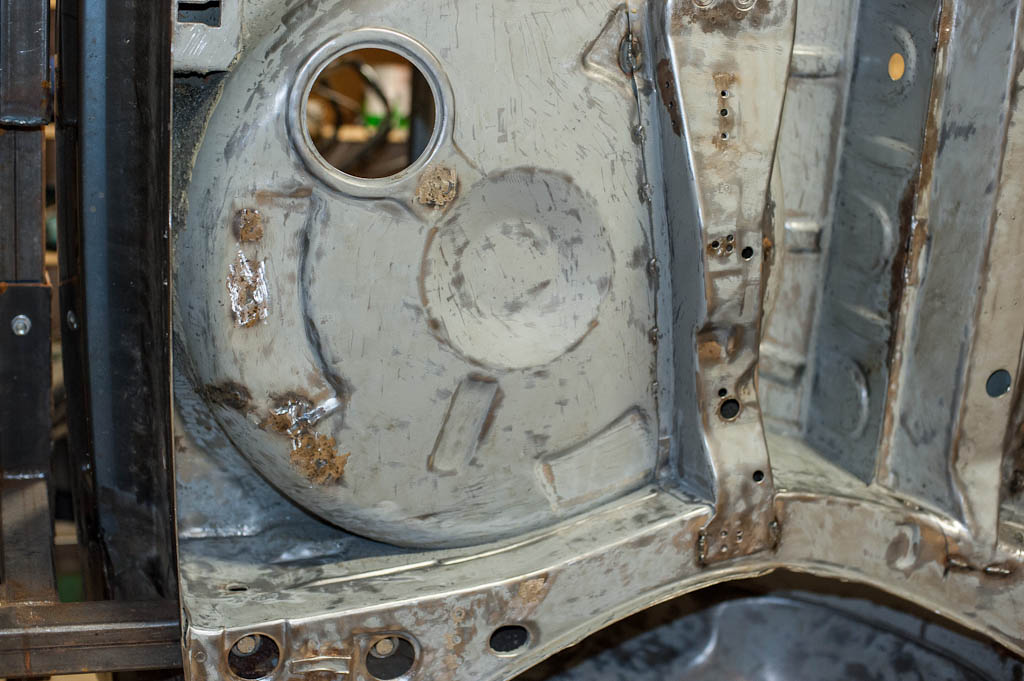
Stitches inside..

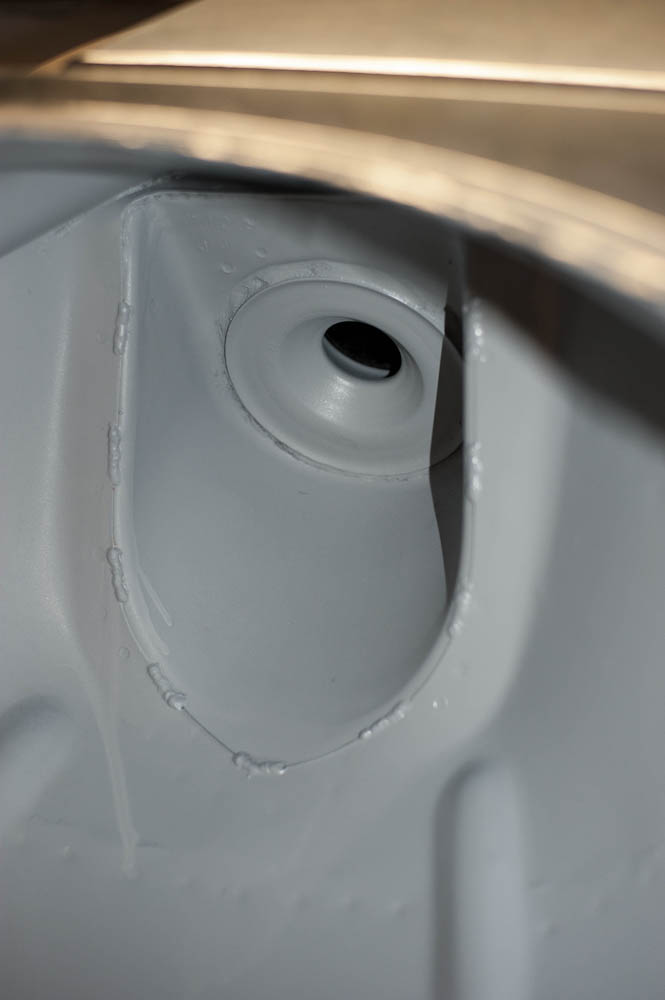
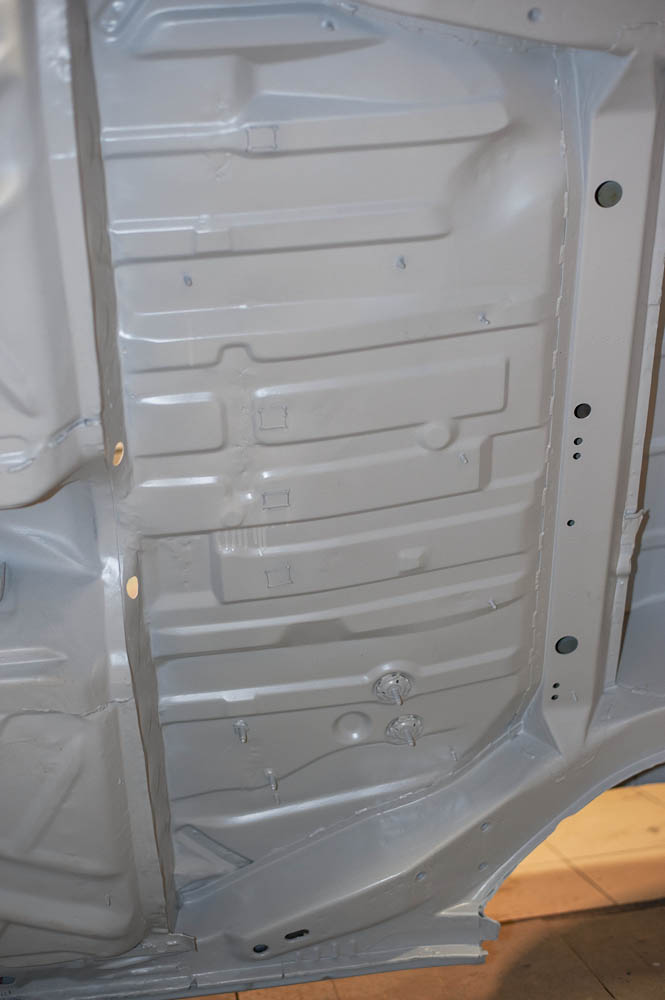
Floor panels primed..
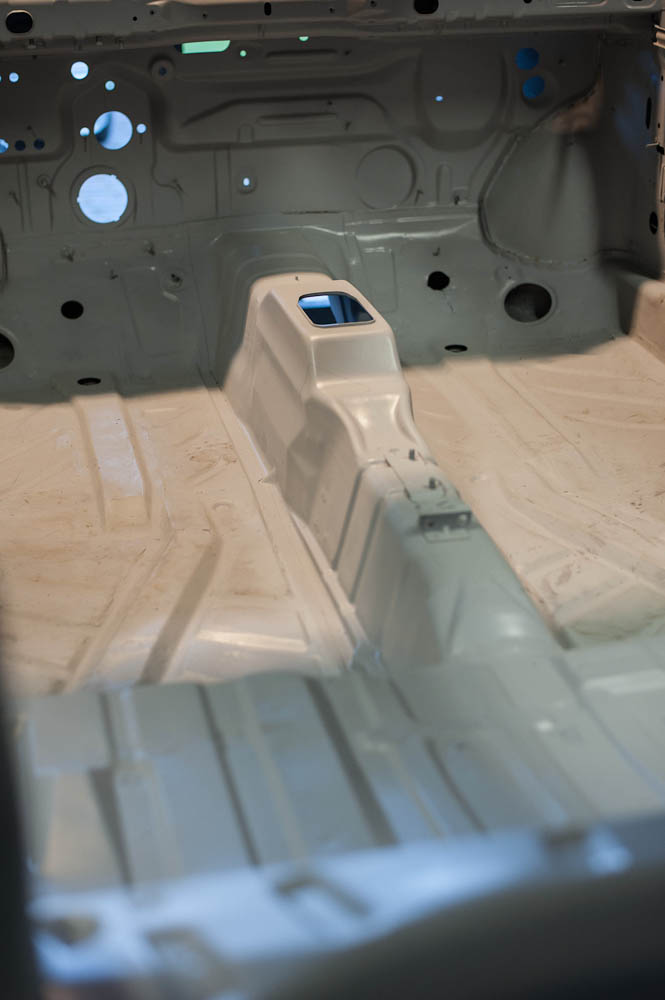
Tiny holes because of bracket removal are fixed, some of OEM holes covered.
Old sound deadening removed from inner side of roof and primed
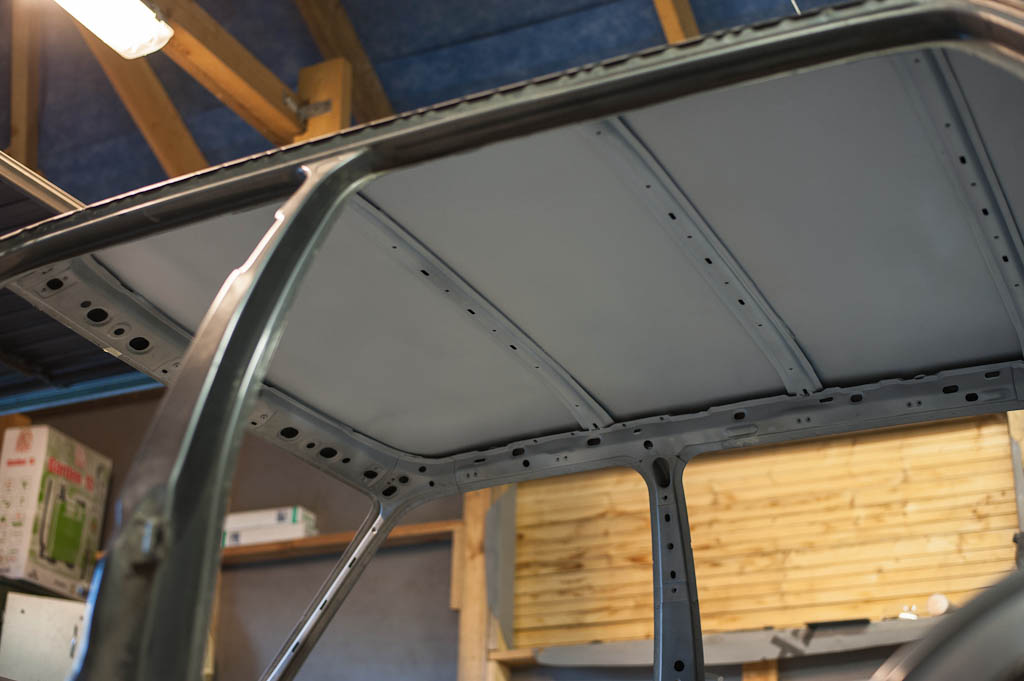
Outside
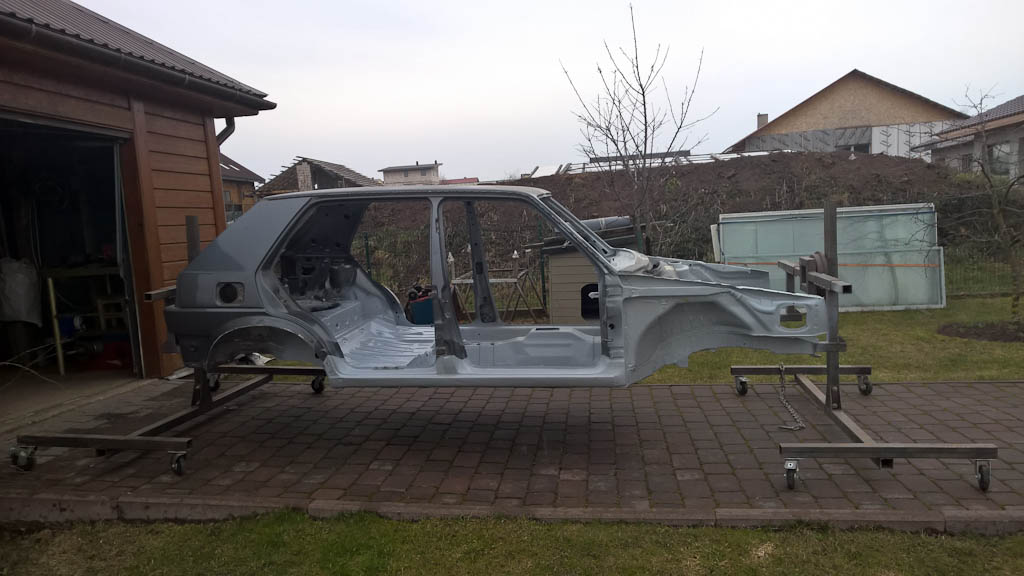
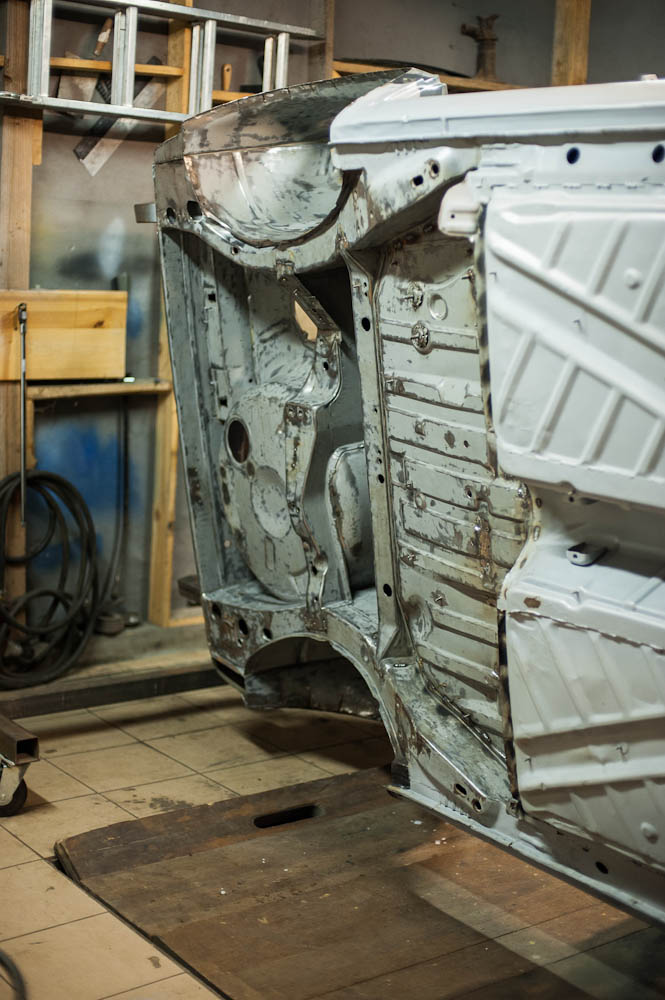
And a rear part cleaned, welded, prepared and finally primed completely..

Overall look
Stay tuned. Next topic is going to be about Haldex fitment in place of Syncro system.
Hits: 13348