Engine inspection and some of renewal - 12v VR6
The car has gone to have roll cage installed but on this little bit later. Meanwhile I decided to have my hands on engine. As you know at the begging of this very long project intention was to swap it with 24V version. At the moment things have turned out differently and 12v version will be used instead. Don't ask why.. To start with I needed an engine transplant. For my needs it was enough to get any AAA 12v engine with out gearbox, no loom just a bare engine. So the cheapest VR6 found on ads will do the job!
Hardly worn and abused typical Sharan from country side had pieces I needed:
Open the hood!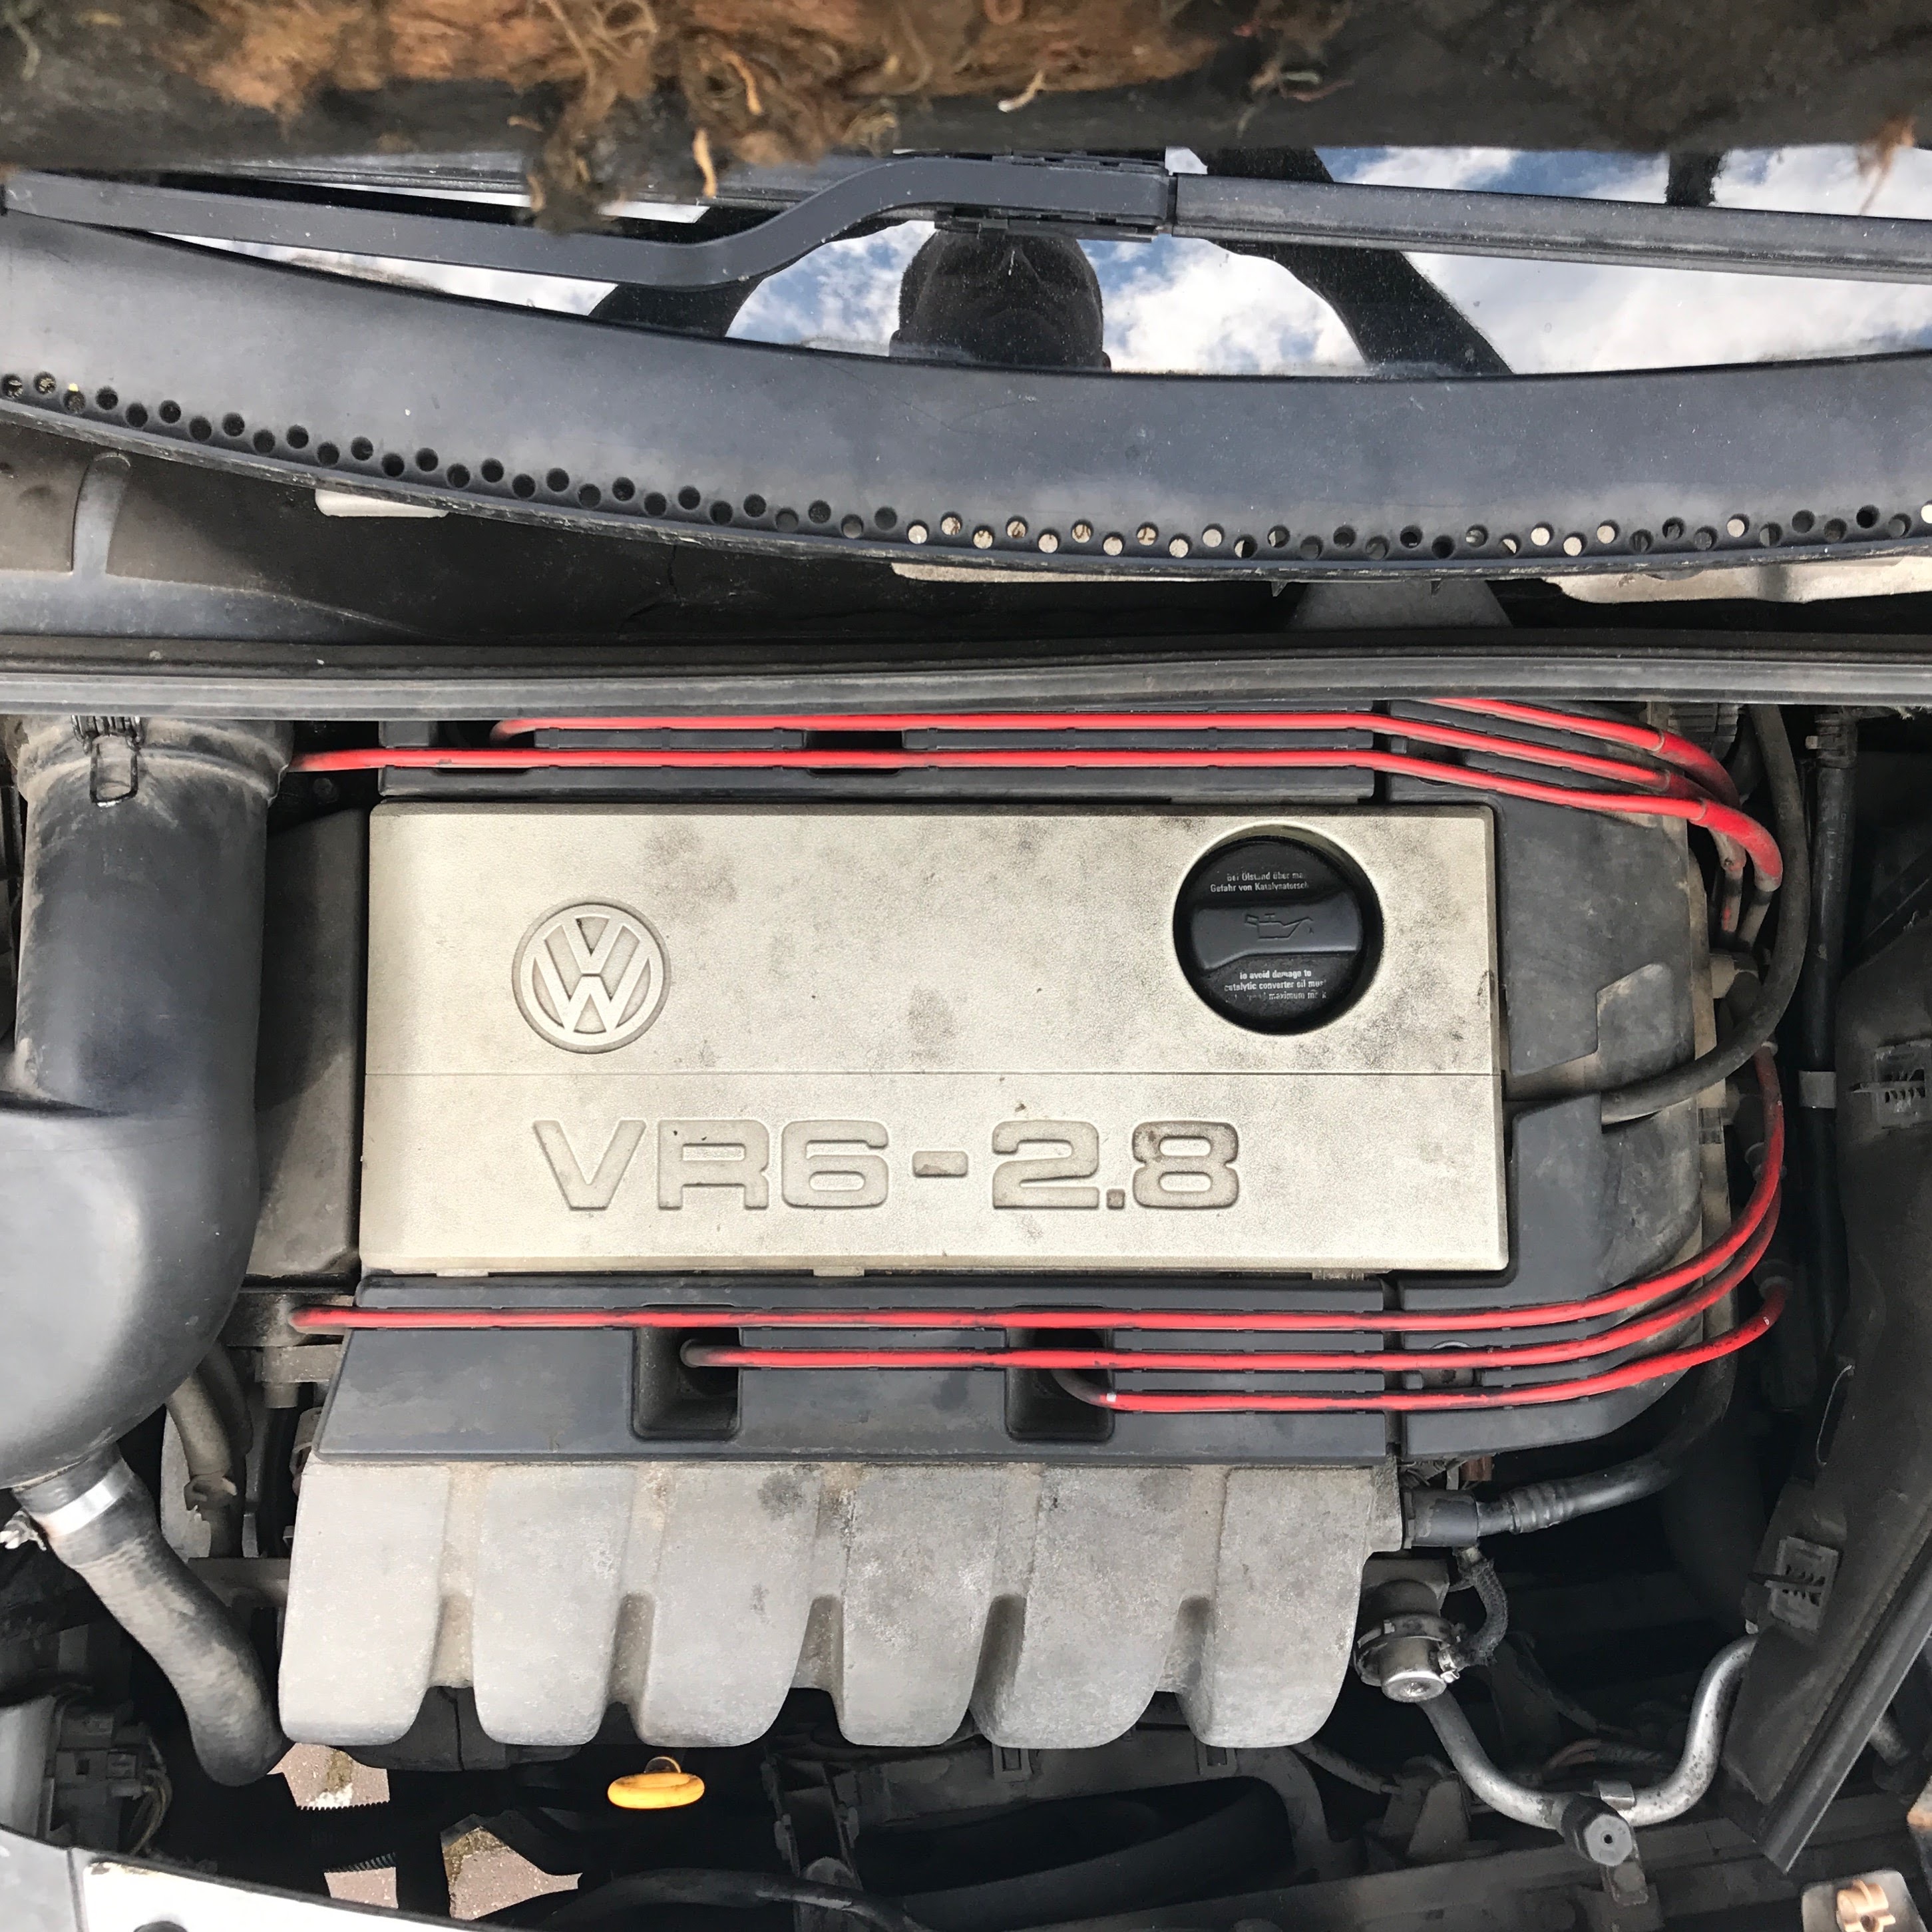
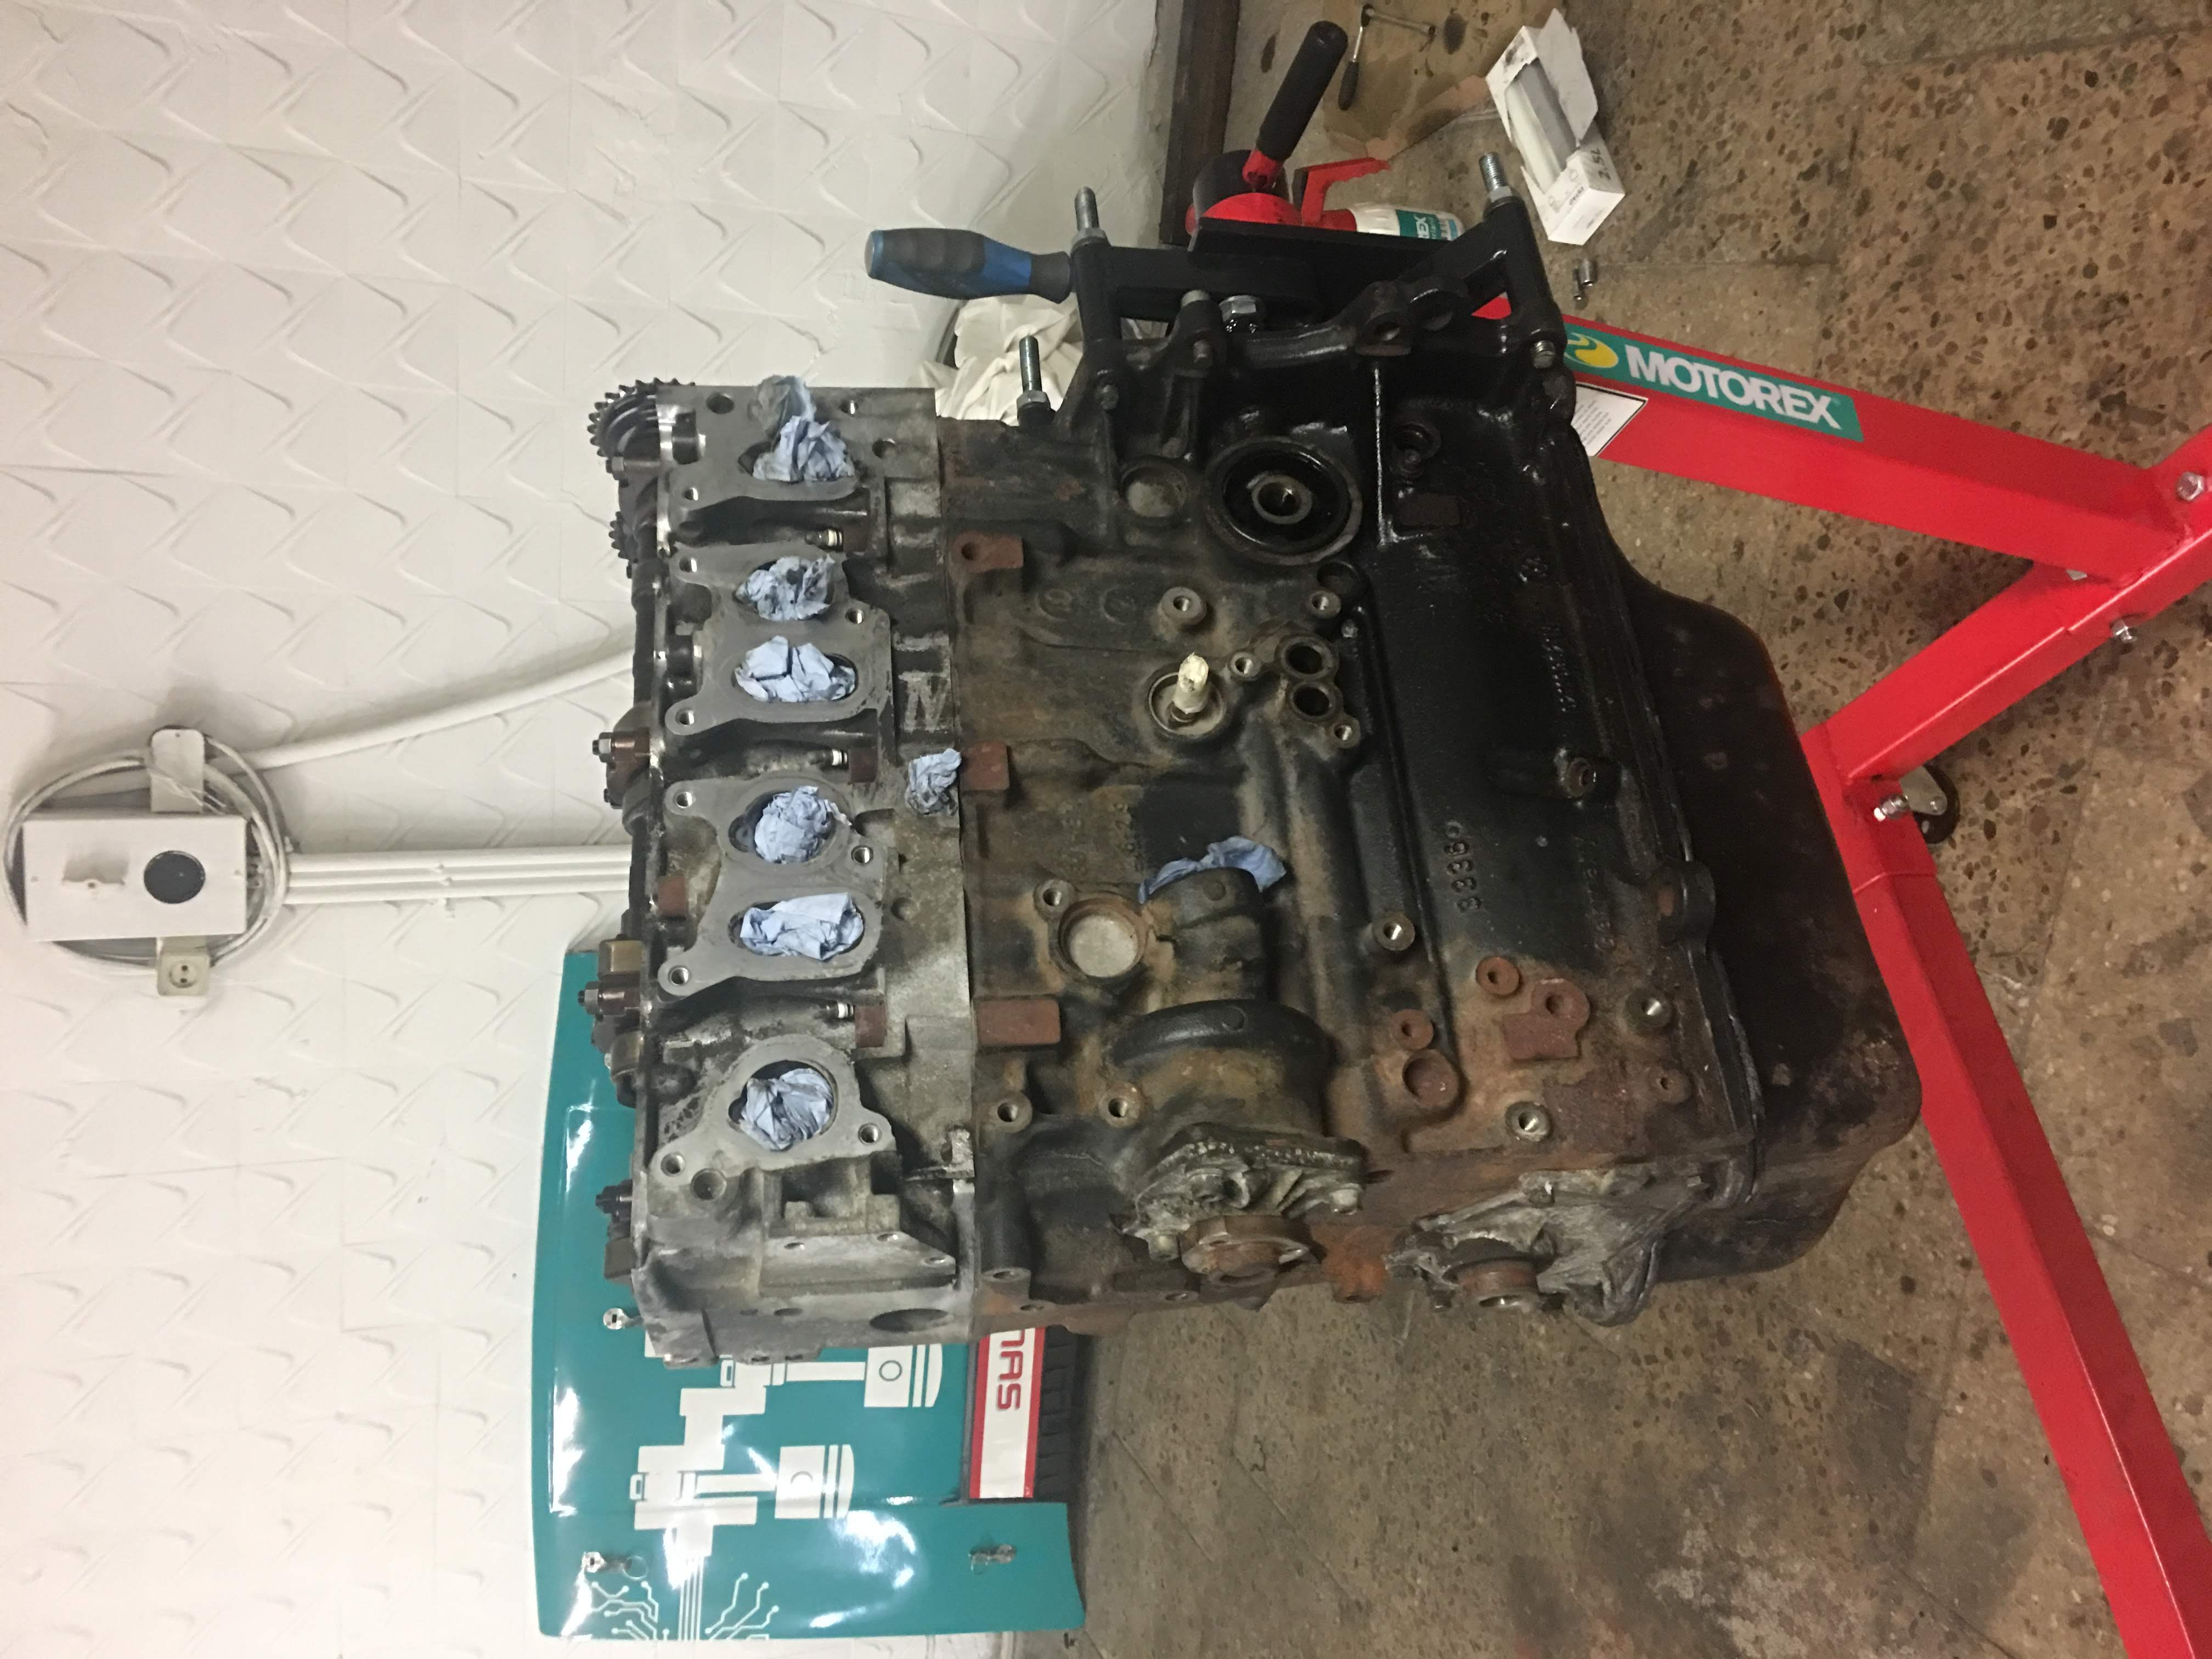
In previous article you've seen this unit already which I used to trial fit engine with 02M gearbox adapting kit. Leaving it aside let's see what's inside of it as I never had a look before. All I can say - car was running, that is it.
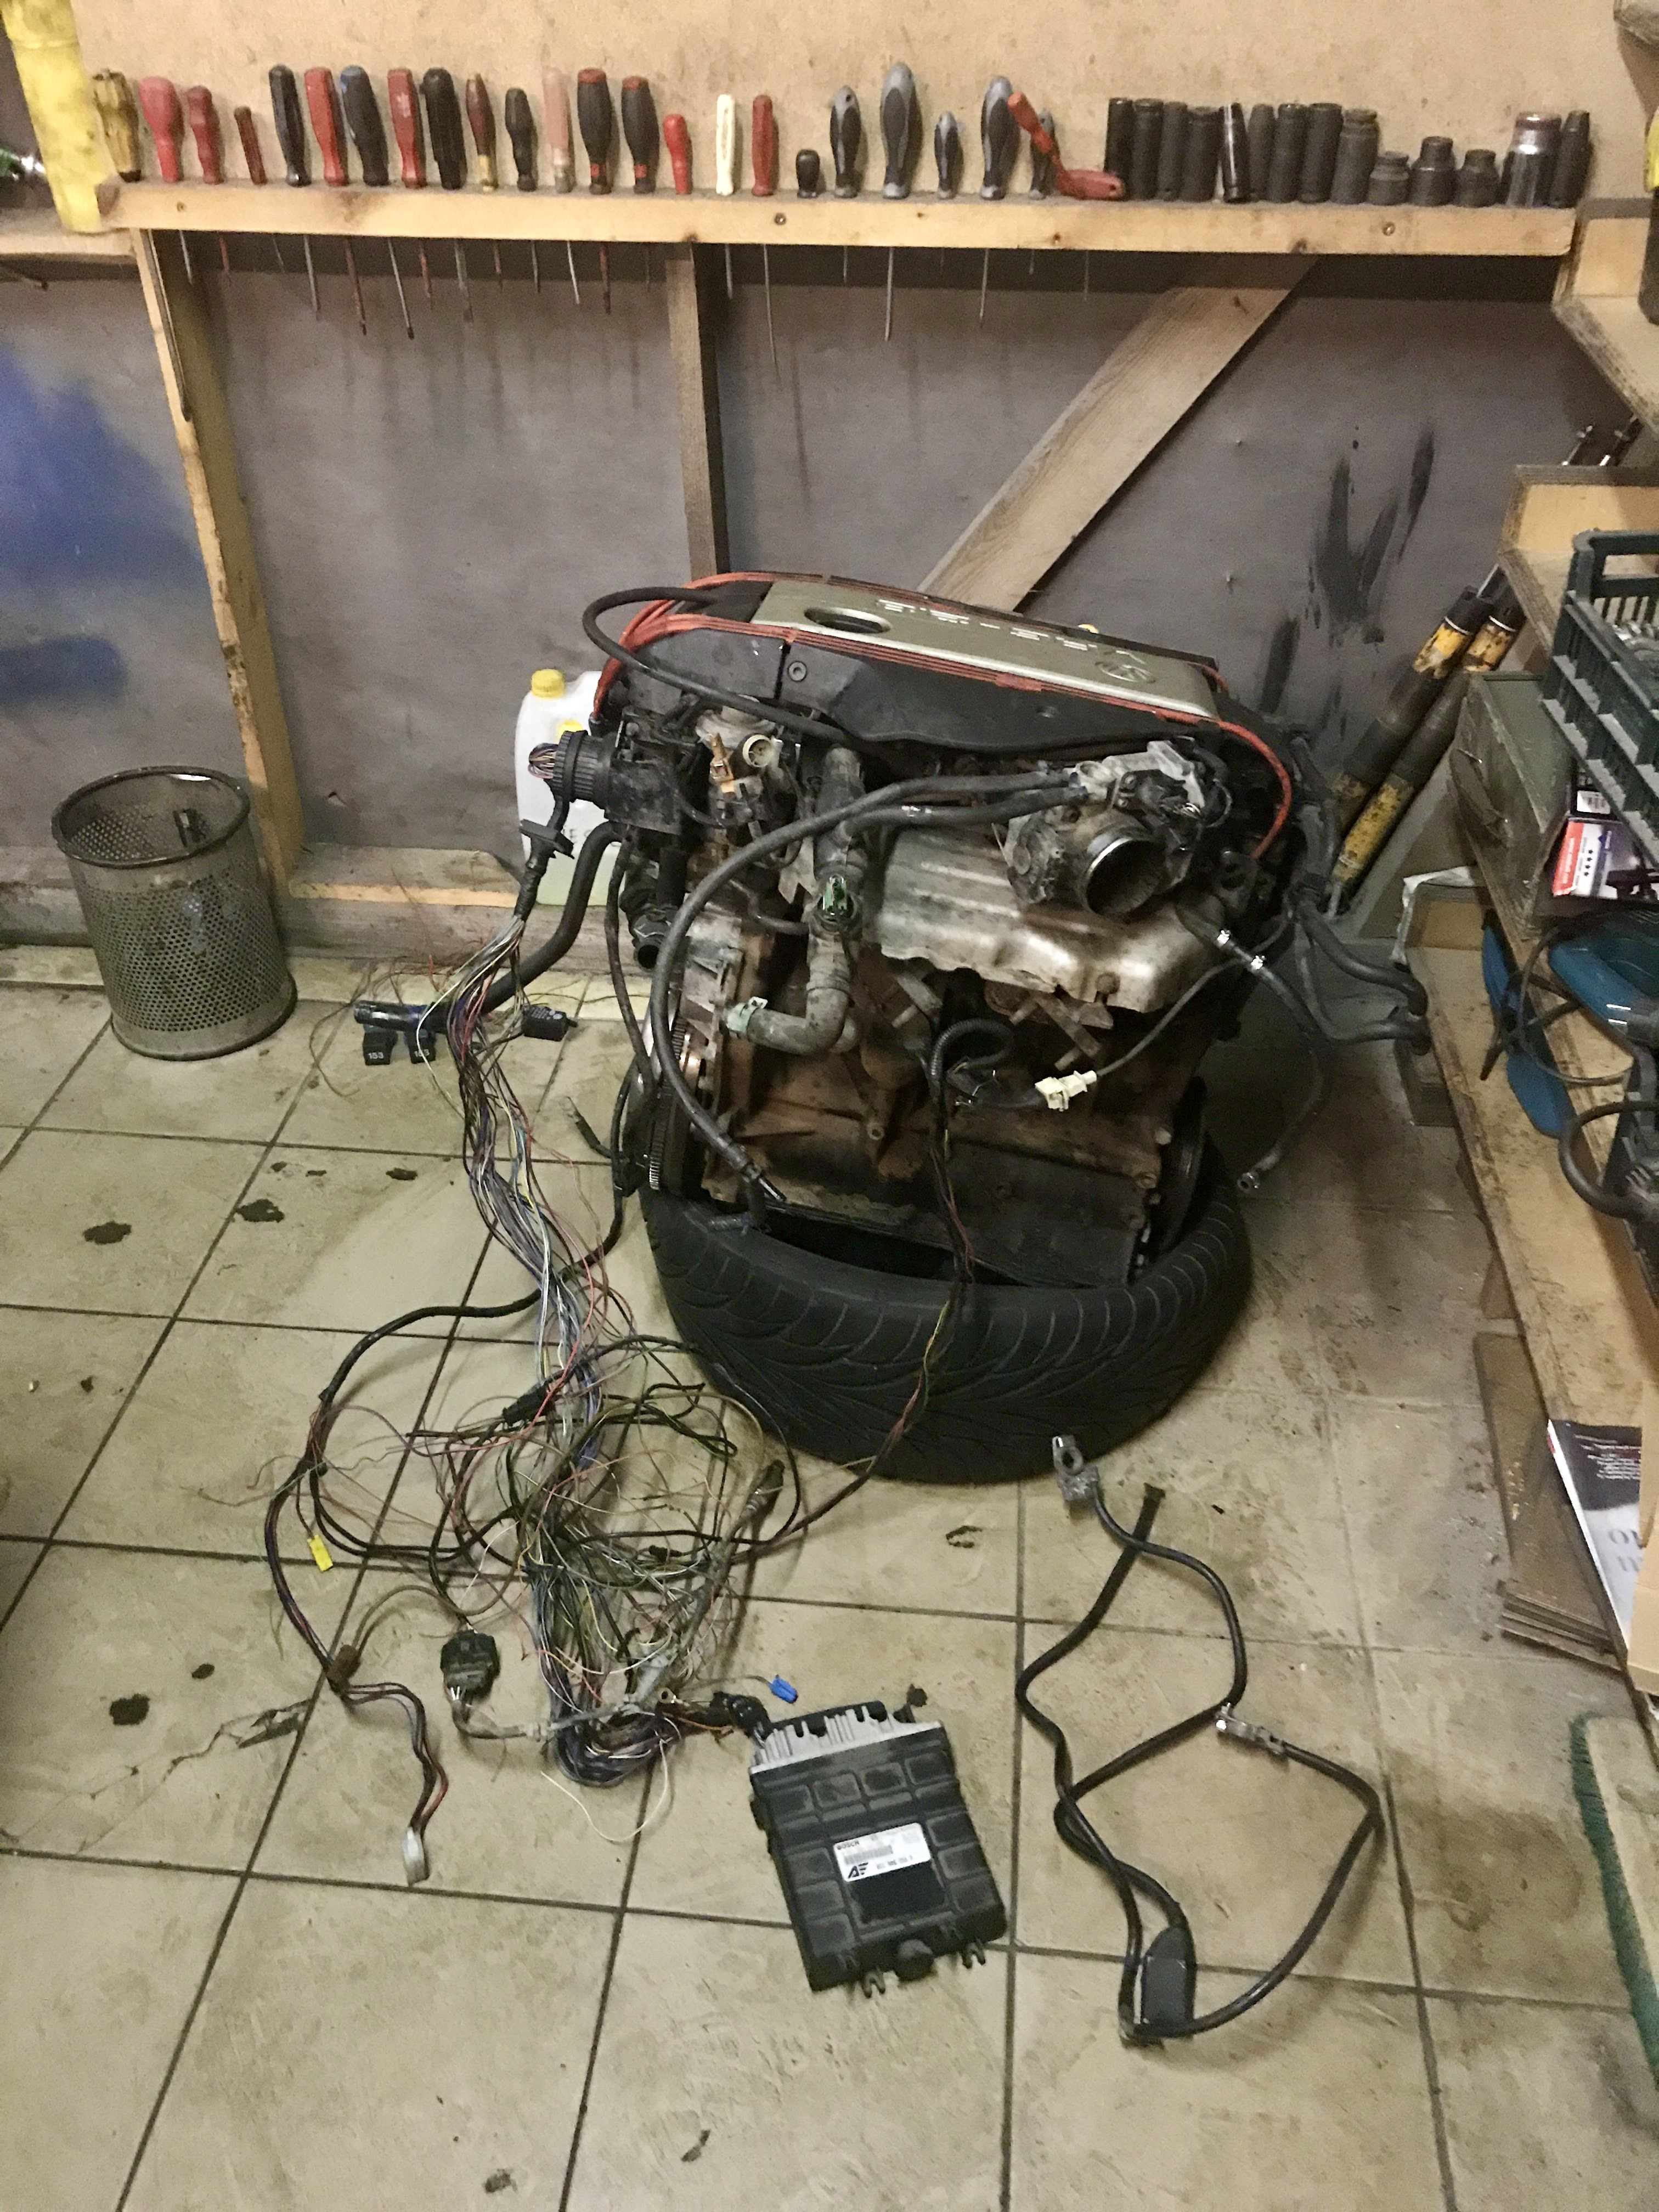
Let's take it apart bit by a bit...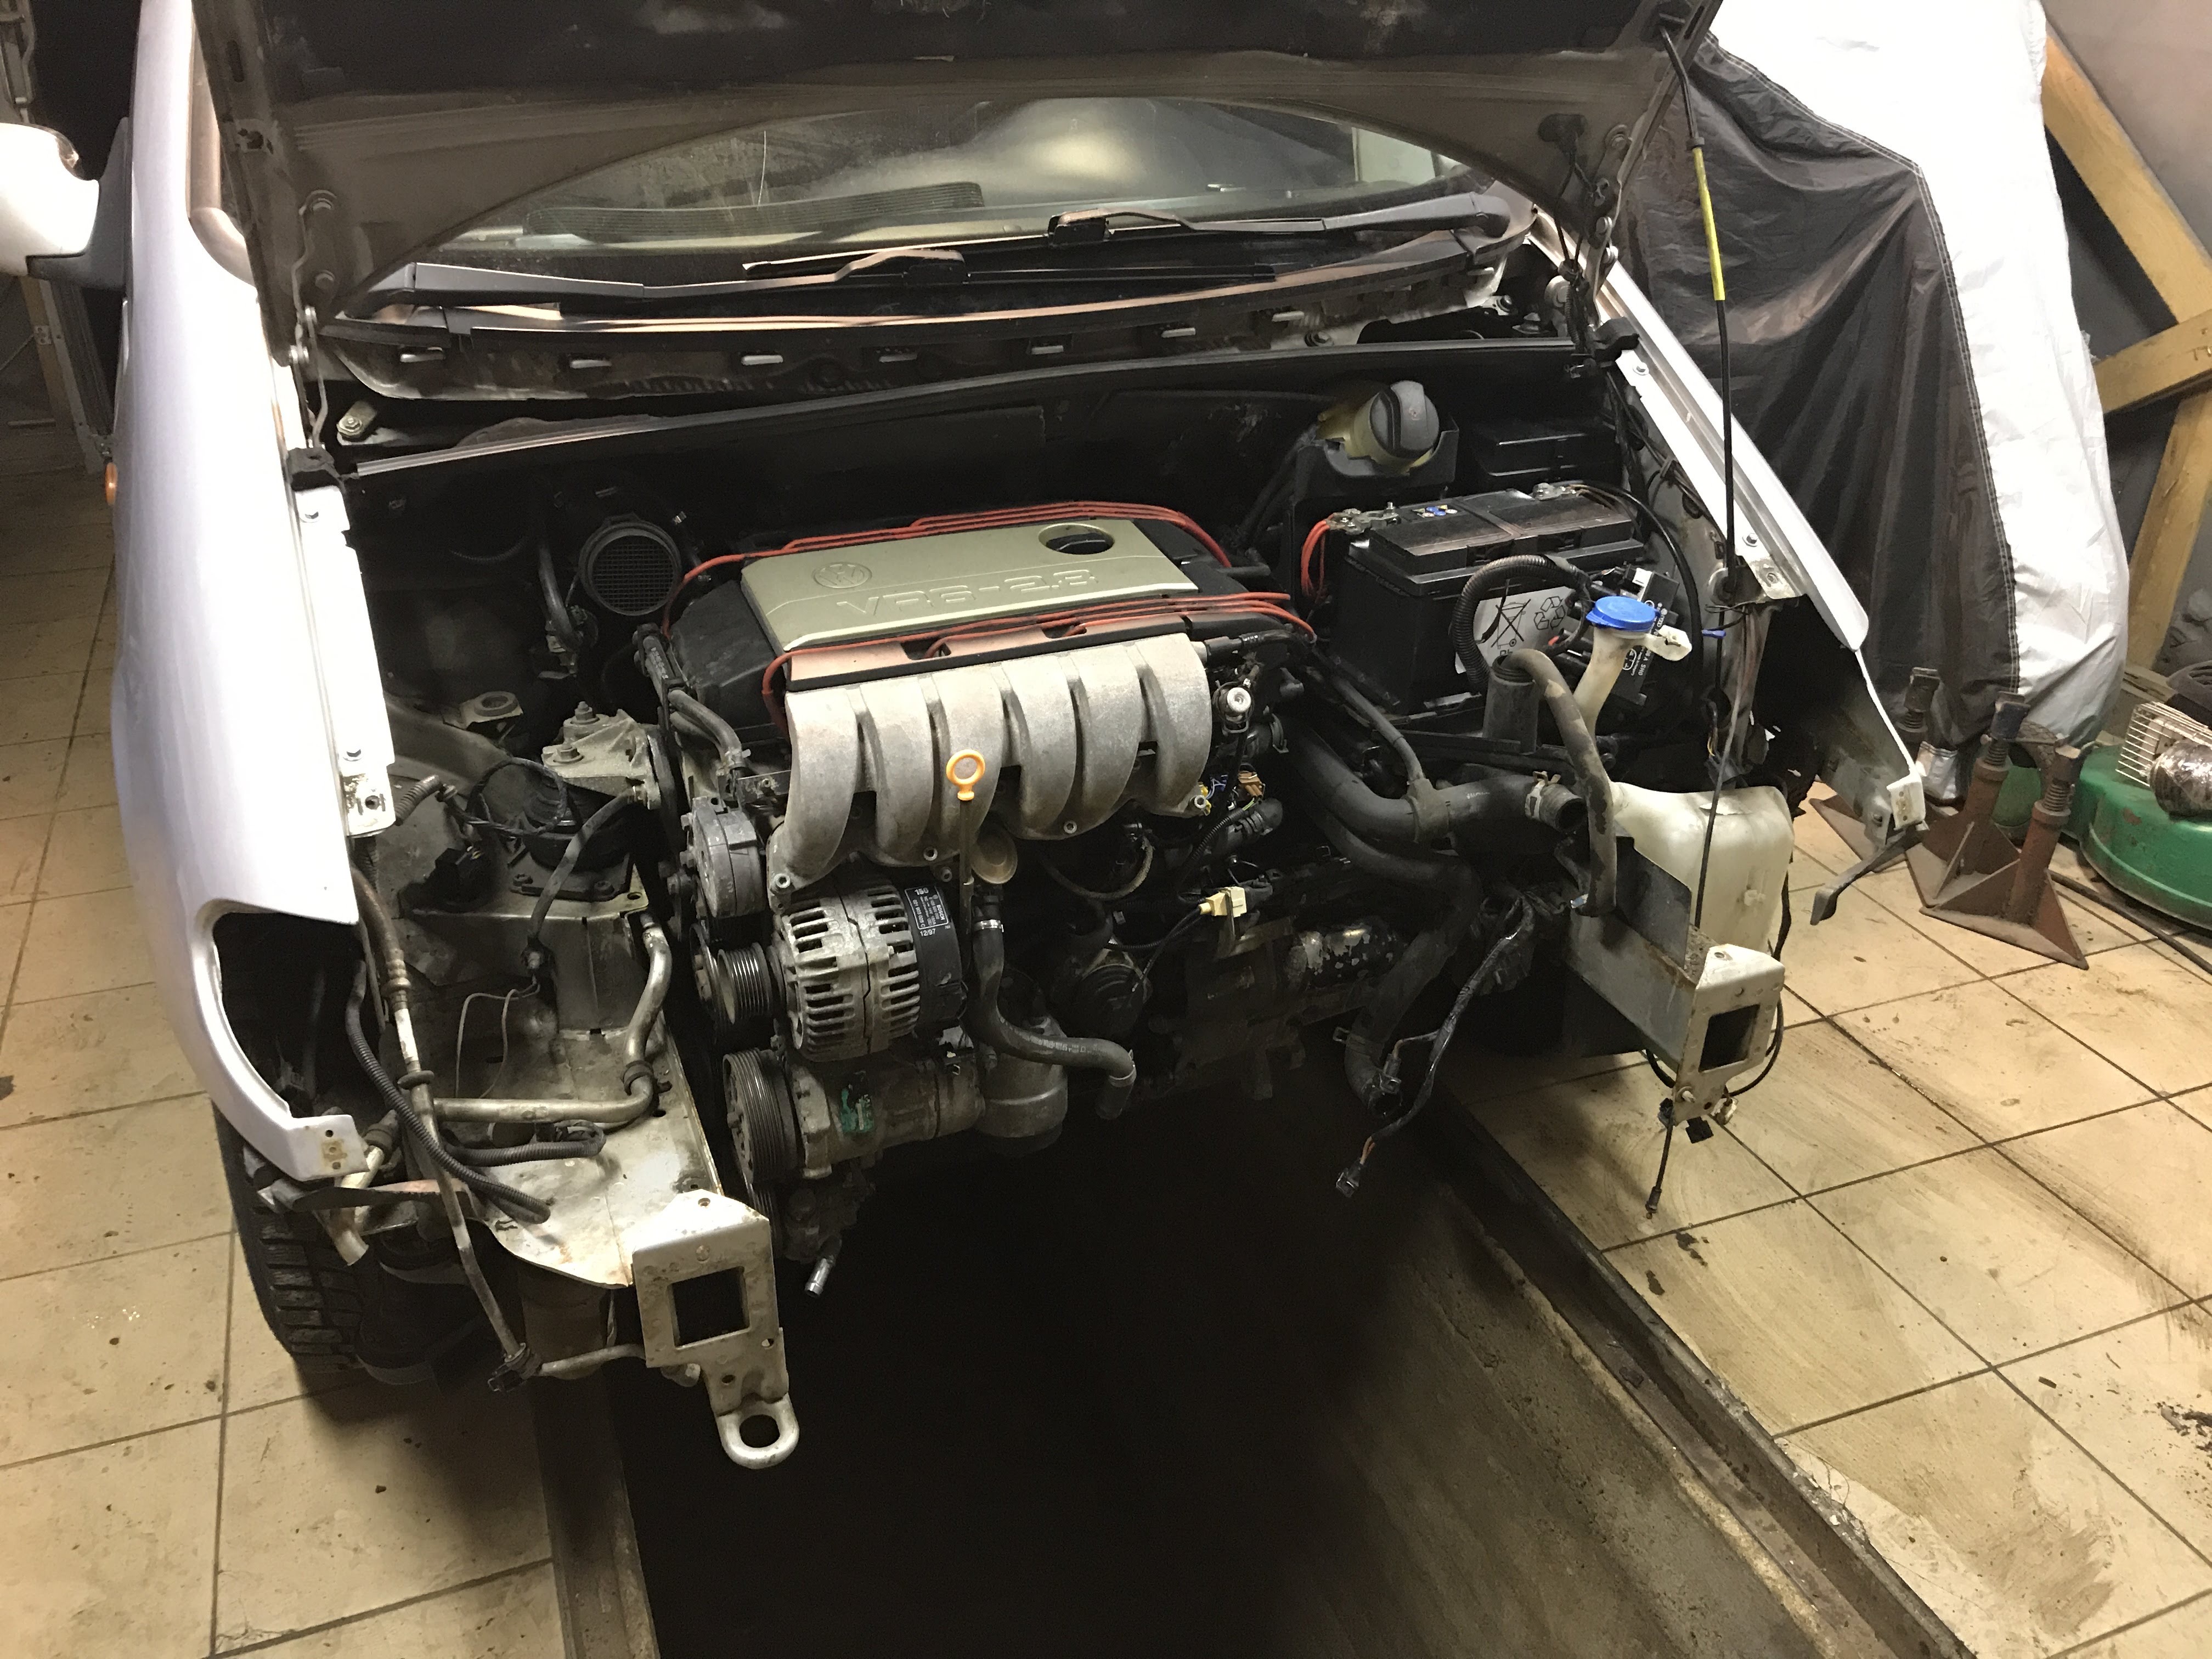

Remove exhaust manifold:
Intake part:

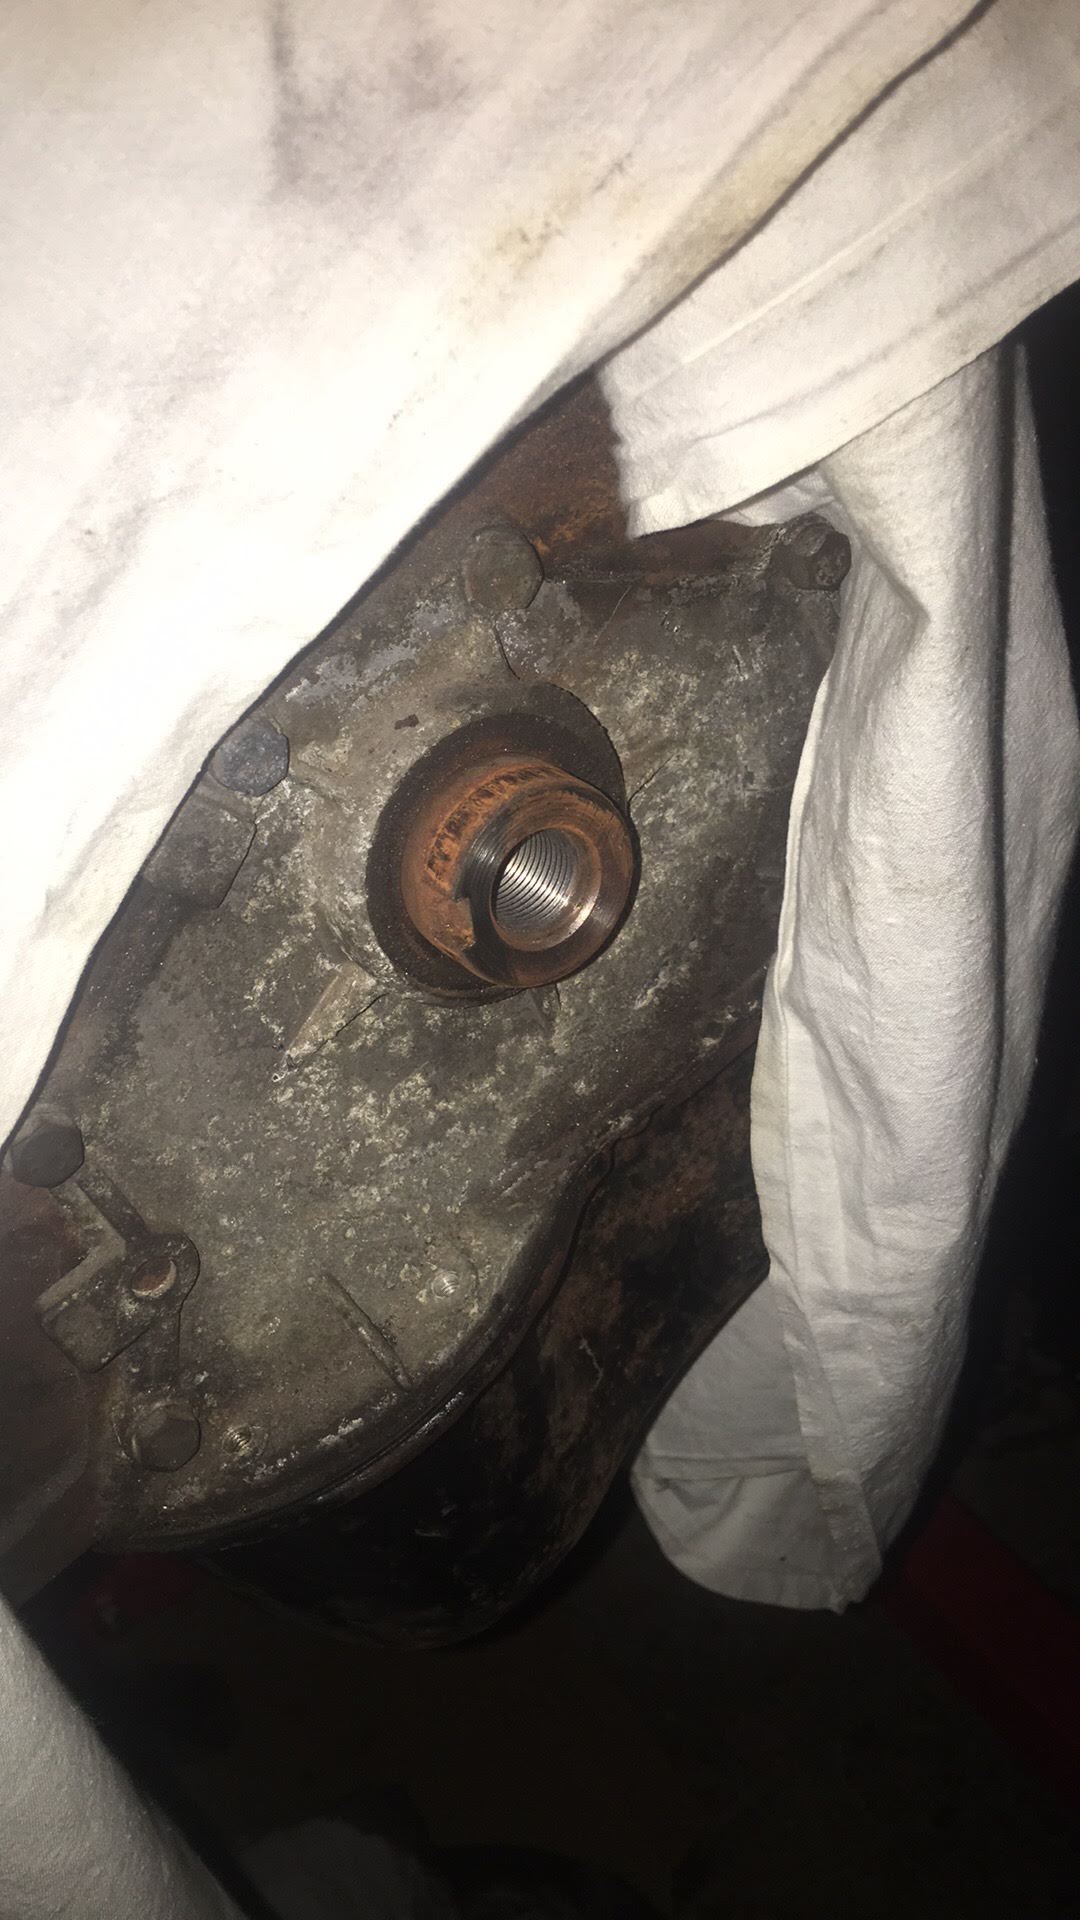
Main pulley off:

Typical spark plug set for family car called "don't fix if things ain't broken":
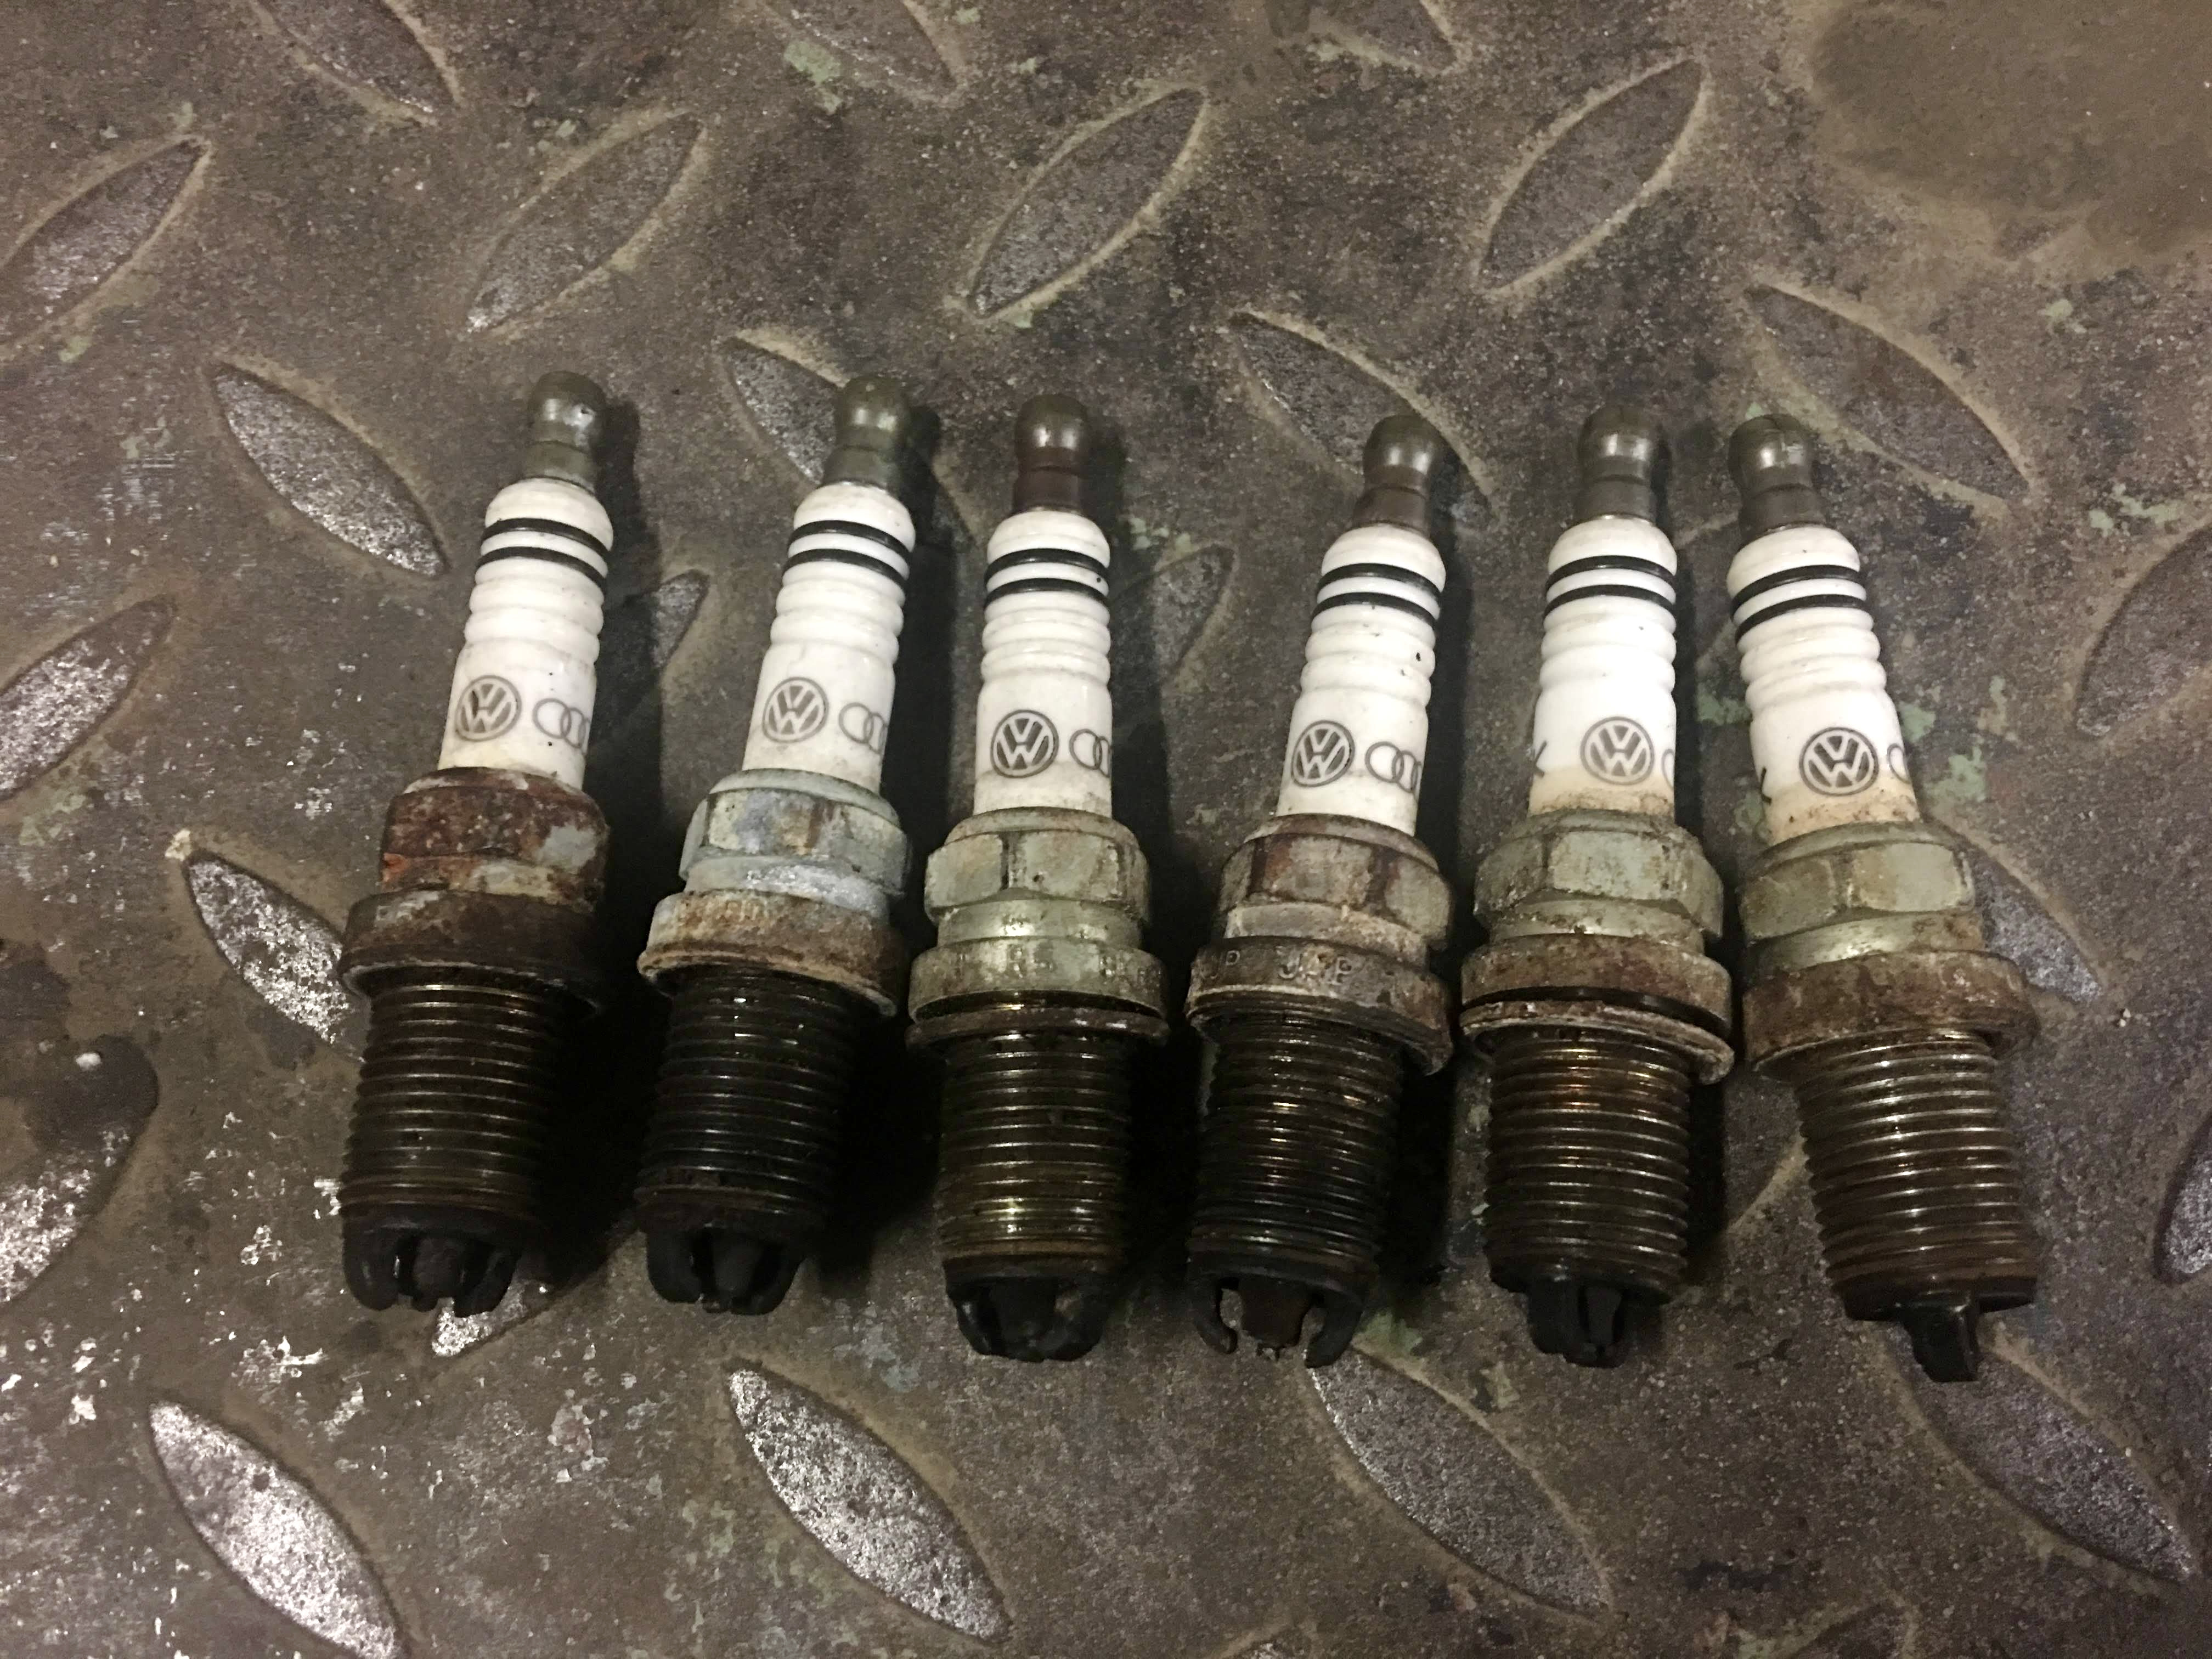
Few different spark plugs since all of them are "same". F**k yeah, right.
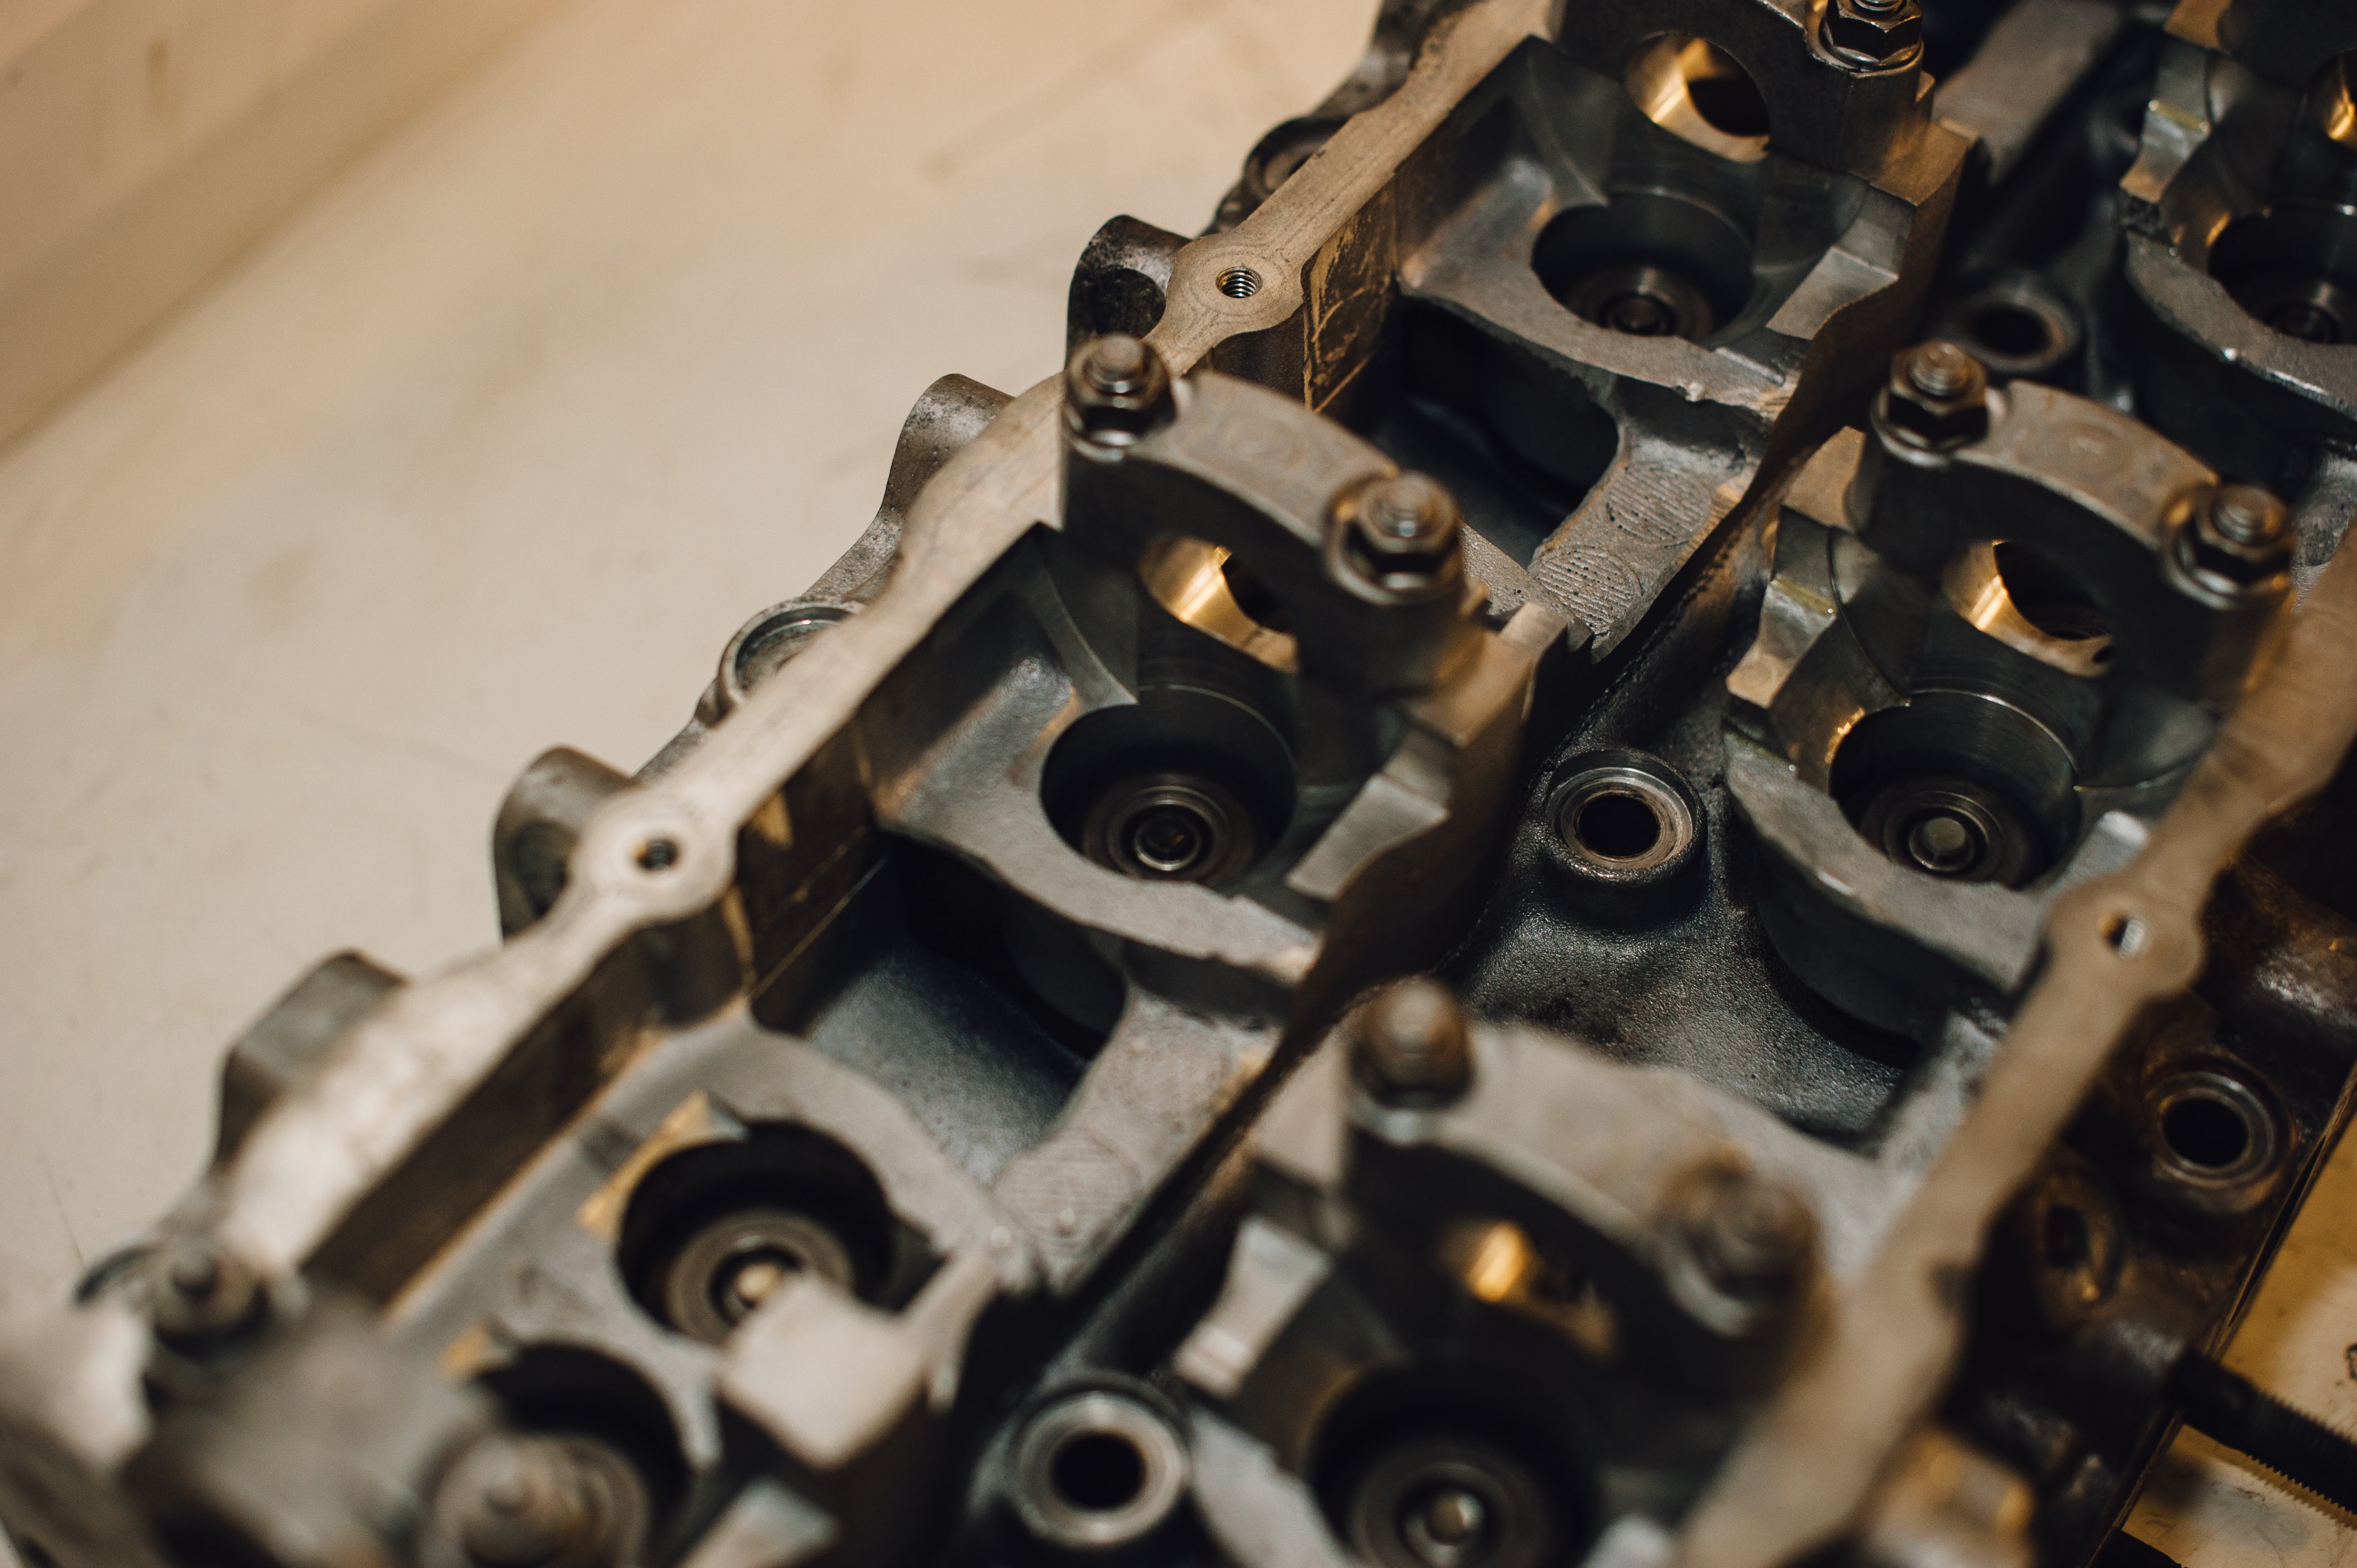
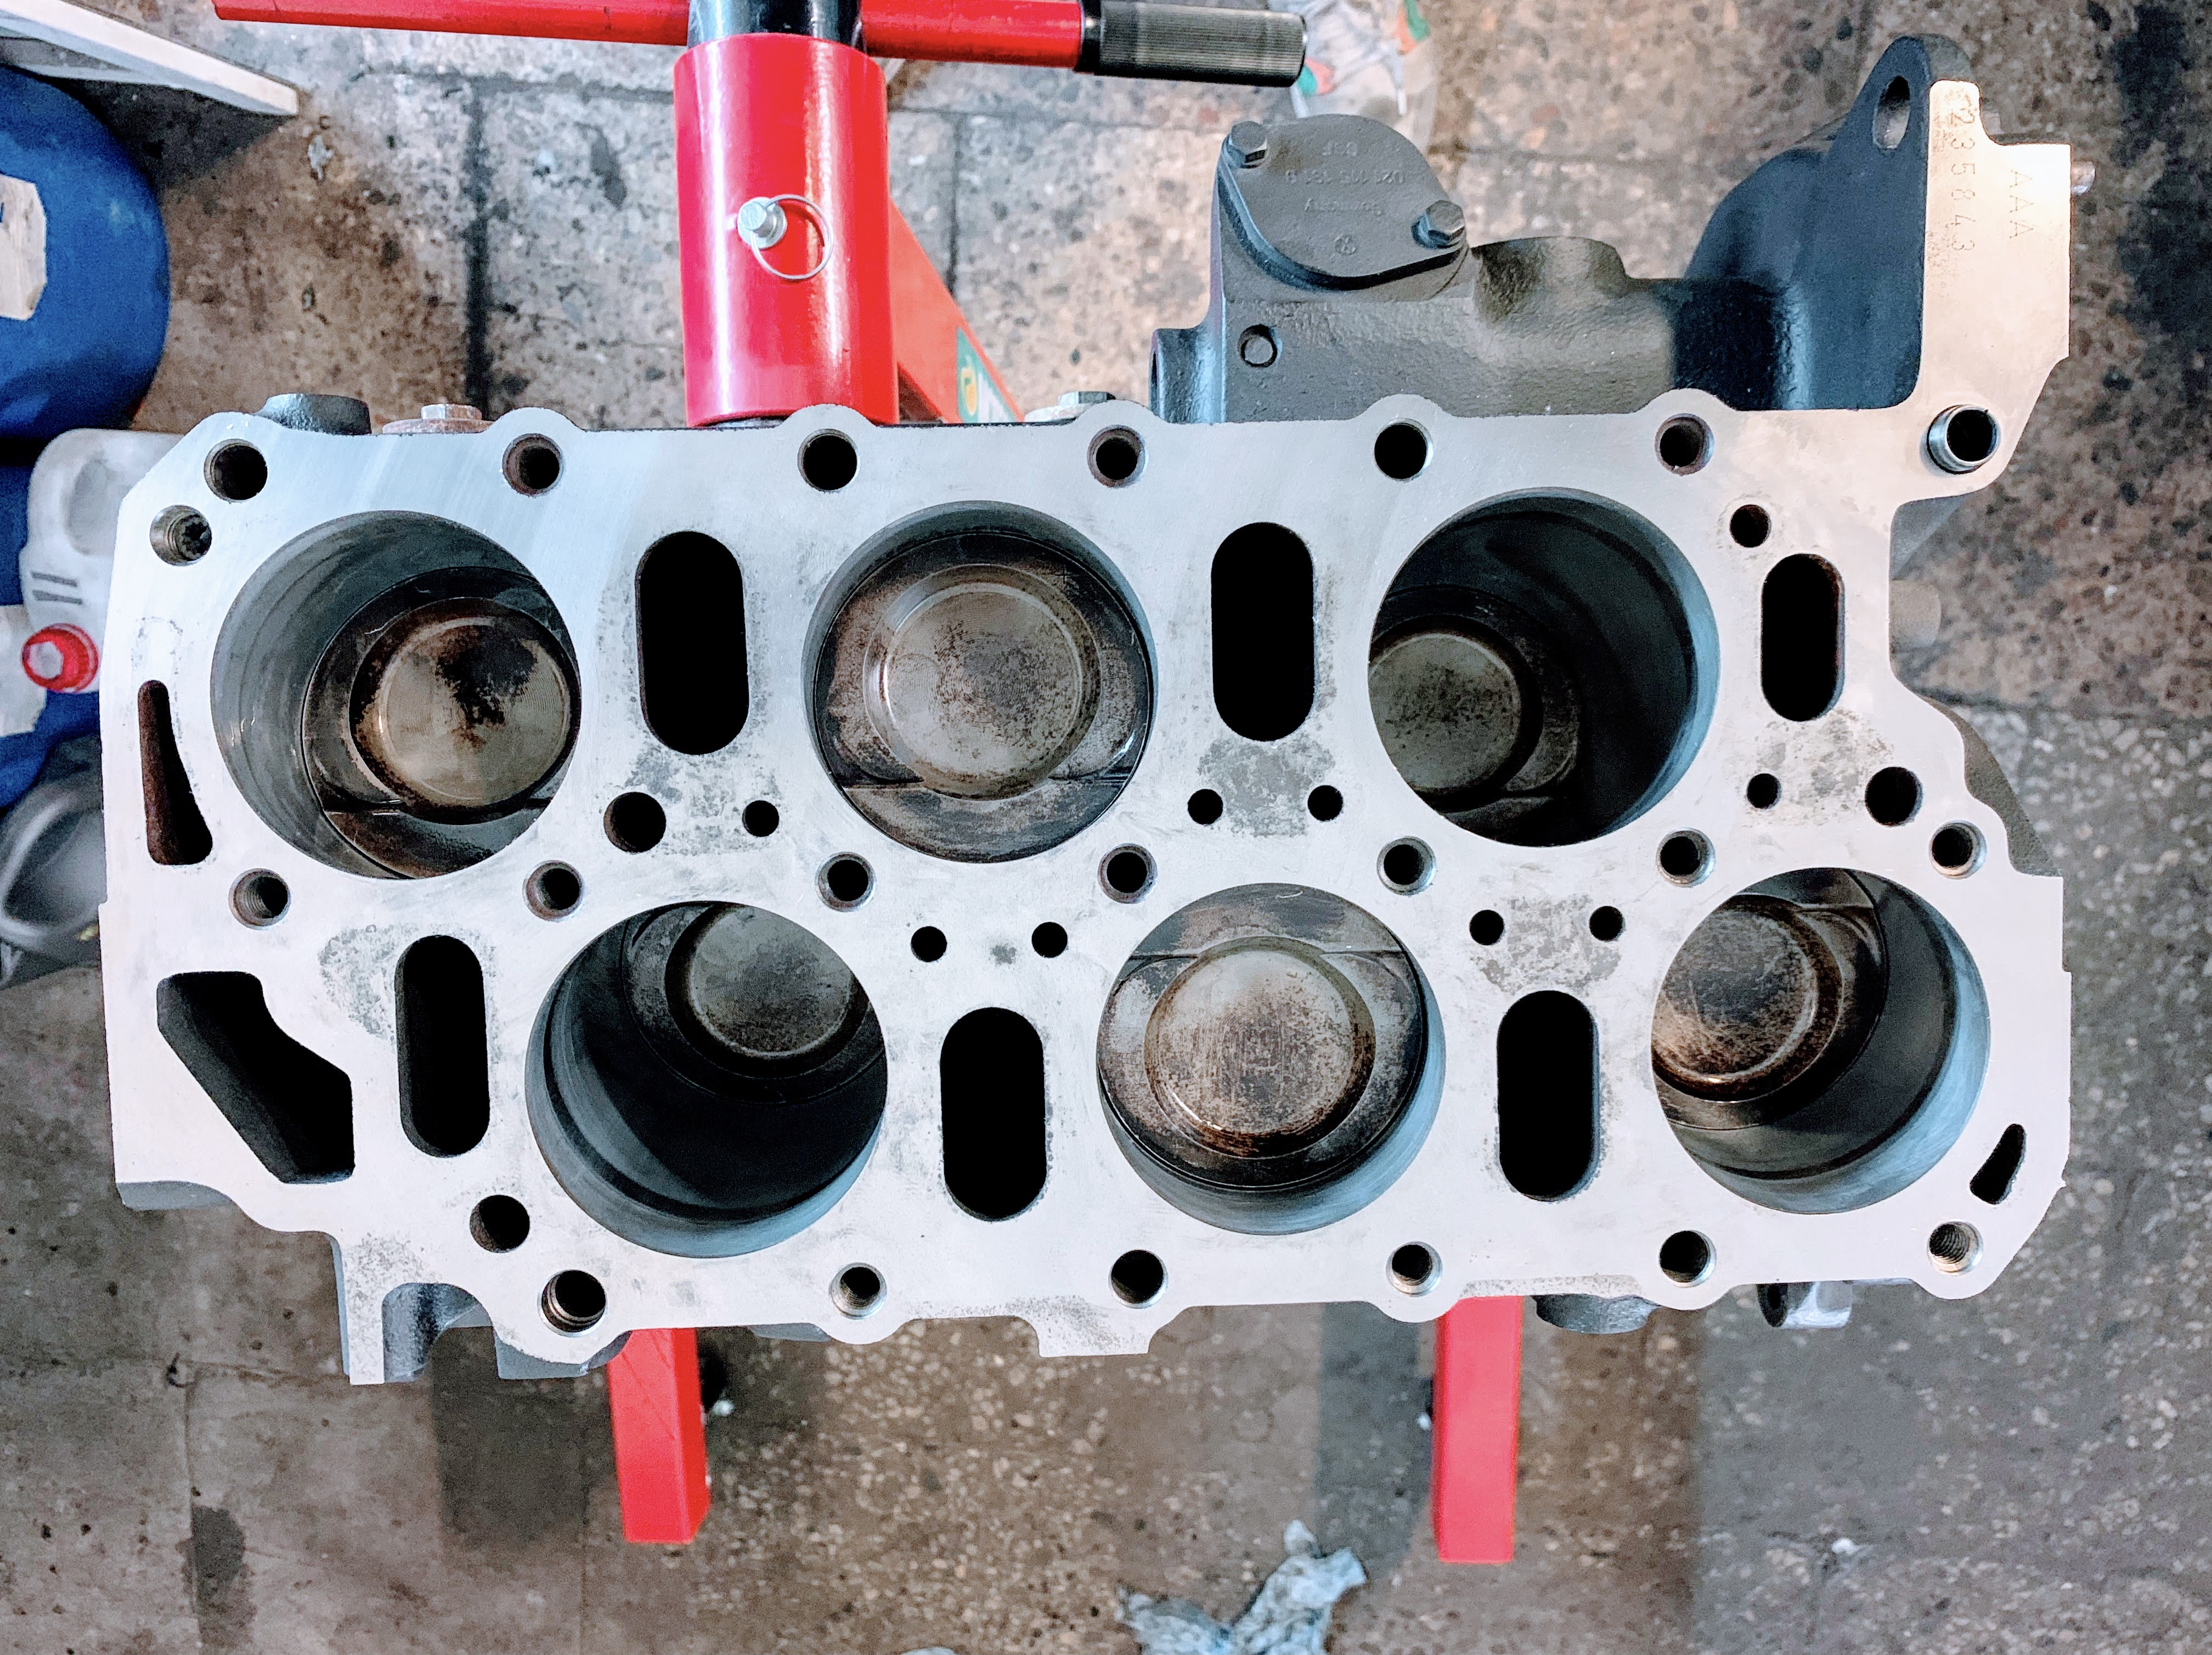
Let's separate engine head from bottom:

An ordinary view for a daily beaten shuttle:
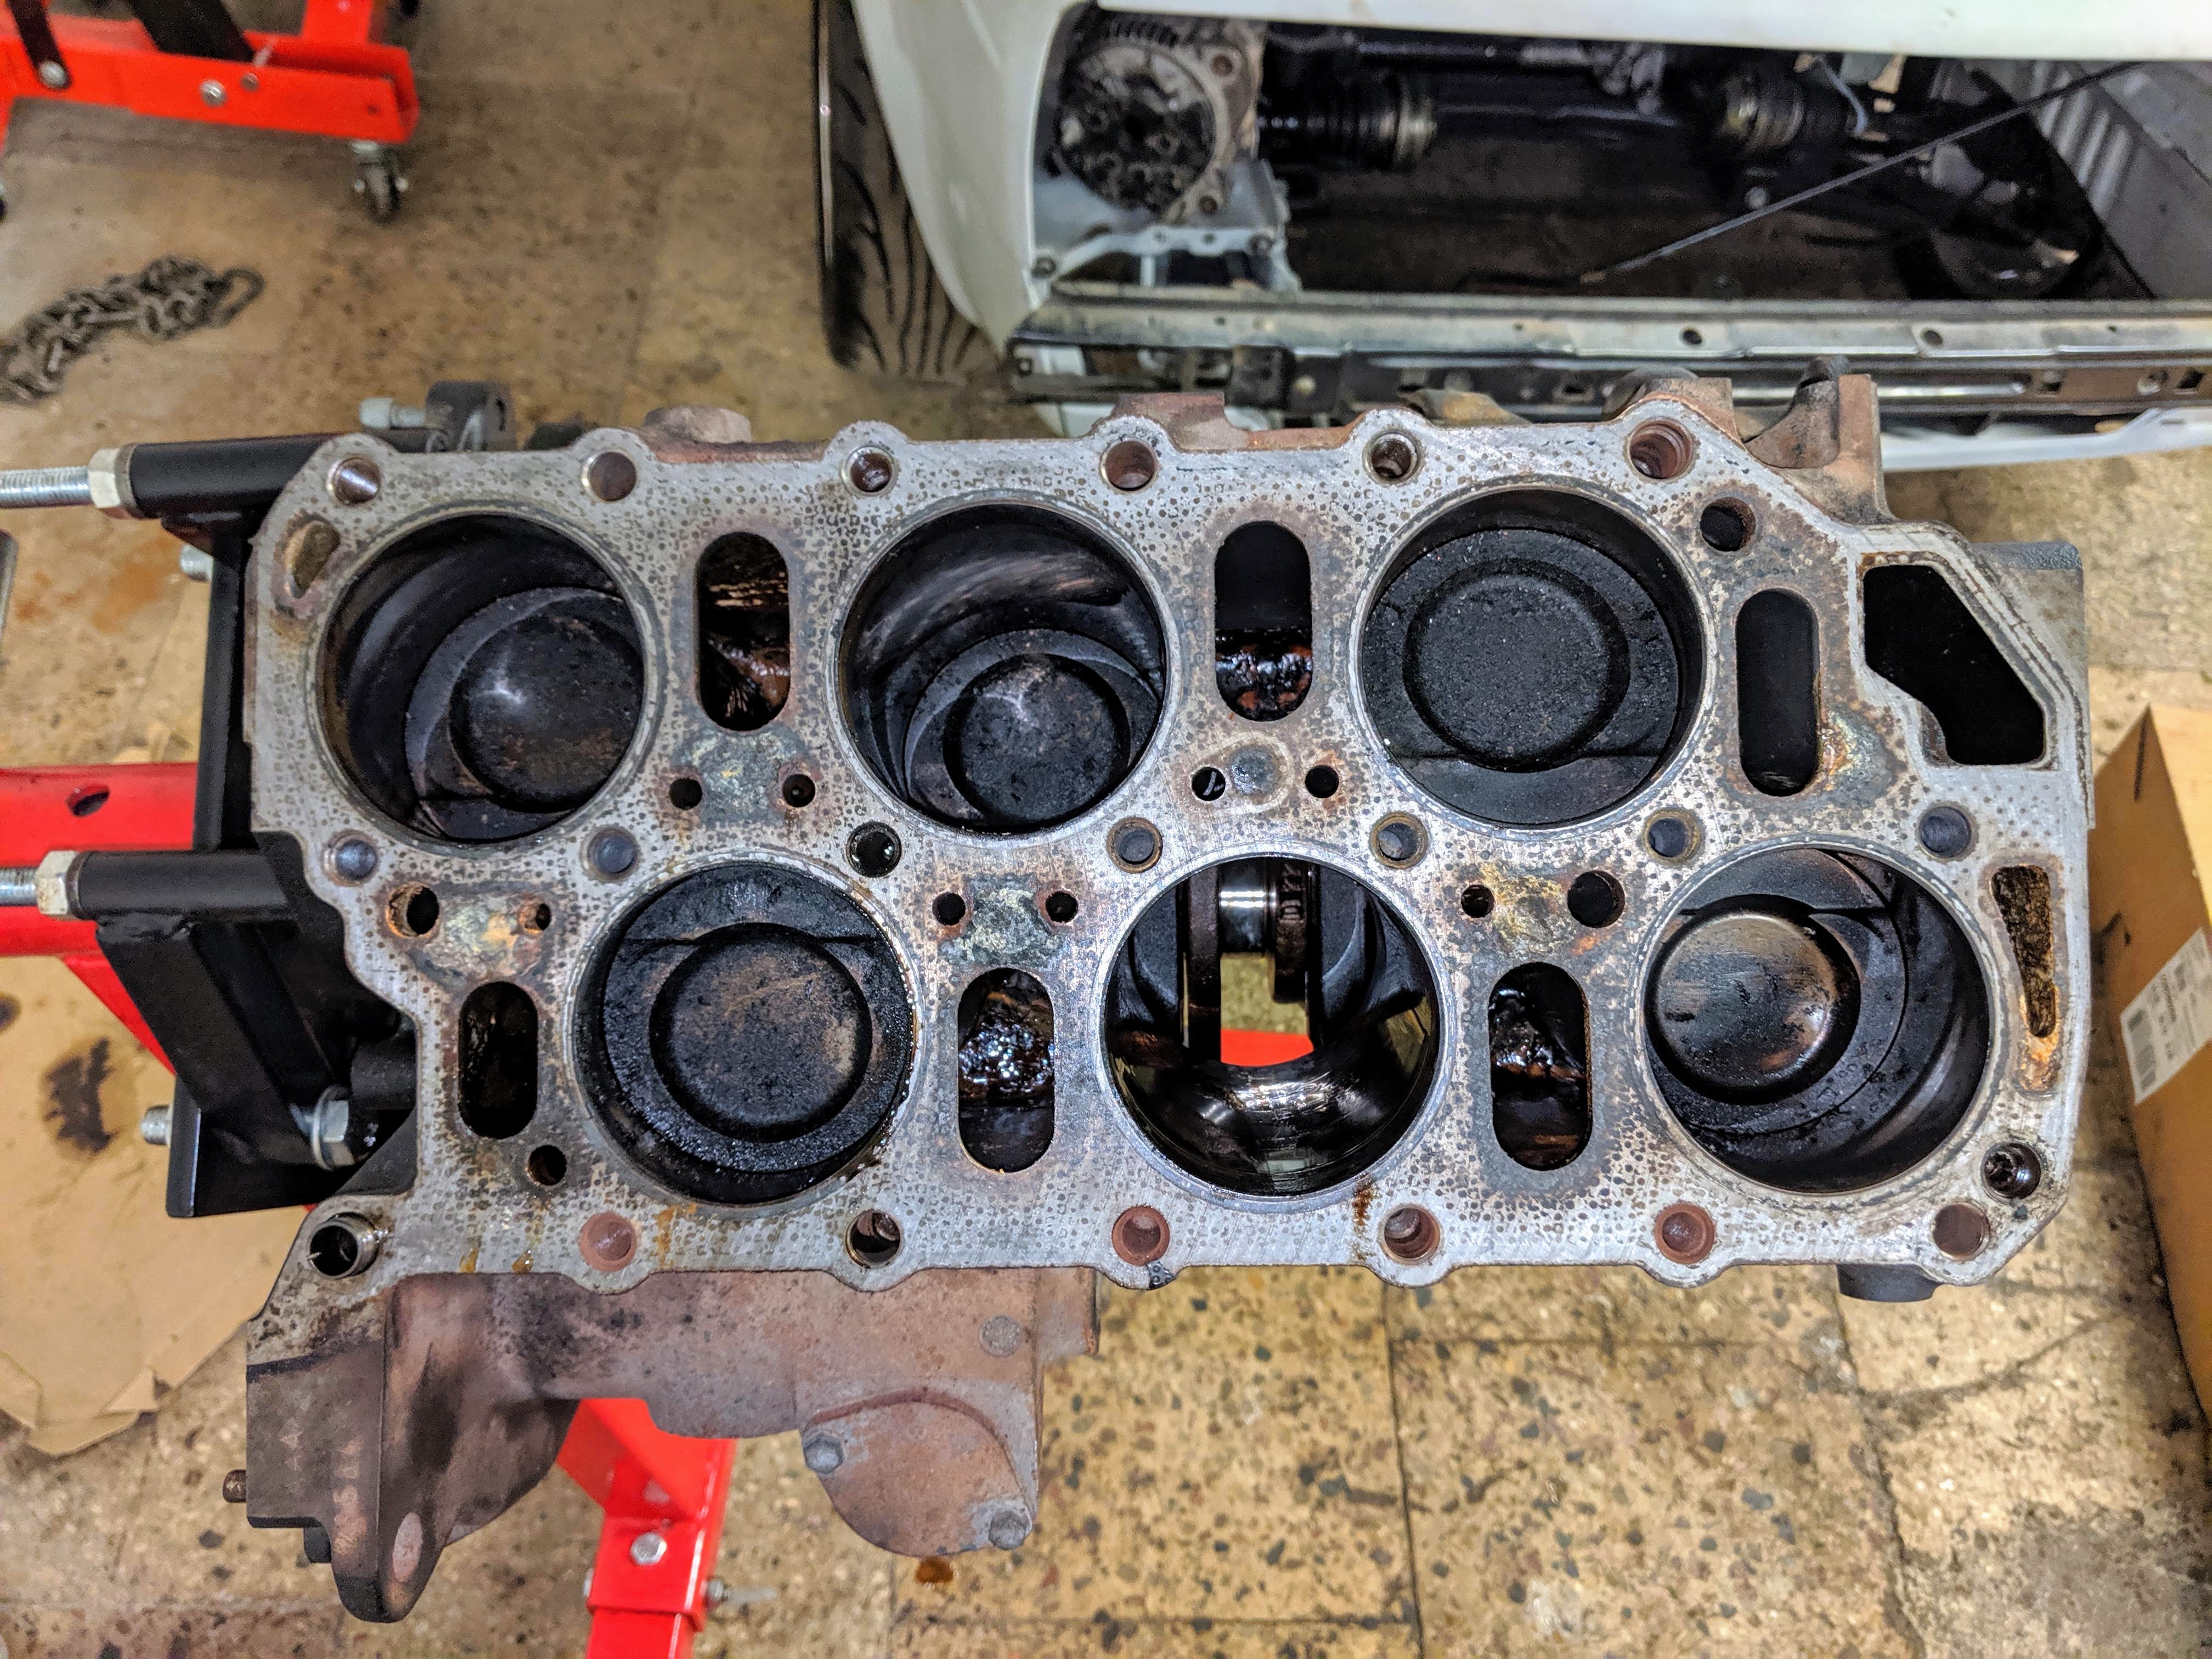

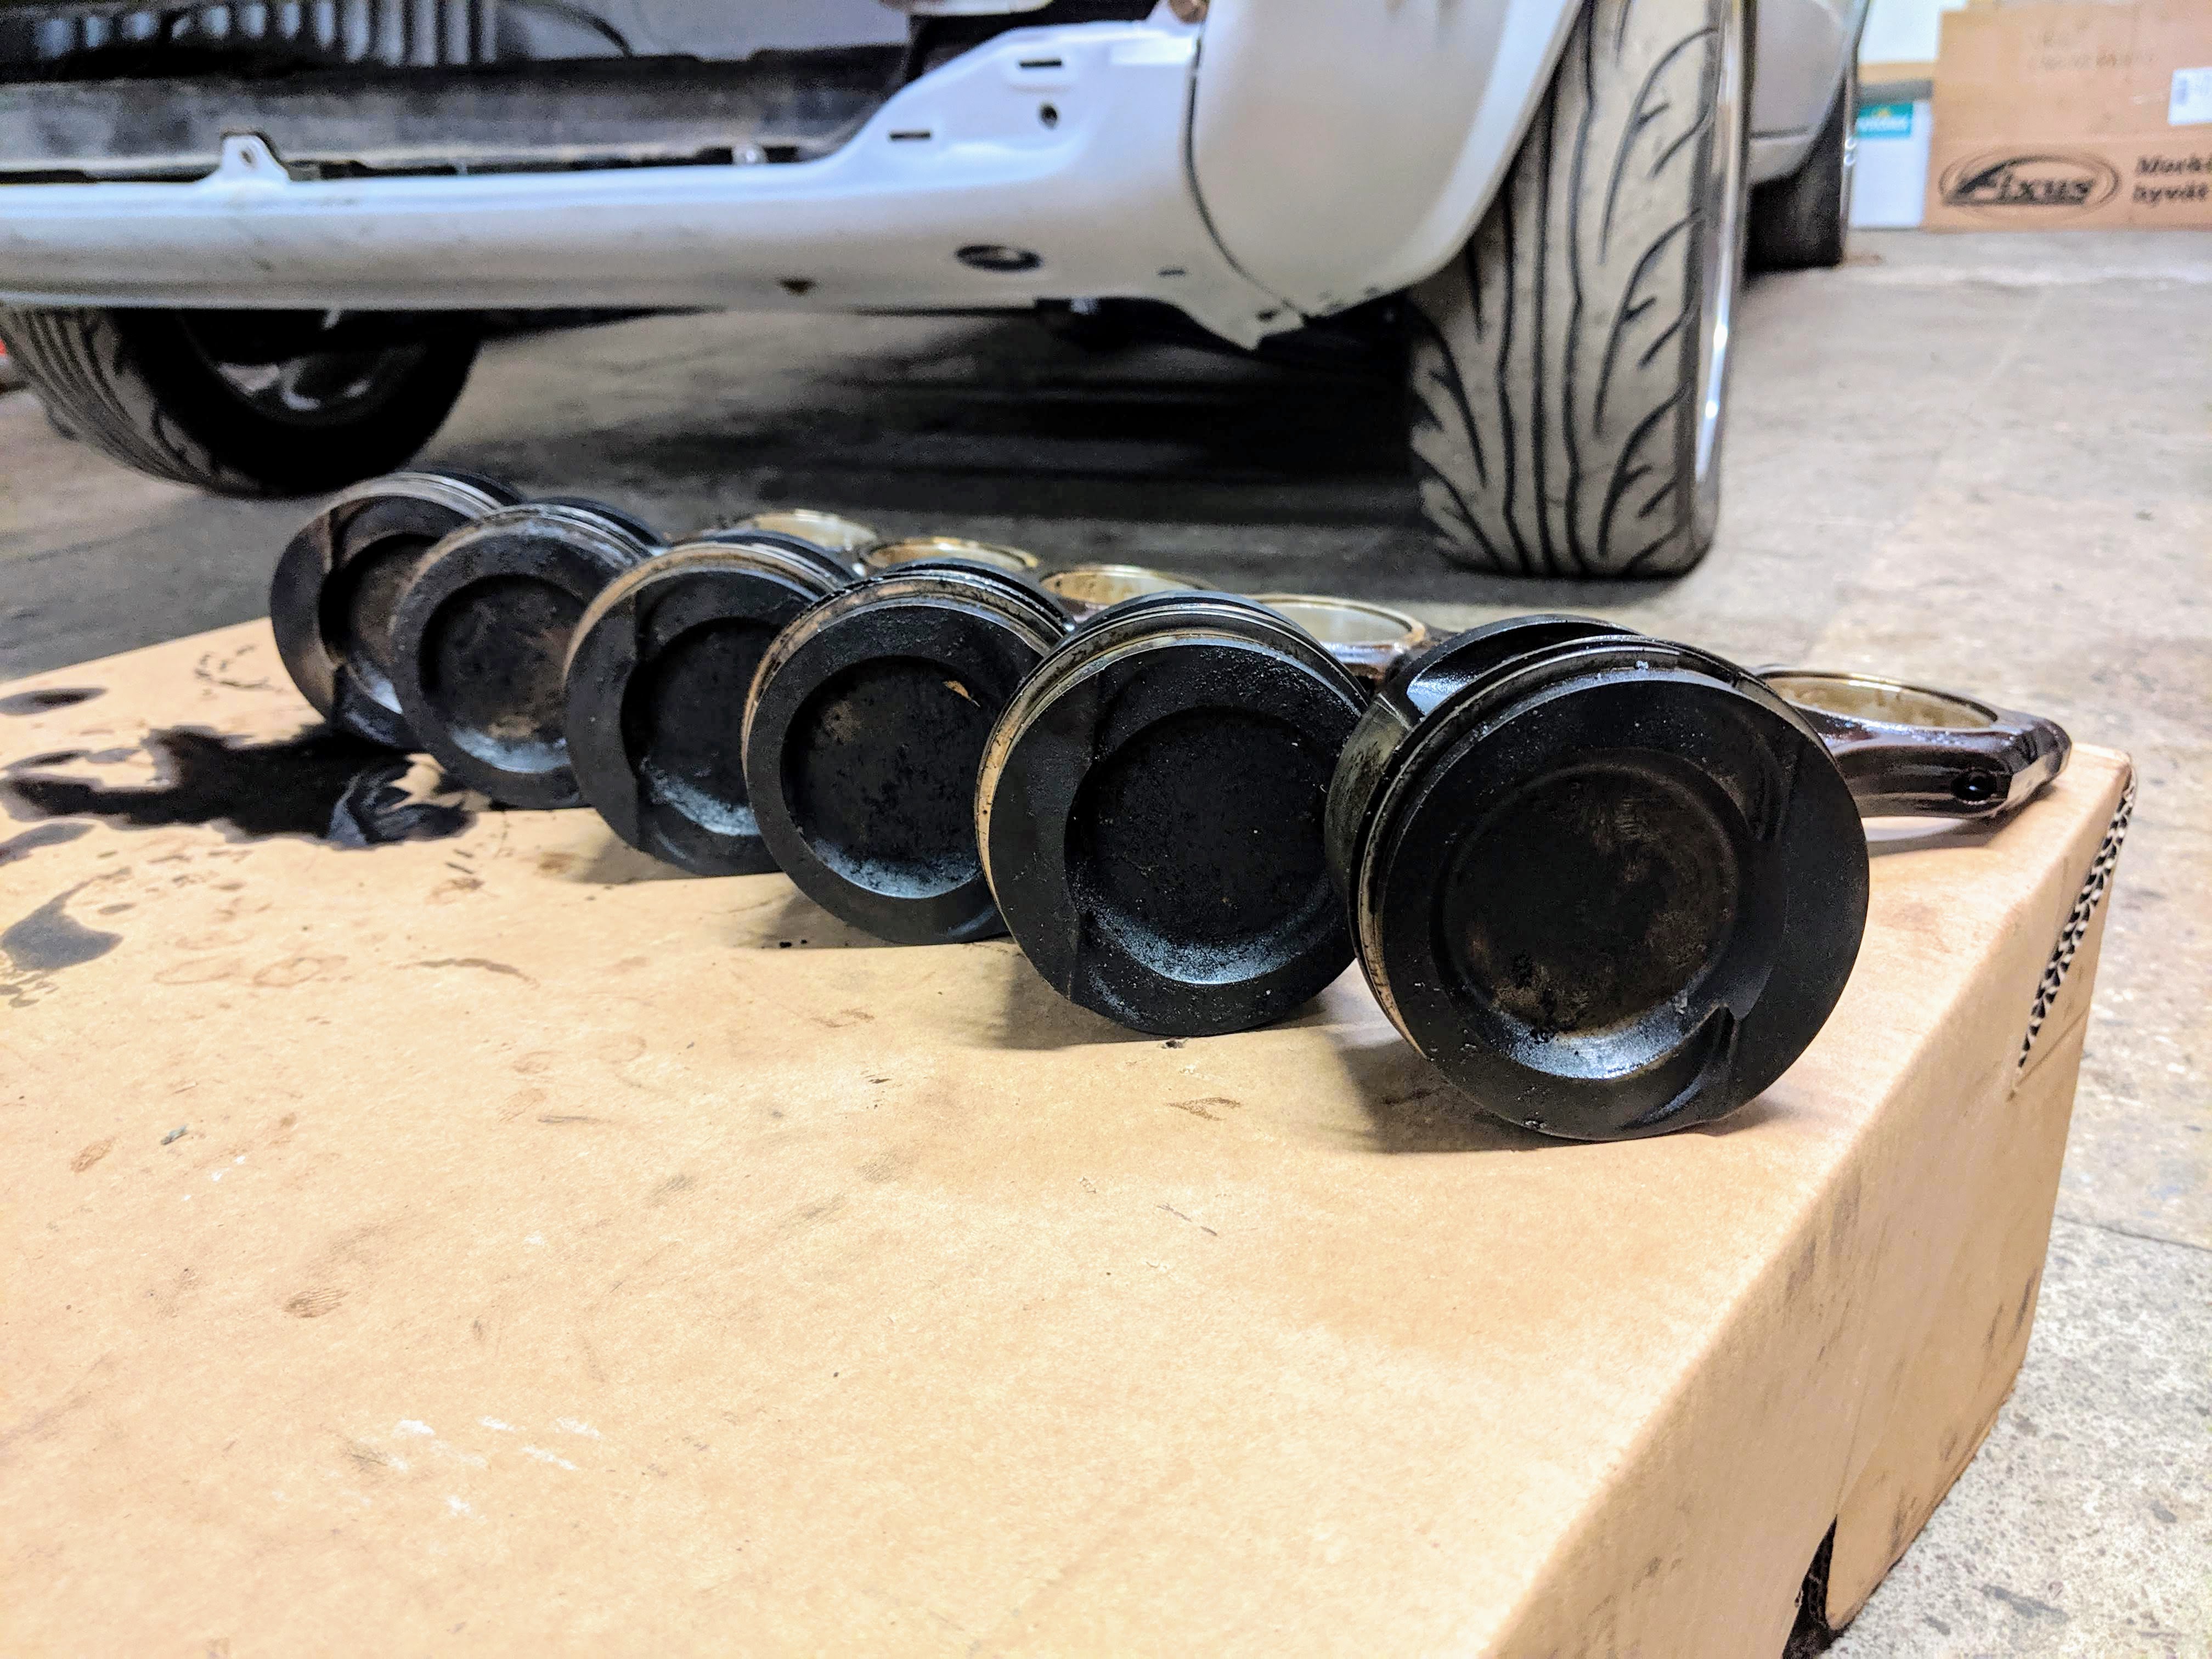

Things look dirty indeed. Internally there were loads of residue and soot but let's see key components which about to be honest I was surprised..
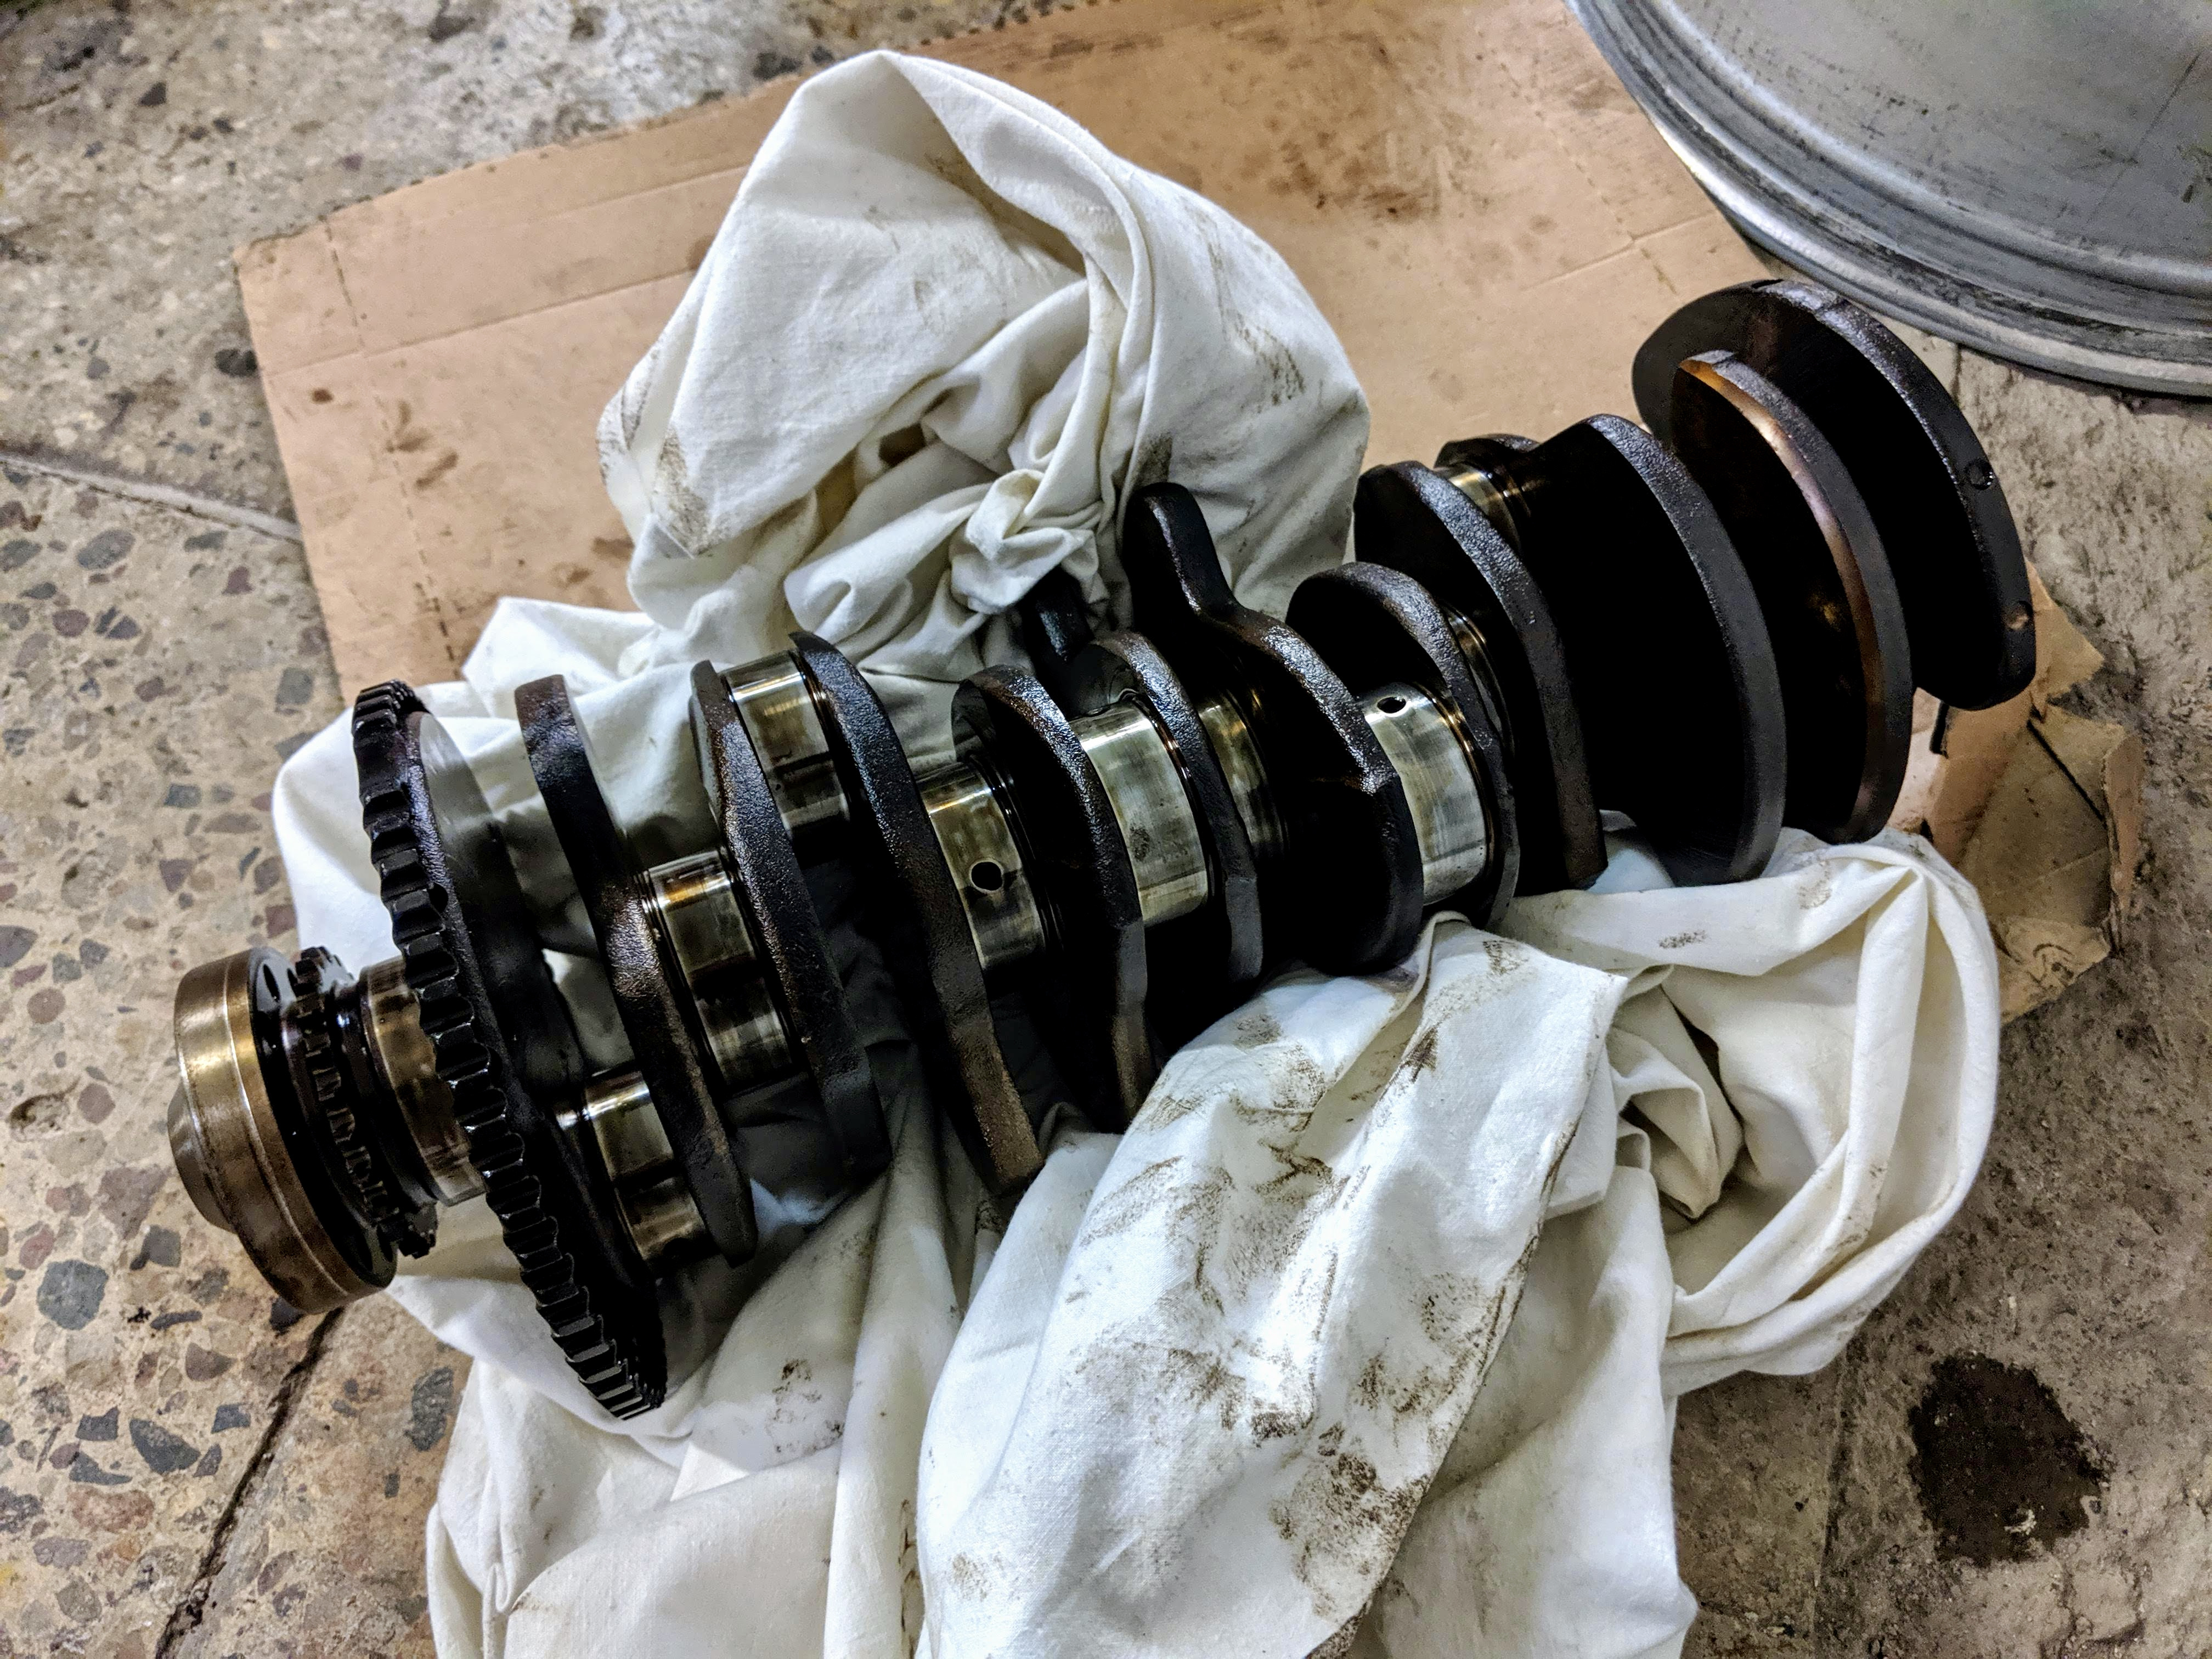
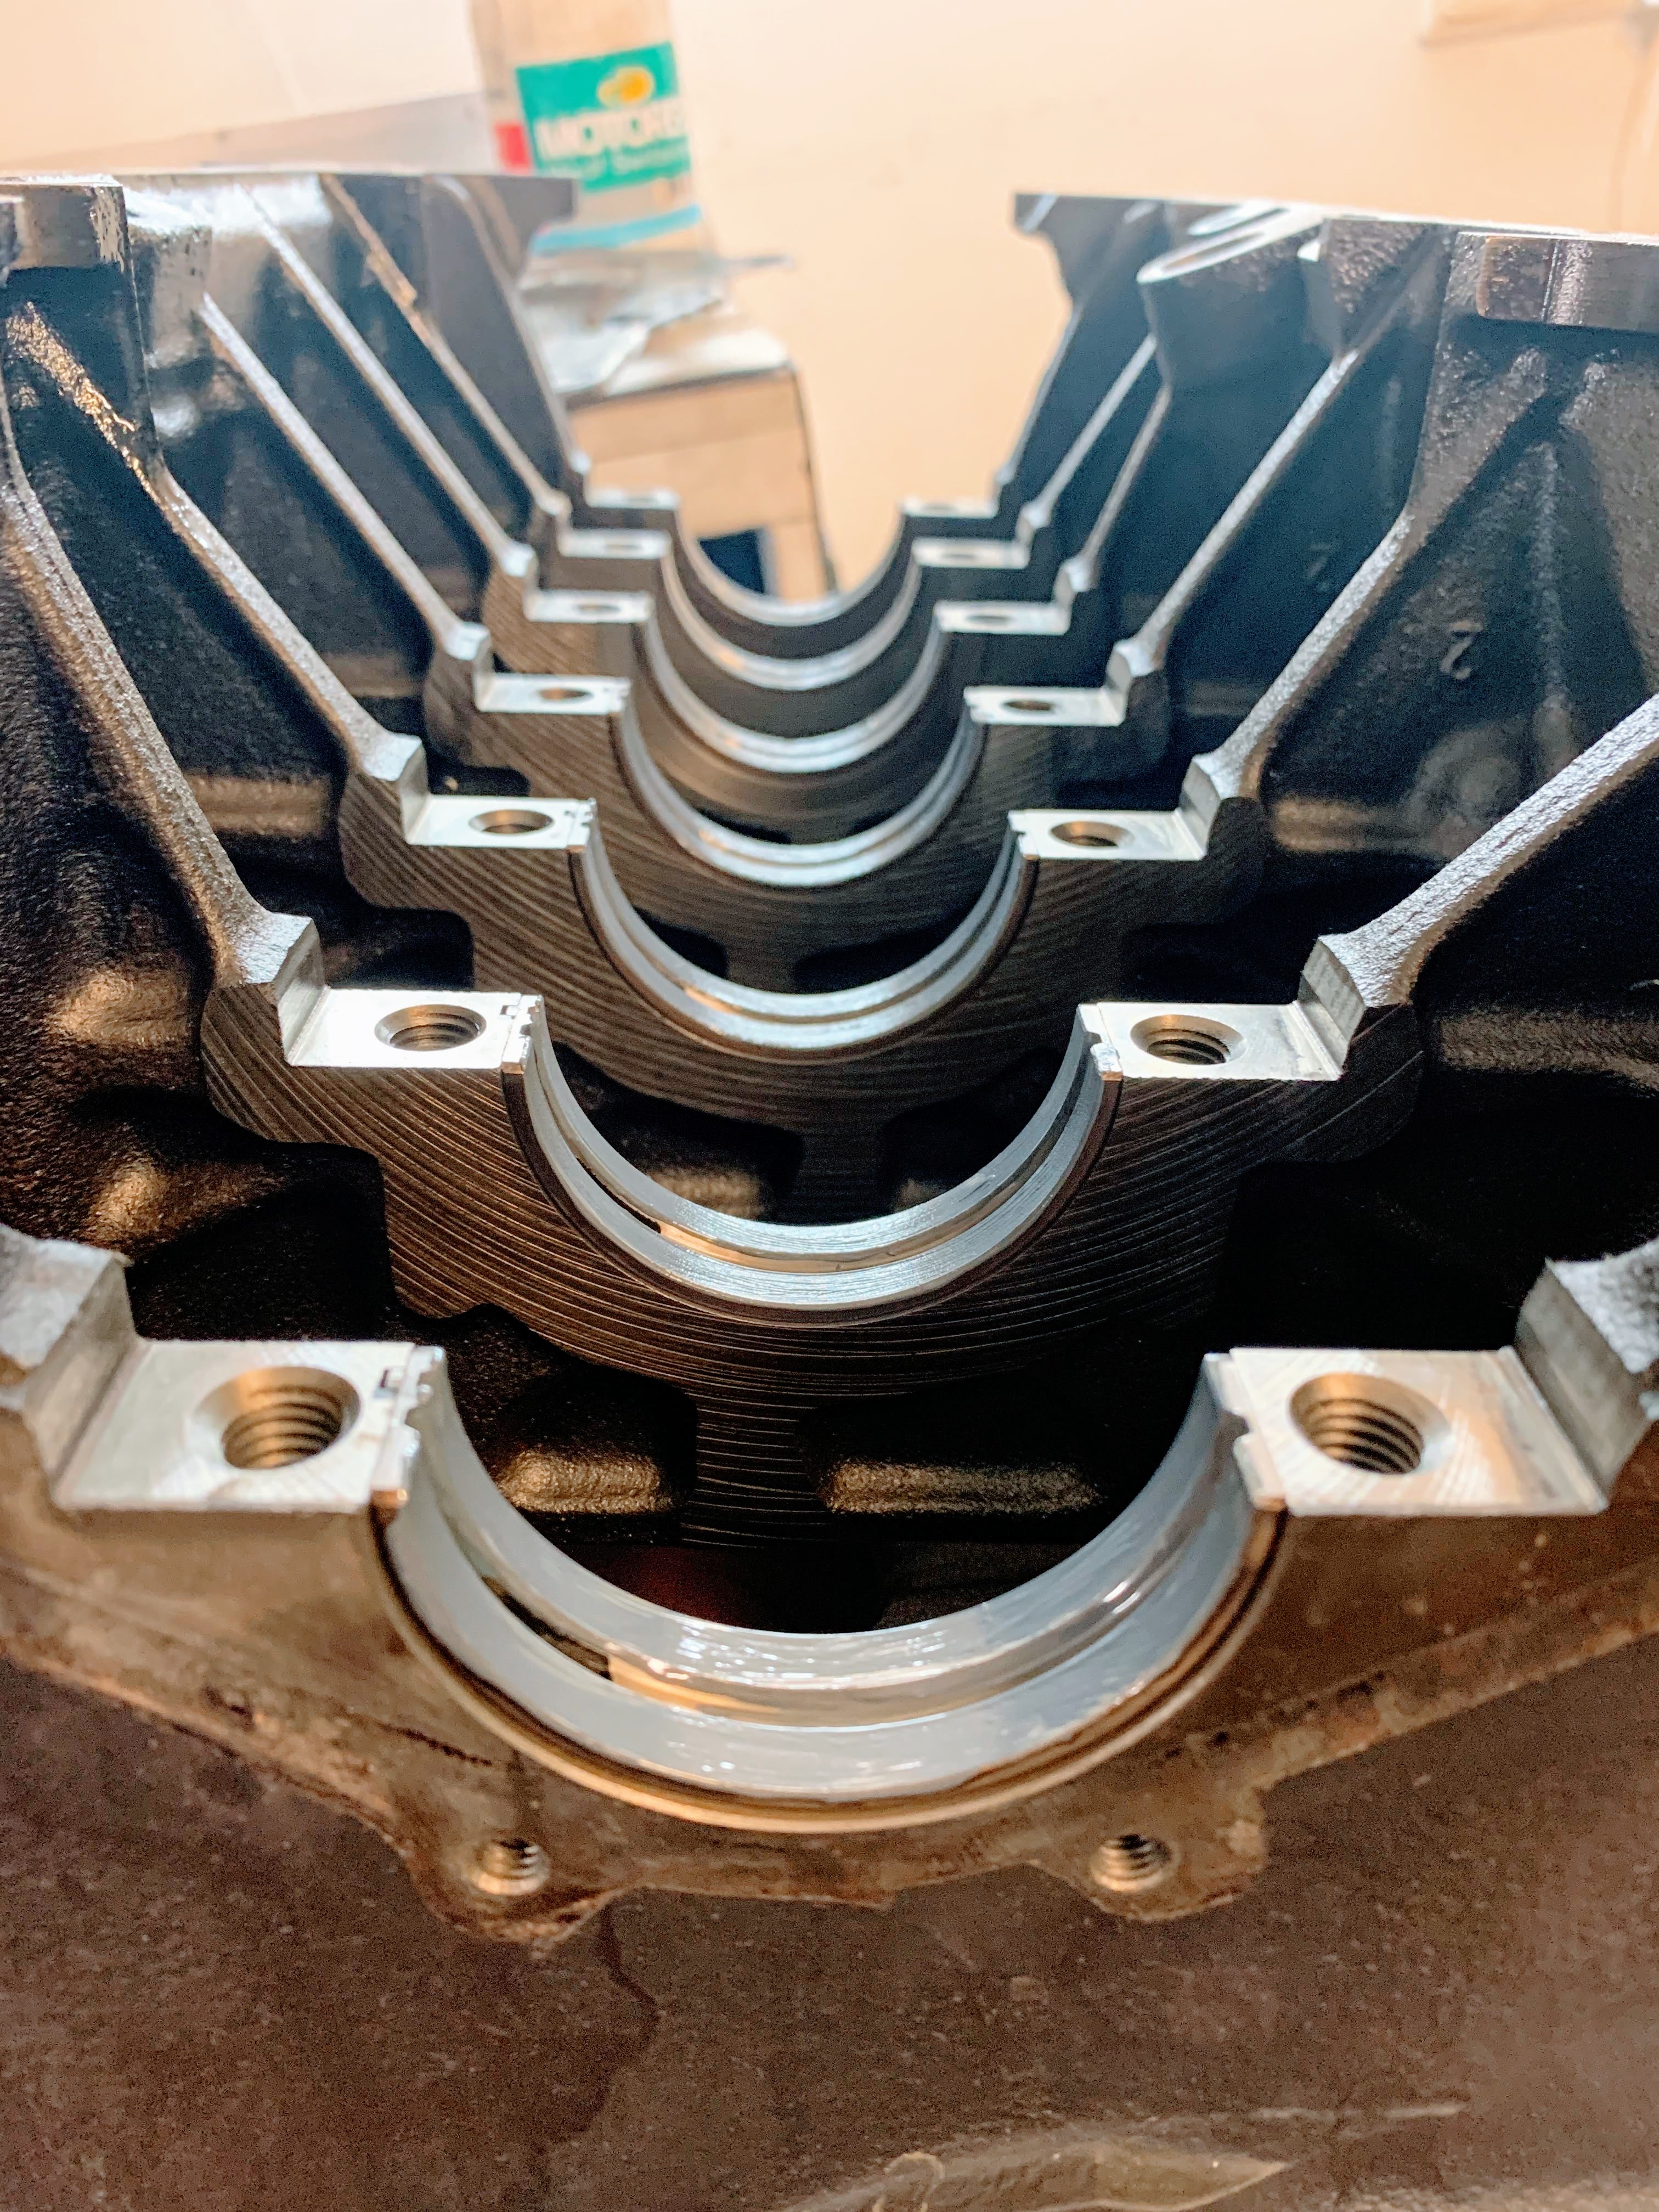
Bearings bearings.. crank mains were in really good condition. I'll just bring up the worst places in my opinion:
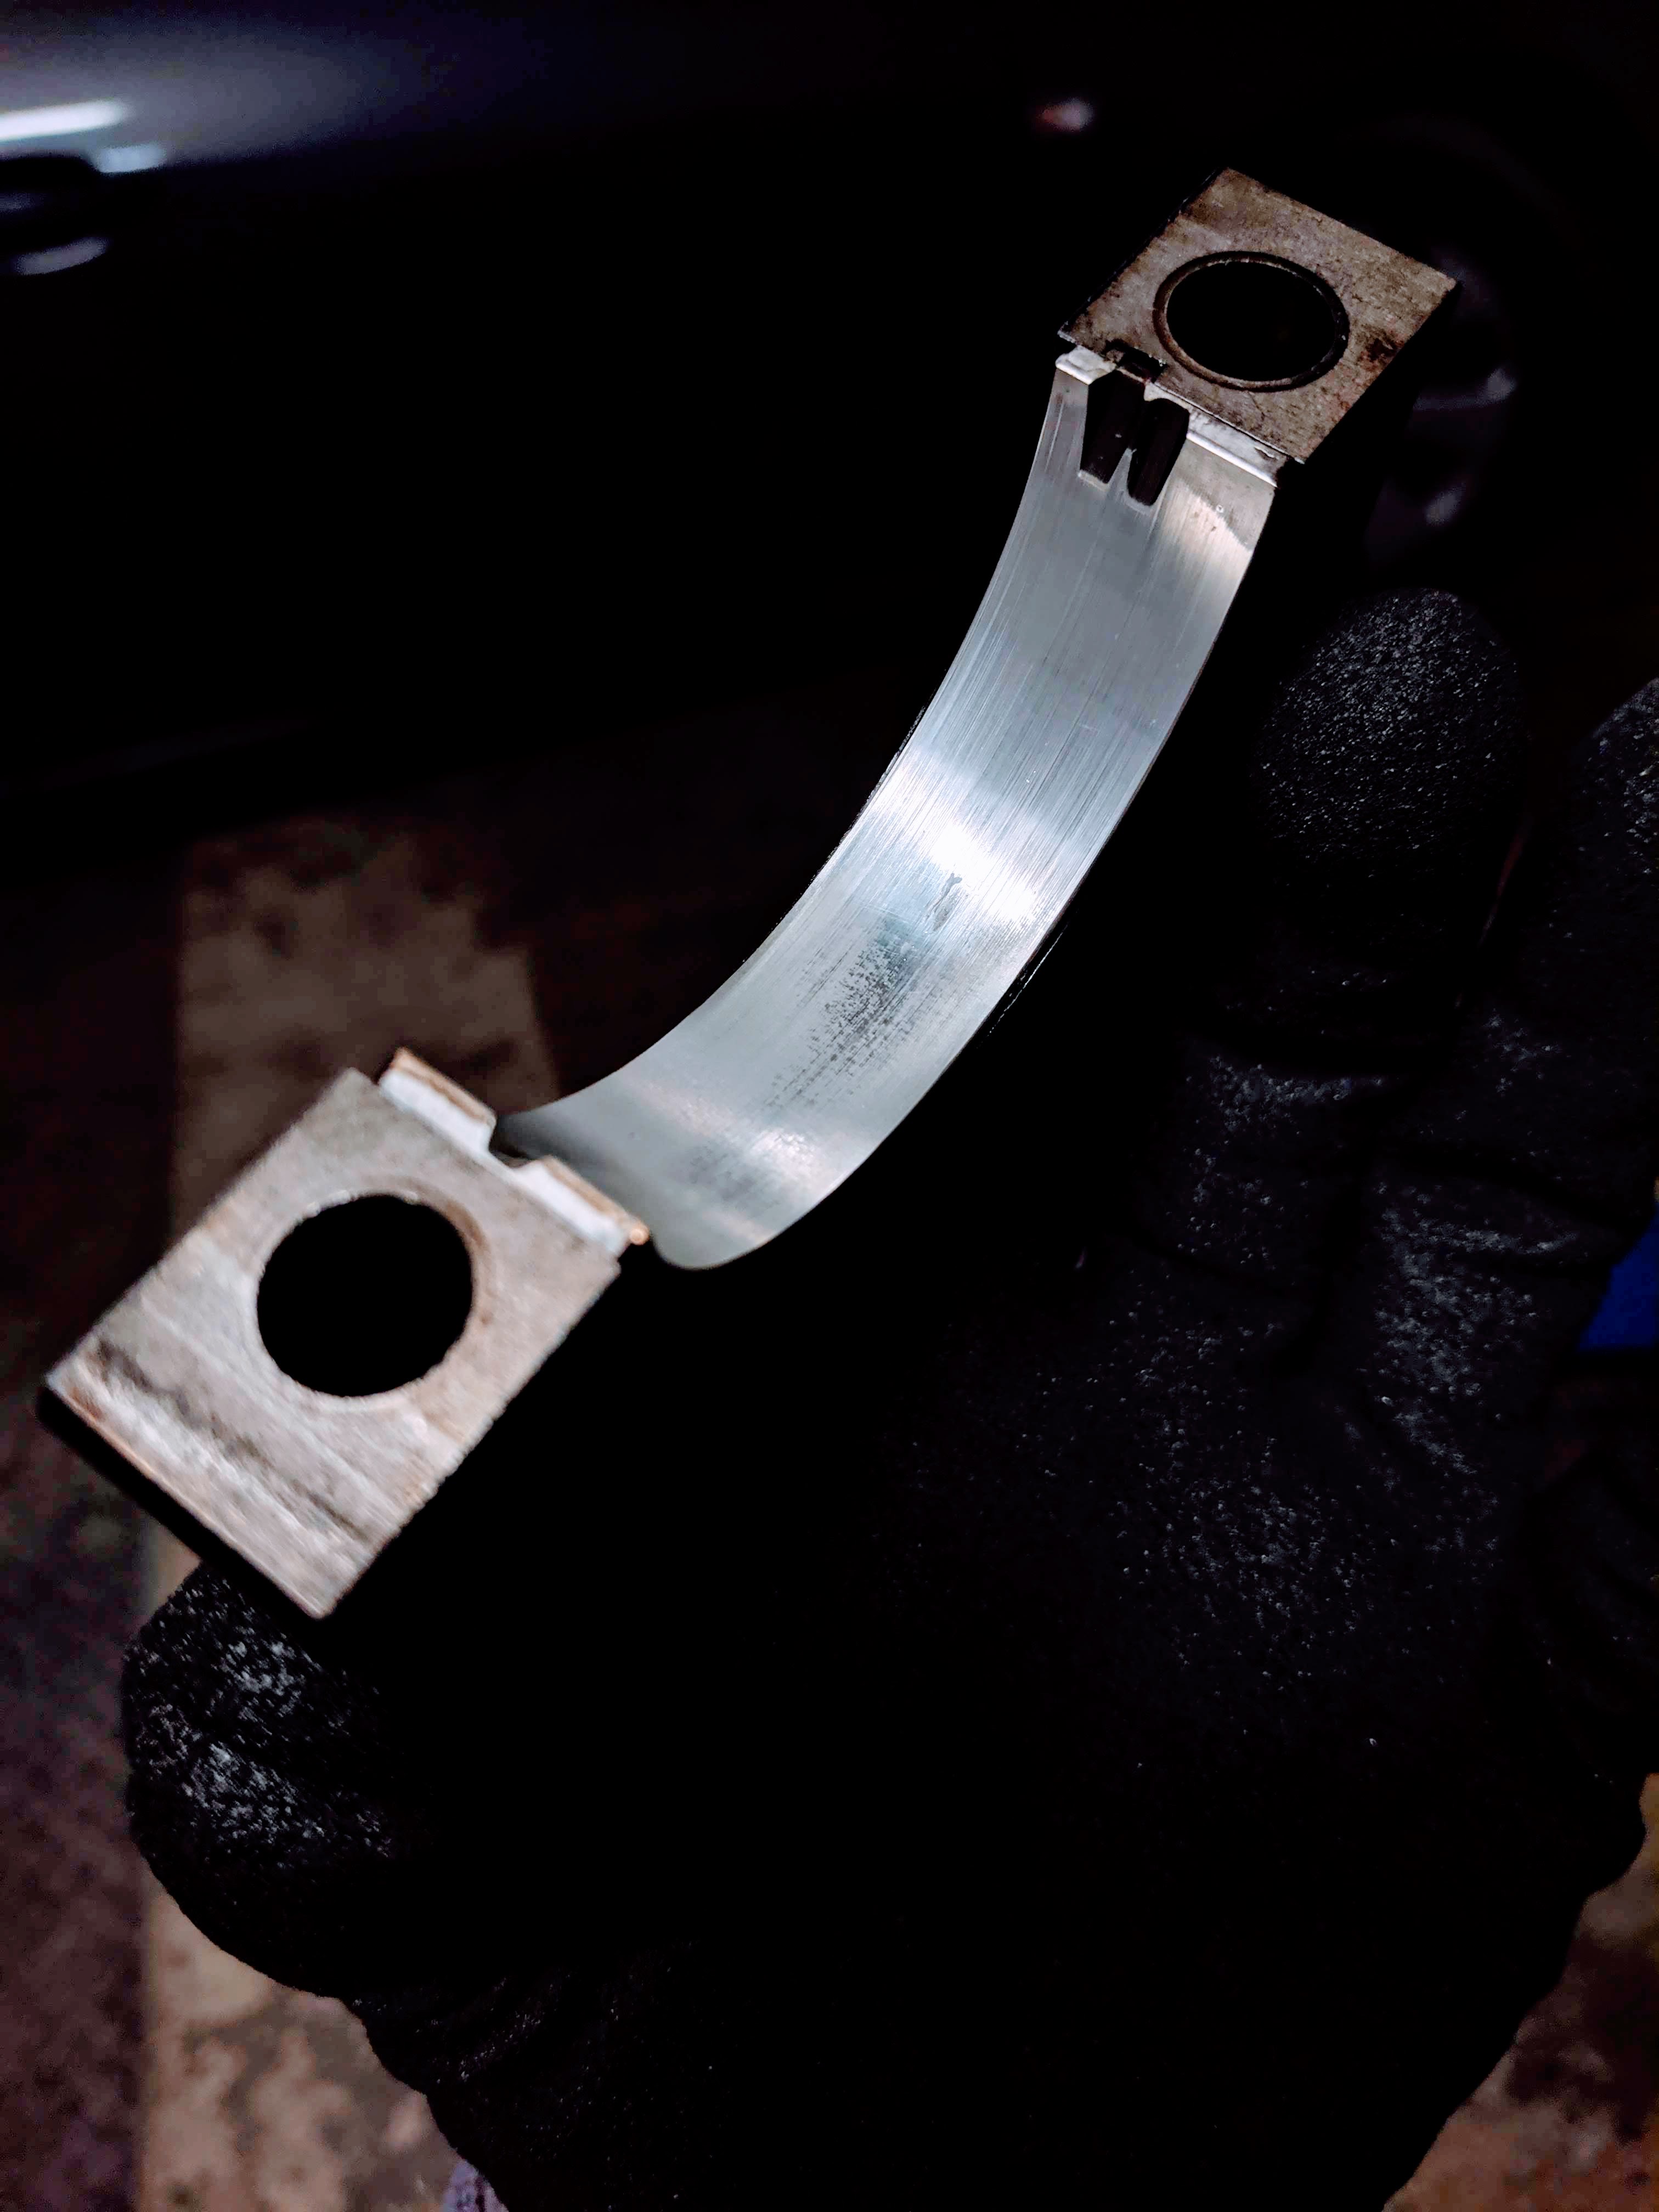
Conrod big ends:
As mentioned that's a wear I was able to identify. Besides that all other bearings condition is being like:

To conclude on bottom-end I was not able to find any issues or damage here:
- no visile damage in any of bearings;
- no visible damage on crankshaft surfaces;
- all the bearings looks worn evenly which tells crankshaft is axially straight;
- piston's compression rings and especially oil rings had some dirt in them but after good wash they look pretty functional;
- after measurement of piston ring gaps I've identified that gaps fluctuated between .40mm to .62mm. Regarding this I won't do anything either;
- cylinders bore were not perfectly round of course but only on a very top of it. For example some cylinder bore horizontal diagonals were measured at 81.07mm versus vertical's being 81.05mm;
- maximum deviation I found was 81.07mm versus 81.12mm regarding bore roundness. Manufacturer's maximum allowed out-of-round is 0.03mm. This is the reason (0.05mm) I will put back old piston rings where they belong. Otherwise If I wanted to replace pistons rings complete rebore would become necessary and stepping into 2.9L would come in as result requiring 2.9L ABV piston set (or any aftermarket set). Not this time, not for this engine. Let's boost and blow this one first

- Oil pump gear clearance was 0.05-0.06mm which is again within allowed tolerance.
Whole bottom-end is within manufacturer's tolerance. My plan is to have completely standard VR6 boosted and findings above meets requirements for that. No overthinking here I guess!
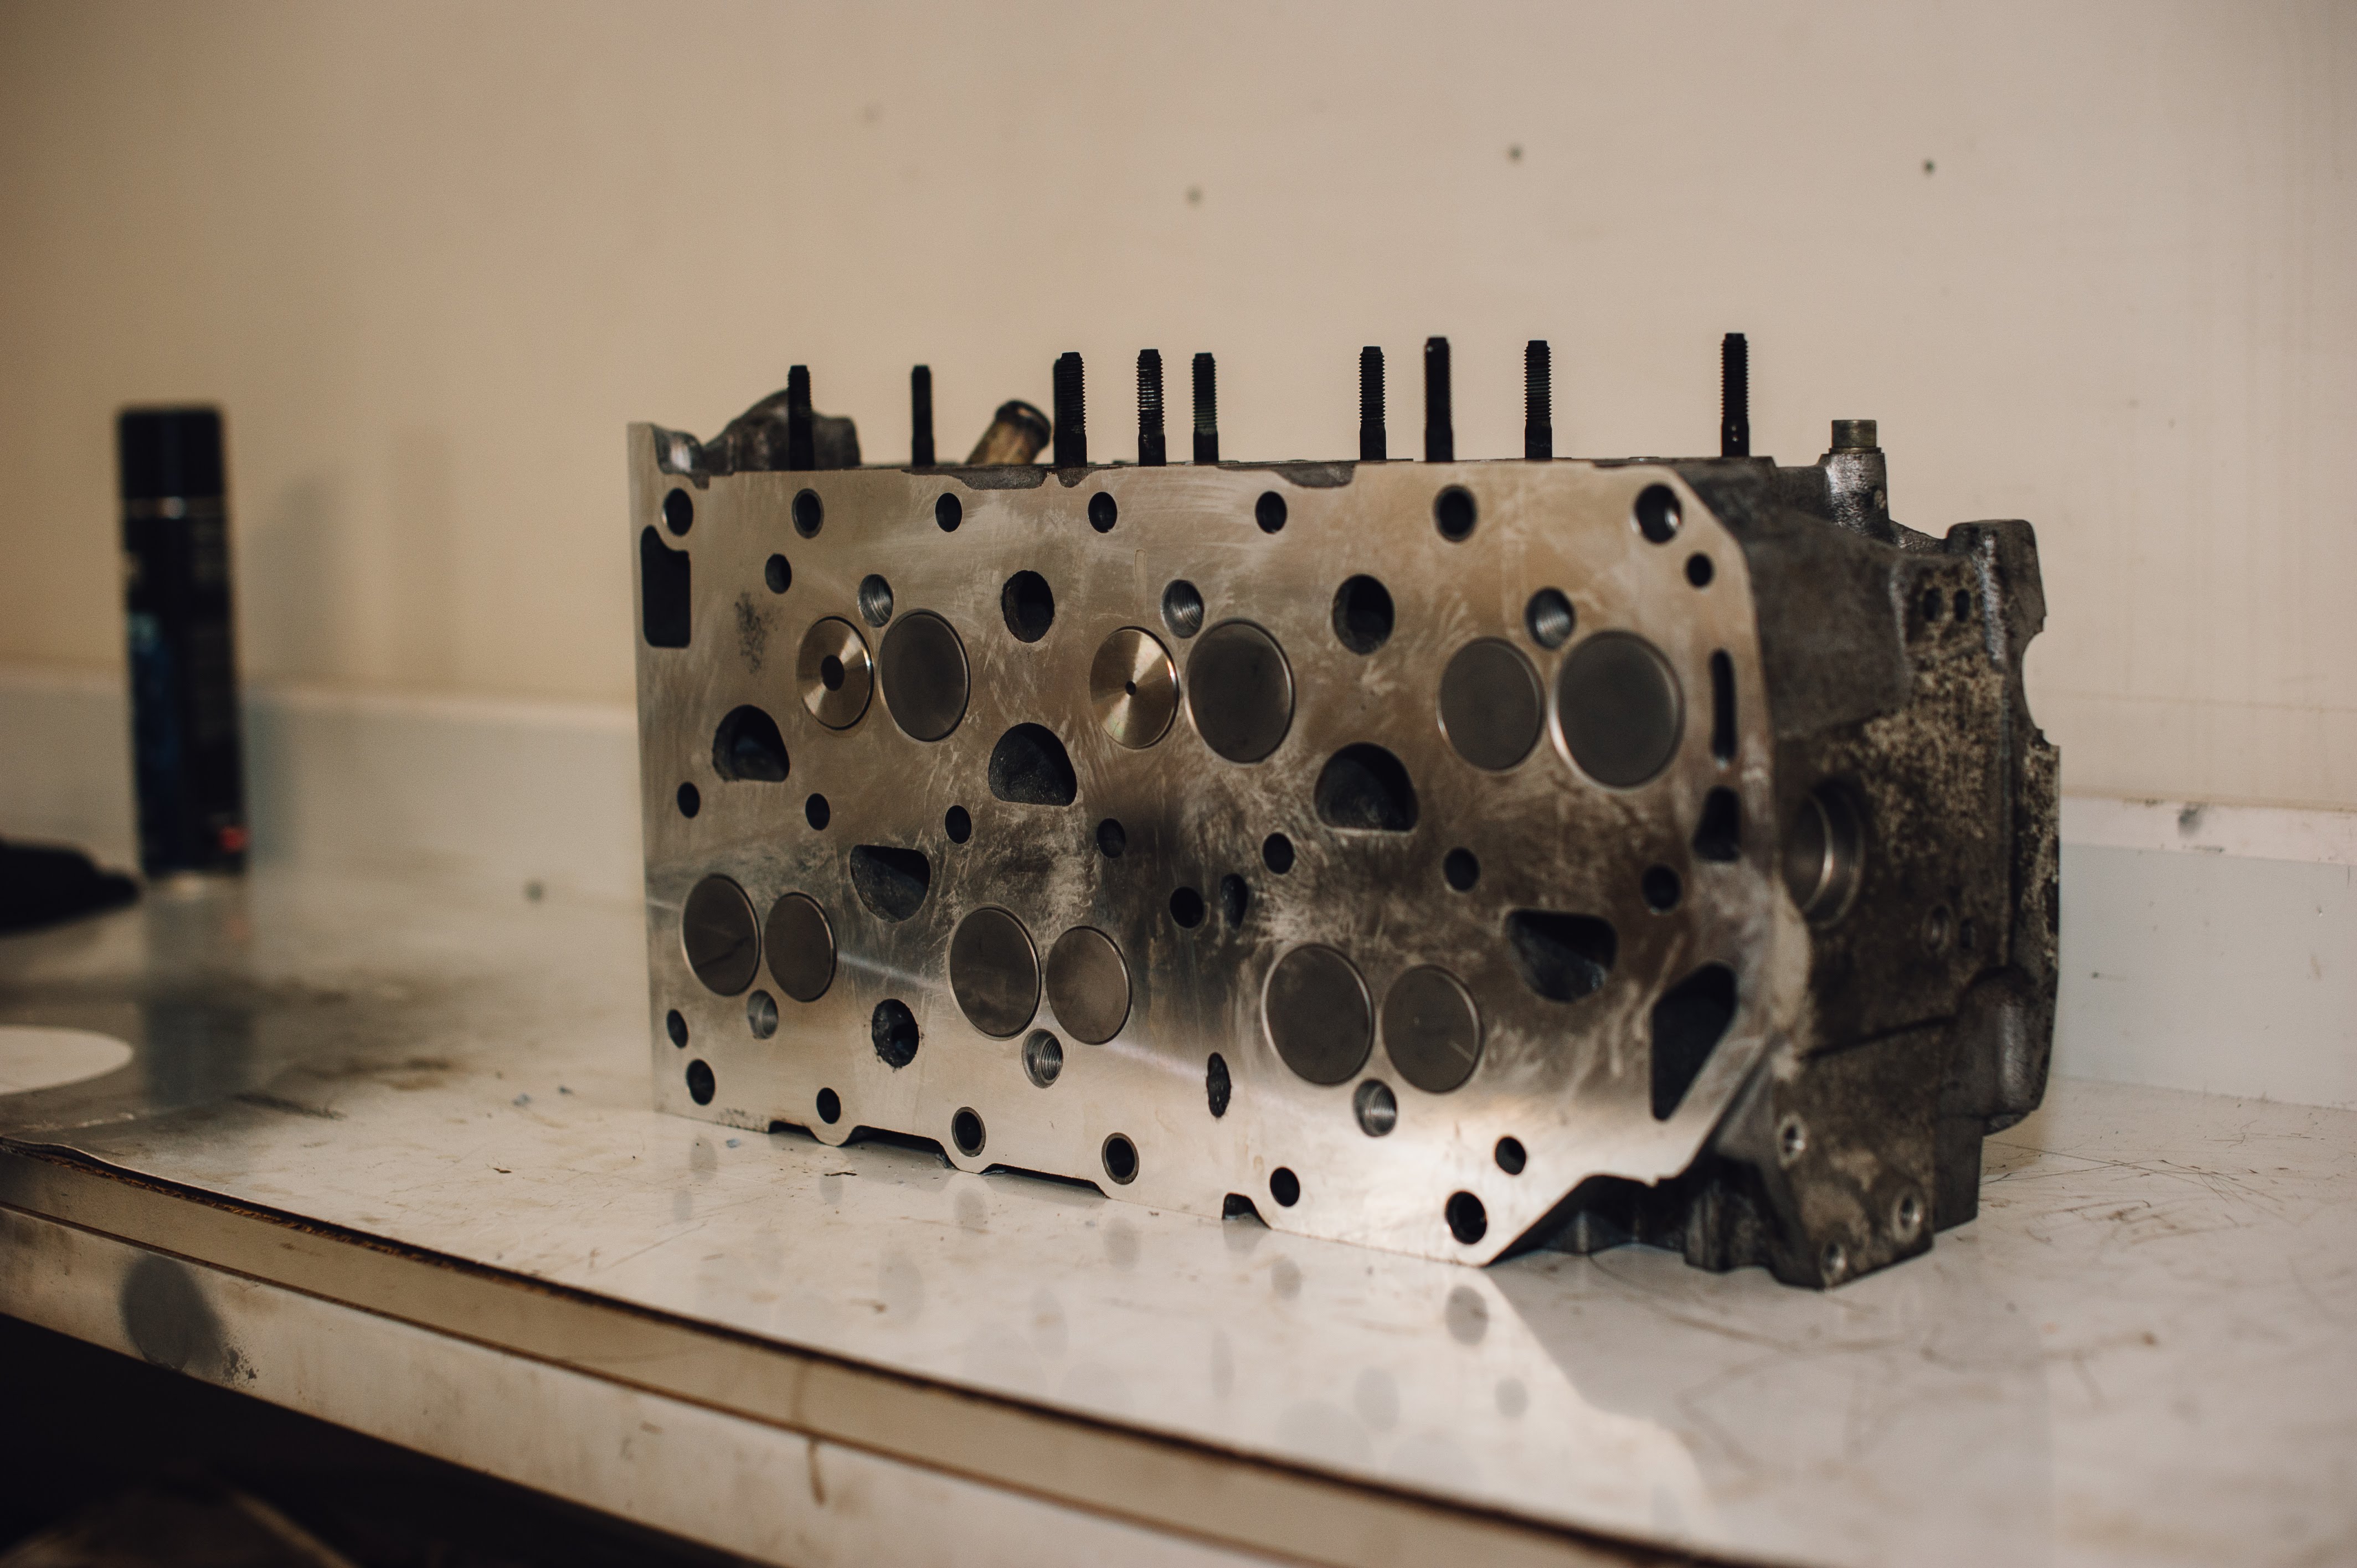
Engine's head had some minor issues like couple of valves failed to assure decent sealing. After some machining and replacing of them engines head unit is brought back to life and should perform properly. Head of course had no warpage which usually does not happen for VR6's plants. In addition valve tappers were completely out of order and will be replaced together with valve stem guides and seals.
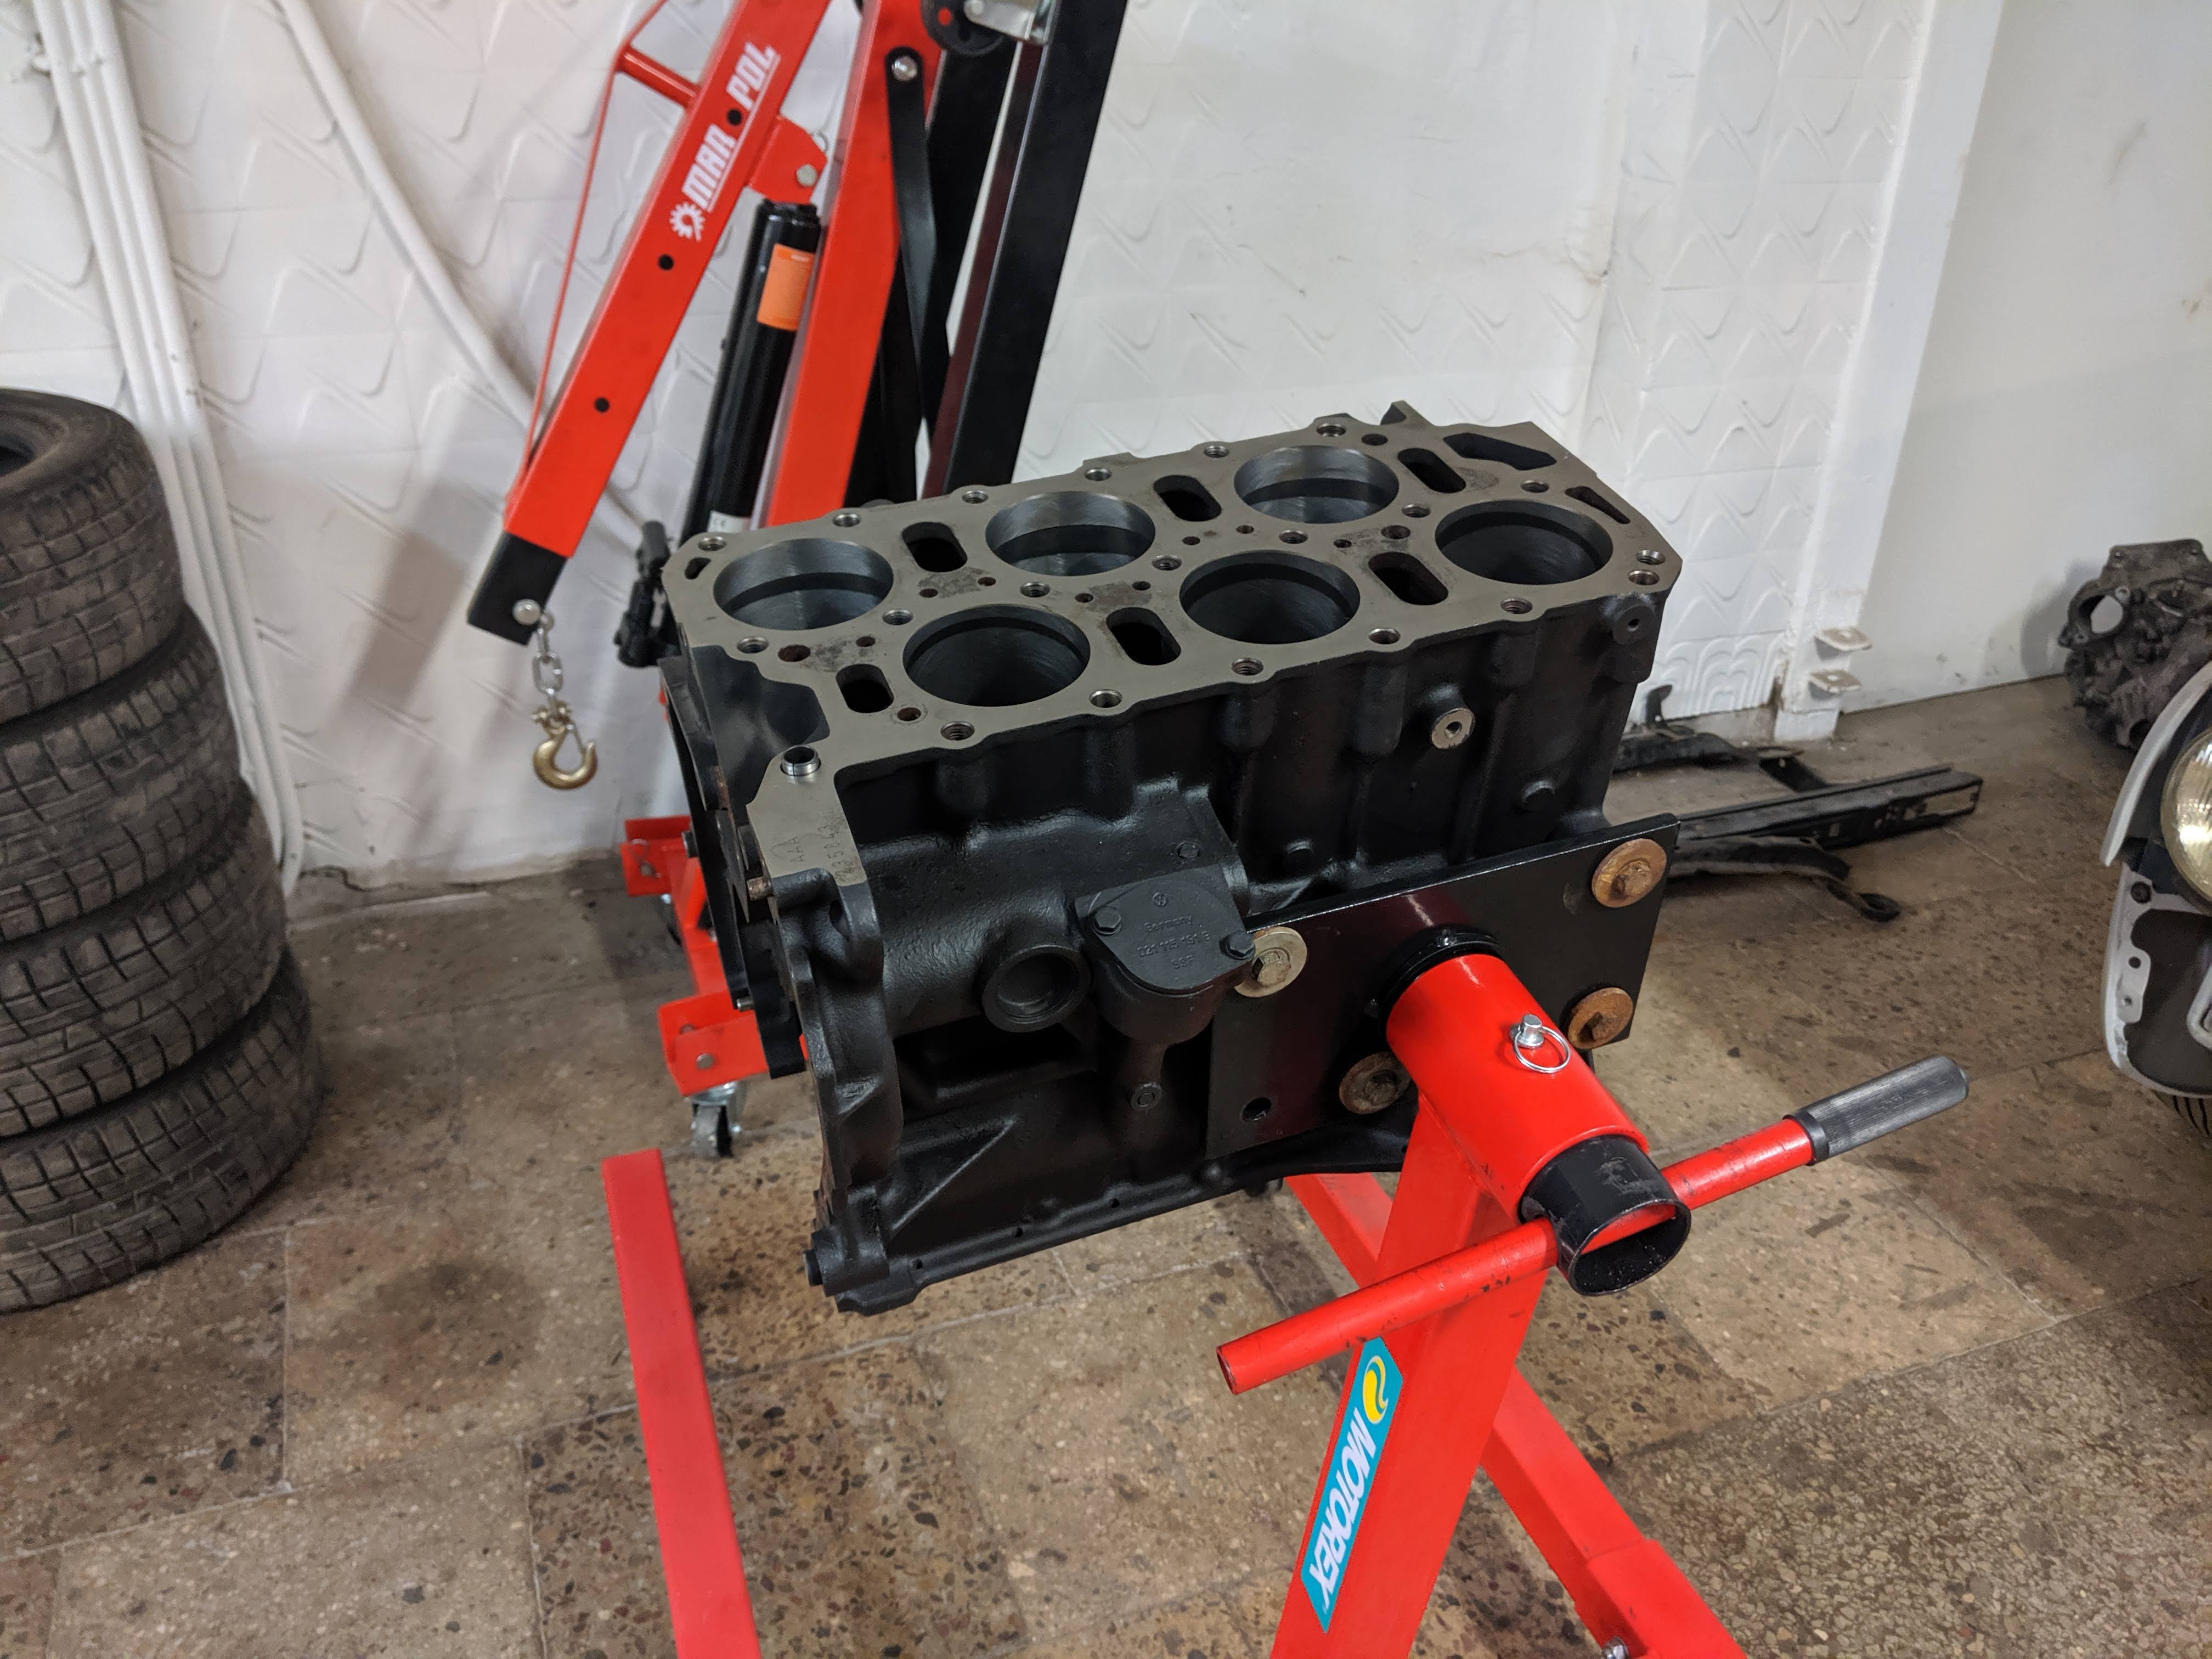
I see no reason what else can be done so let's get further with engine assembly and putting pieces back. Engine block and head re-surfaced:

I have replaced complete timing chain set which I have no pictures for but probably these where stretched out and chain guides were at really bad condition. So no brainer here: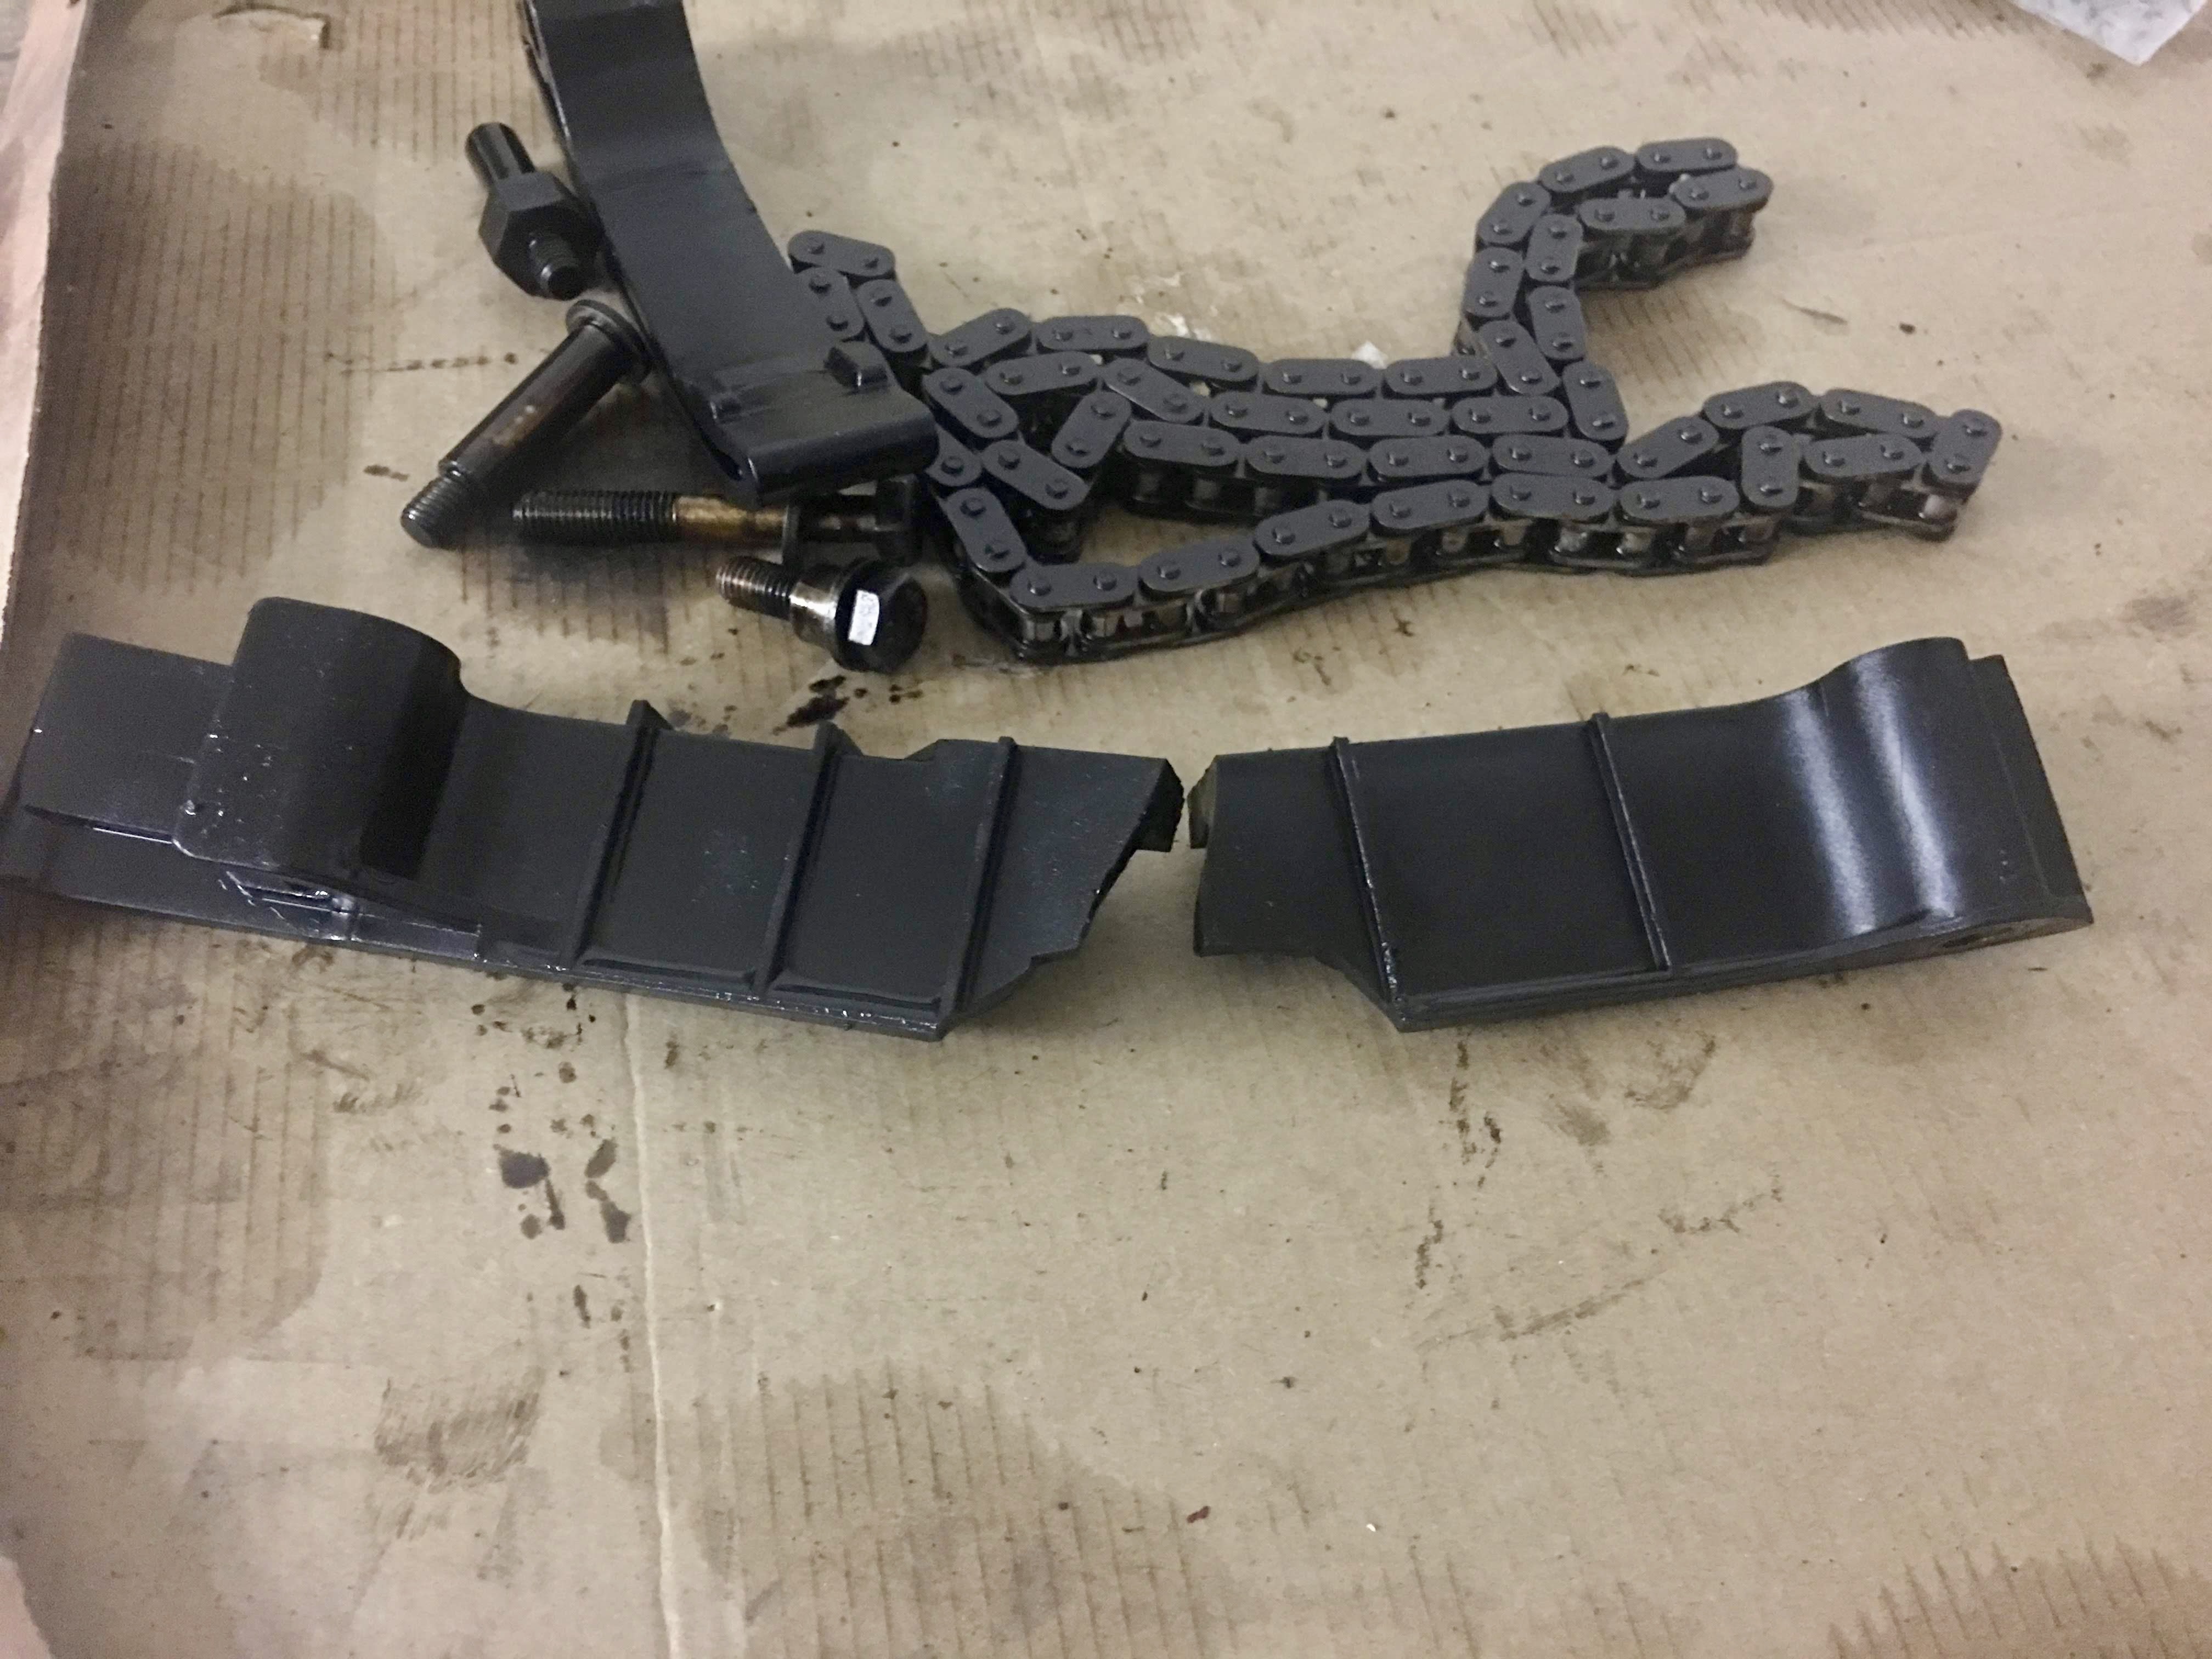
Meanwhile other parts have been cleaned and renewed. Few of them:


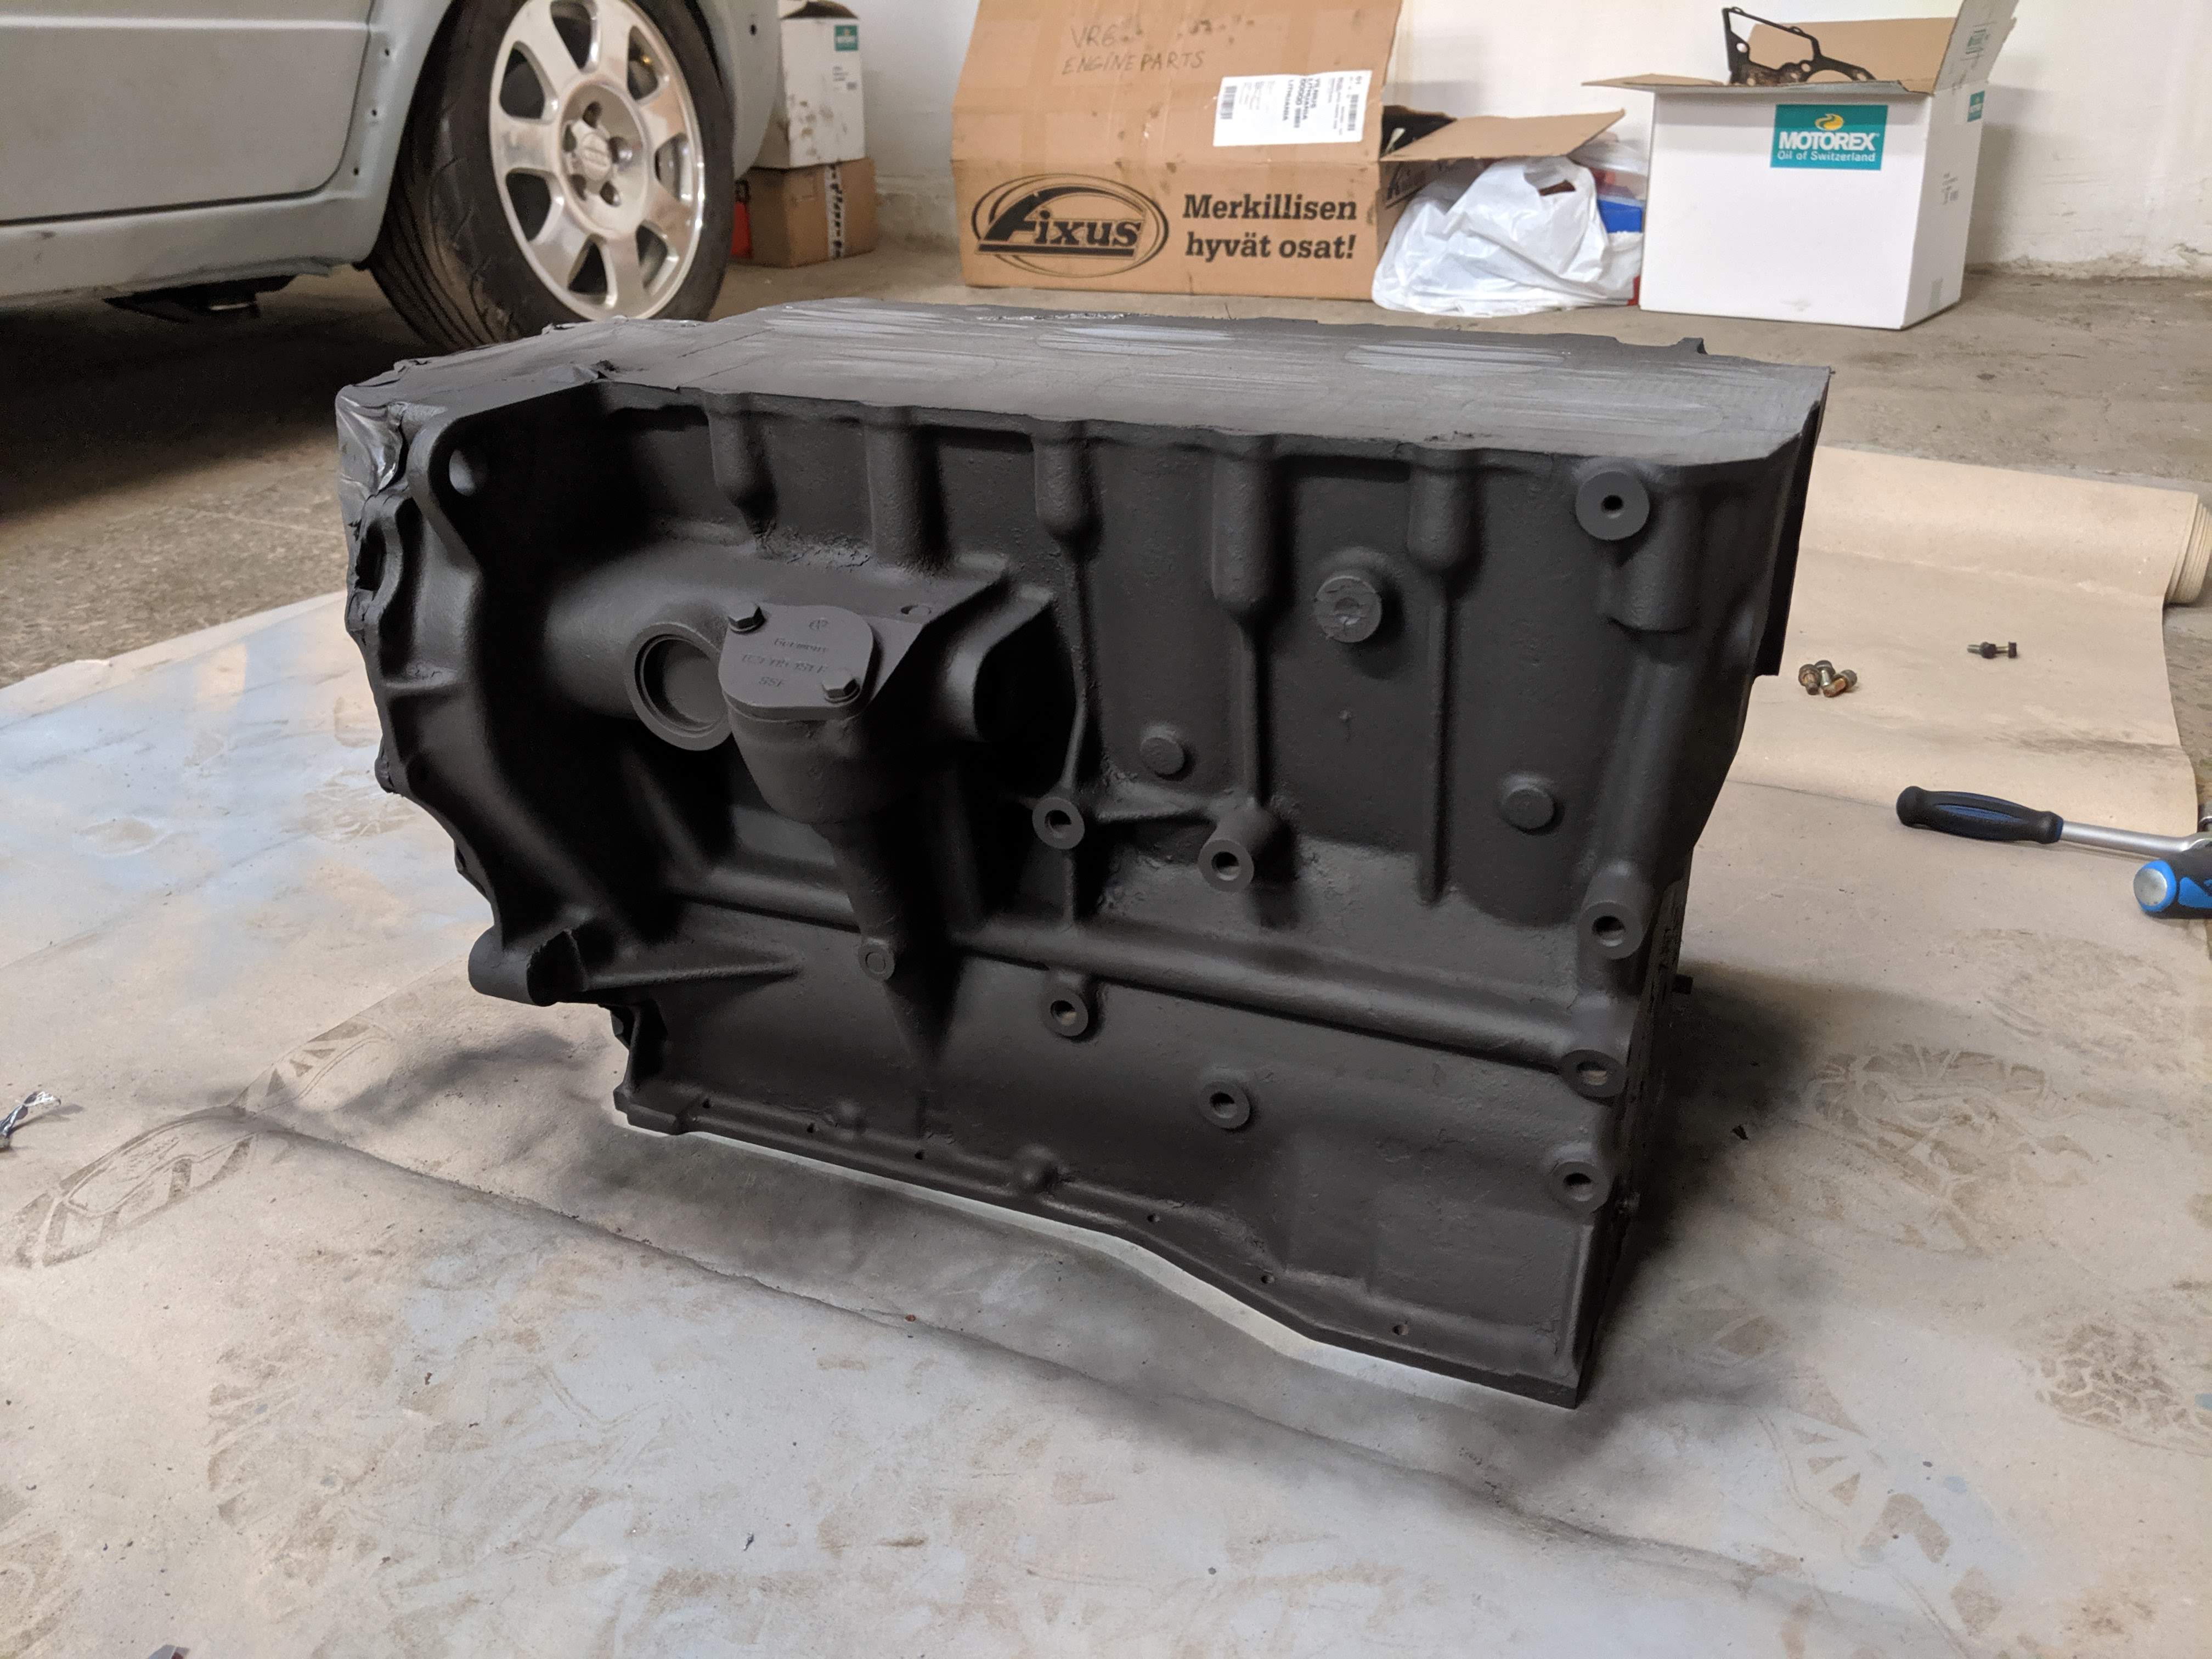
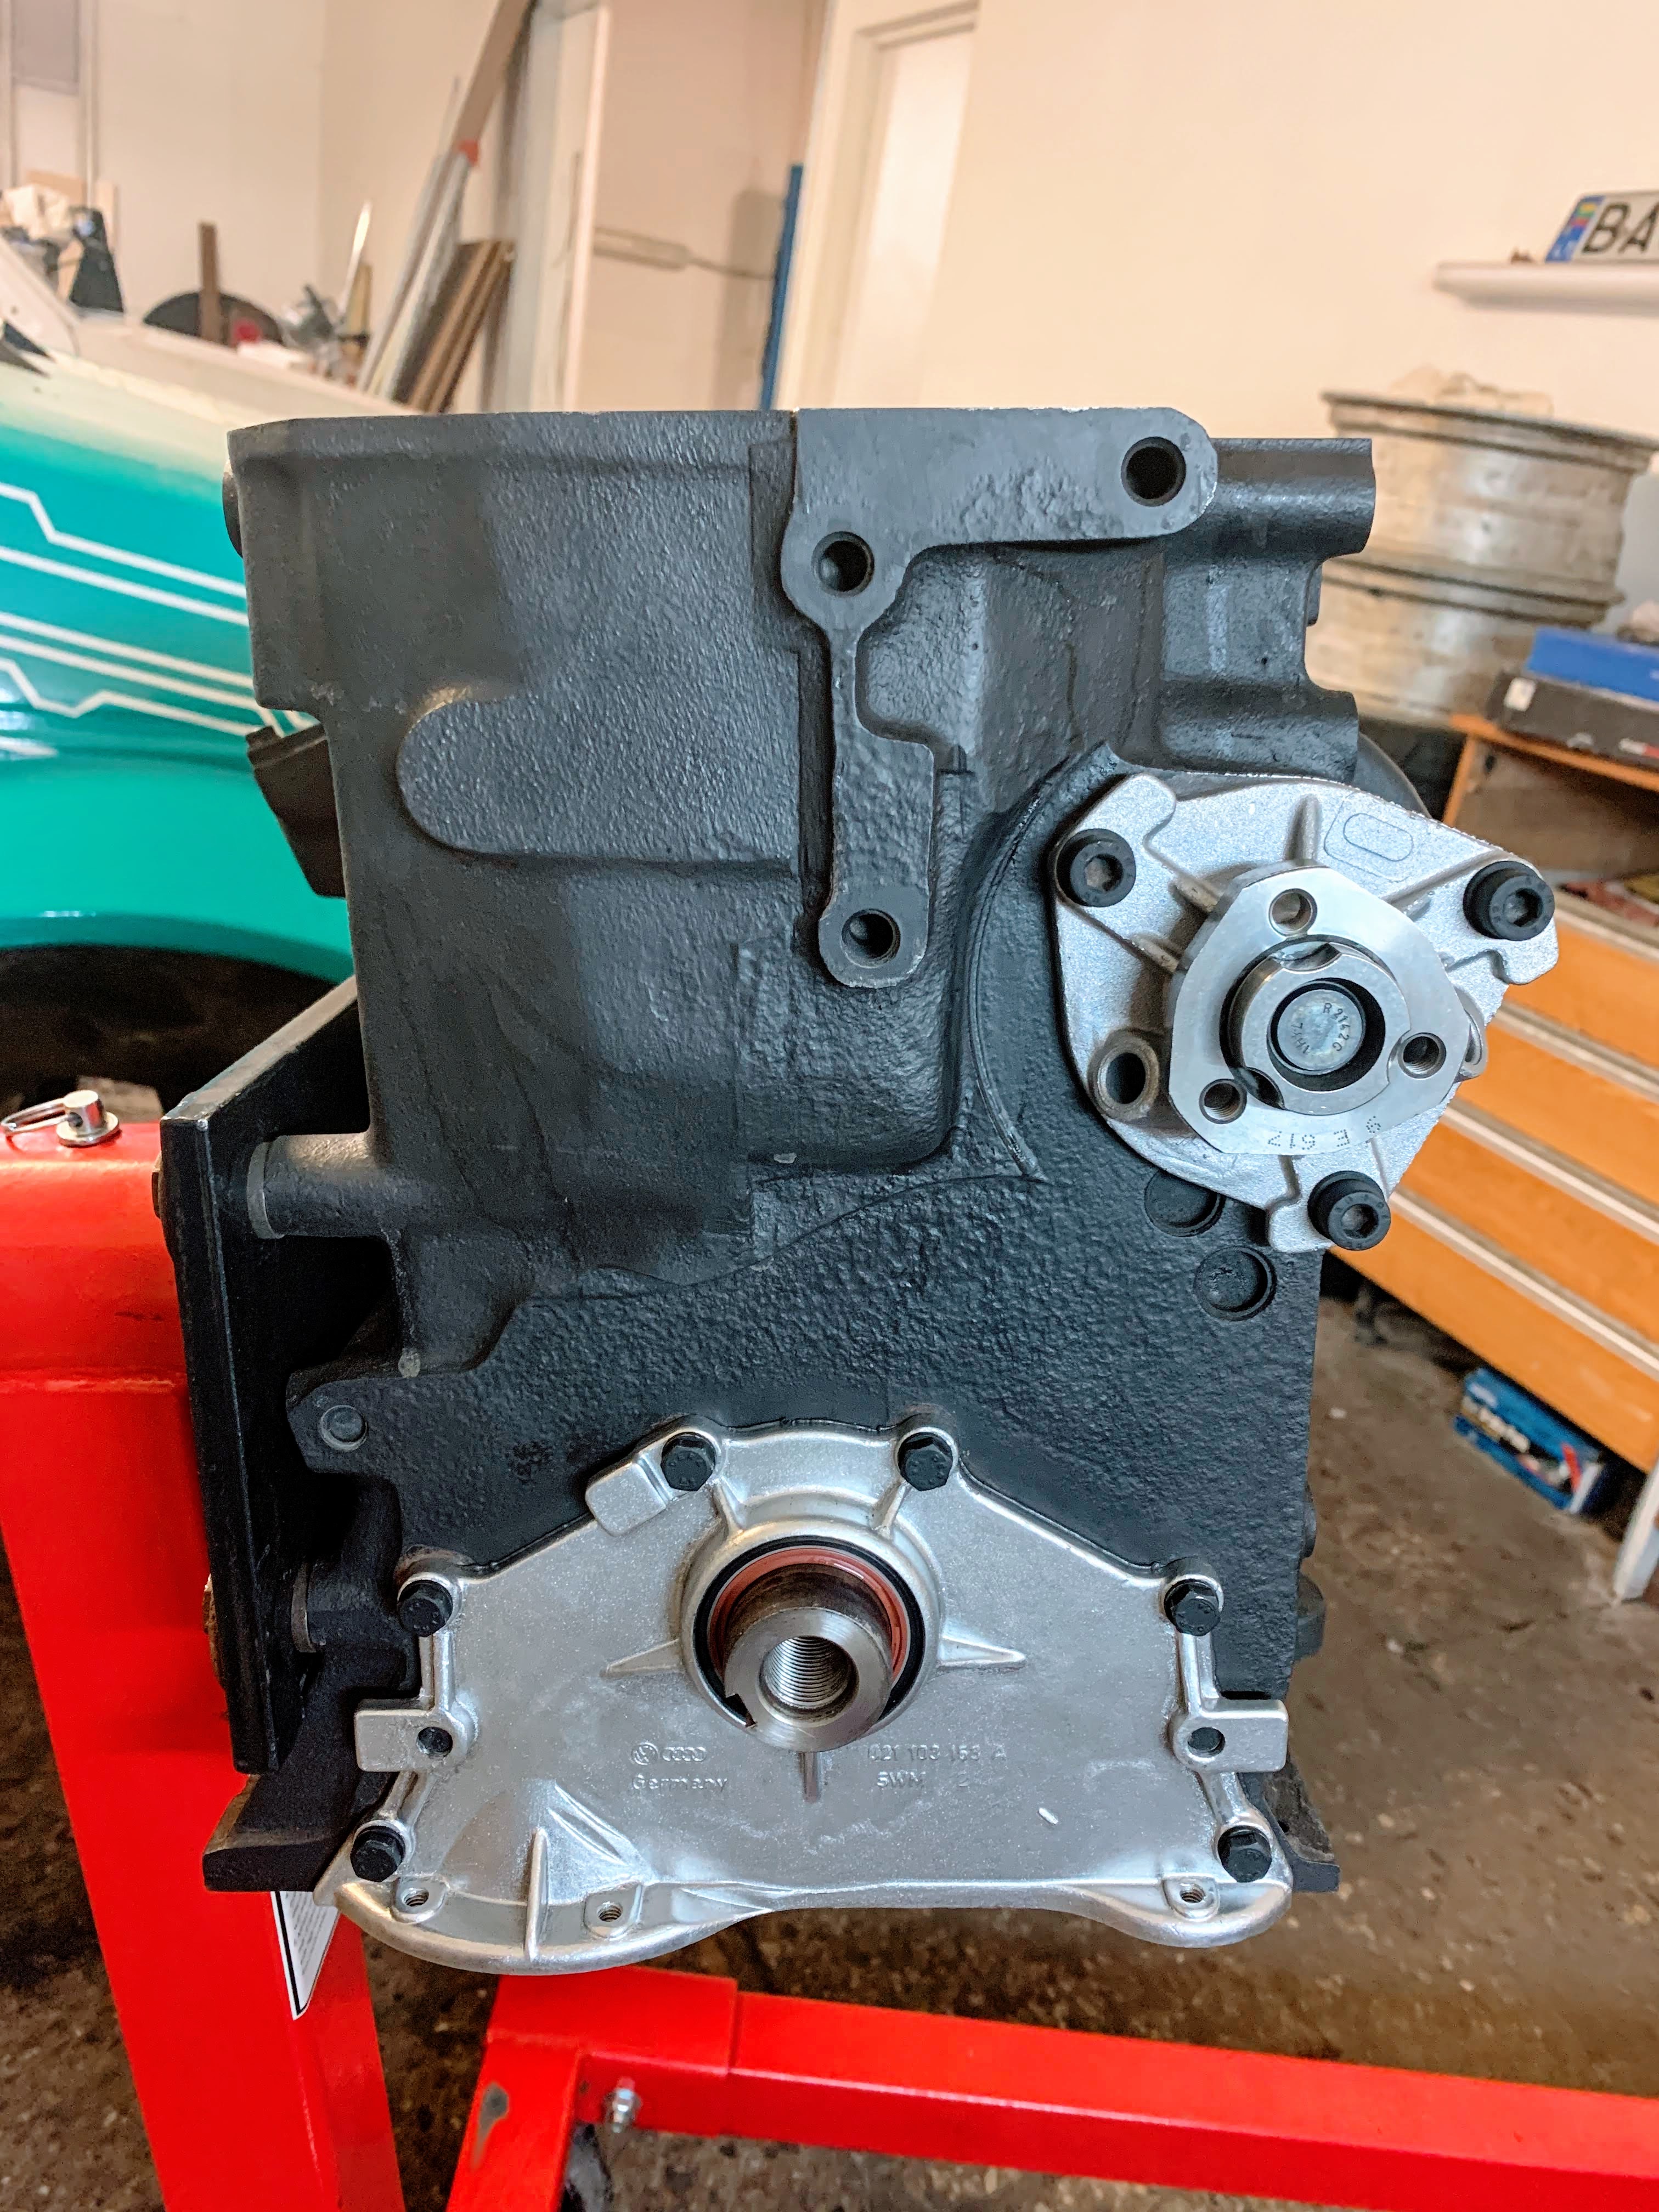
After good wash bottom end has been painted with epoxy and thermal black paint on top:
Couple of bits more:


Turbo bits: Chinese ATP manifold replica with genuine 38mm Turbosmart WG:

CTS Turbo AN8 fuel rail, SPA Turbo inlet and Bosch DBW:

Bring back engine stand and let's move:

New coolant pump and crankshaft sealing cover refurbished:
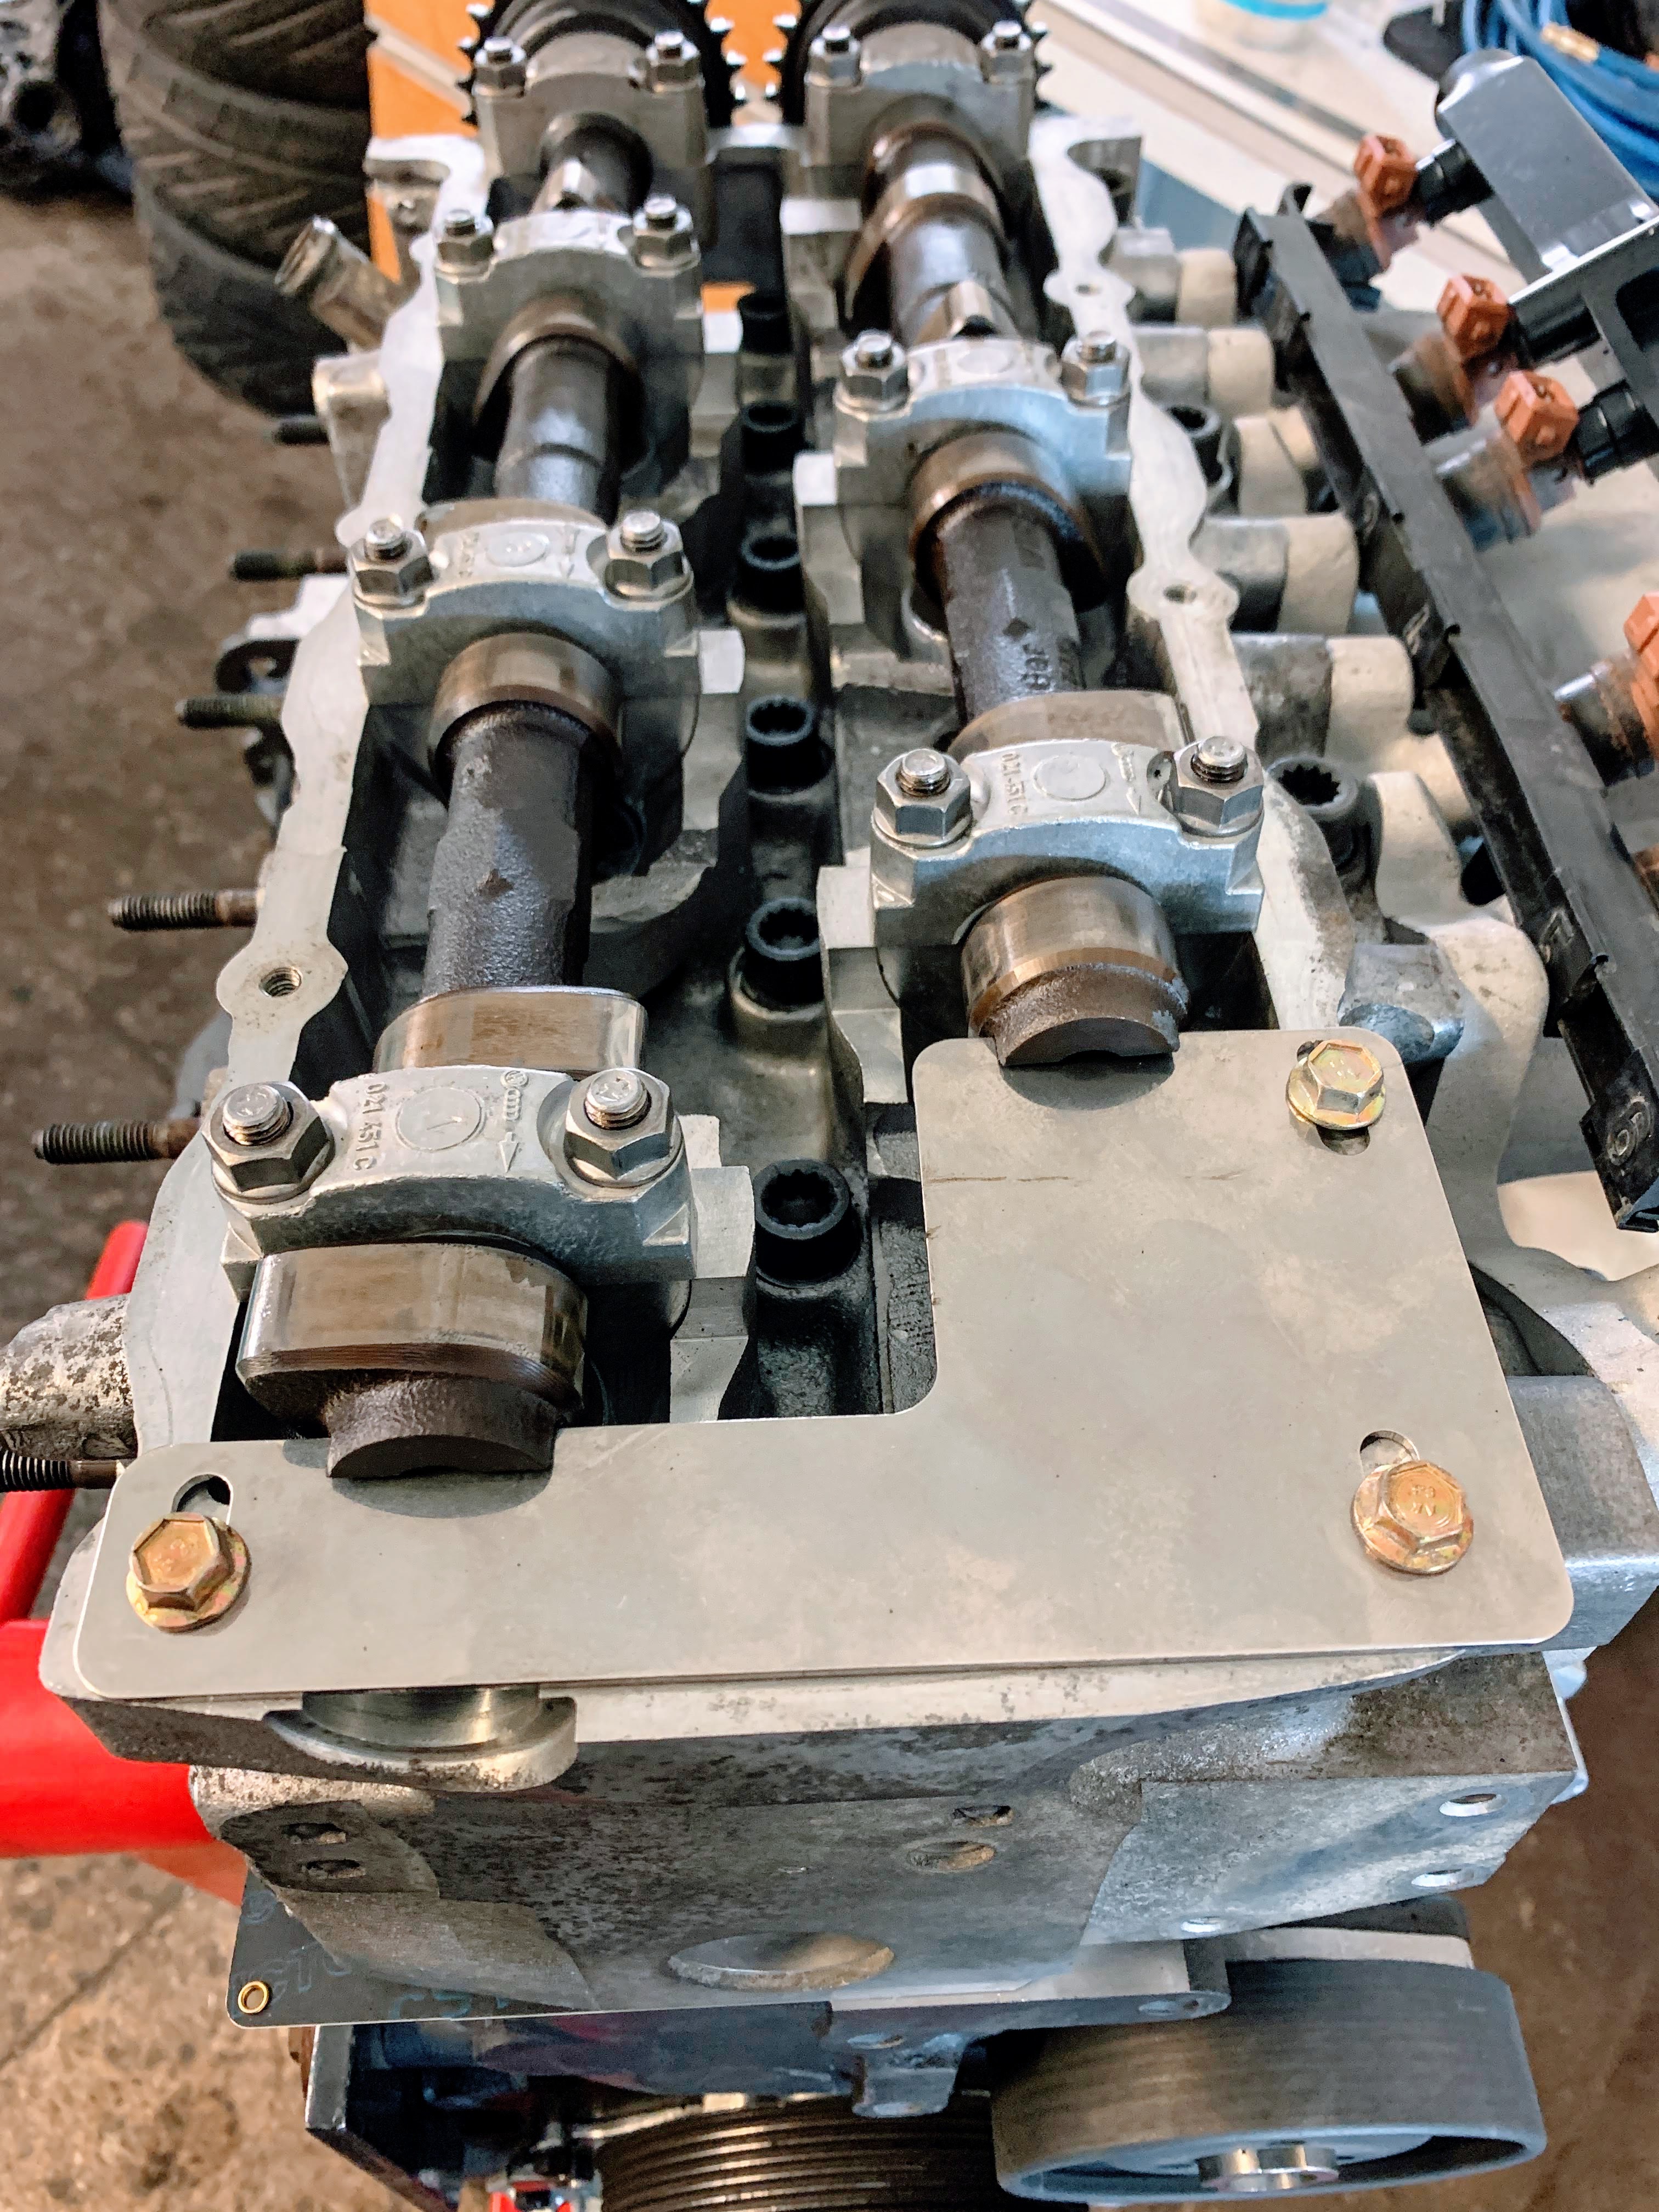
Head unit is back bright and clean:

Cams aligned:
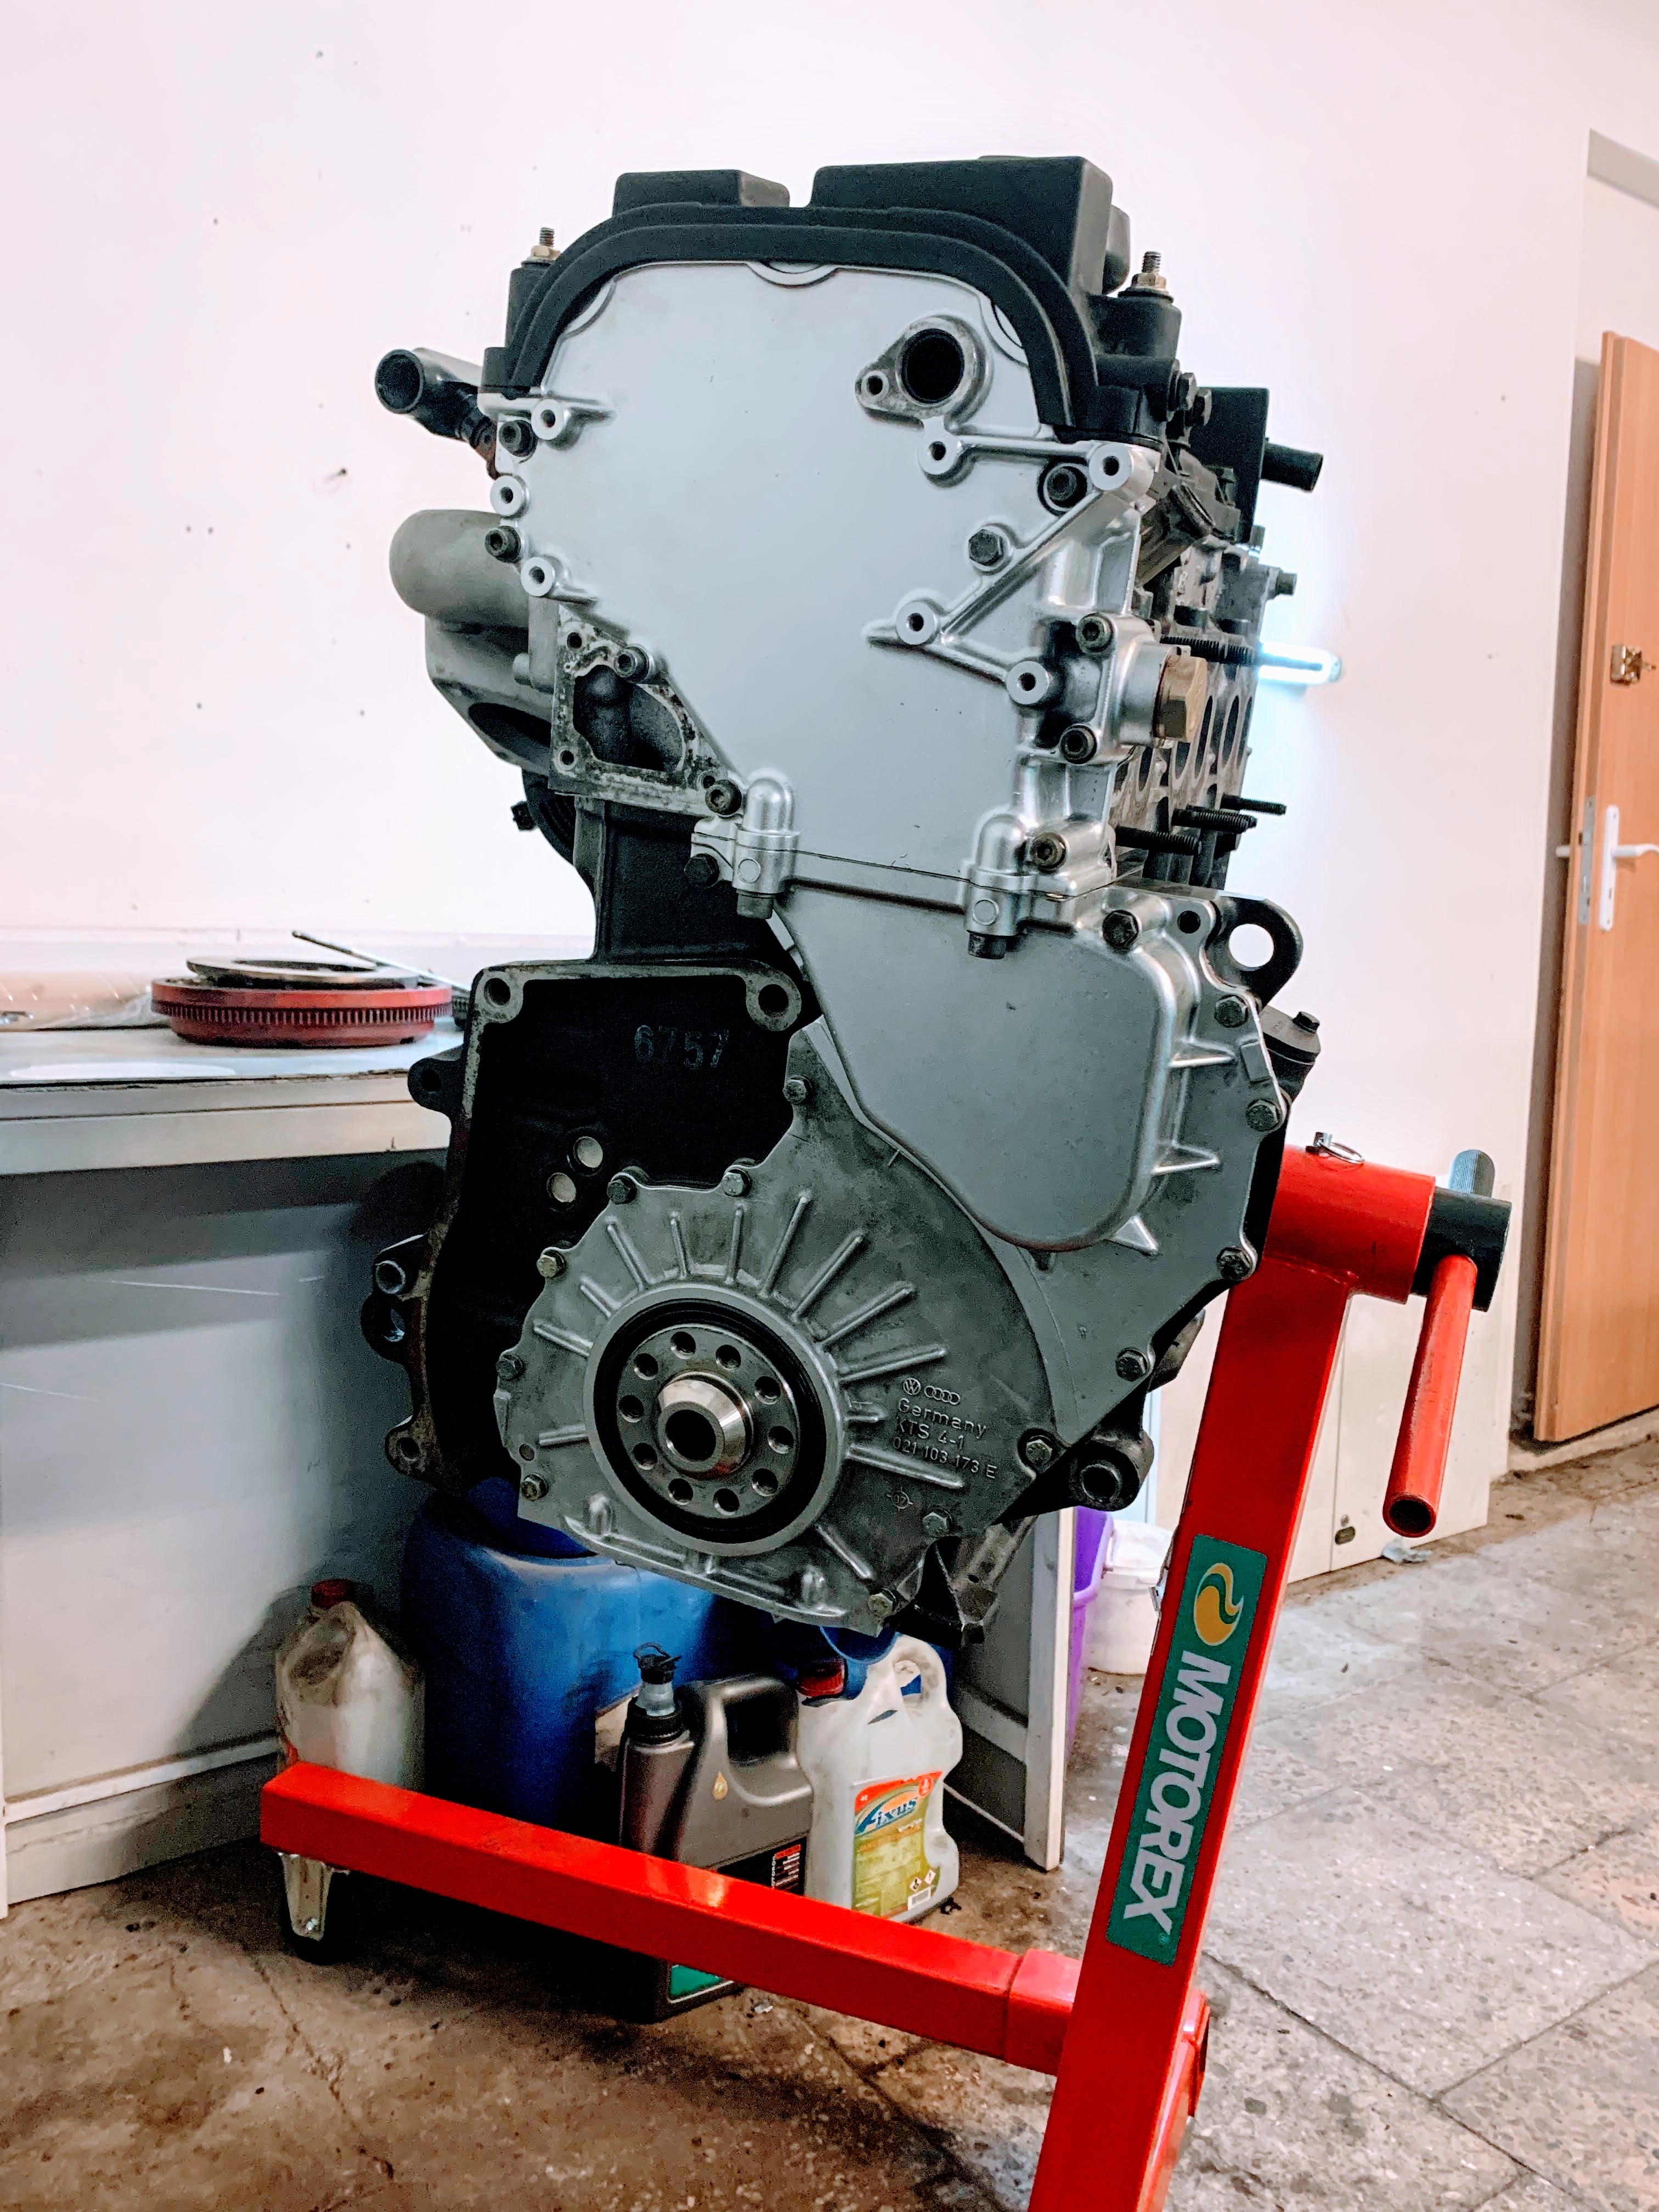
Timing chain assembled and covers placed back:


Sump repainted:

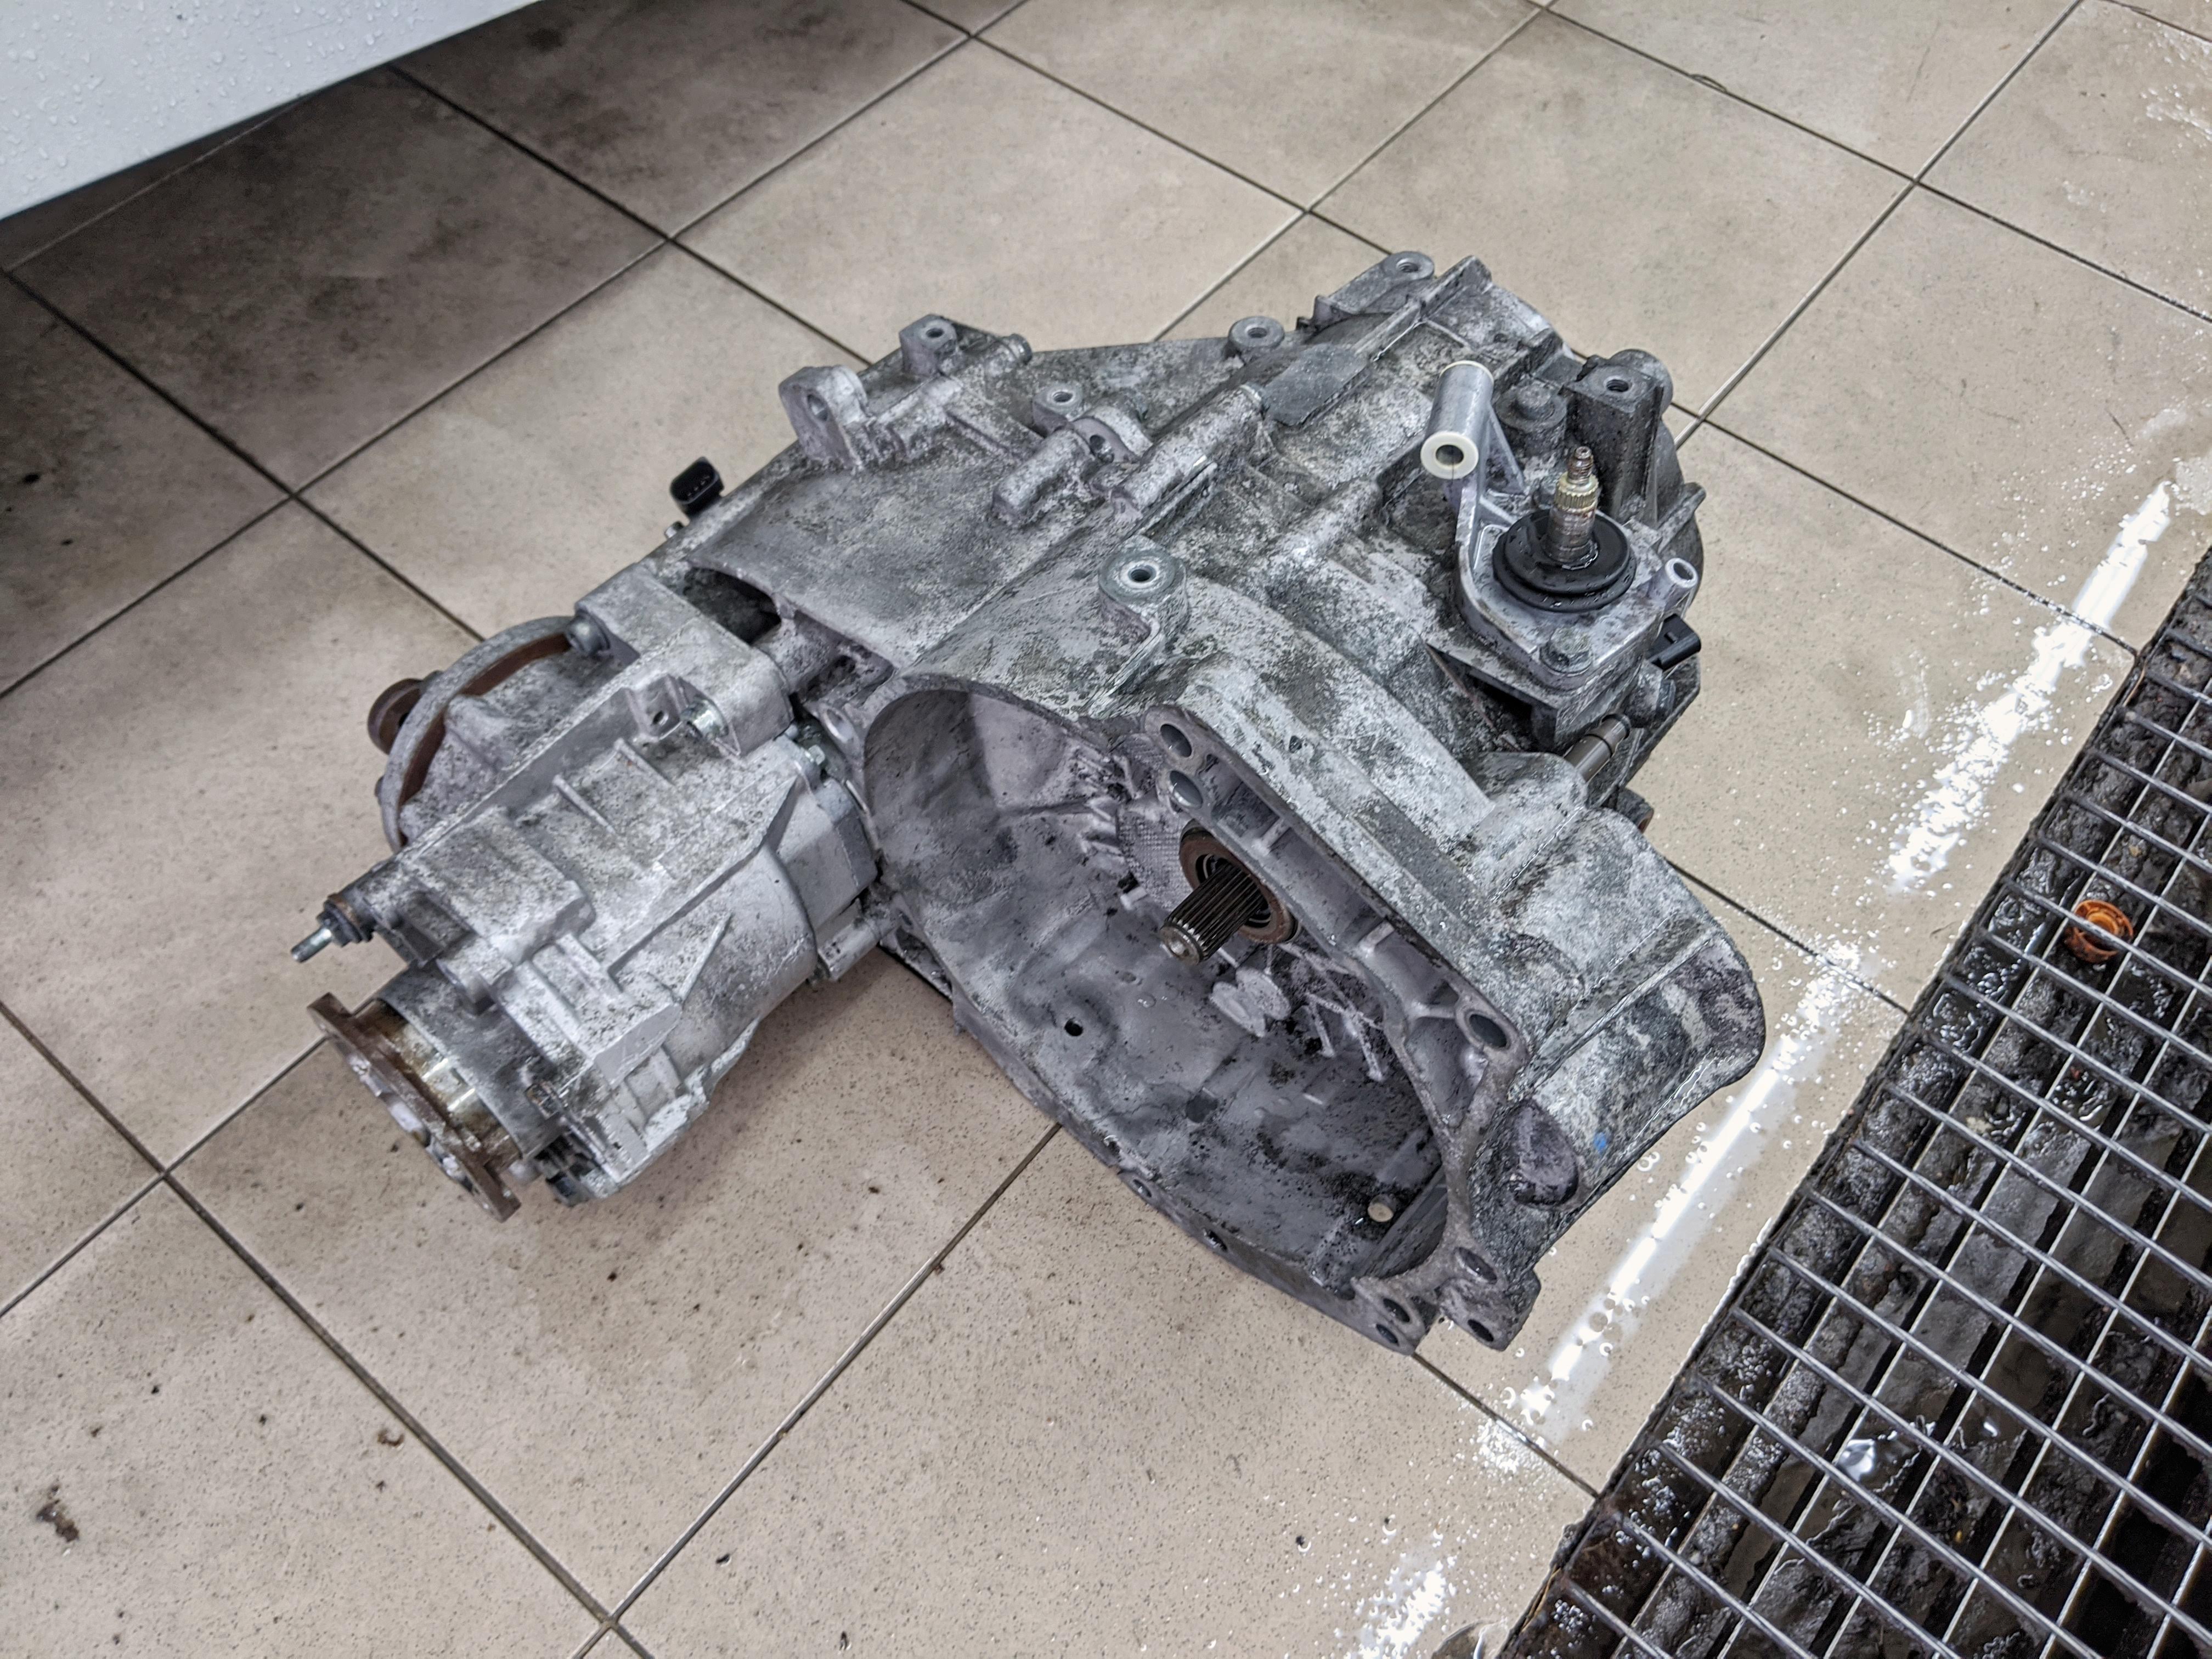
Also have degreased gearbox and later painted it (gearbox code DRP):
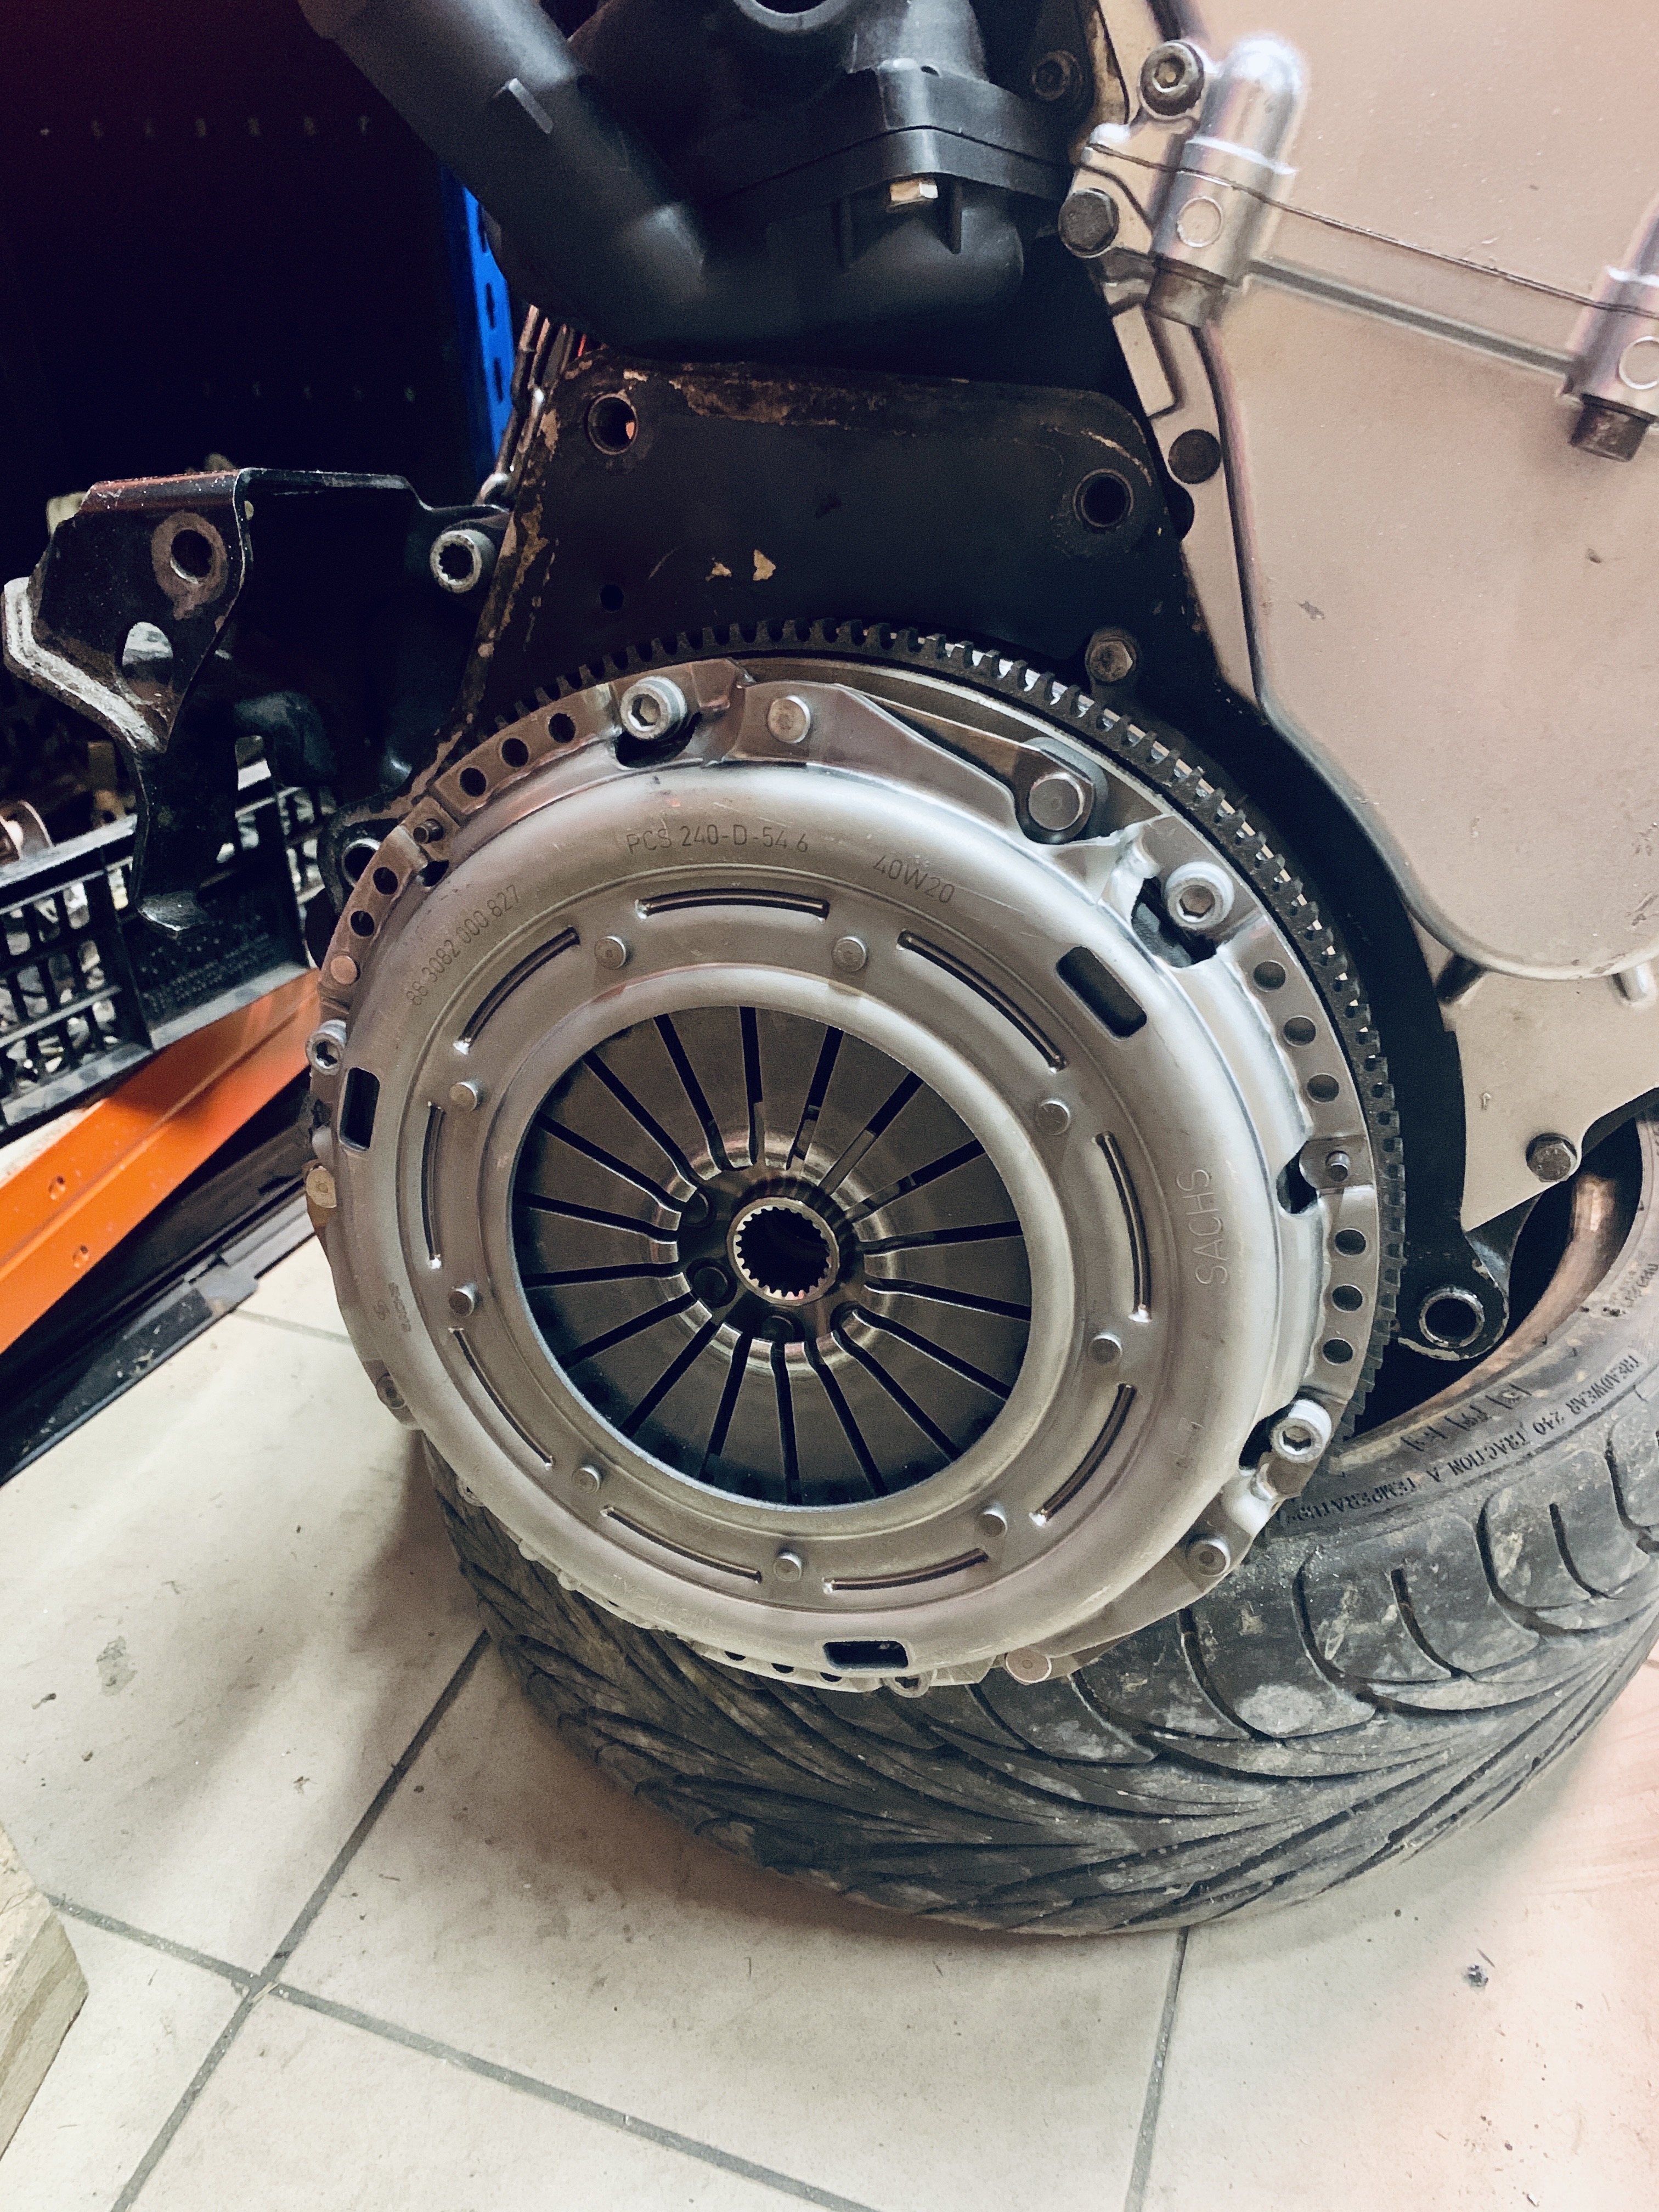
New clutch kit: OE LuK Dual mass flywheel combined with Sachs Performance organic clutch and pressure plate:
It's supposed to handle 550-600 Nm. We'll see..
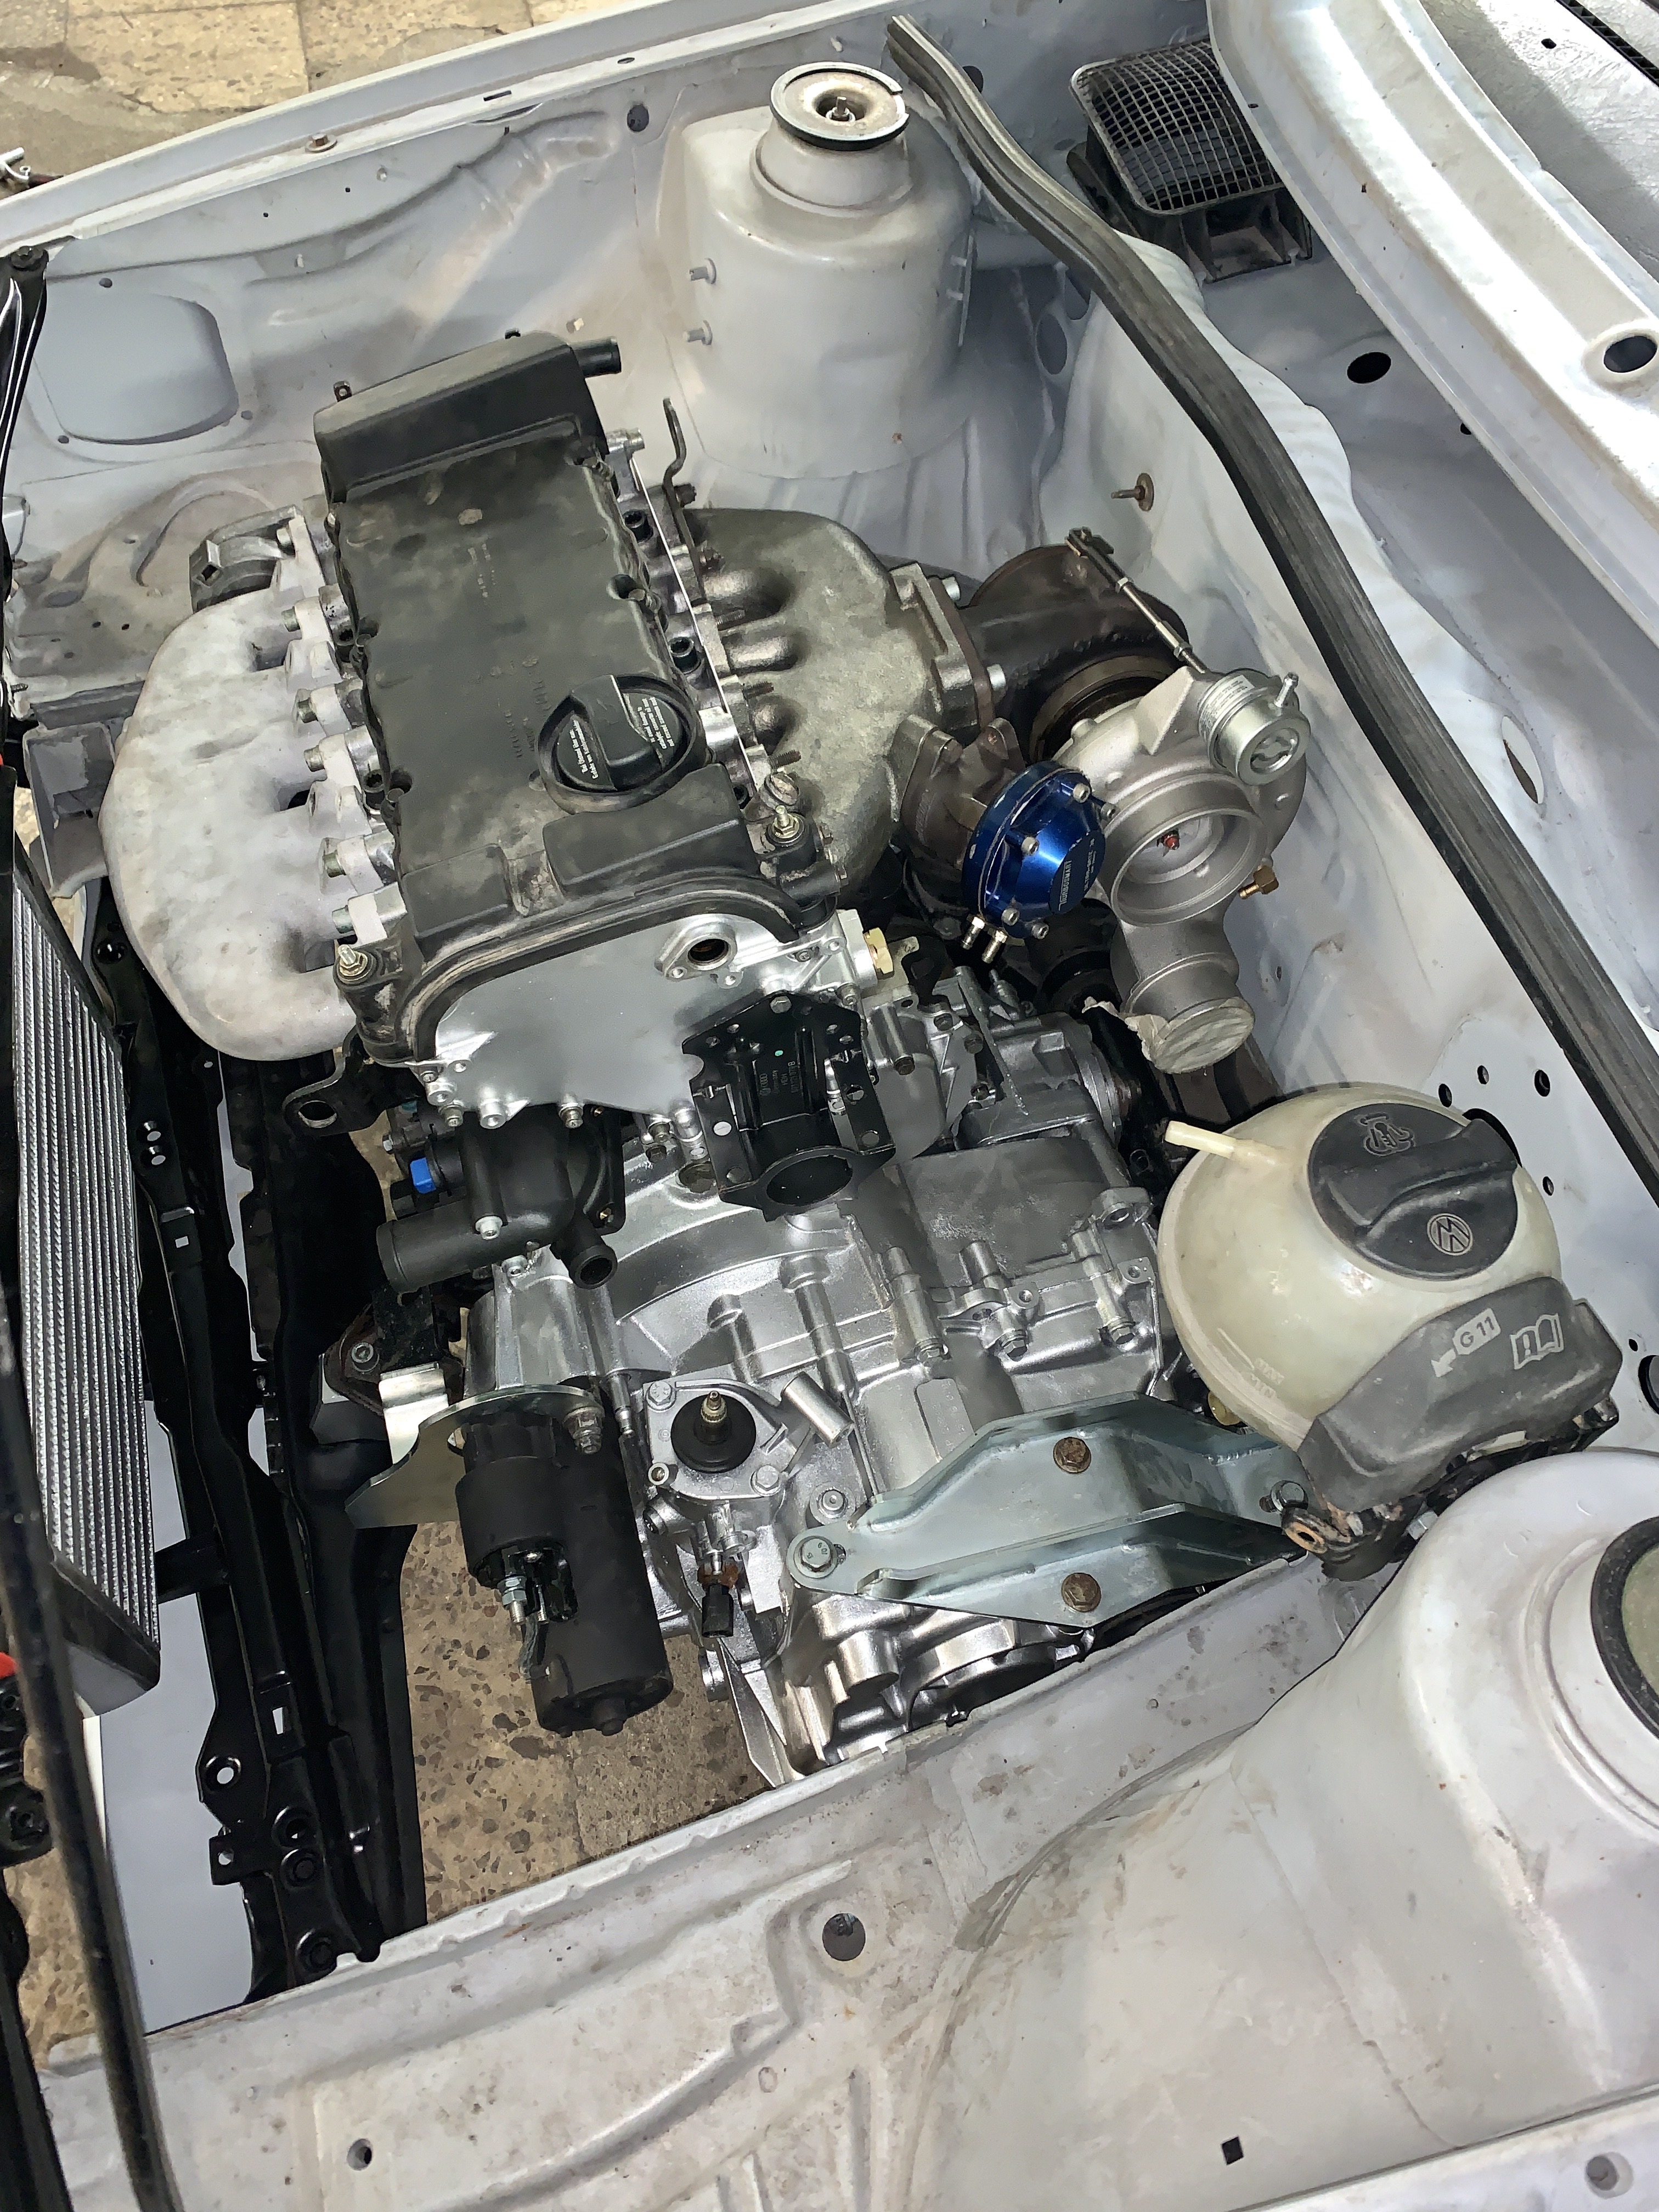
Since gearbox is painted, clutch kit installed, starter motor is rebuilt and whole package to keep engine in place is available so why not to put it back in an engine bay:
For now that's it, engine is brought back and later I will add another topic covering all the affairs around engine I needed to get through.
Ah.. almost forgot. Next topic will be about safety roll cage installation as mentioned!
Hits: 5383