Definitive Syncro to Haldex gen1 conversion how-to
Hello guys!
Topic is about Syncro-to-Haldex conversion. Preeminently what I faced it was lack of information over internets on how it's made starting from what it consists of, what parts are necessary, where to get them and so on. I remember my path throughout and can't say it was beeline so for the same reason 20vt.lt will try best possible in order to bring you to tangible result as straight as possible. But.. In any case you won't get off lightly!
There's a list of things I strongly recommend to be aware of before you start. To make it easier I shall involve some of structure on key things we need to bring the light on.
First.
Syncro equipped cars
I've noticed that only minority of people are aware that Syncro is just a brand held by Volkswagen AG and as an optional feature was available on a whole range of Volkswagens. That said some of them were technically different nonetheless all were labeled as Syncros. We need put our attention to models which had exactly transversely fitted engine and Syncro coupling in the rear which means they are front wheel drive cars in a large measure. These are:
- Golf mk2 Syncro
- Jetta mk2 Syncro
- Golf mk2 Rallye G60
- Golf mk2 G60 Syncro
- Golf mk2 Country
- Golf mk3 Syncro
- Golf mk3 VR6 Syncro
- Golf mk3 Variant Syncro
- Golf mk3 Variant VR6 Syncro
- Passat B3 G60 Syncro
- Passat B4 Syncro 35i
- Passat B4 VR6 Syncro 35i
We are not interested in models like Passat B2 Syncro, Sharan Syncro, Caravelle/Transporter/Multivan Syncro since these have completely different suspension, drivetrain and different fitment type for it's components.
Haldex equipped cars
Haldex is Sweden-based company which sourced Volkswagen AG, Audi AG and other car makes being under VAG (Volkswagen Audi group) flag. Haldex equipped cars in VAG range has same component layout as previously manufactured Syncros: transversly mounted engine with gearbox and transfer case coupled to it. As per rear part it has Haldex coupling attached to rear differential with proppeler shaft connecting both axles. These are:
- VW Golf mk4 4motion (1.8, 1.9TDI, 2.8 VR6, R32)
- Audi A3 quattro (1.8T, 1.9TDI, S3)
- Audi TT quattro (1.8T, 3.2 VR6)
- Skoda Octavia 4x4
- Seat Leon 20vt or 1.9TDI
Models like Passat B5 4motion, Audi A4/A6/A8 quattro, Skoda Superb has noting in common drivetrain-wise. These were pure "quattro's" equipped with central torsion, looks and behaves totally different.
Necessary parts for conversion
Principle here is very simple. We bring Haldex parts from donor cars listed above and adapt them to any Syncro model listed in first part of article. In this particular example we gonna need these Haldex parts (from Haldex equipped cars):
- Rear differential together with Haldex coupling
- Rear and front propeller shaft couplers (sometimes named as "flexible disc")
- Inner CV's
- Front section of propeller shaft
Going further we gonna need Syncro parts (from Syncro equipped cars). In this topic there's assumption that you already have Syncro car and converting it to Haldex:
- Rear half-axles with outer CV's
- Rear hanger holding differential attached to shell
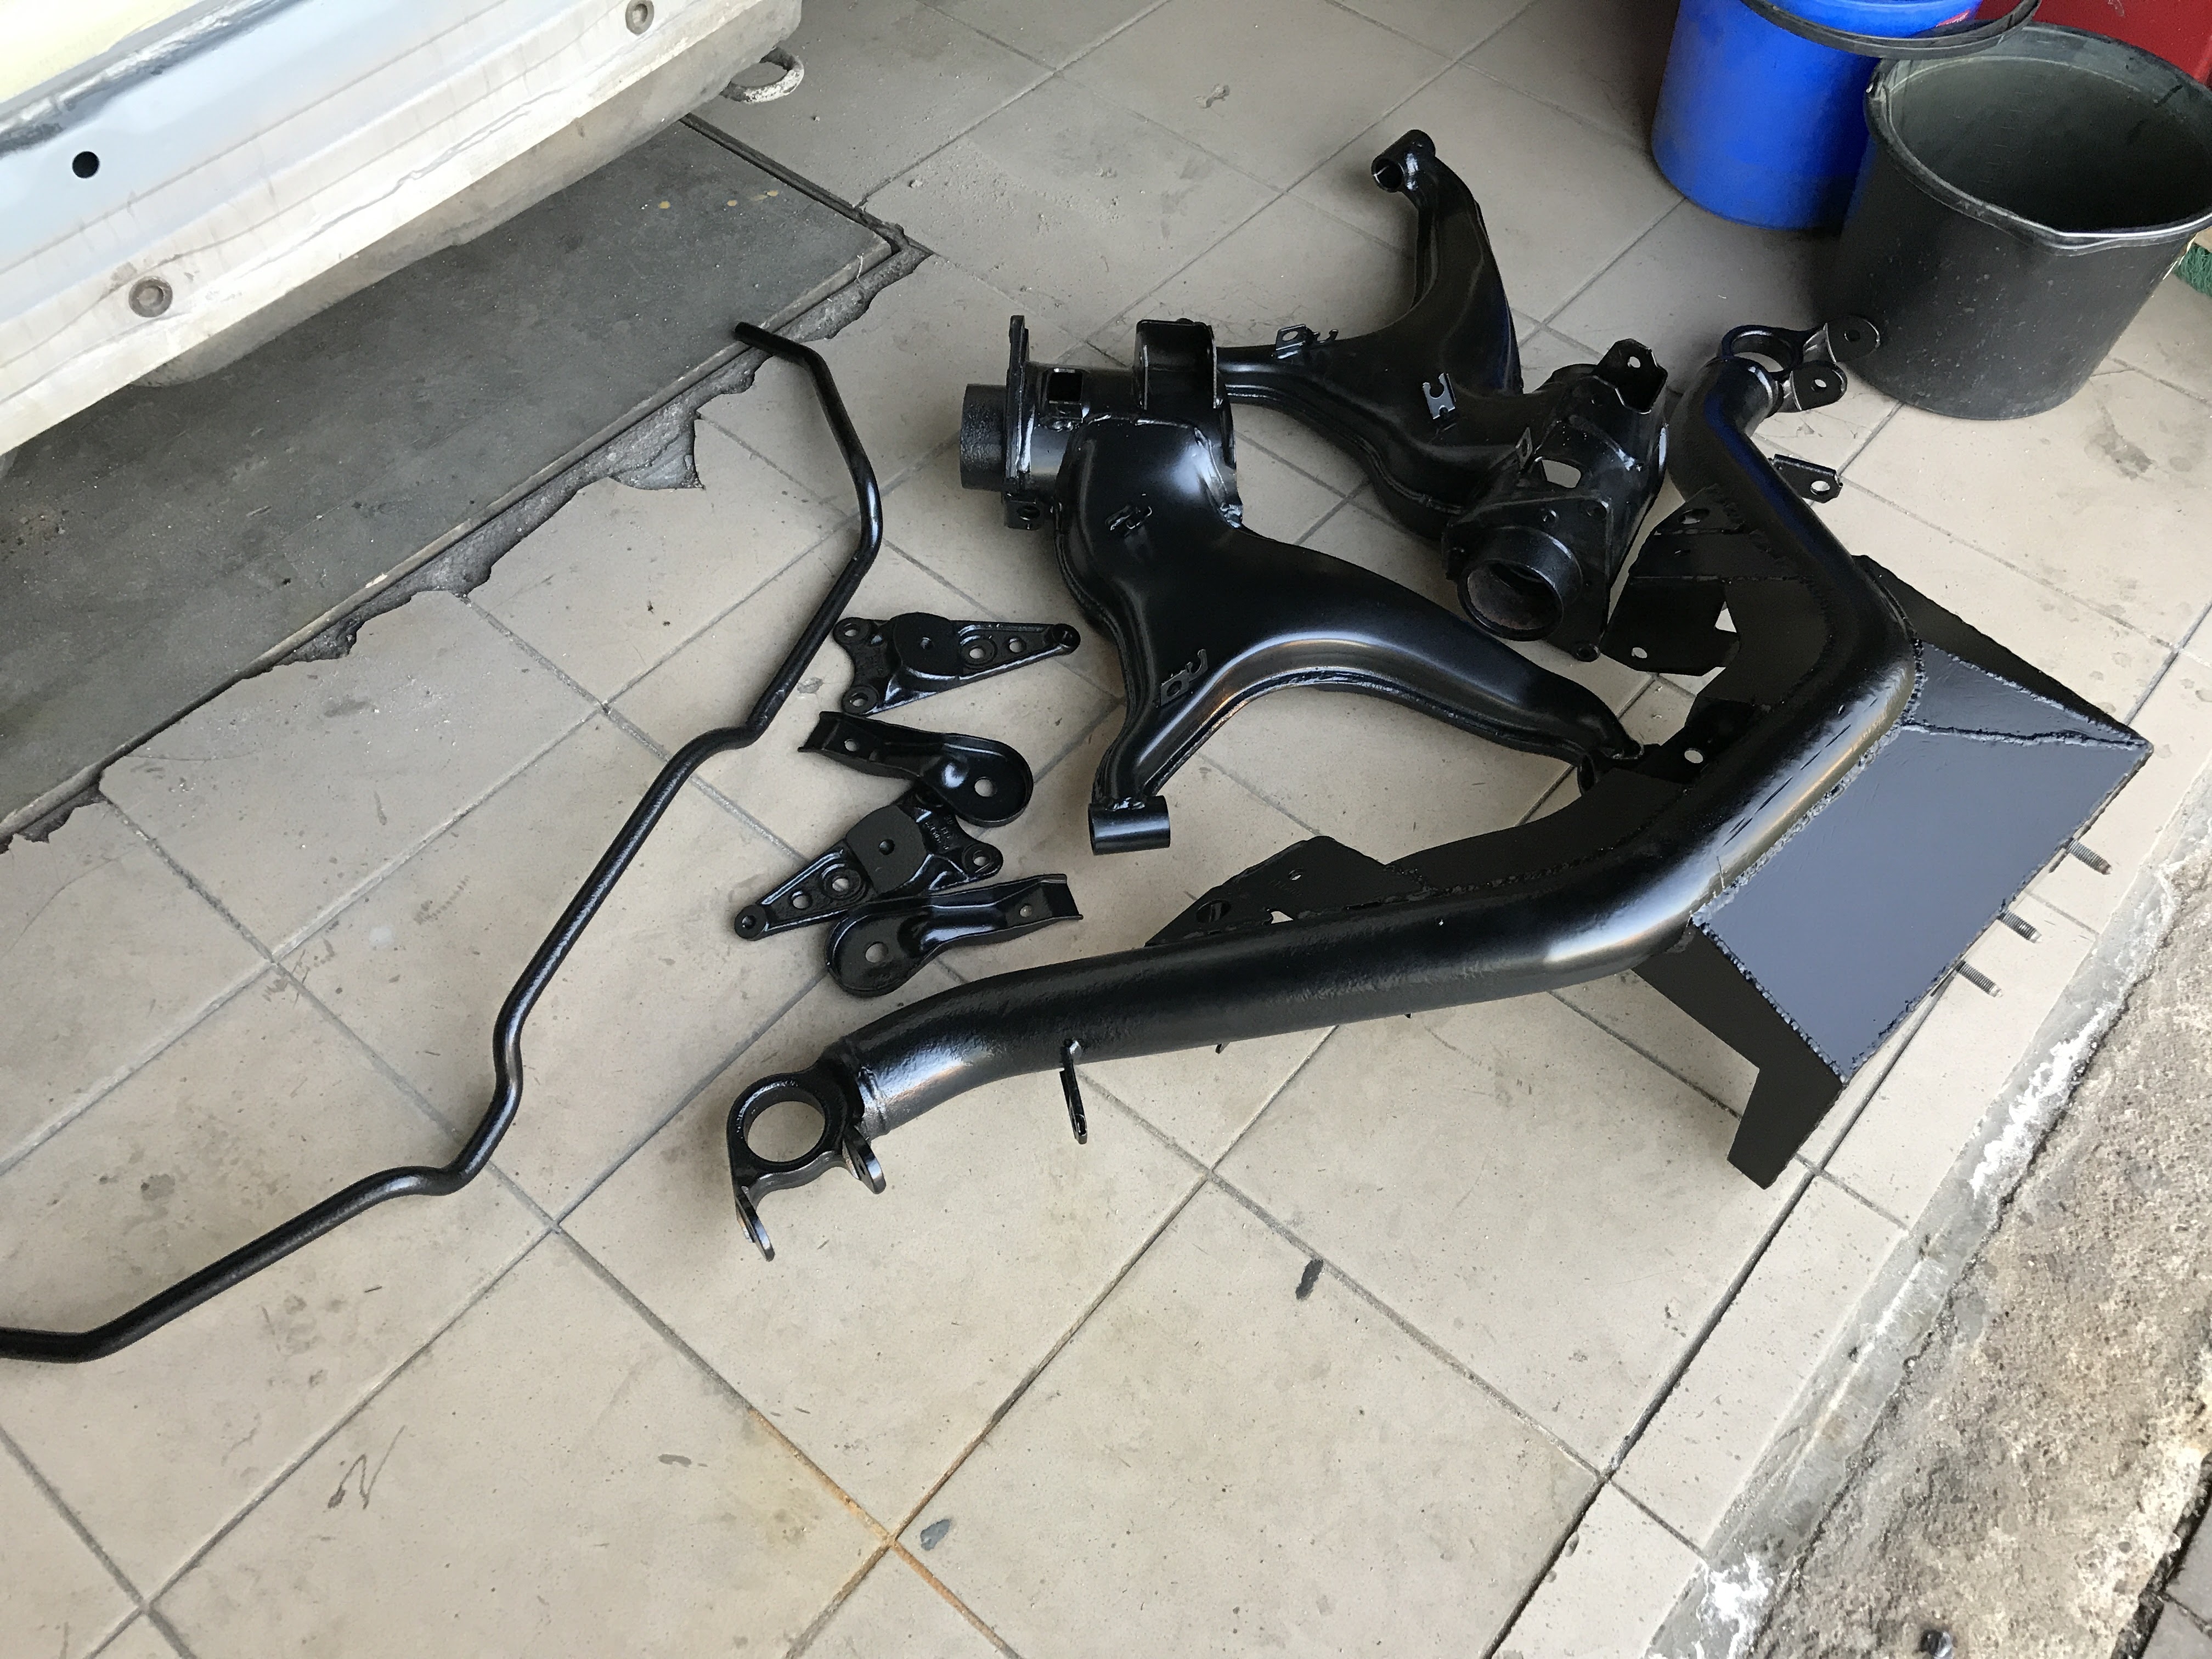
- Rear beam
- Complete propeller shaft assembly (3 parts + 2 bearings)
Fabrication and testing process
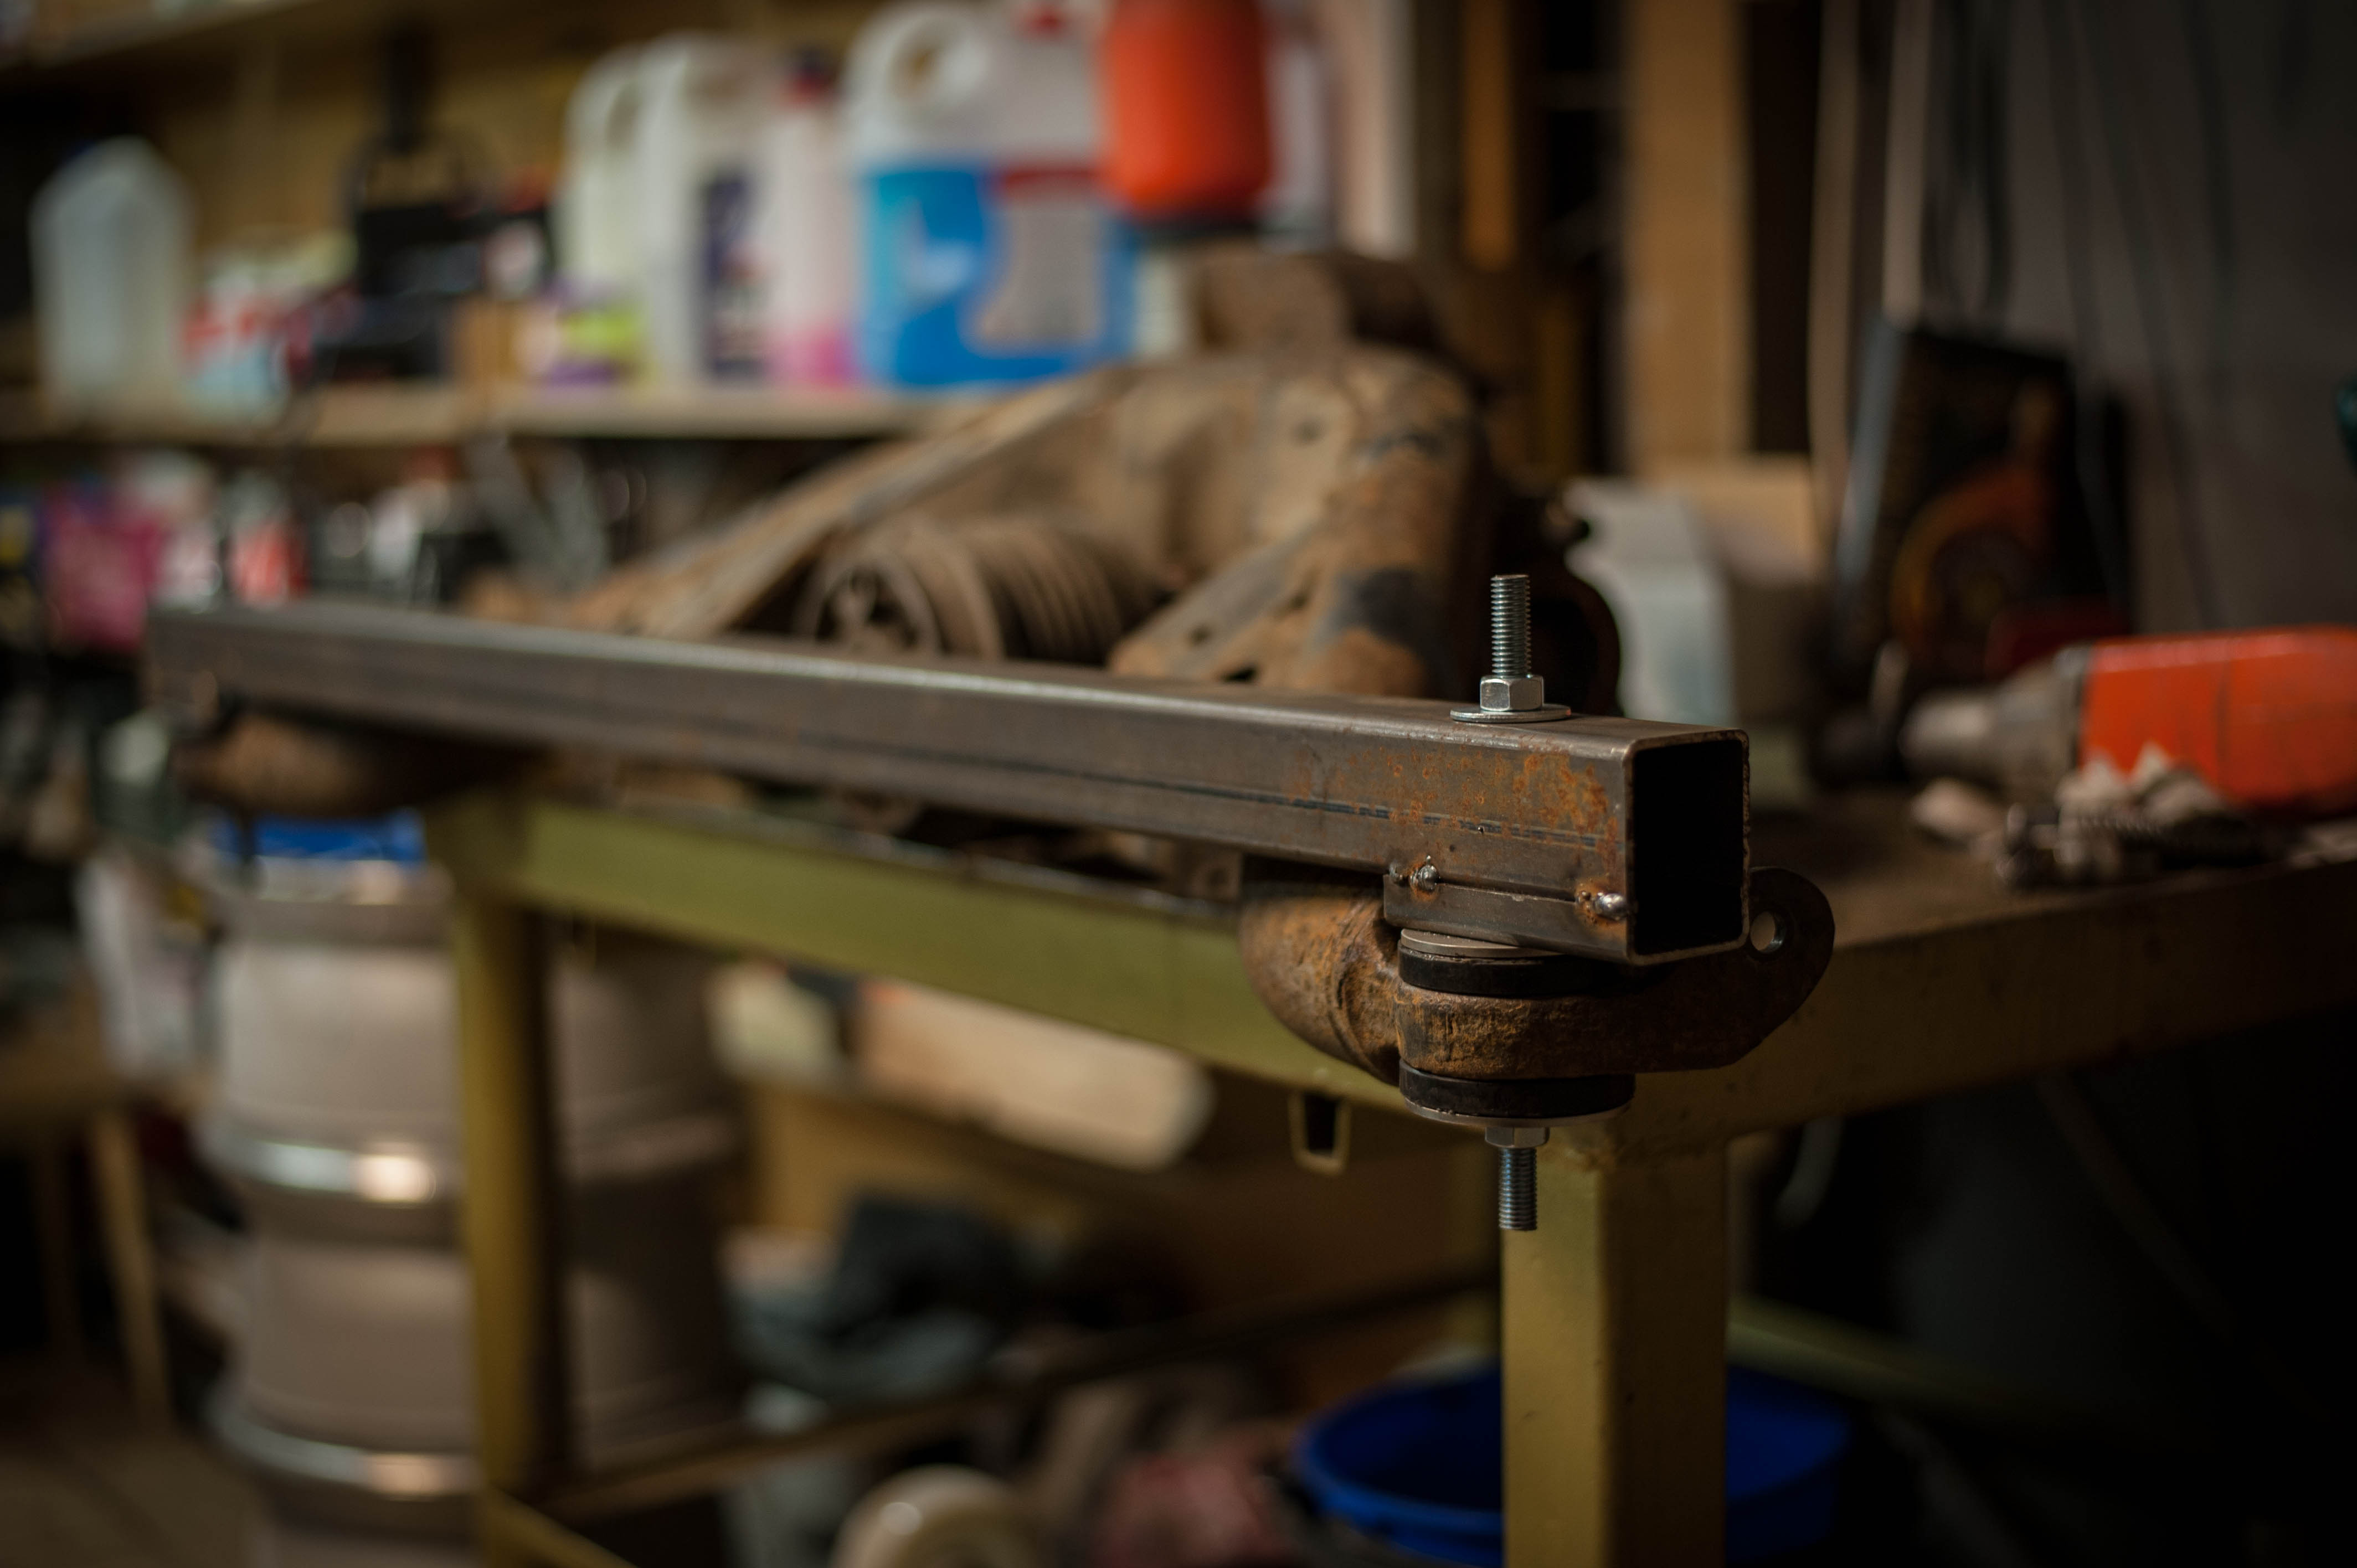
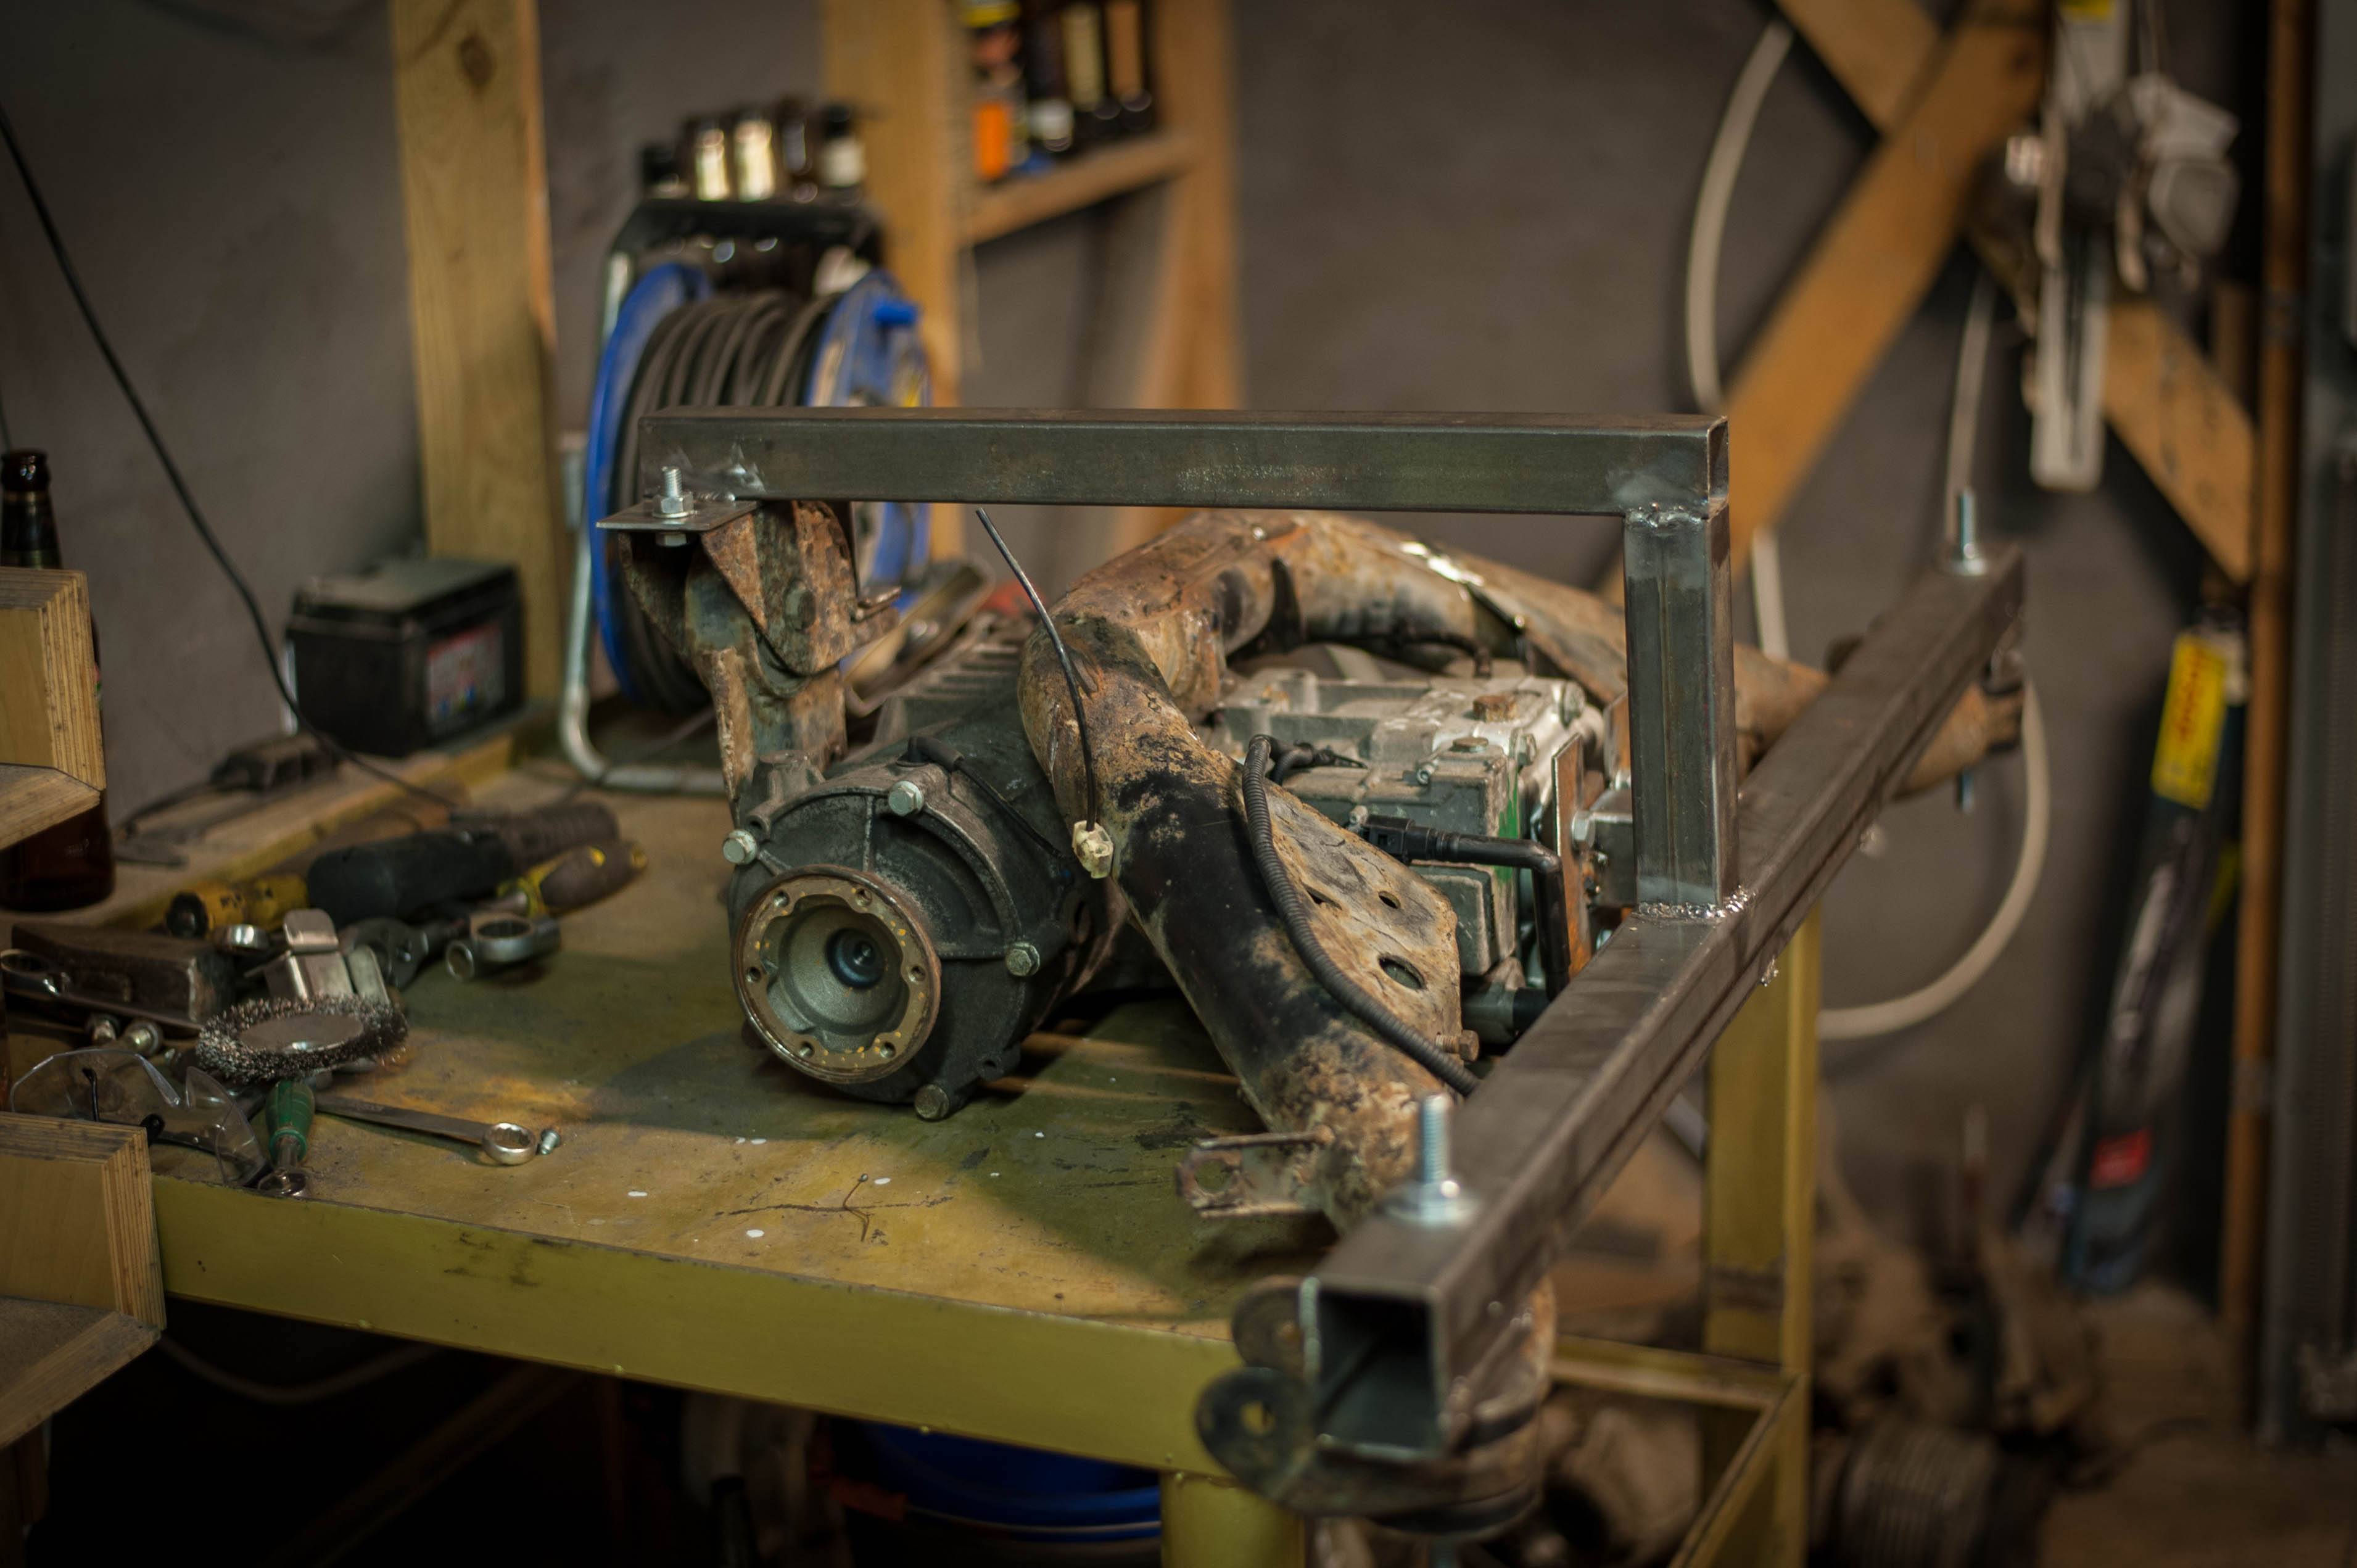
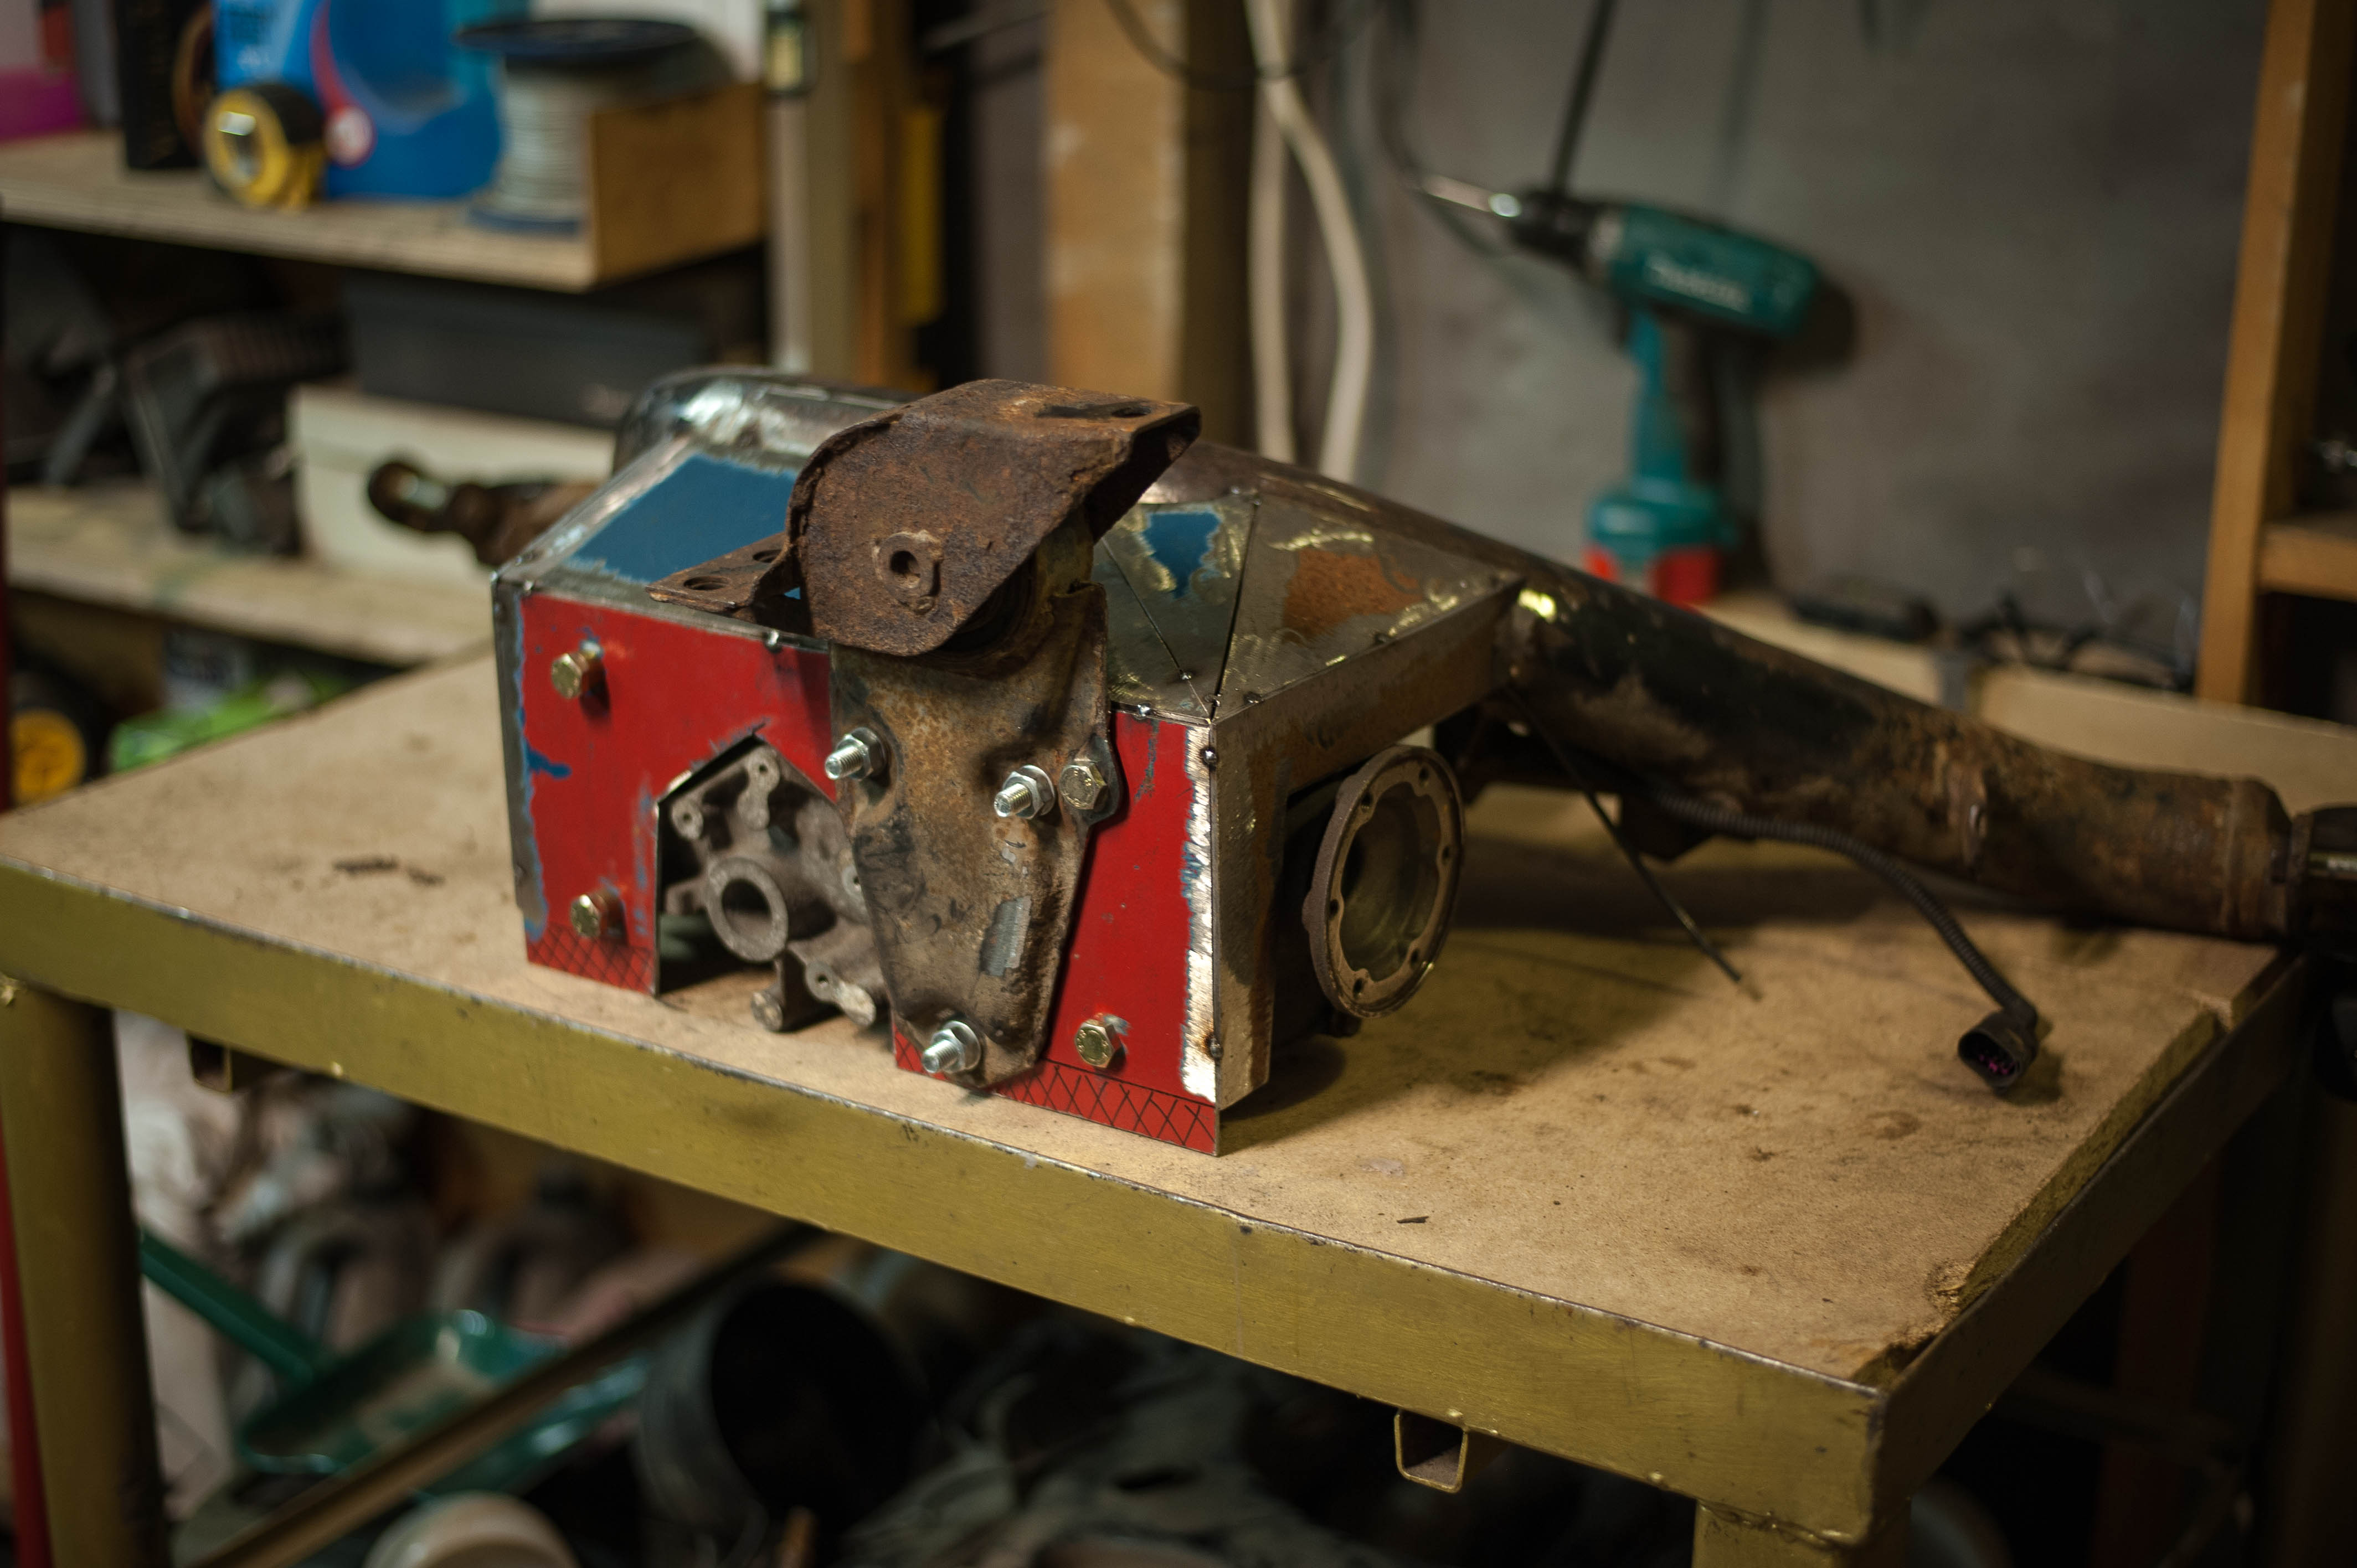
First and most important is where we identify points where Syncro differential stands genuinely. We'll stick to these points and use them later on when finding place for Haldex differential to sit. How to do that ? I solved this problem by fabricating a rig which connects differential input and points where rear syncro beam hanger sits.
Once we set key points we can remove rig, cut OE fitting hangers and using rig again to couple with Haldex differential
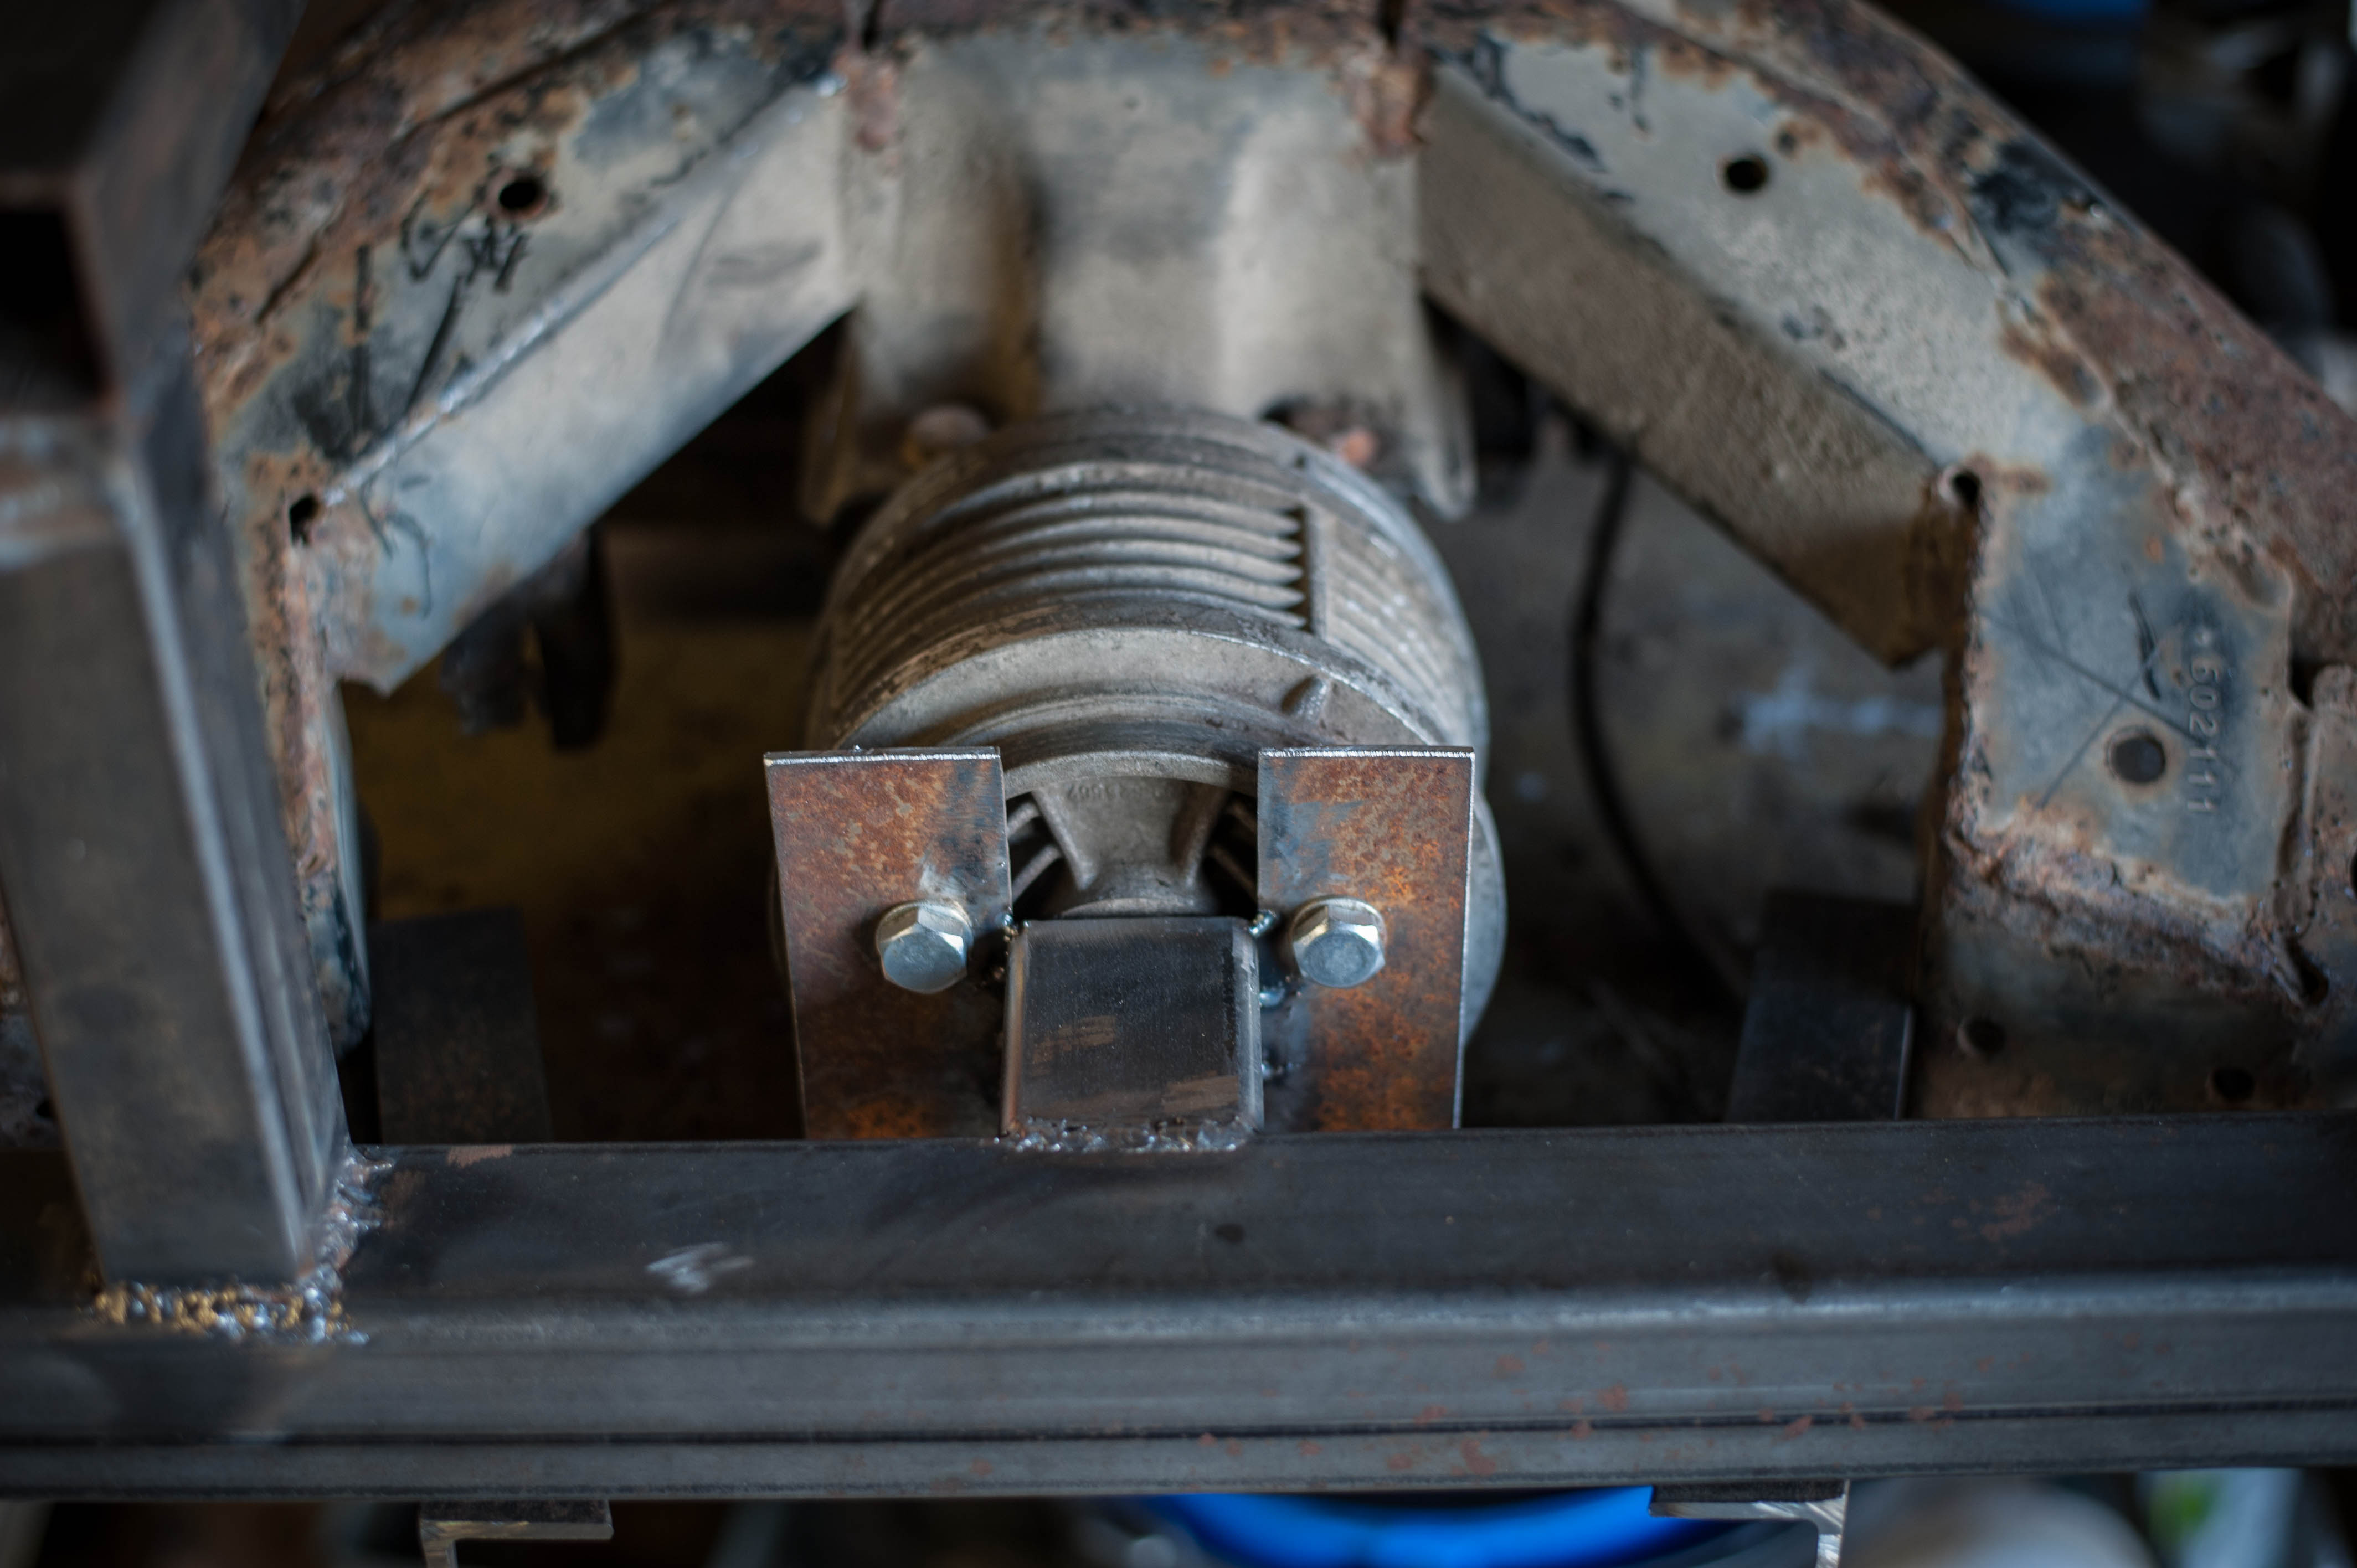
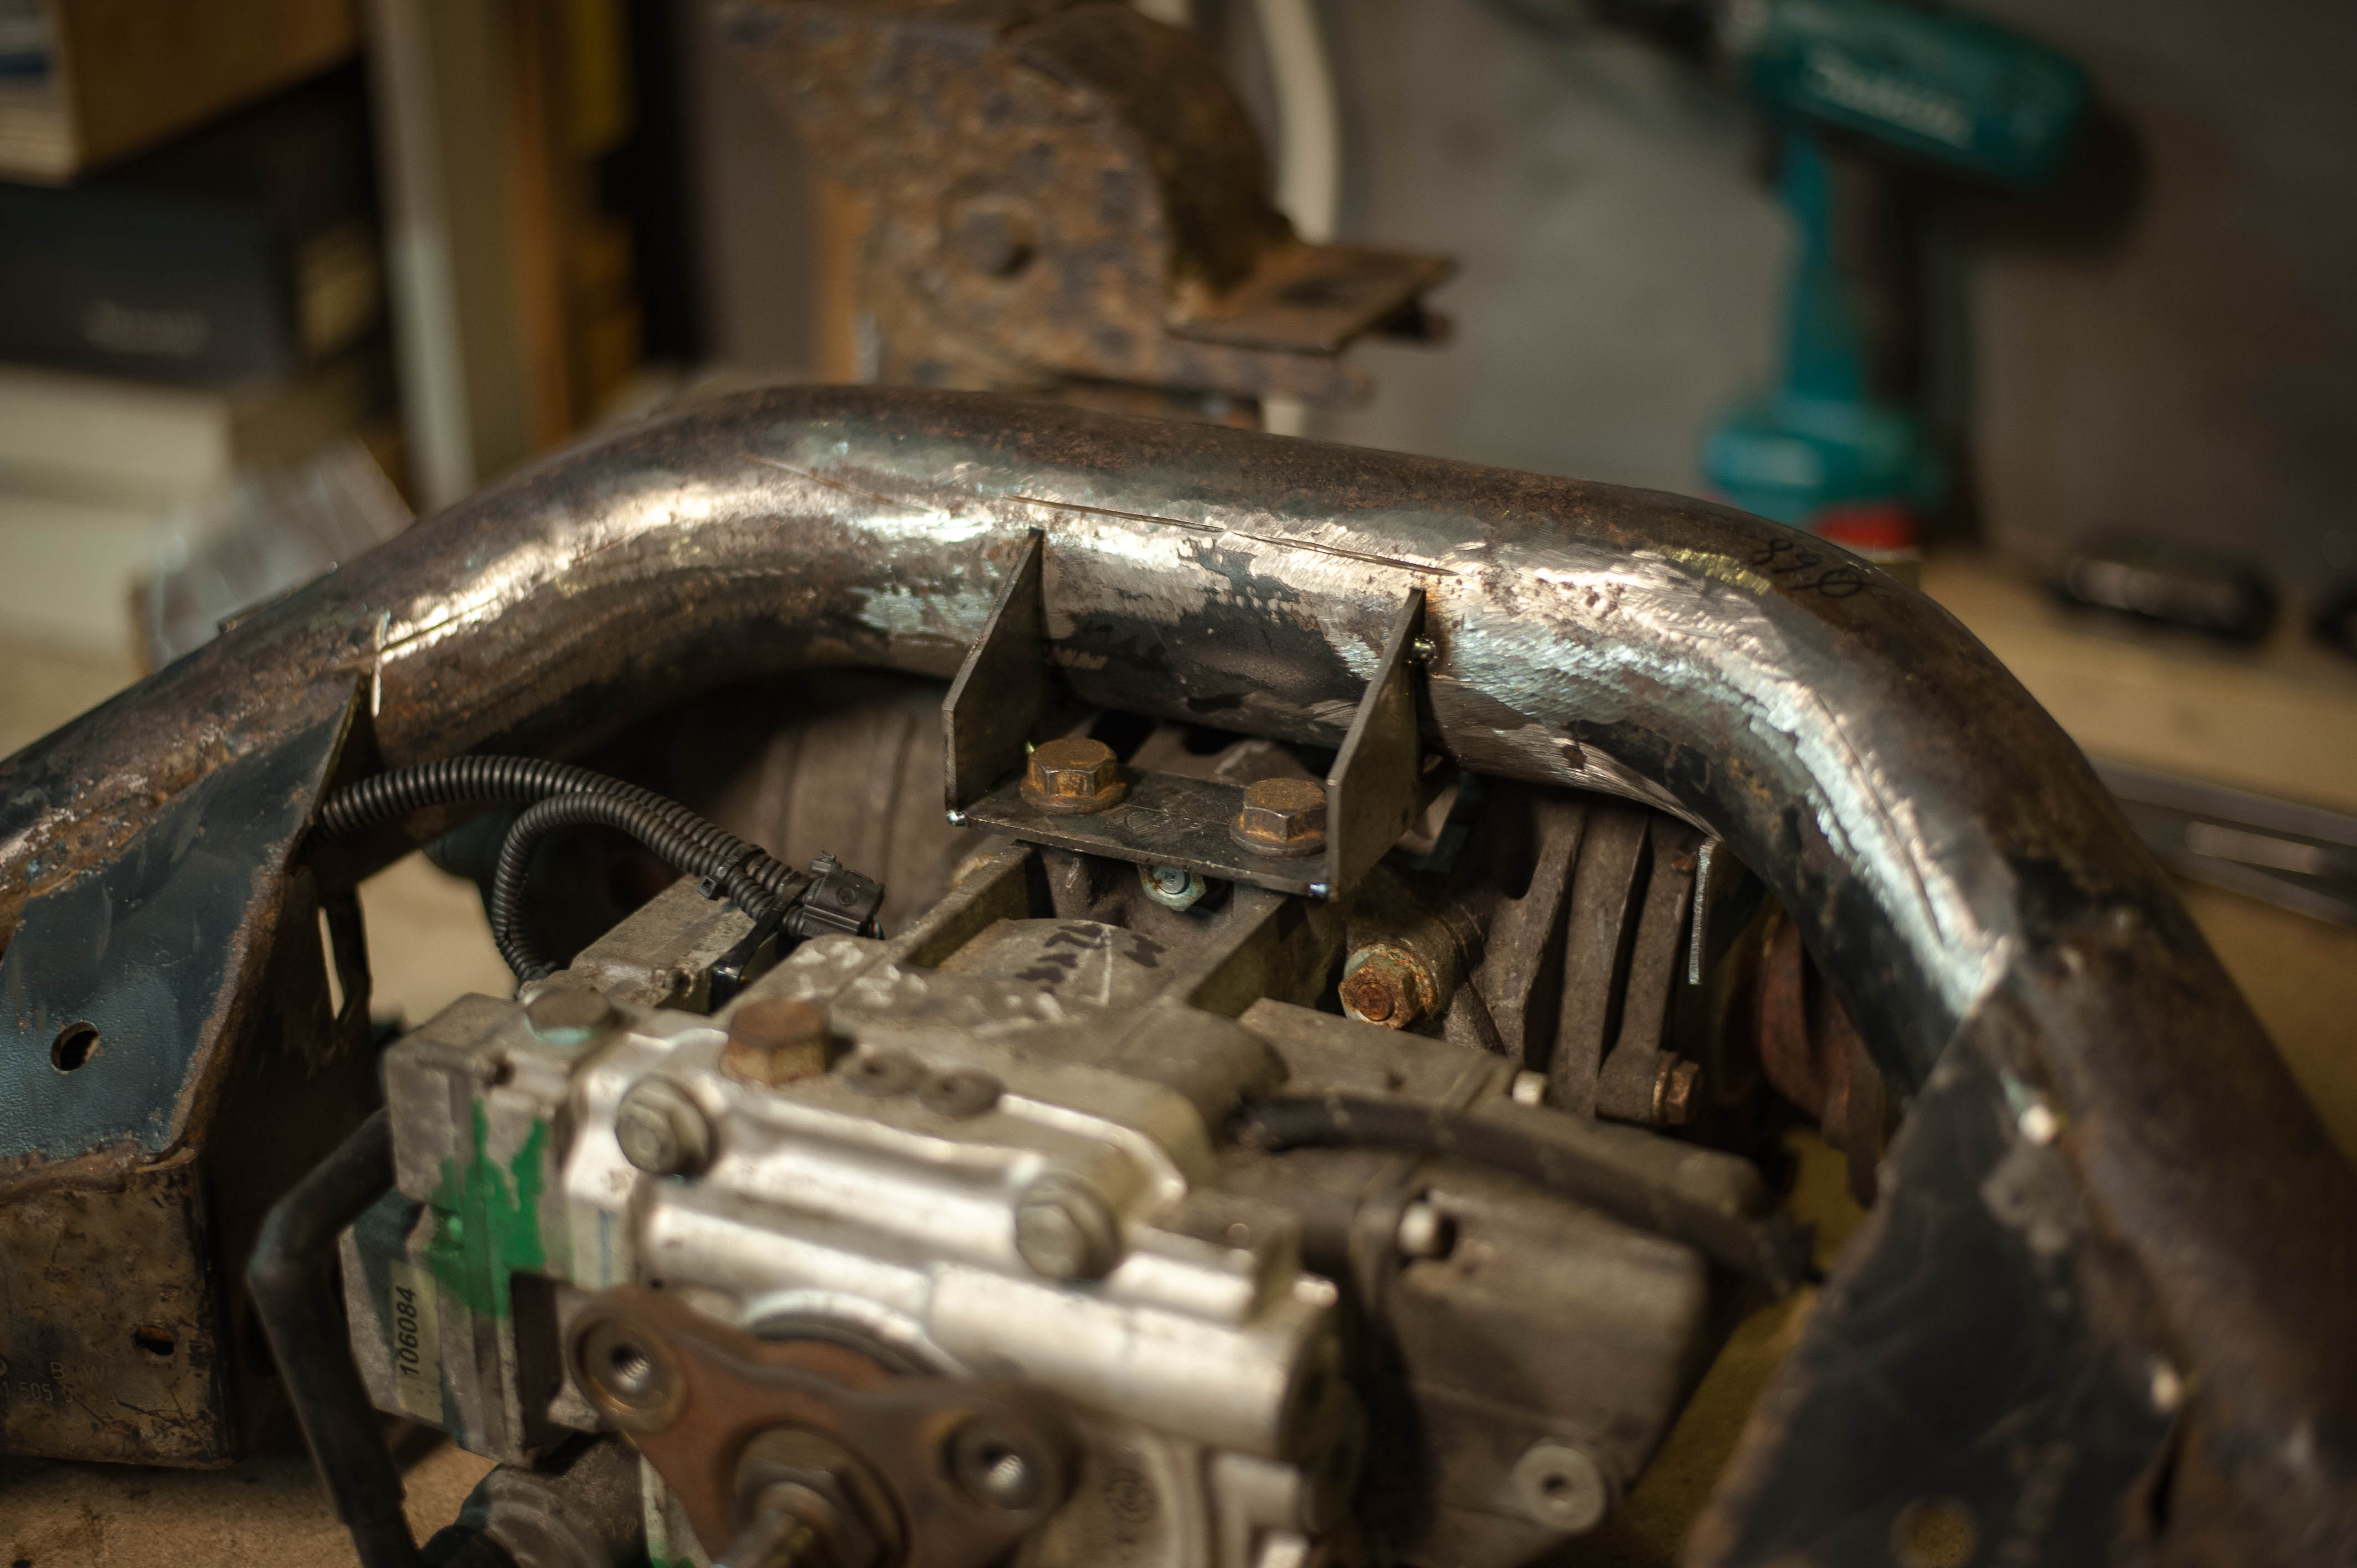
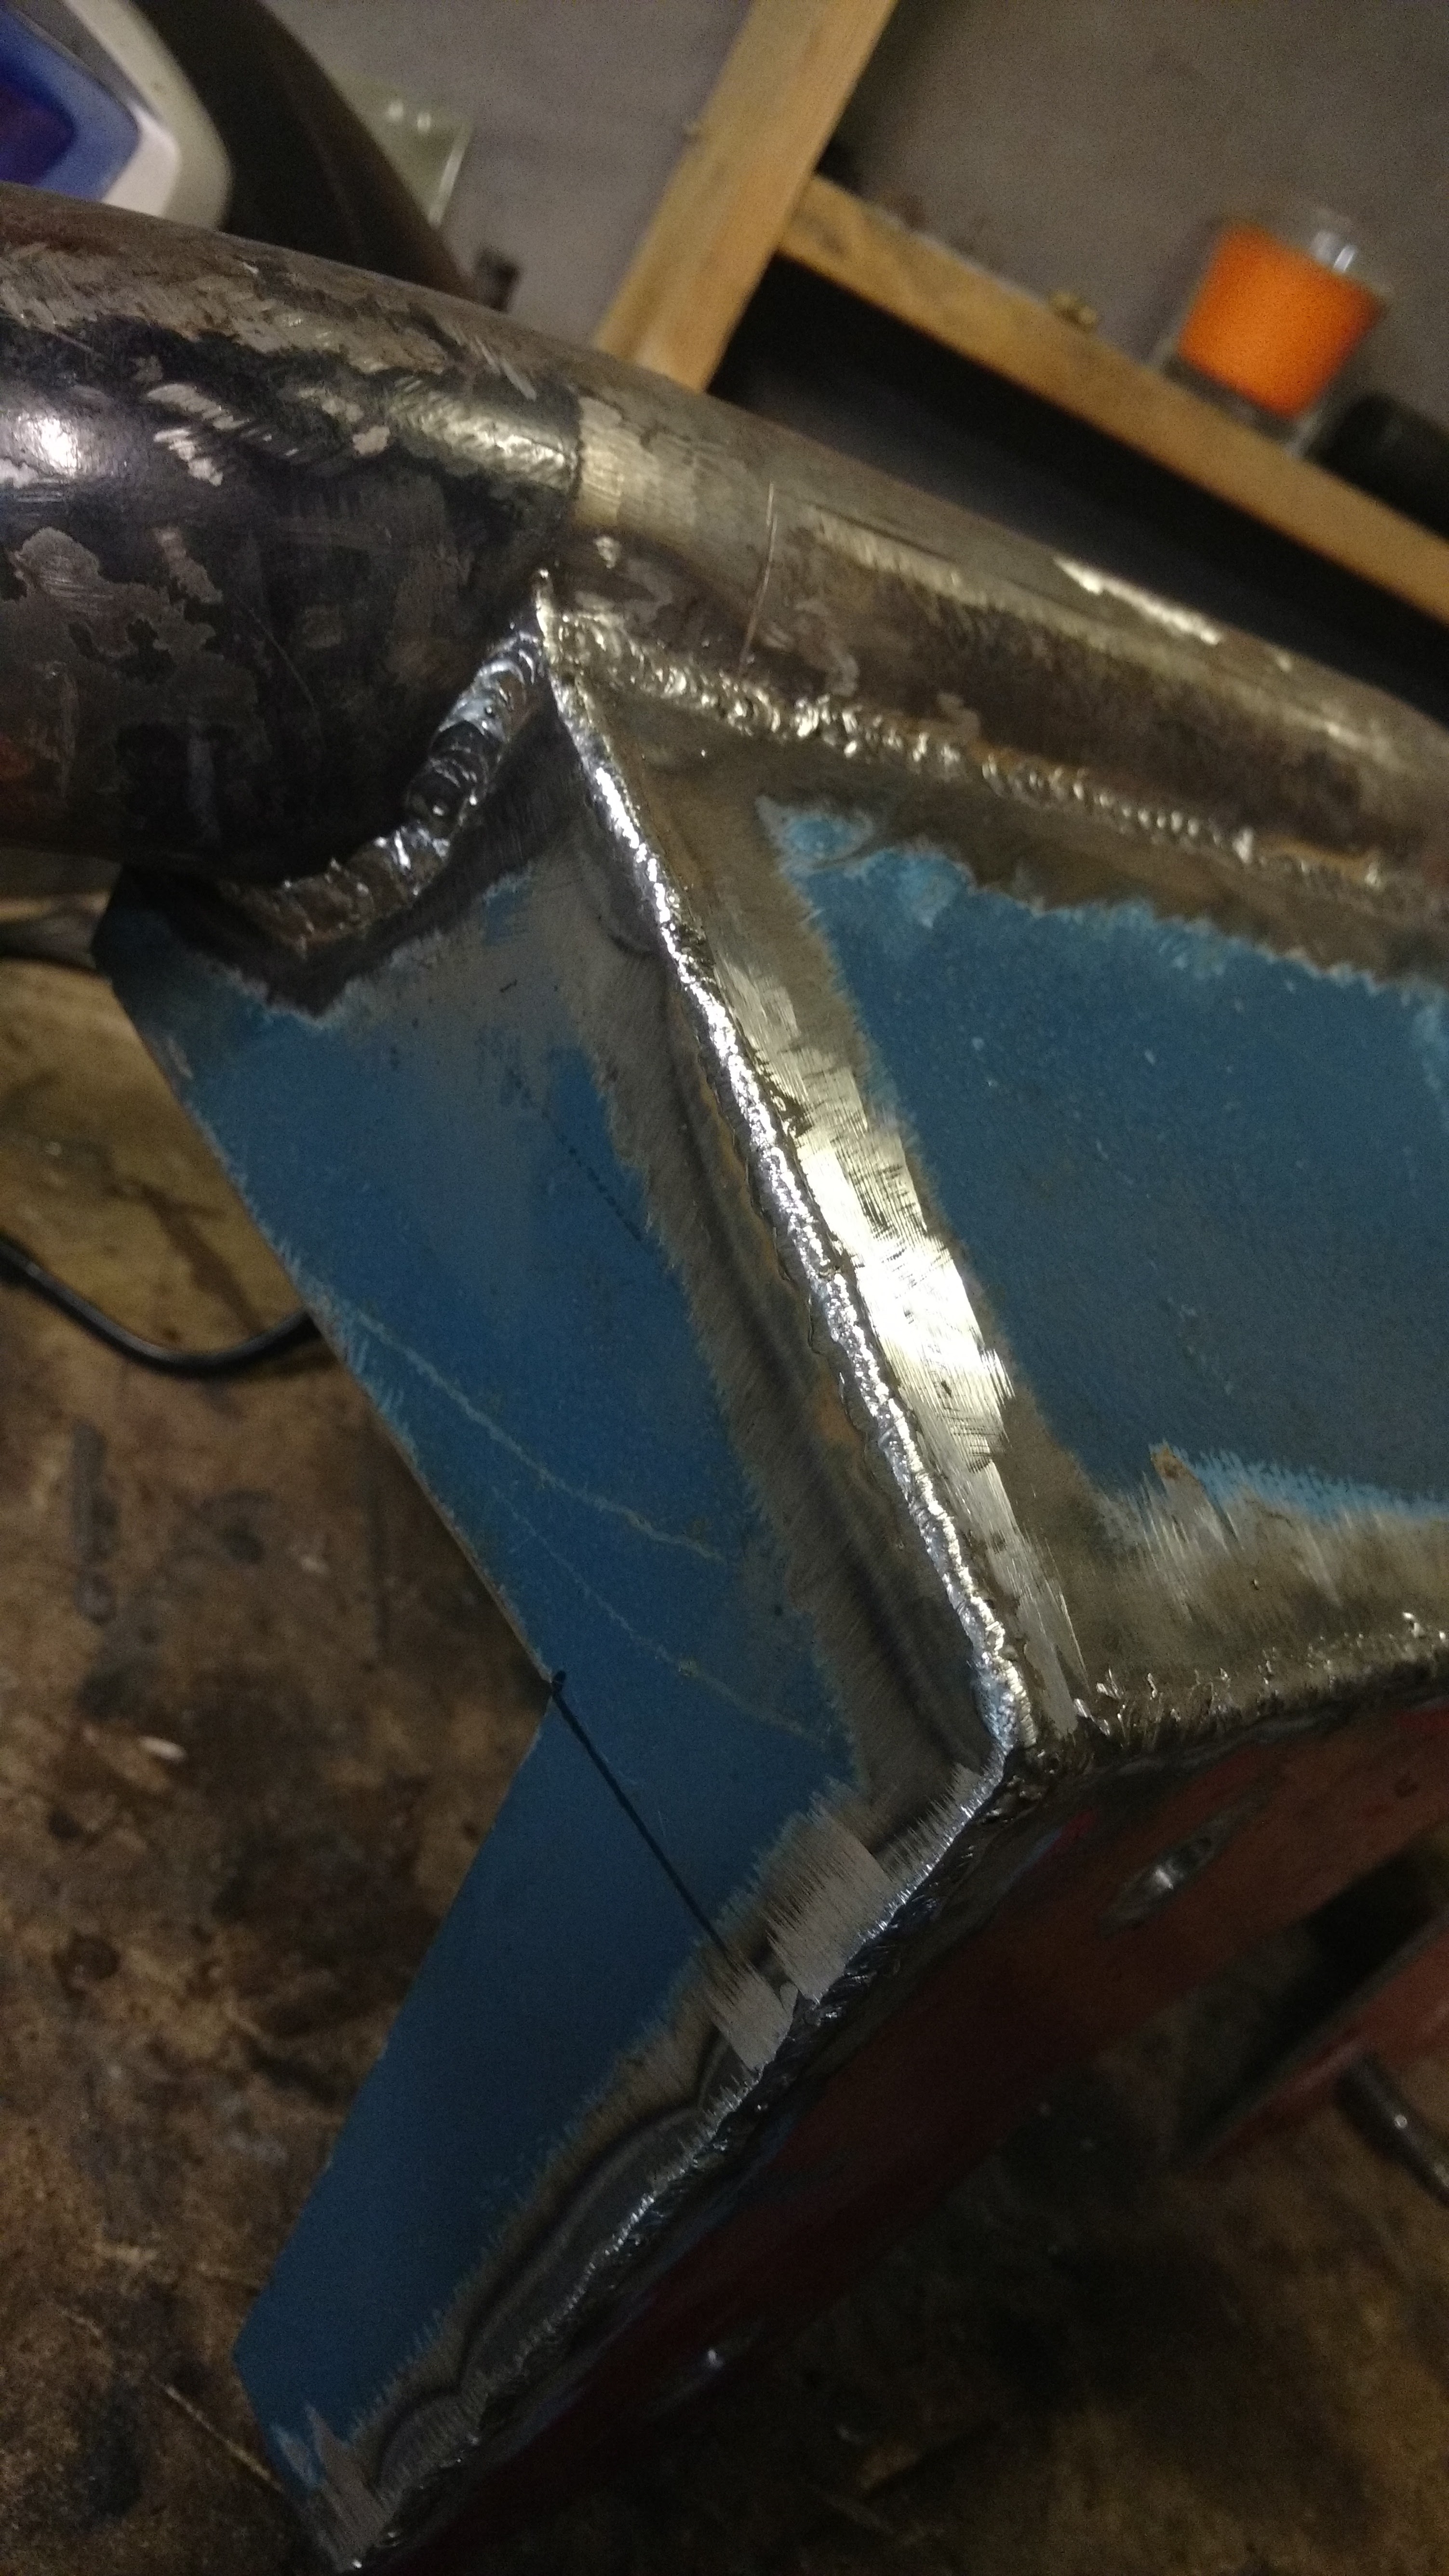
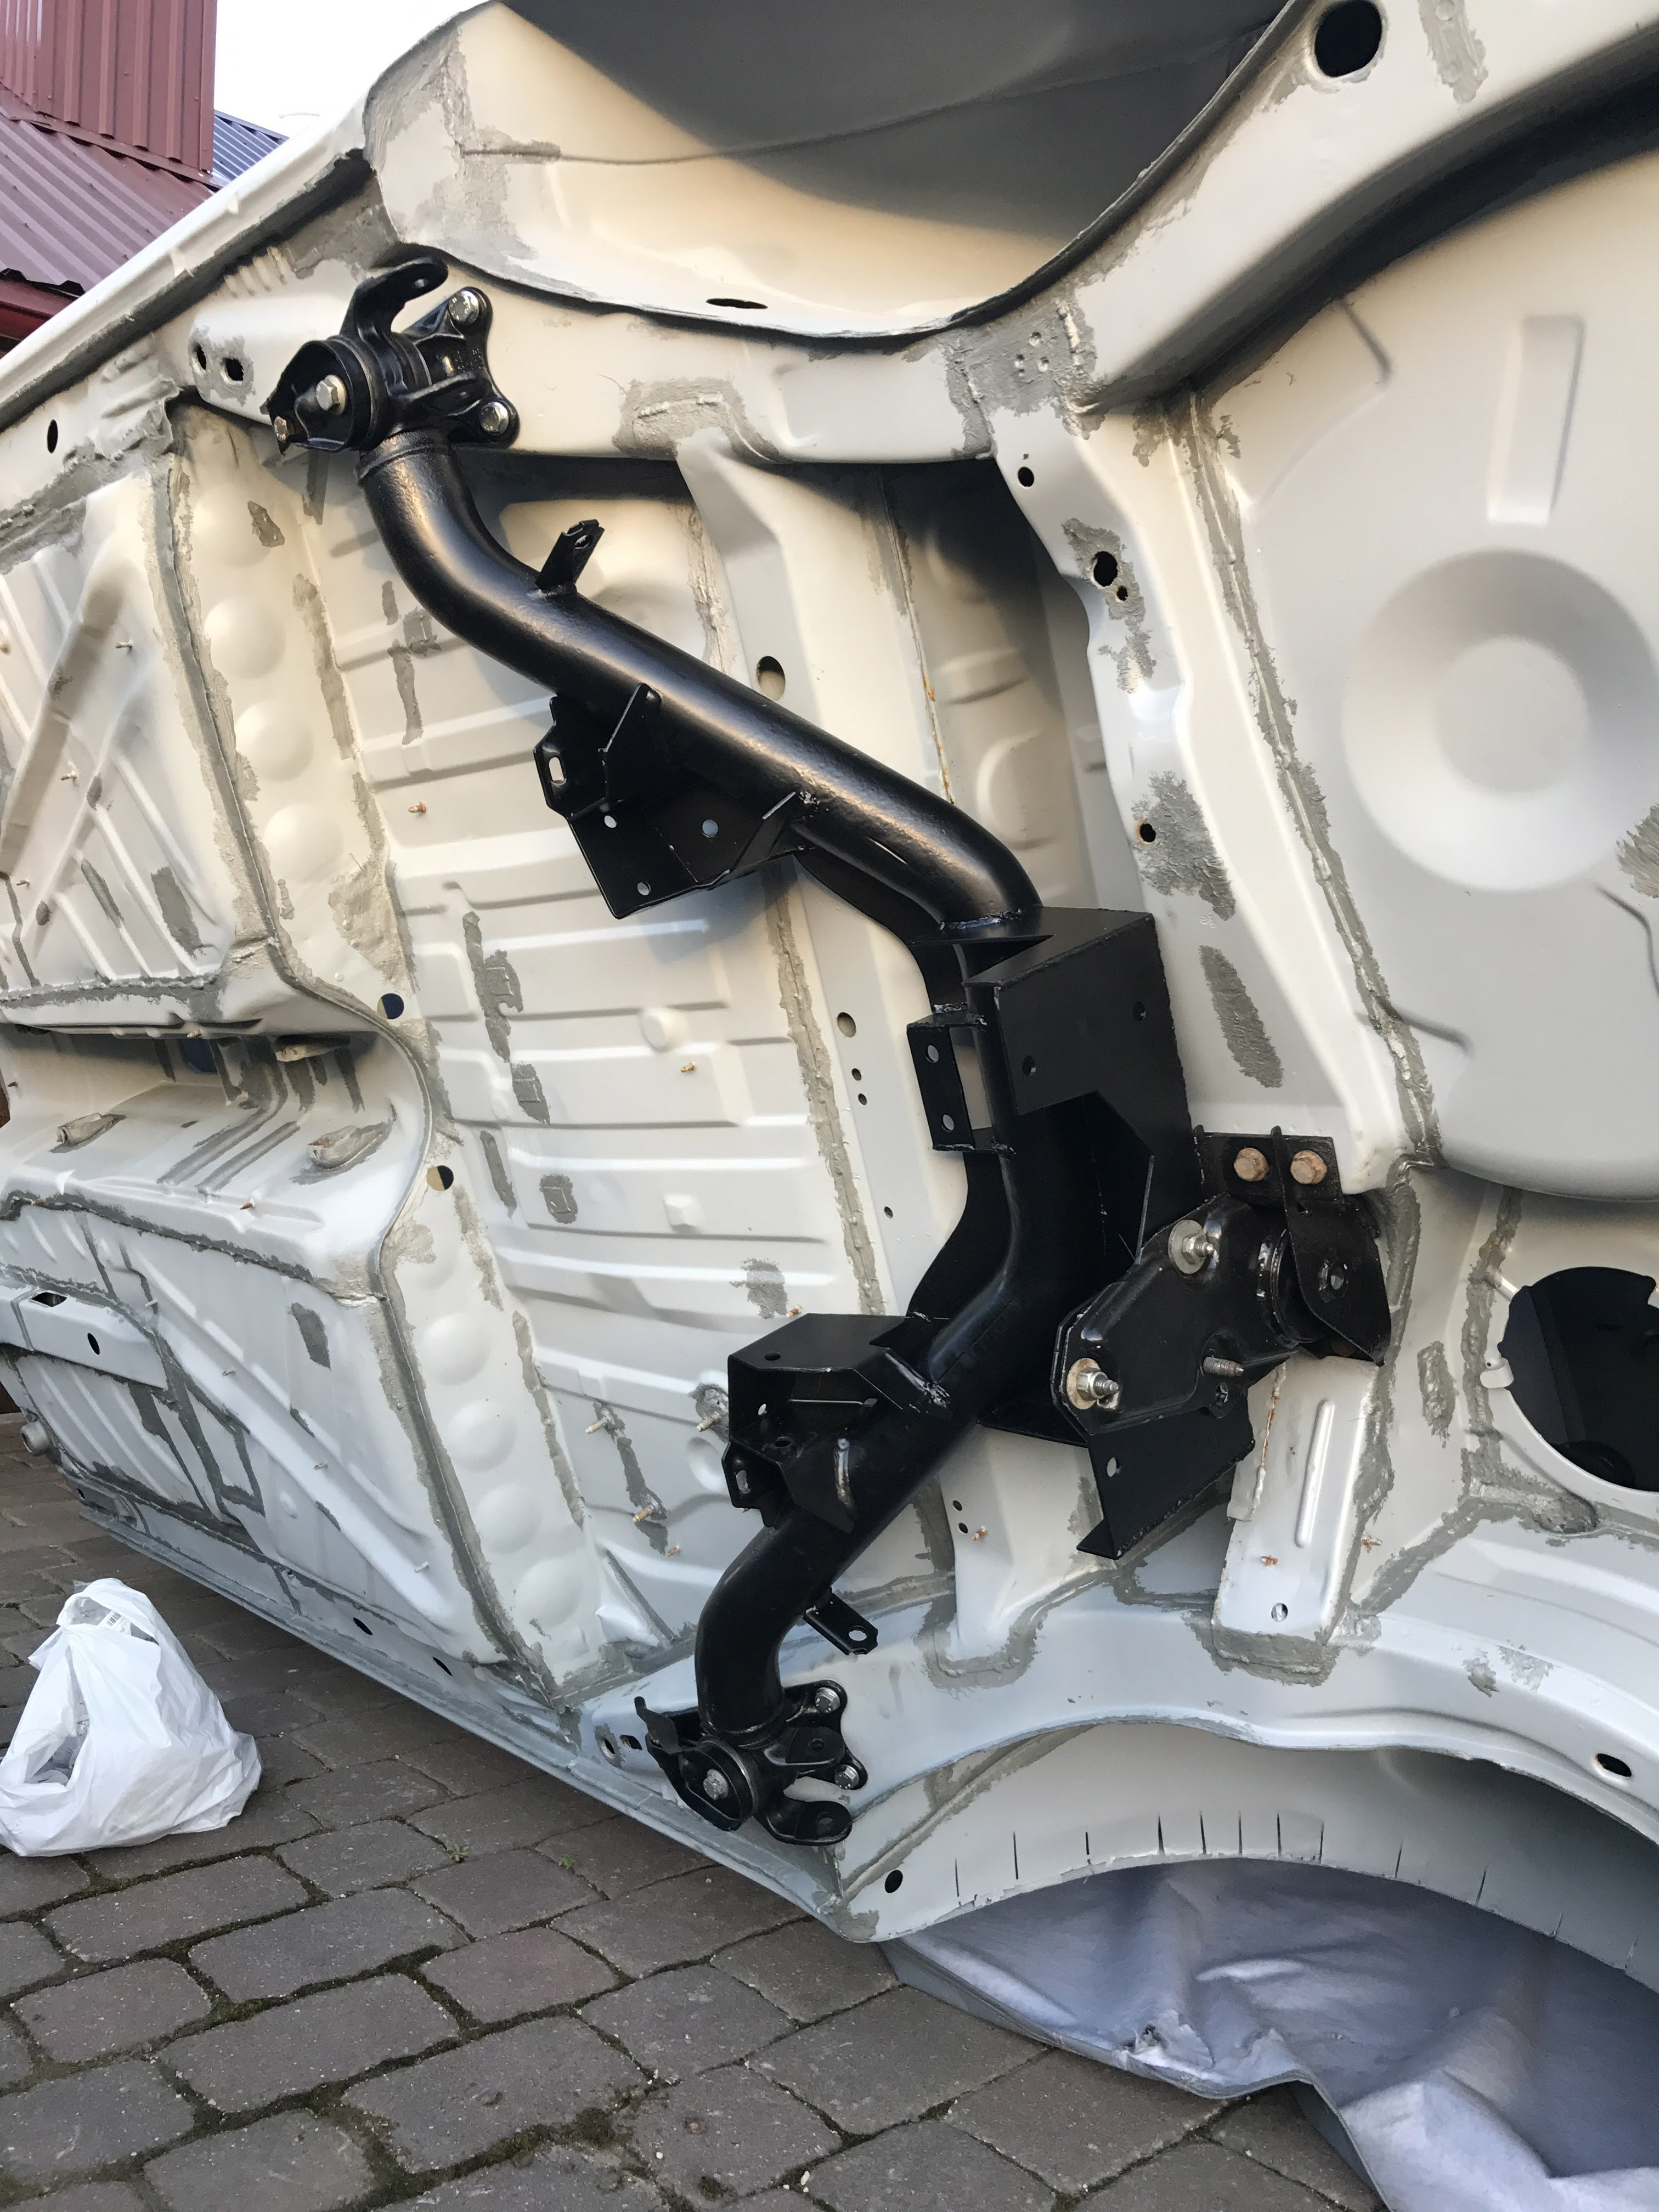
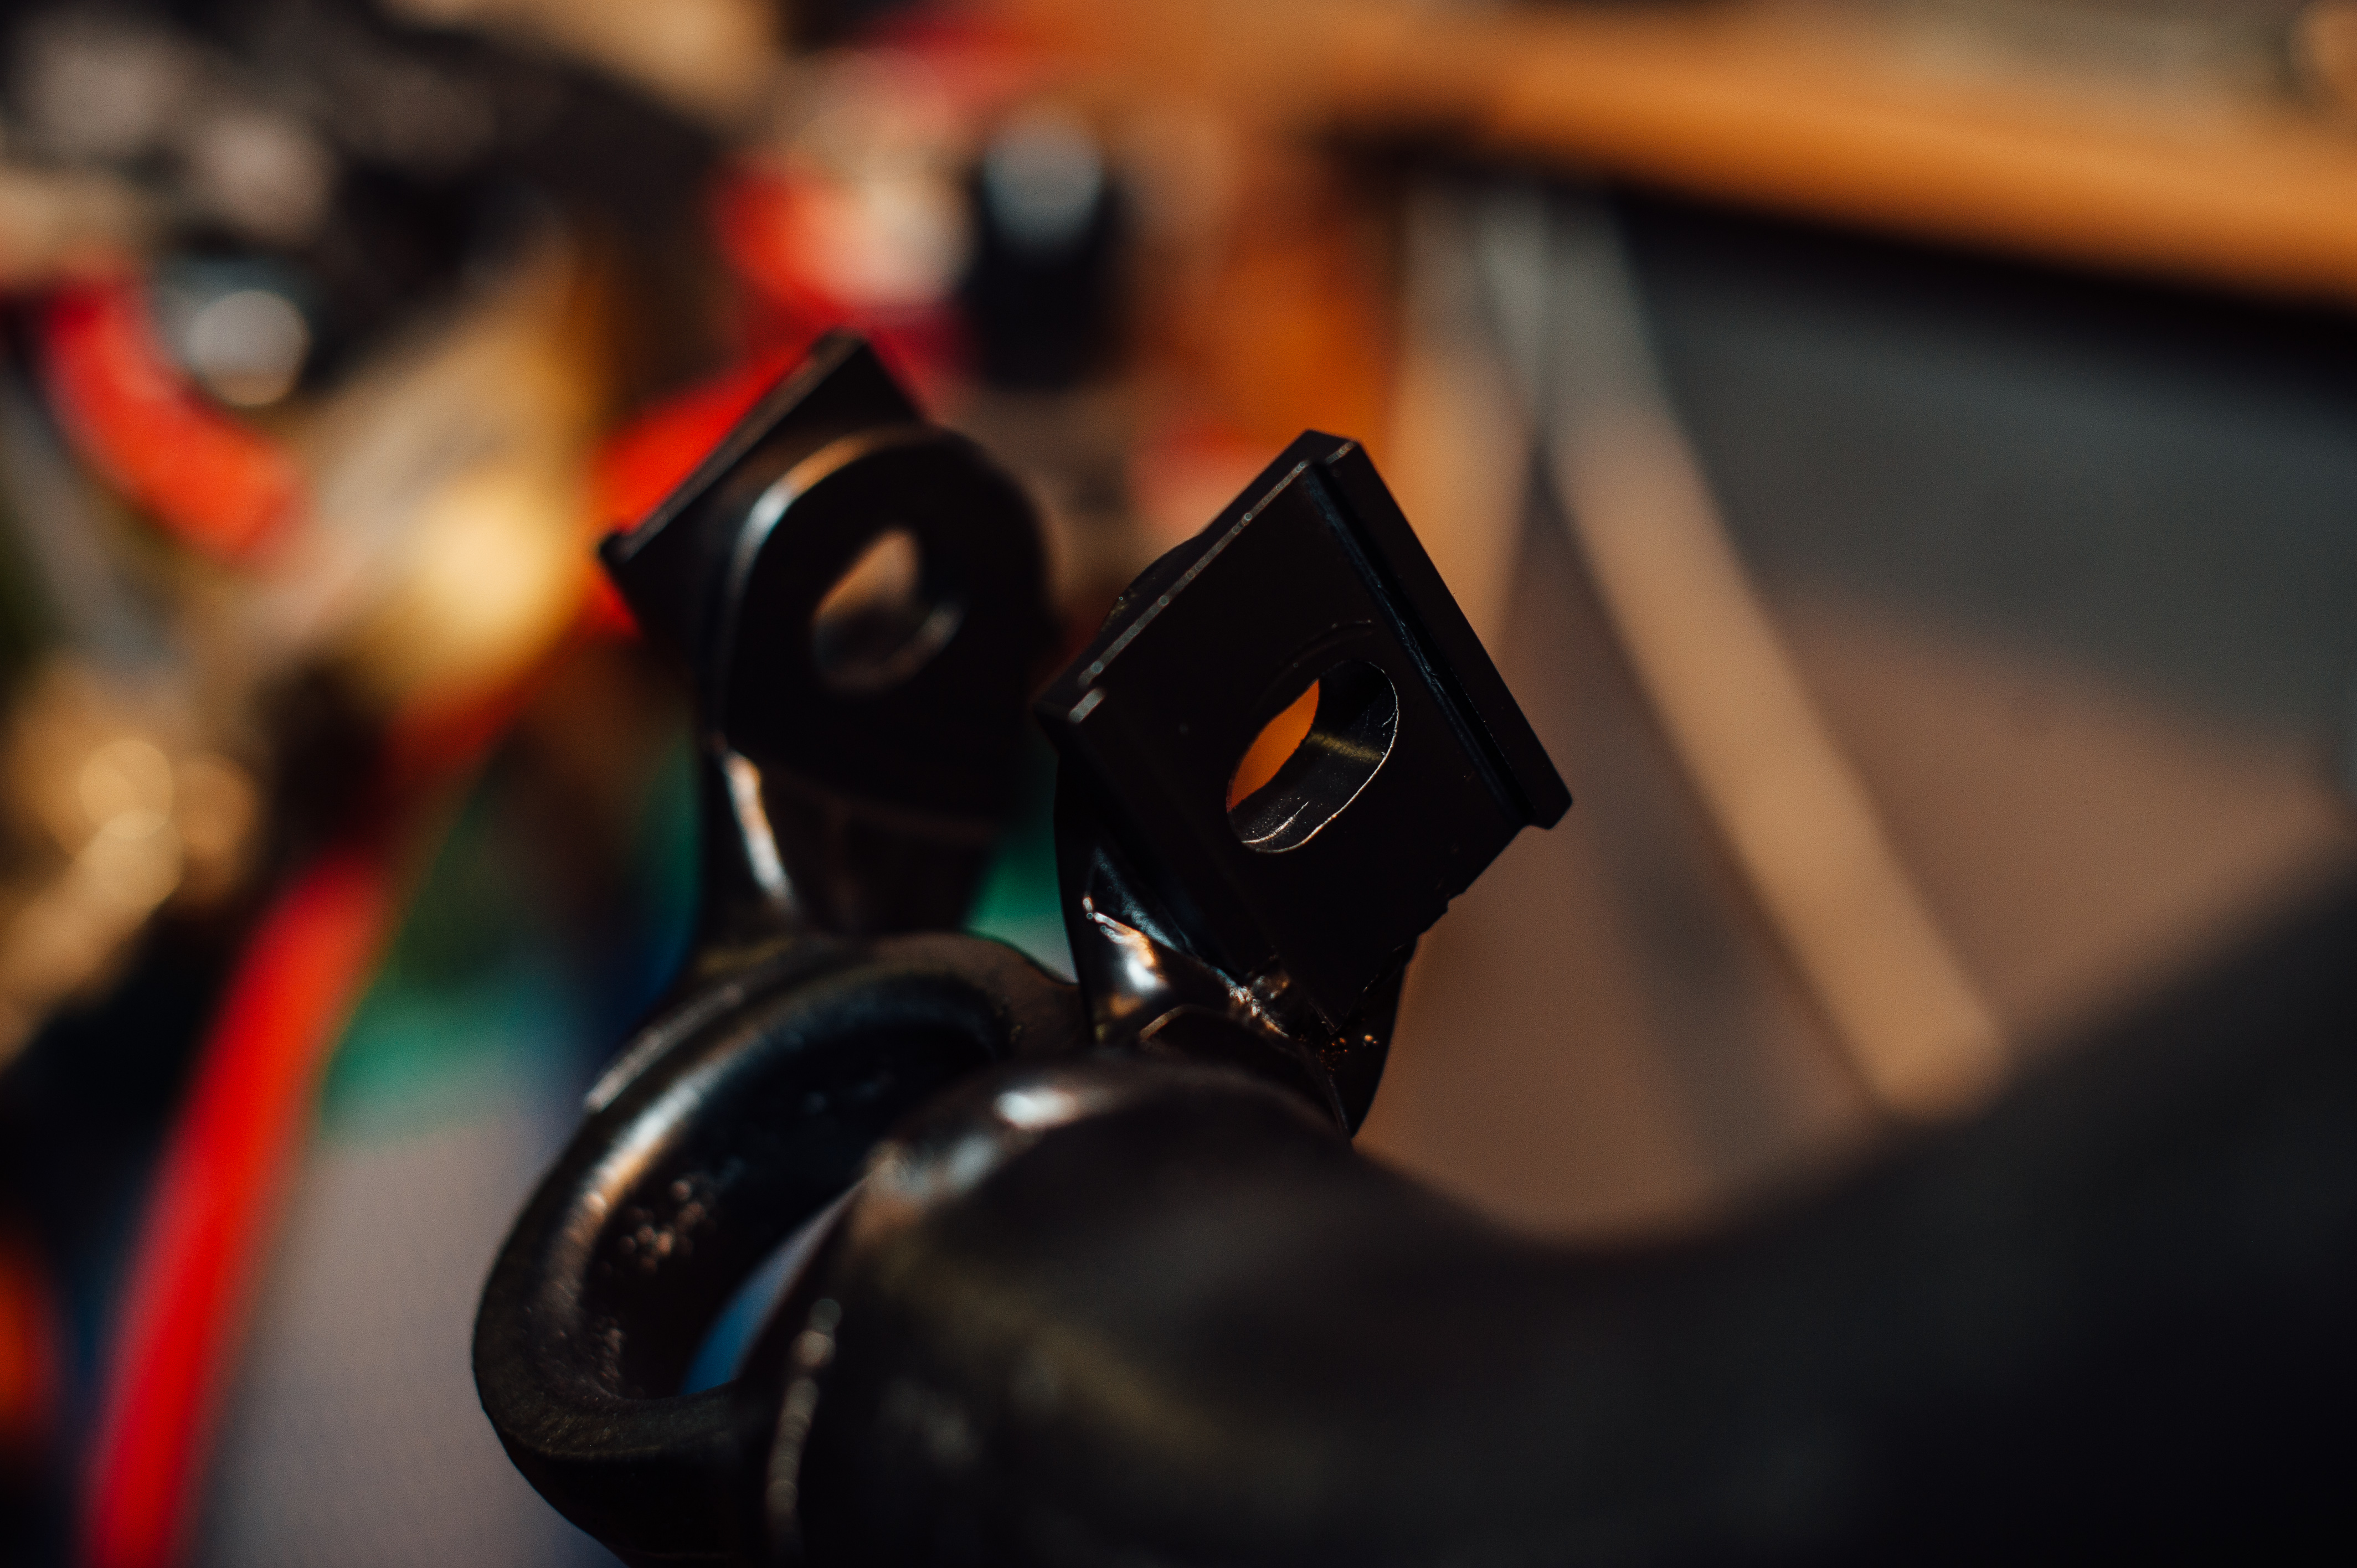
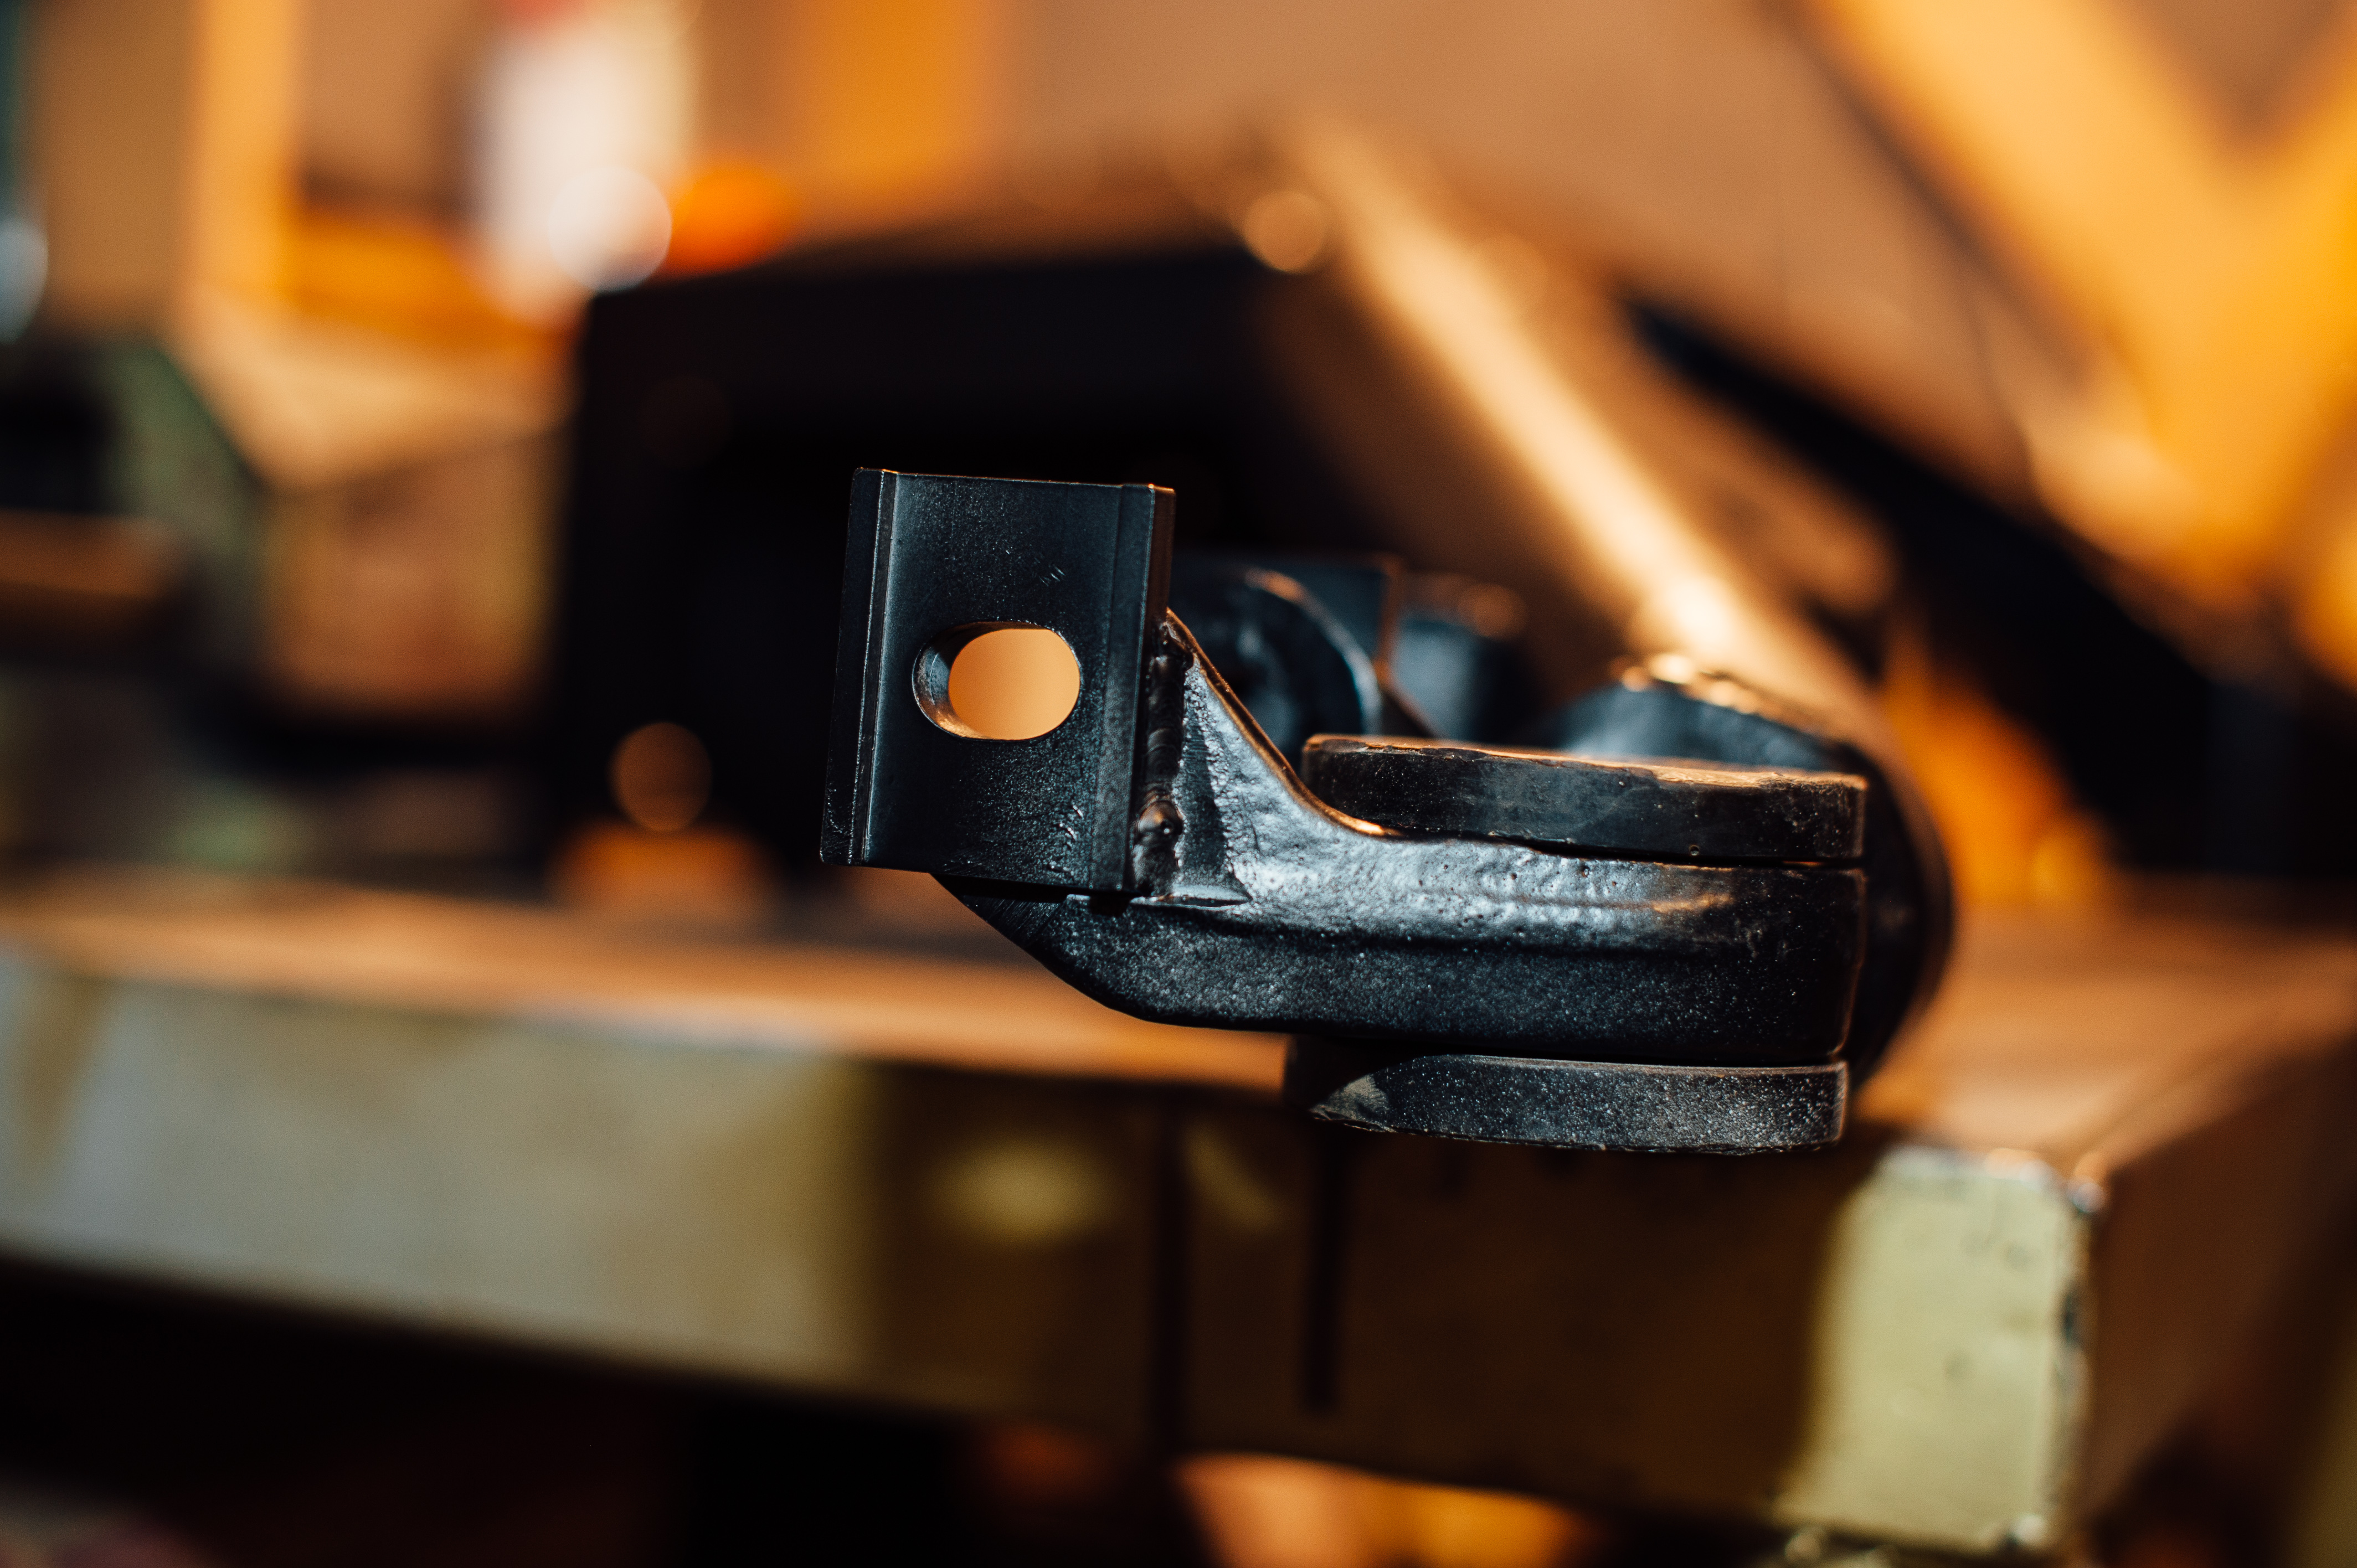
To keep differential in place so we could move on further we must fabricate first hanger which is attached to the top of differential. For your information Haldex differential originally has no bolt threads made in there. It's necessary to make threads if we want to bolt it on using new hanger (see pic below). Reason for threads not being there is that genuinely Haldex is fitted using different points since Haldex and Syncro beams differ completely.
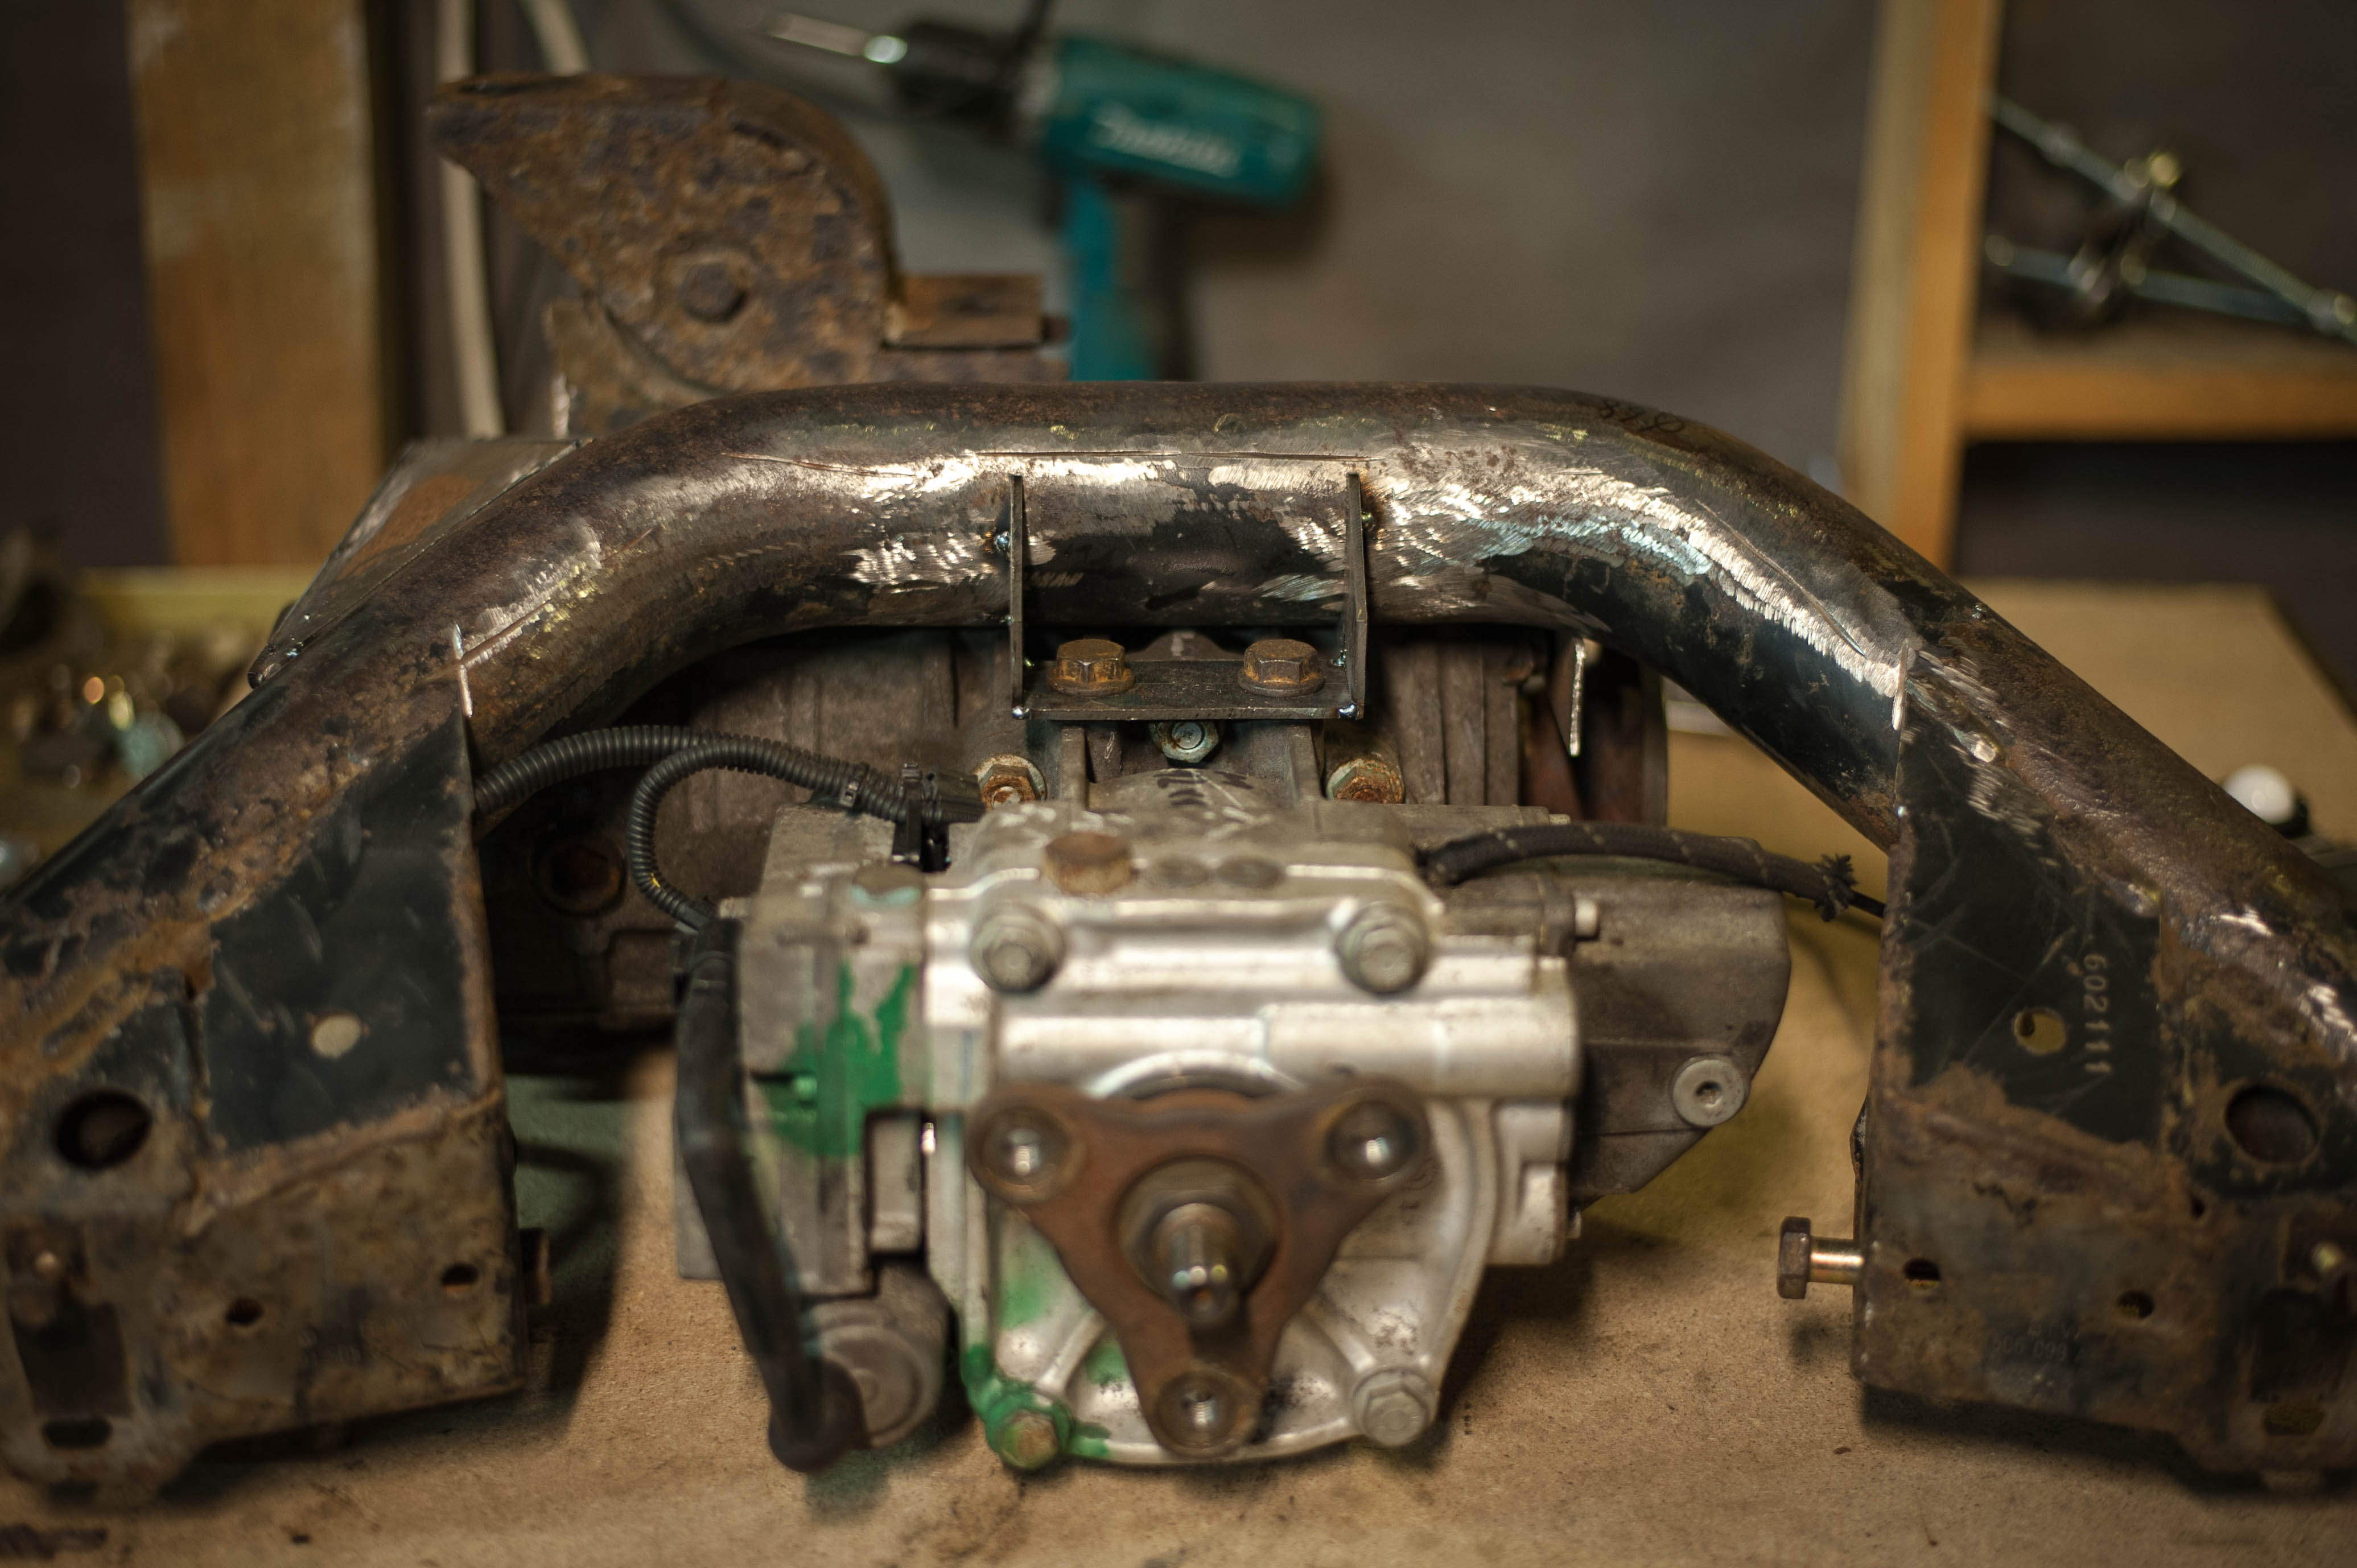
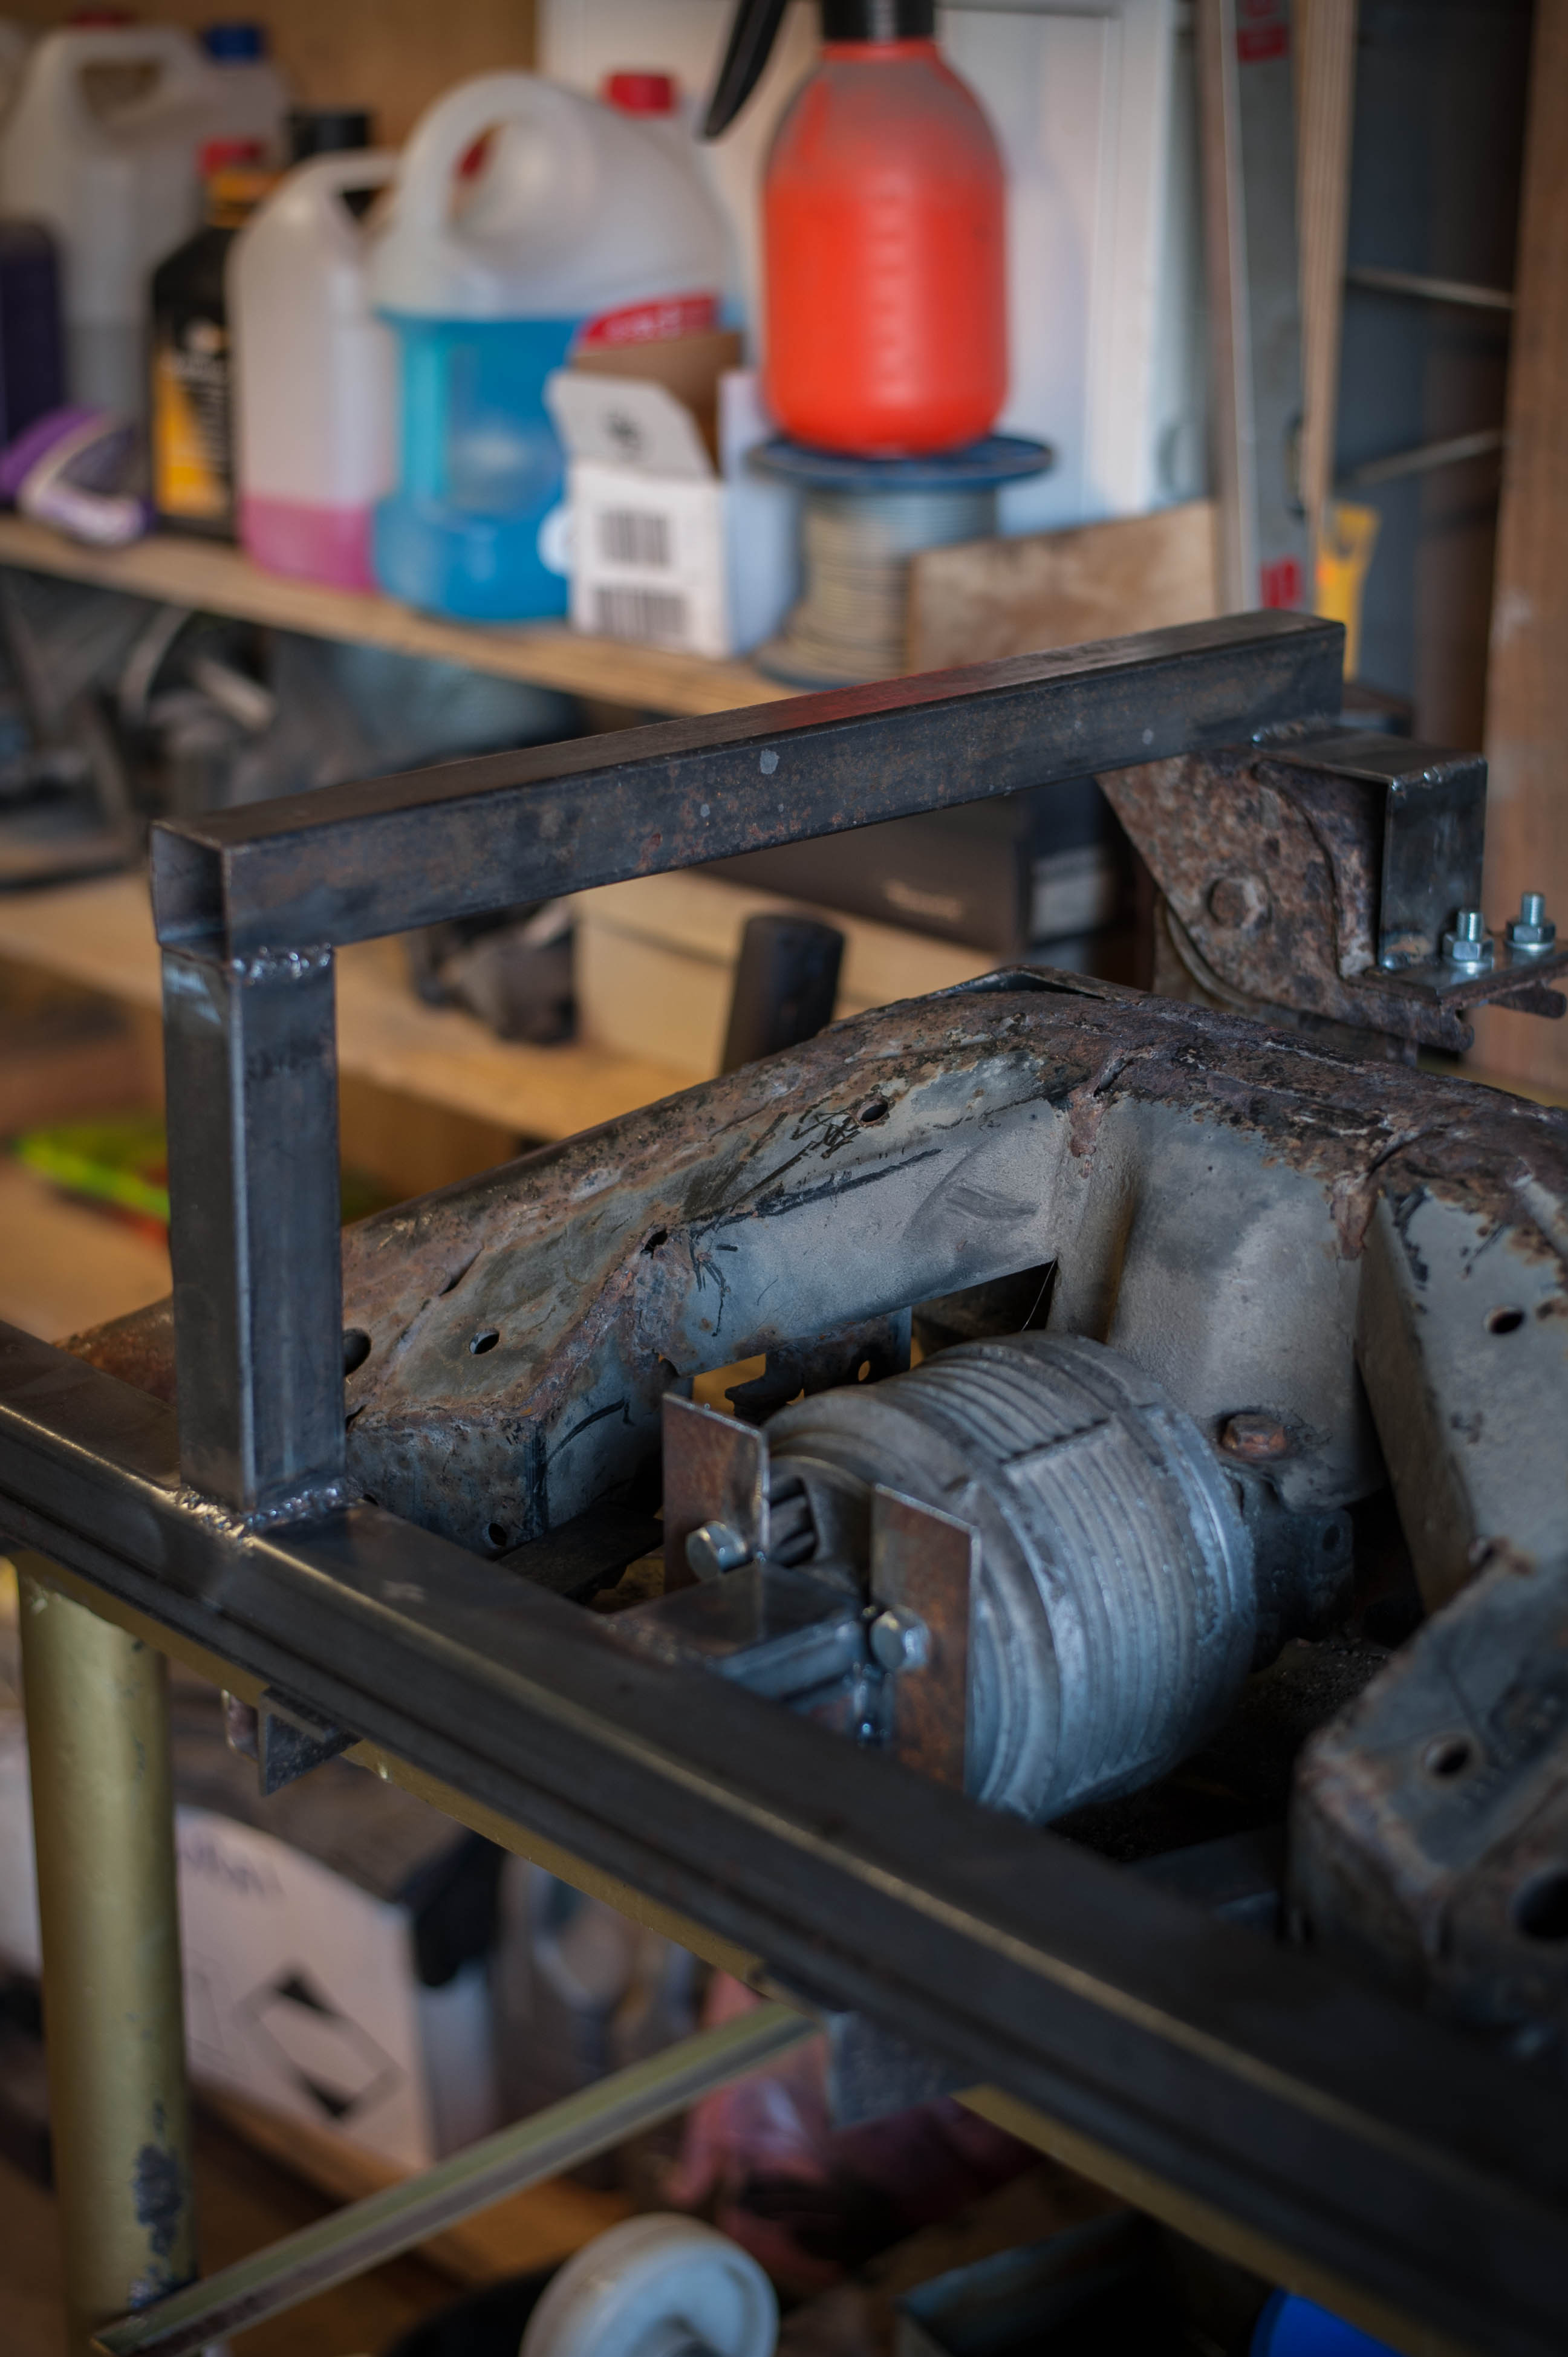
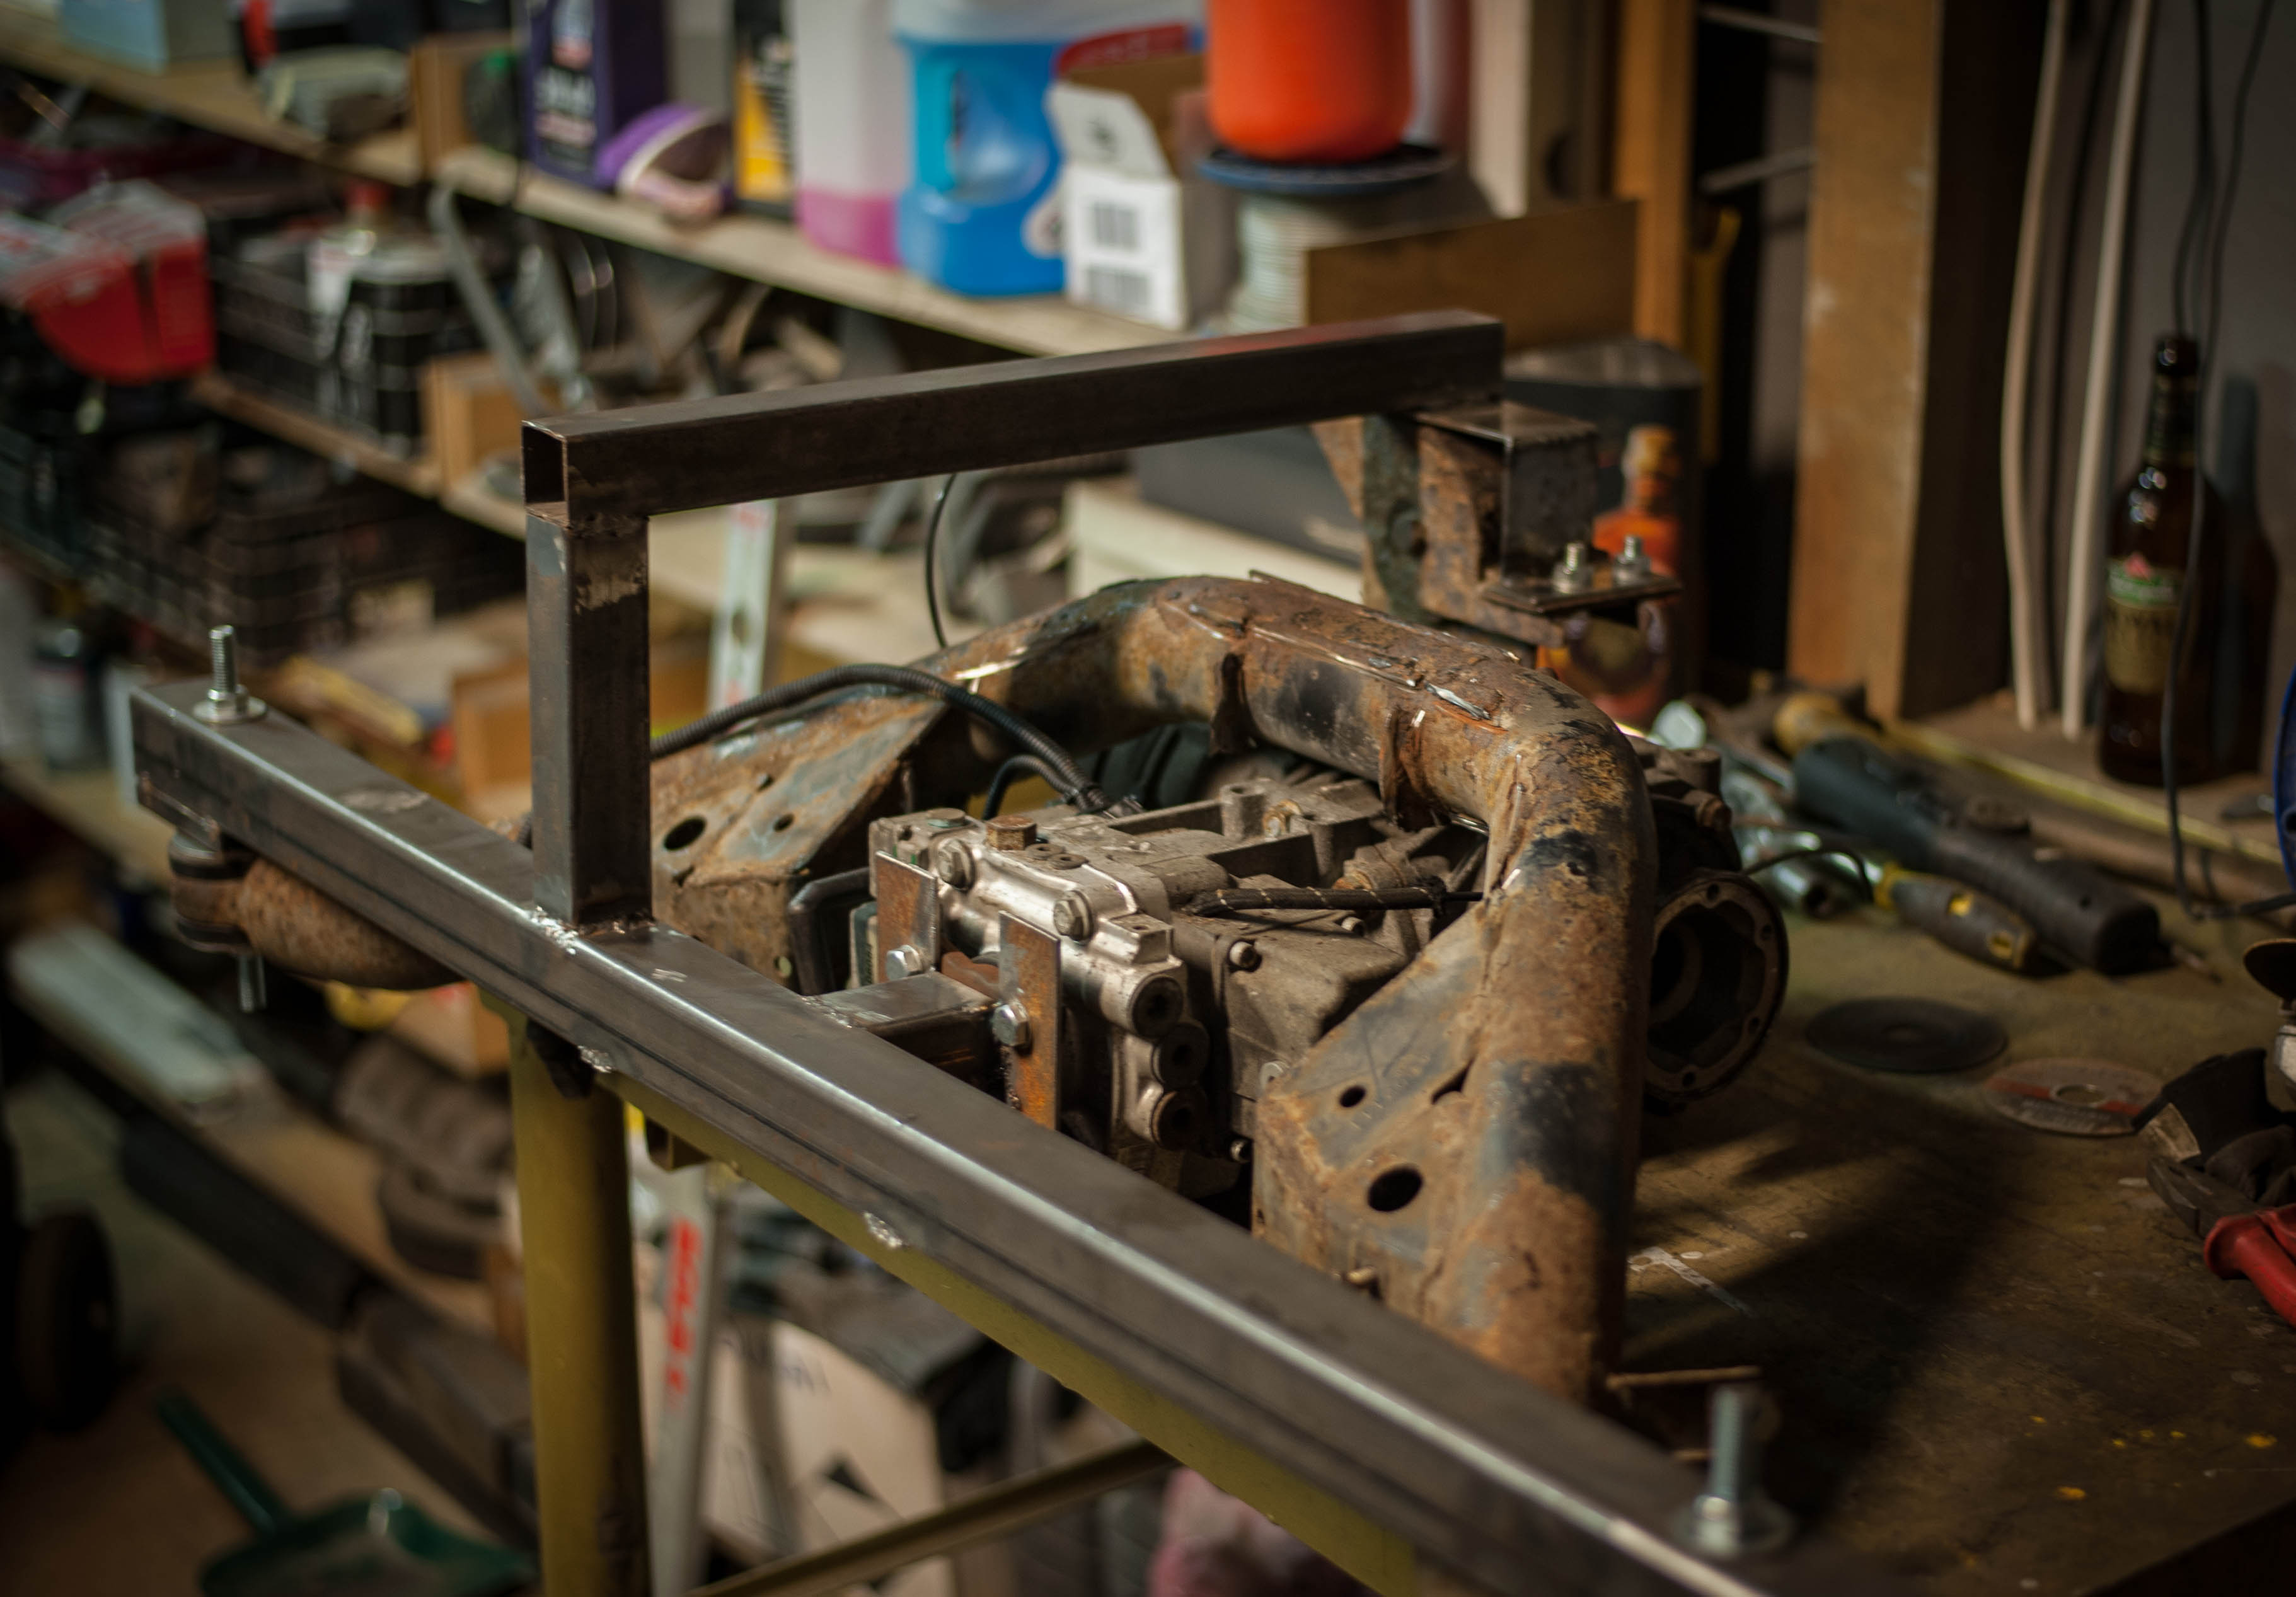
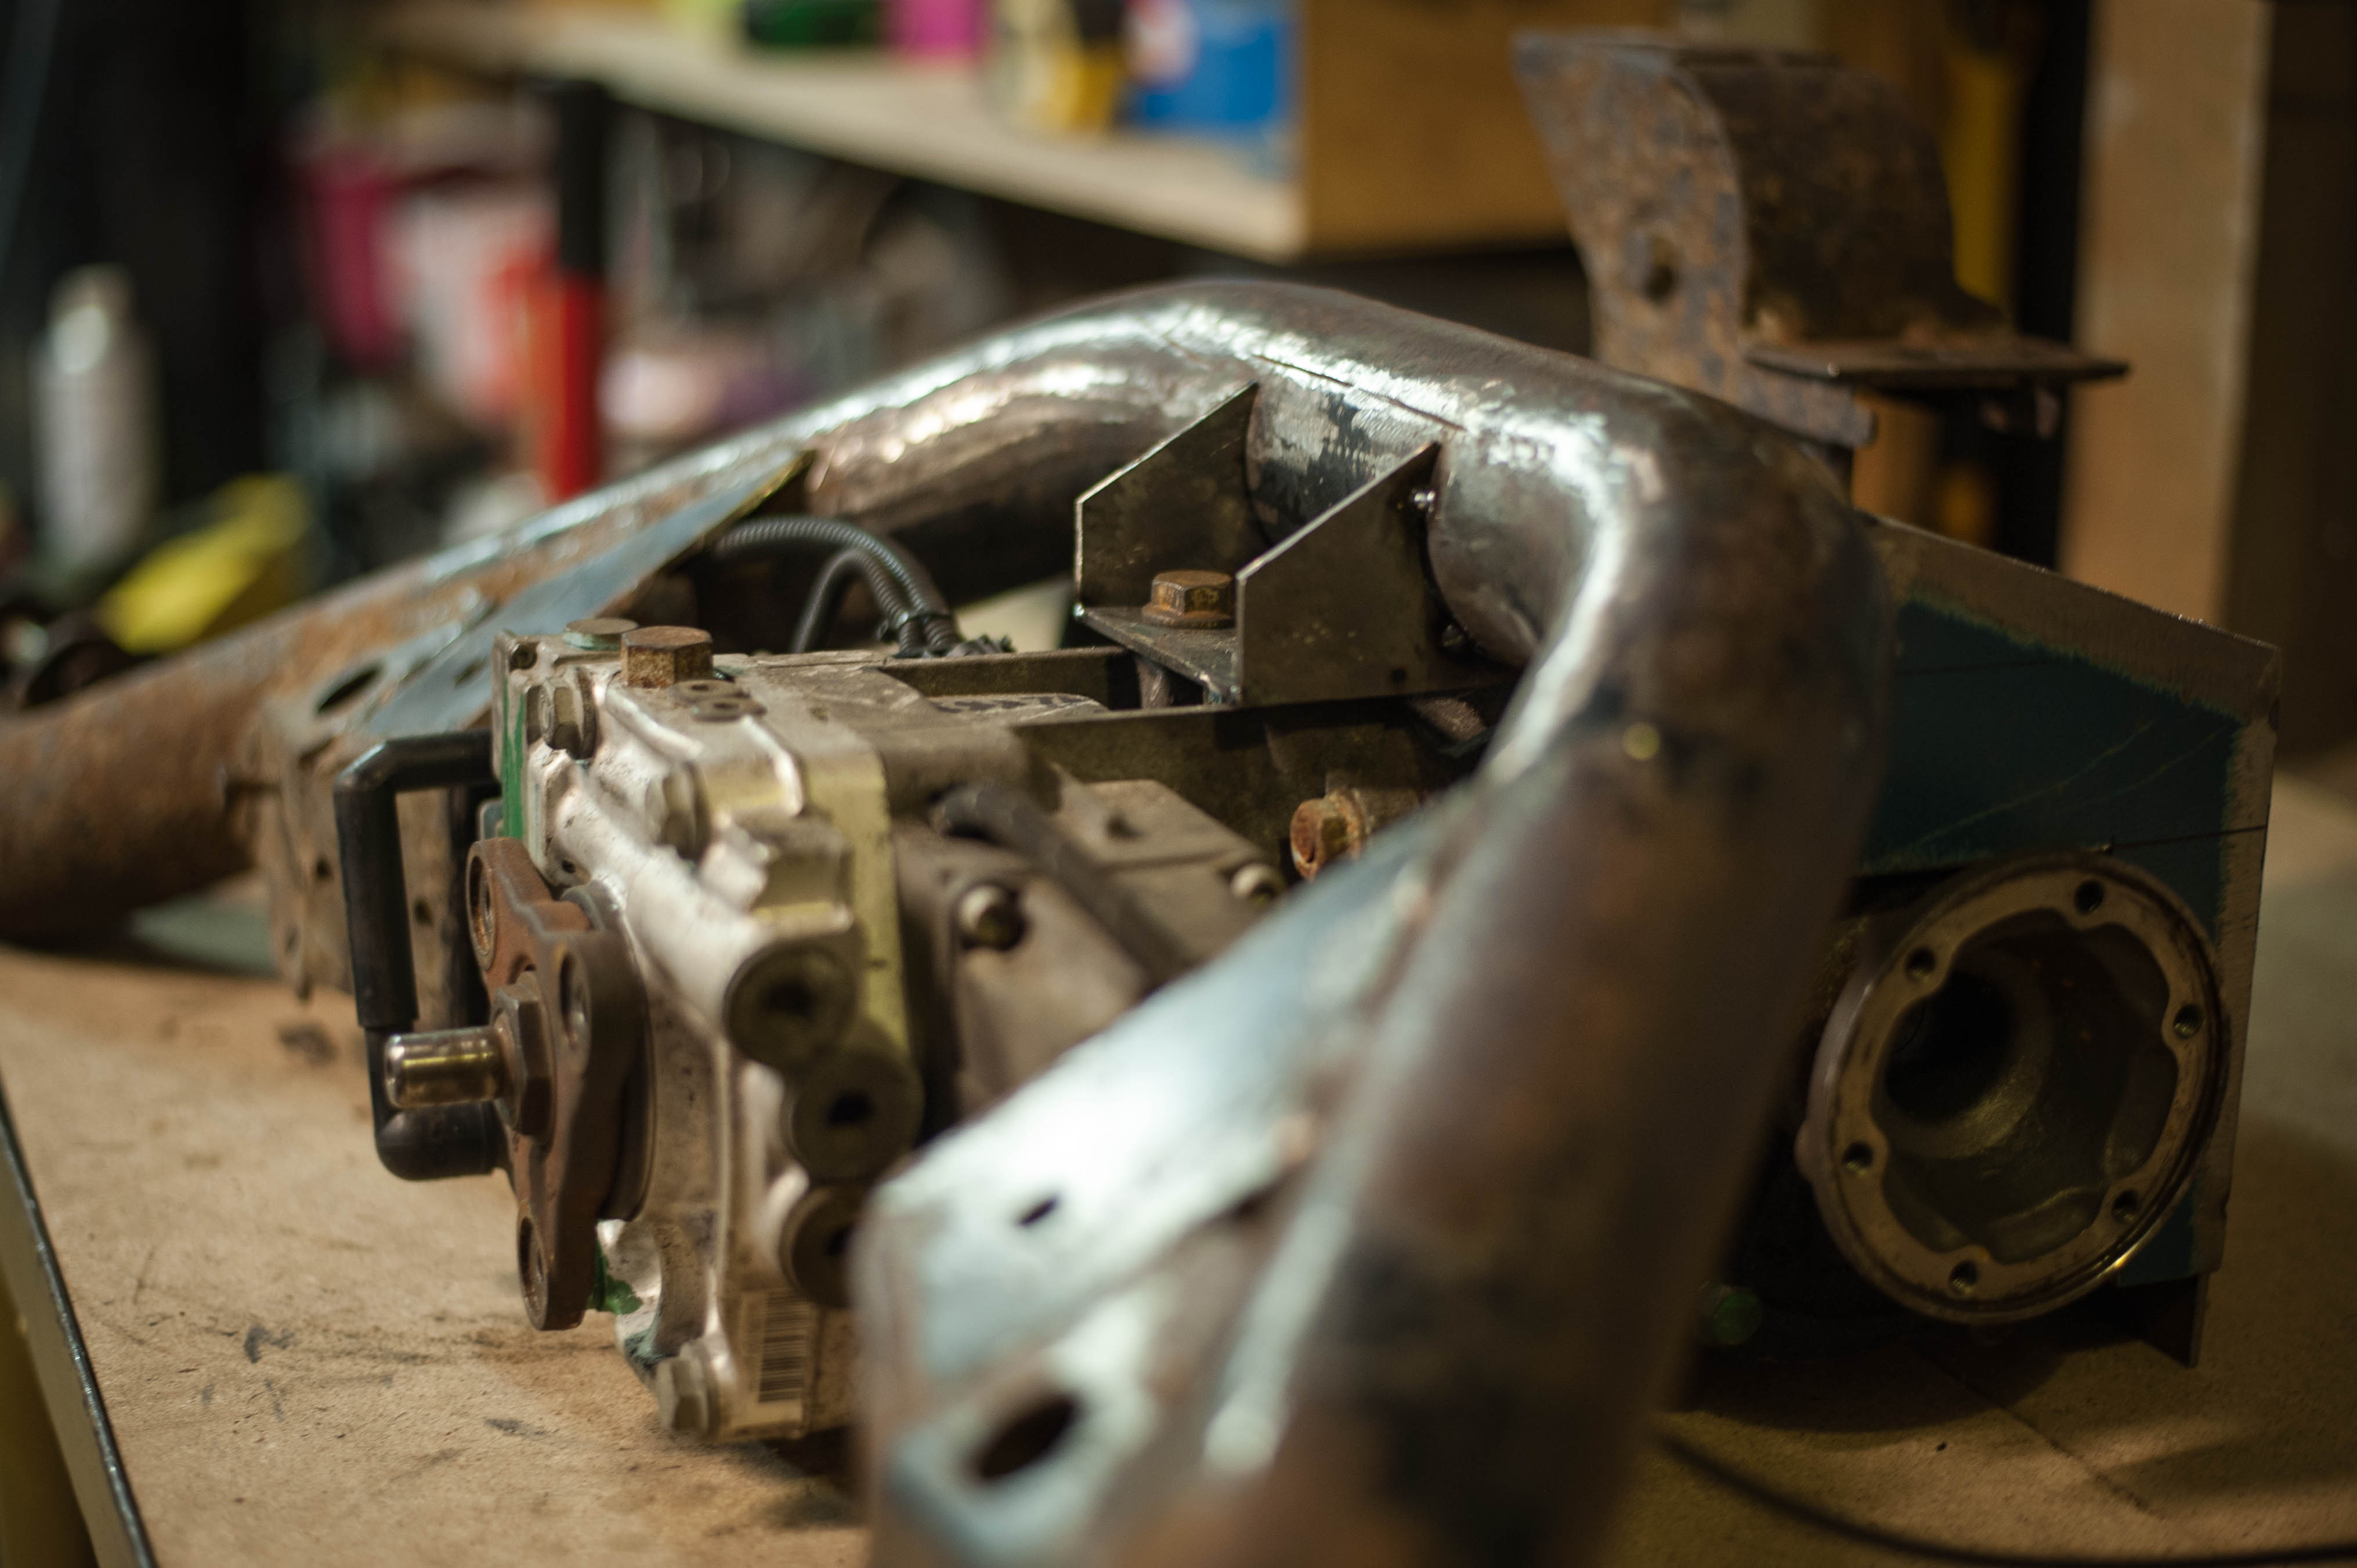
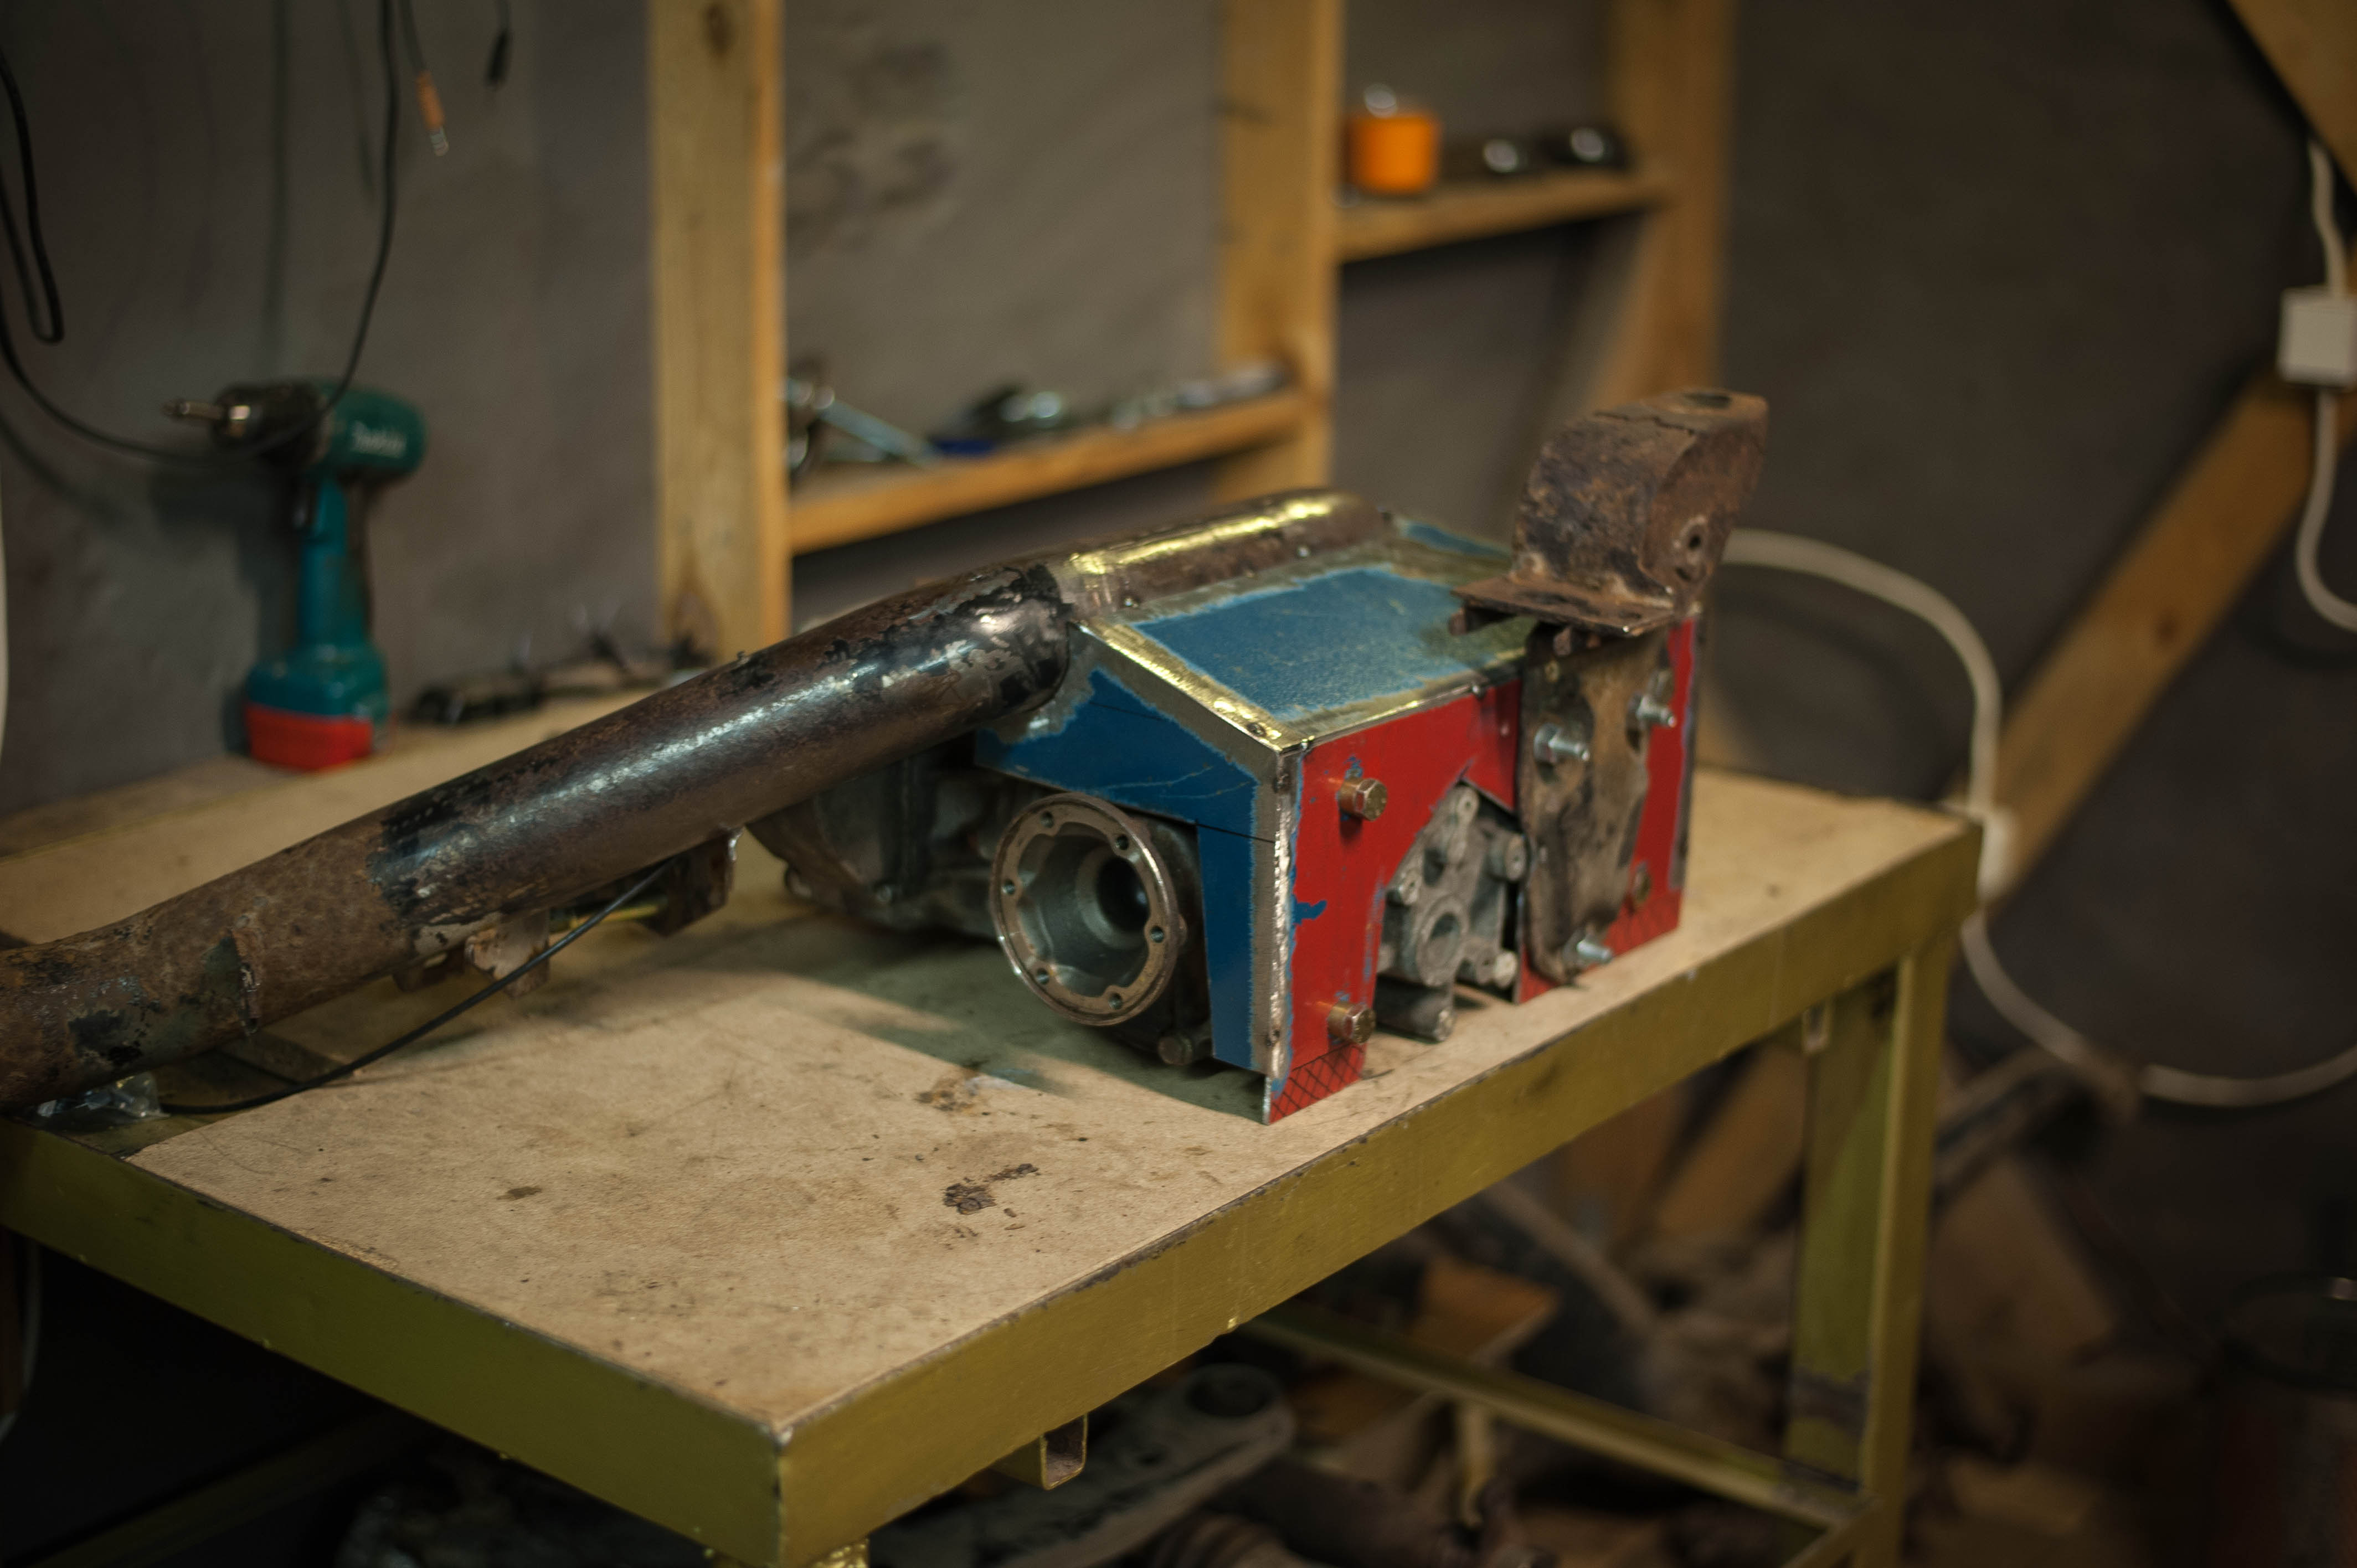
When used top mount it sits where it should and finally we are able to fabricate other hanger parts on Syncro beam. Let's move on rear part fabrication:
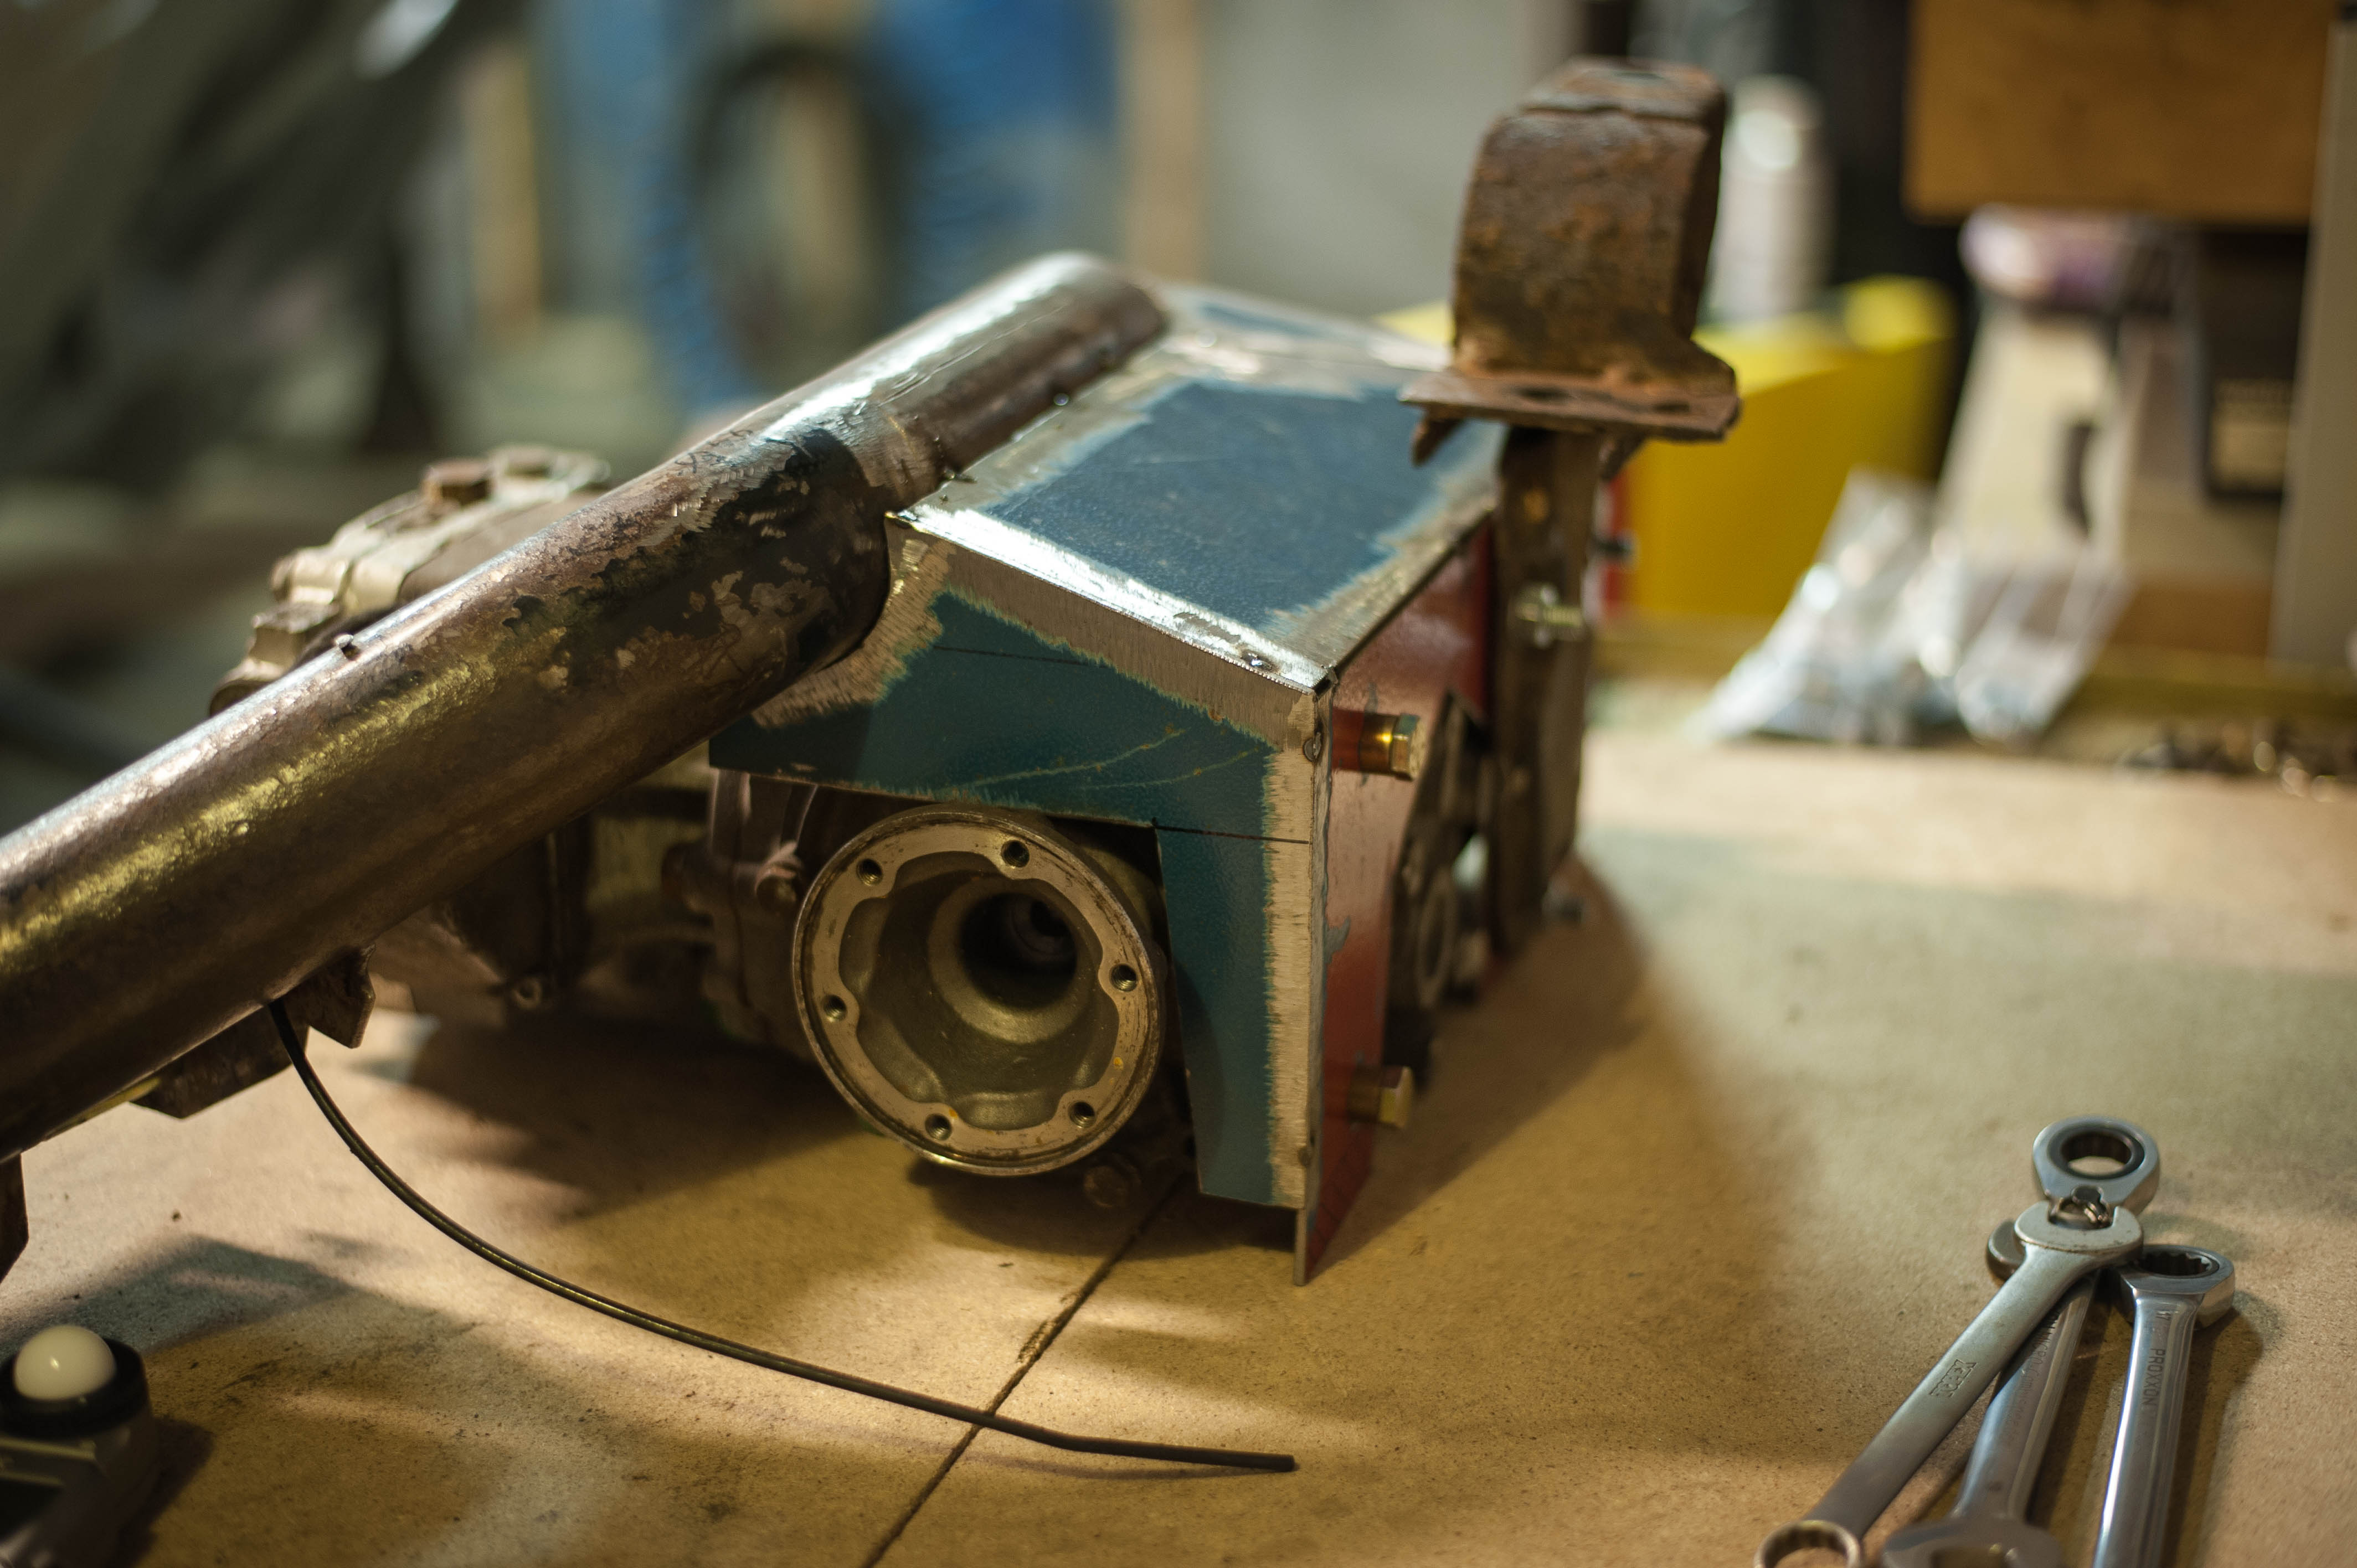
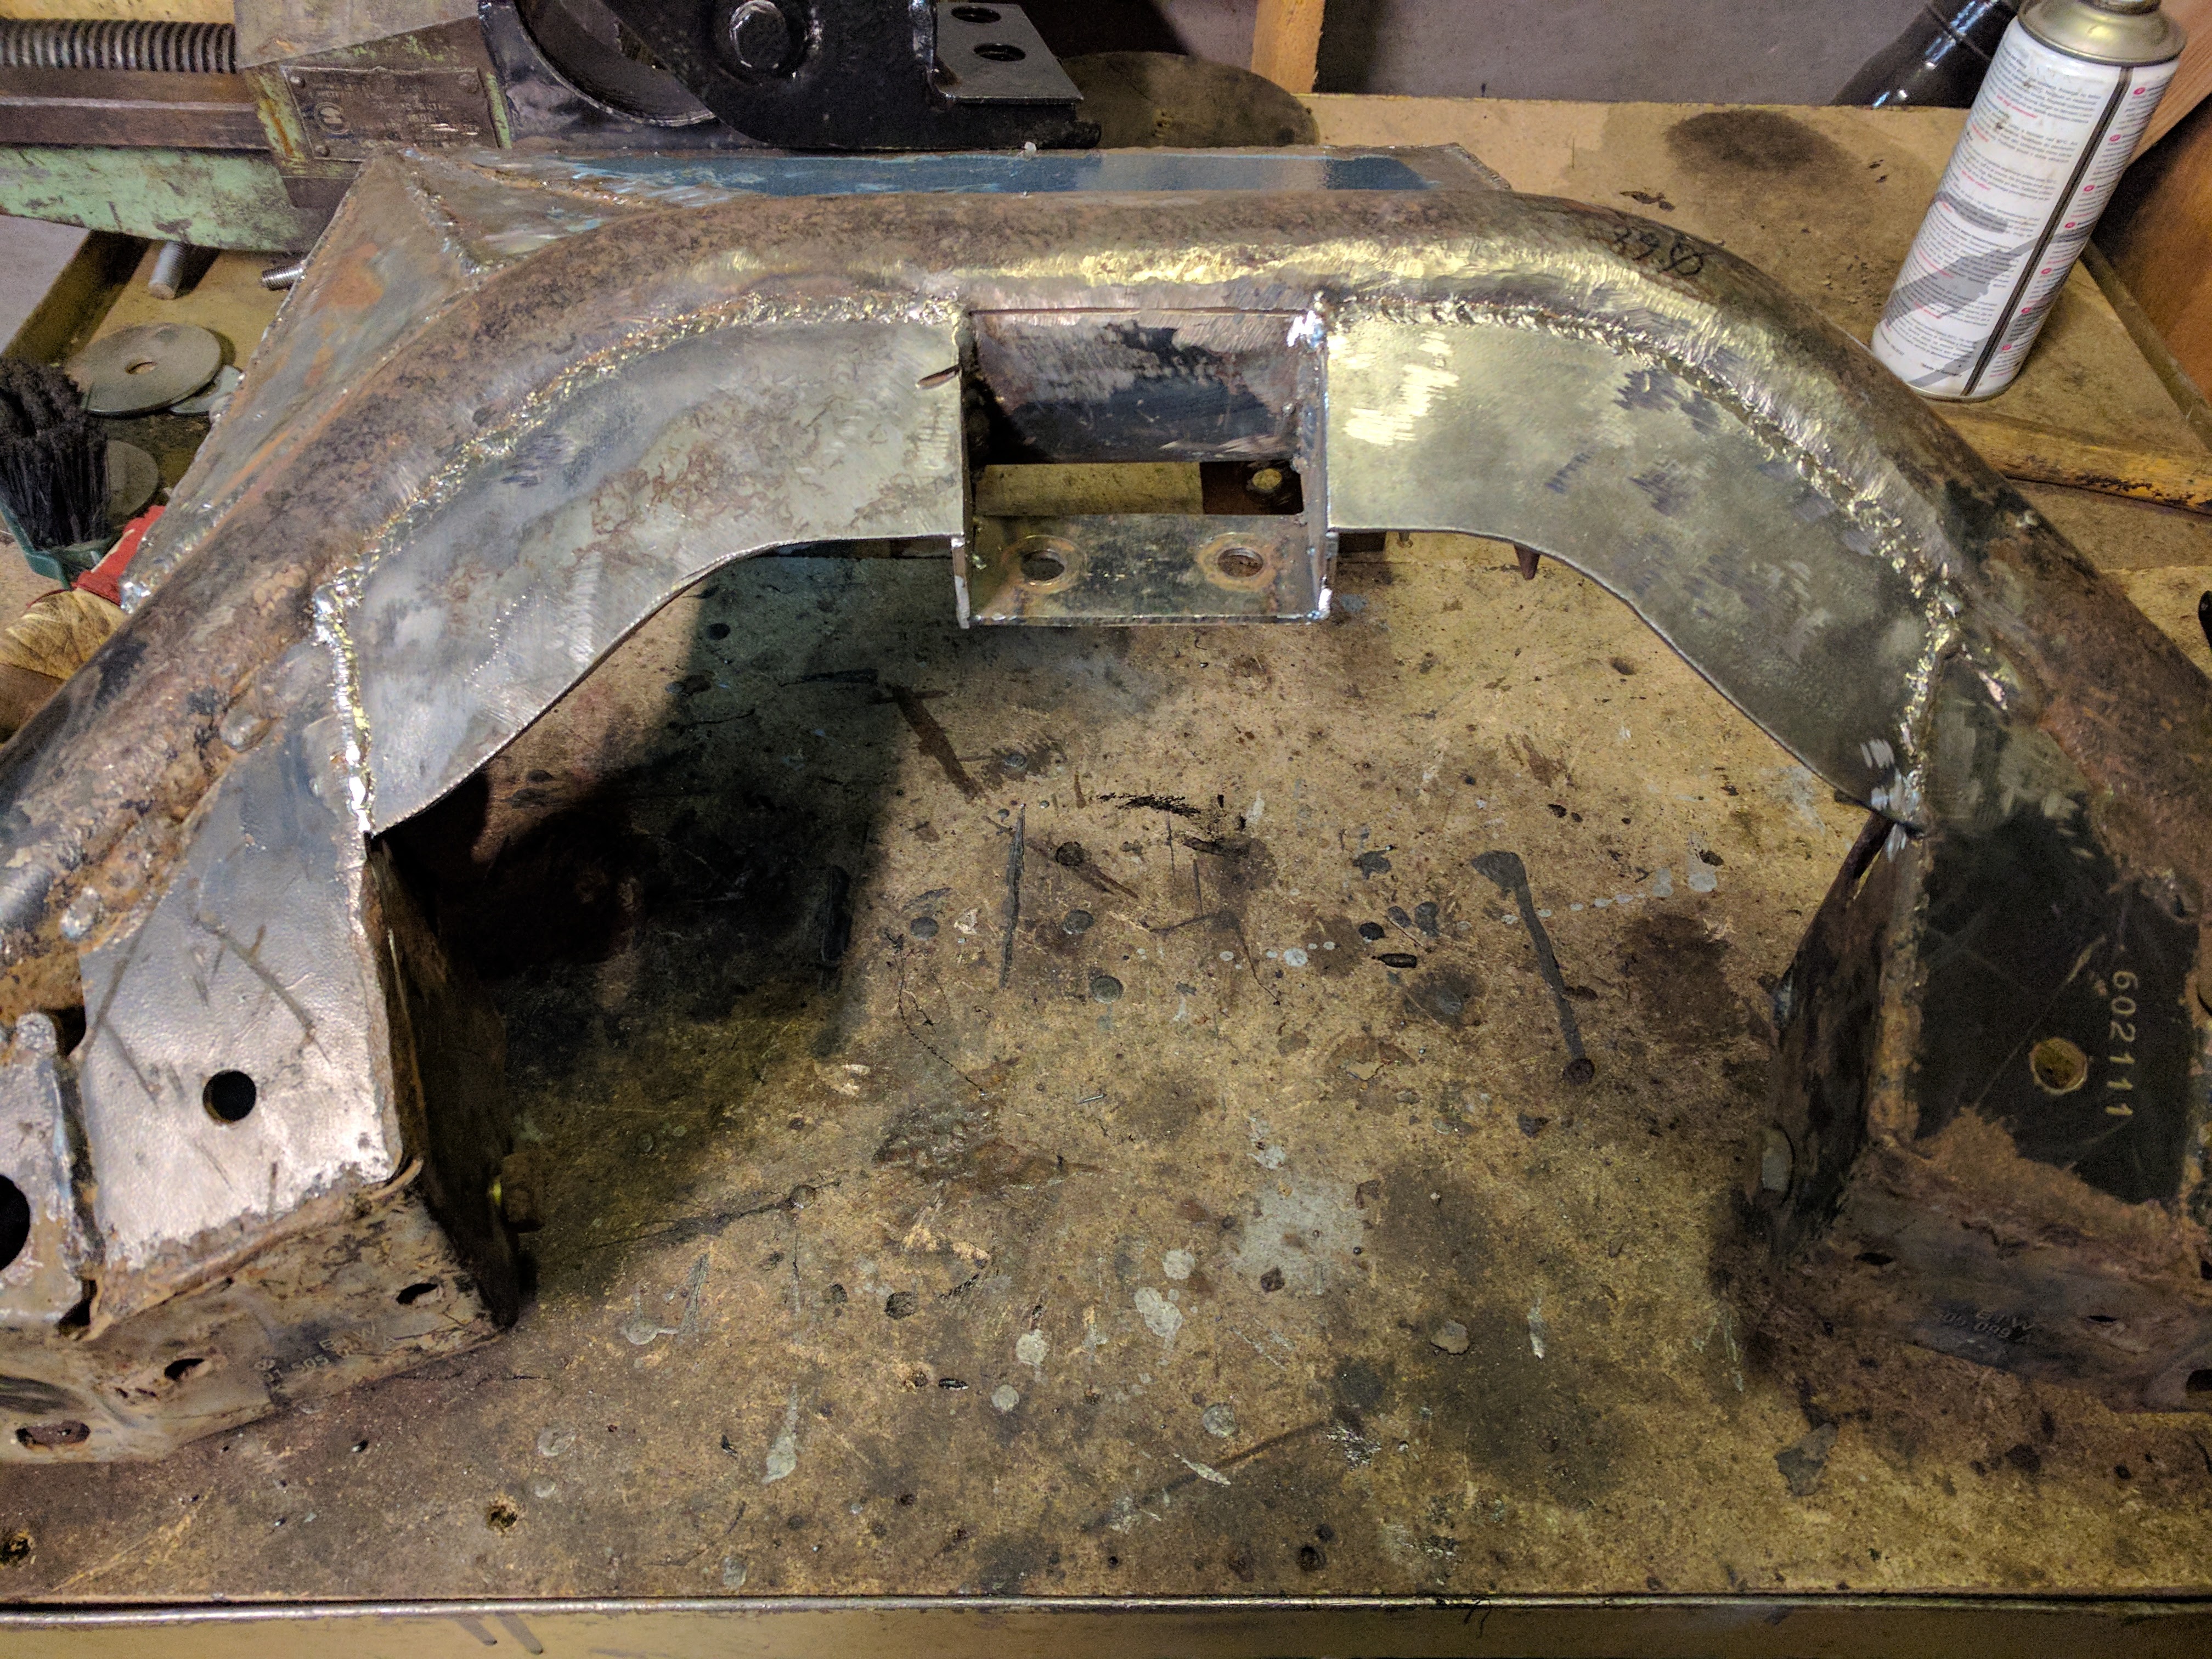
You may notice rear Syncro hanger sitting there as well. It does not bolt straight to differential but to fabricated hanger. Meanwhile differential is bolted using 4 points, same as it was on Haldex equipped car. Few more pics on it:
Upside down and differential removed:
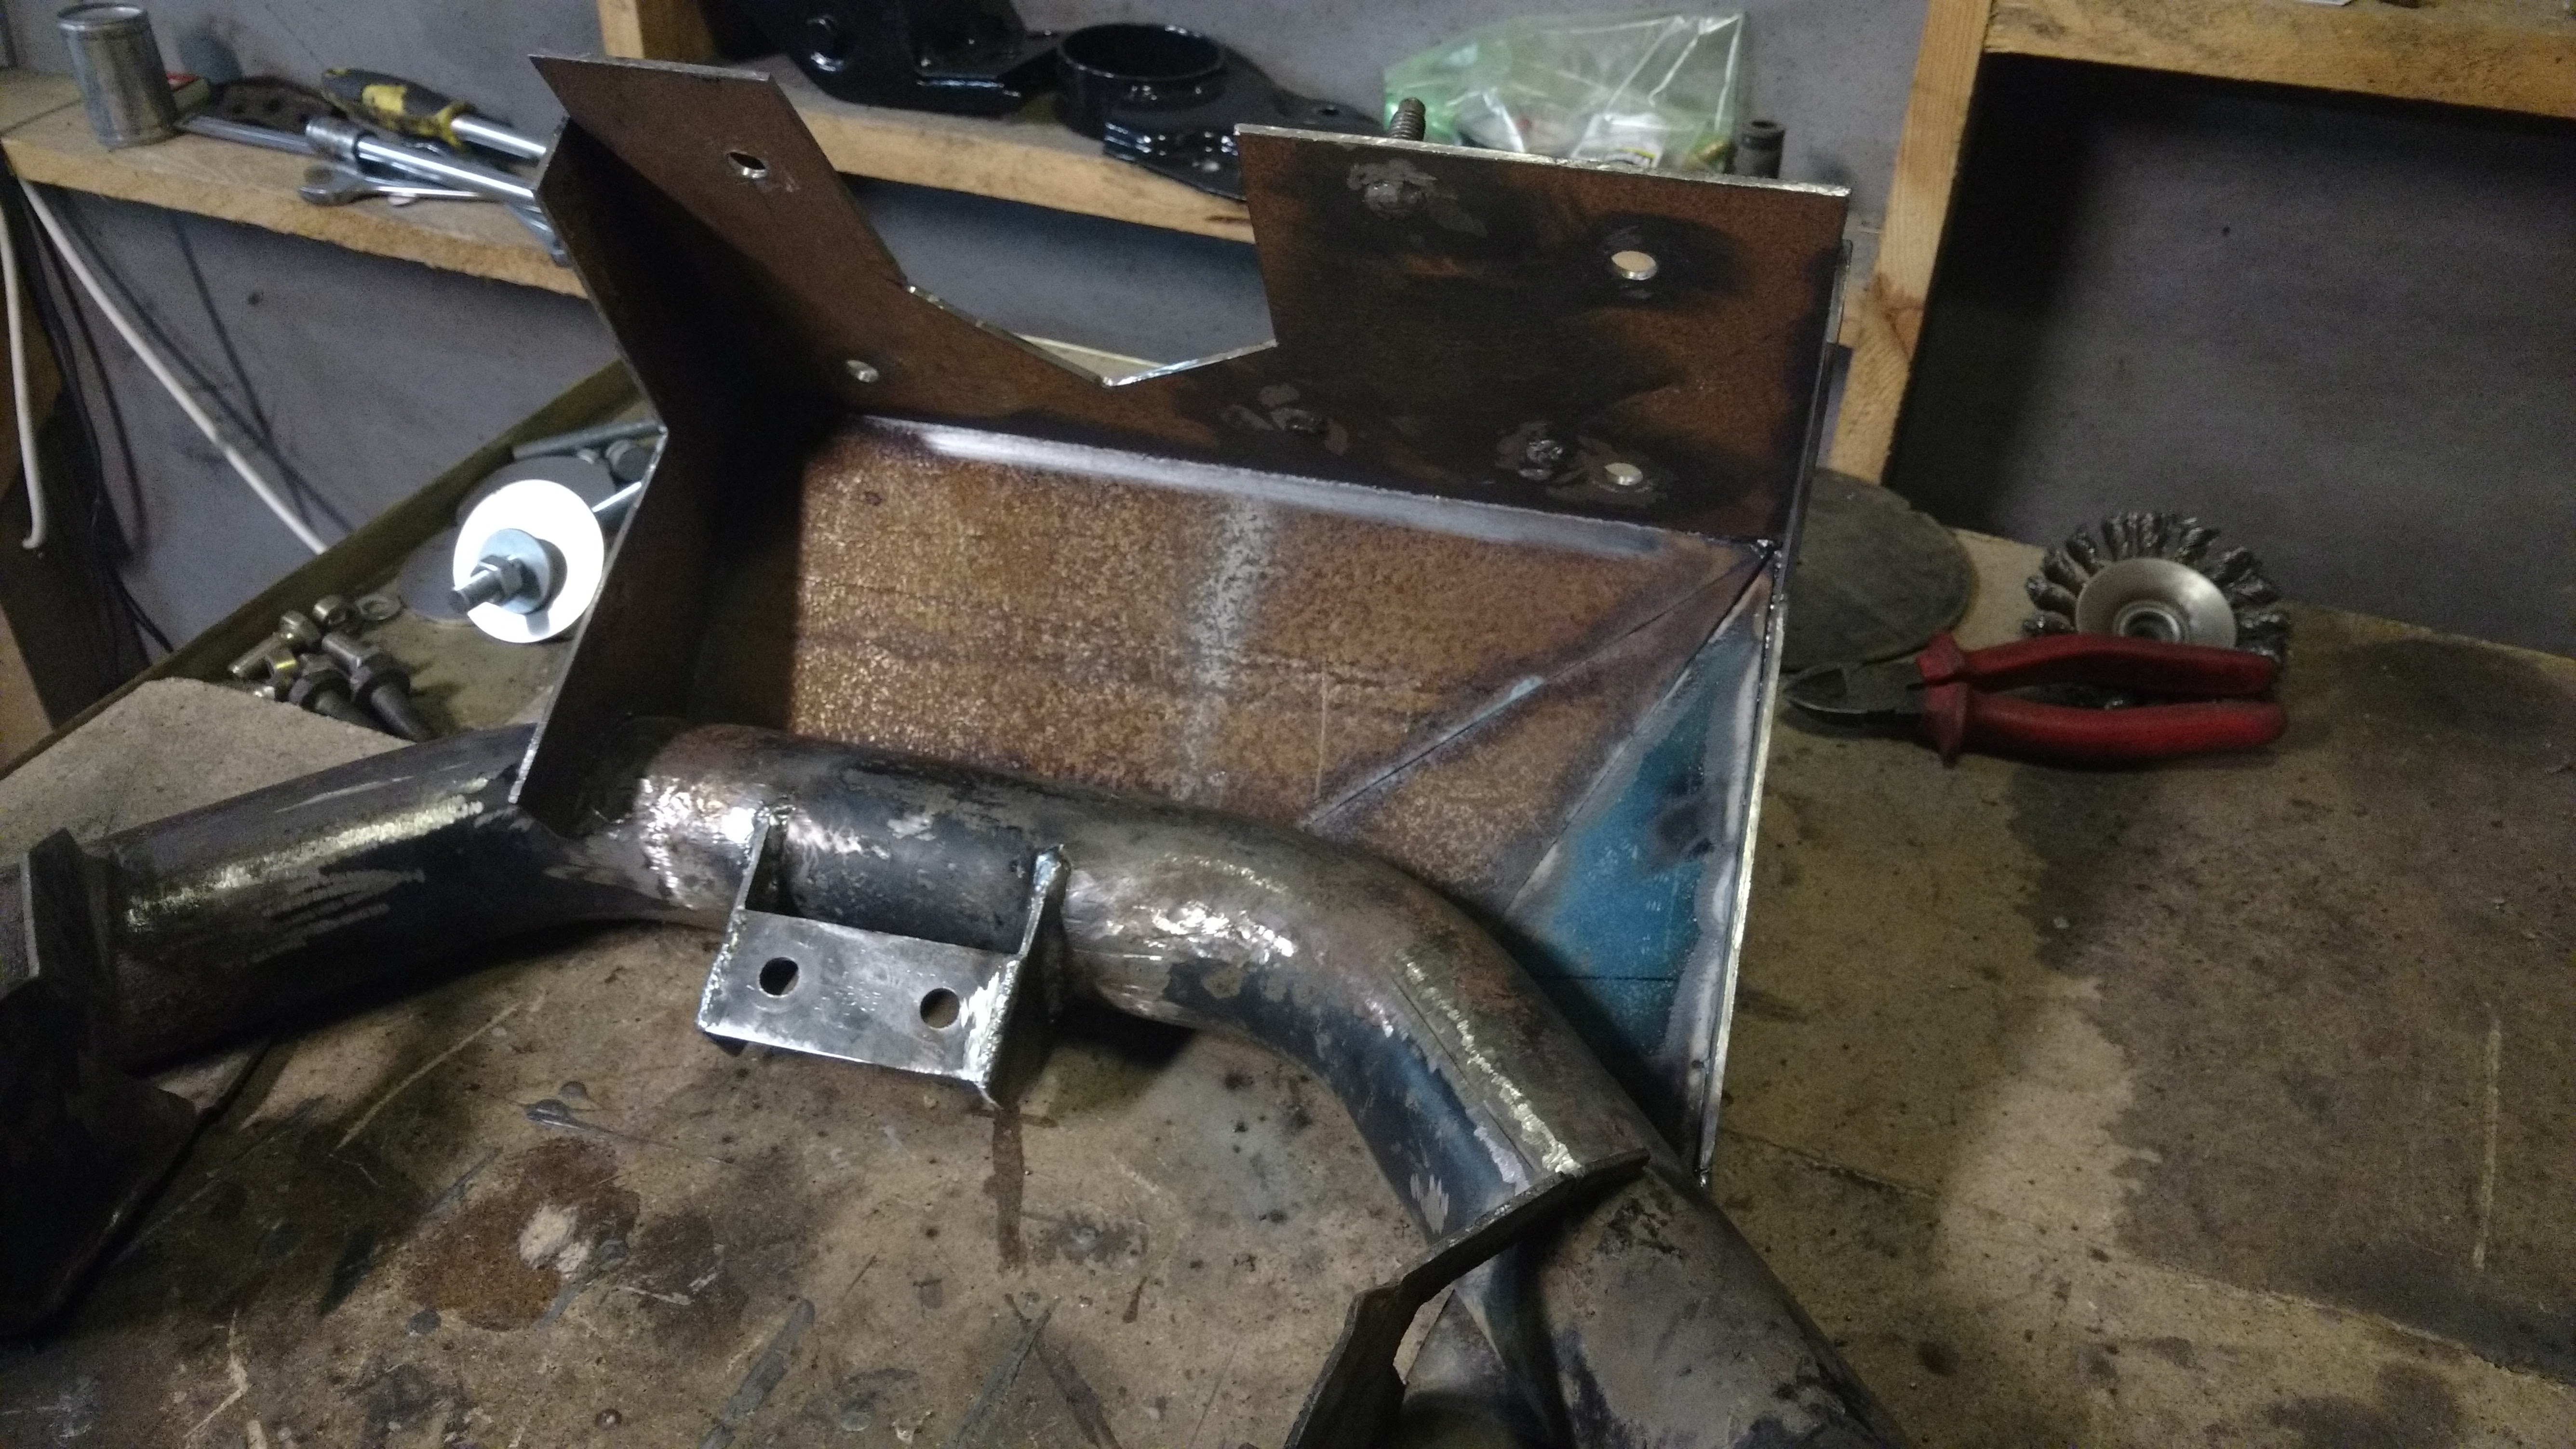
Adding reinforcements to connect existing beam parts to top hanger:

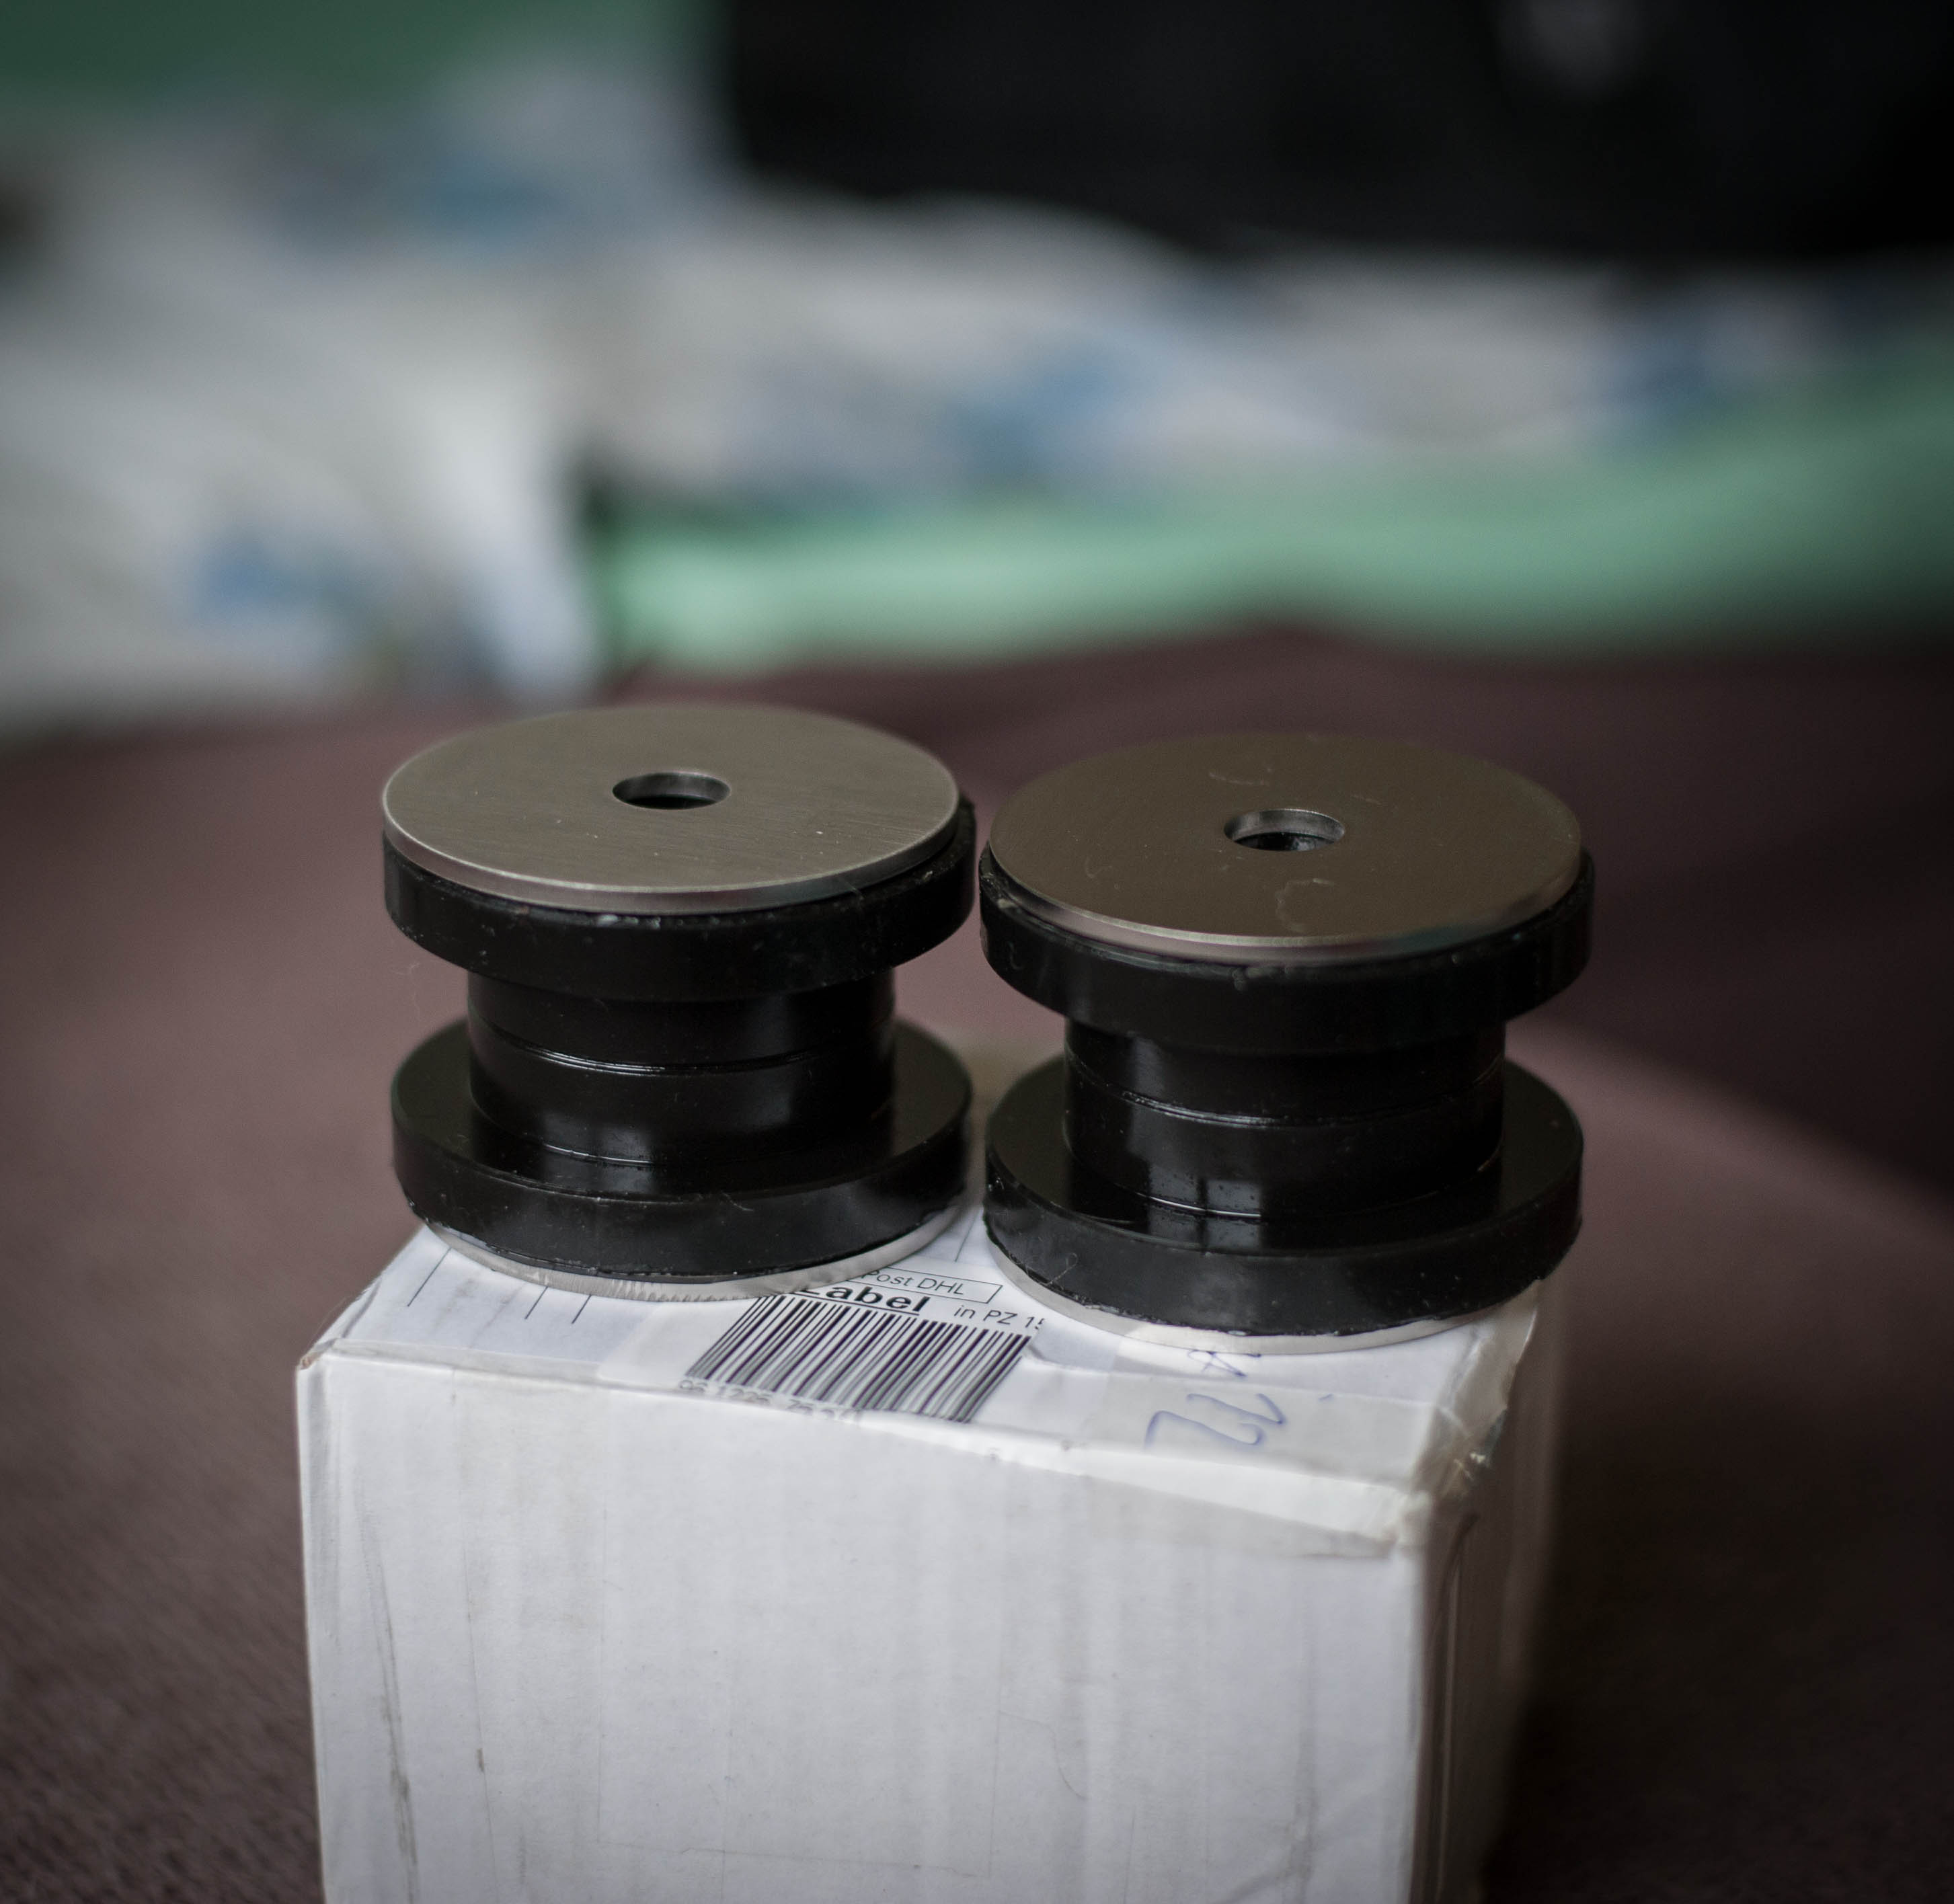
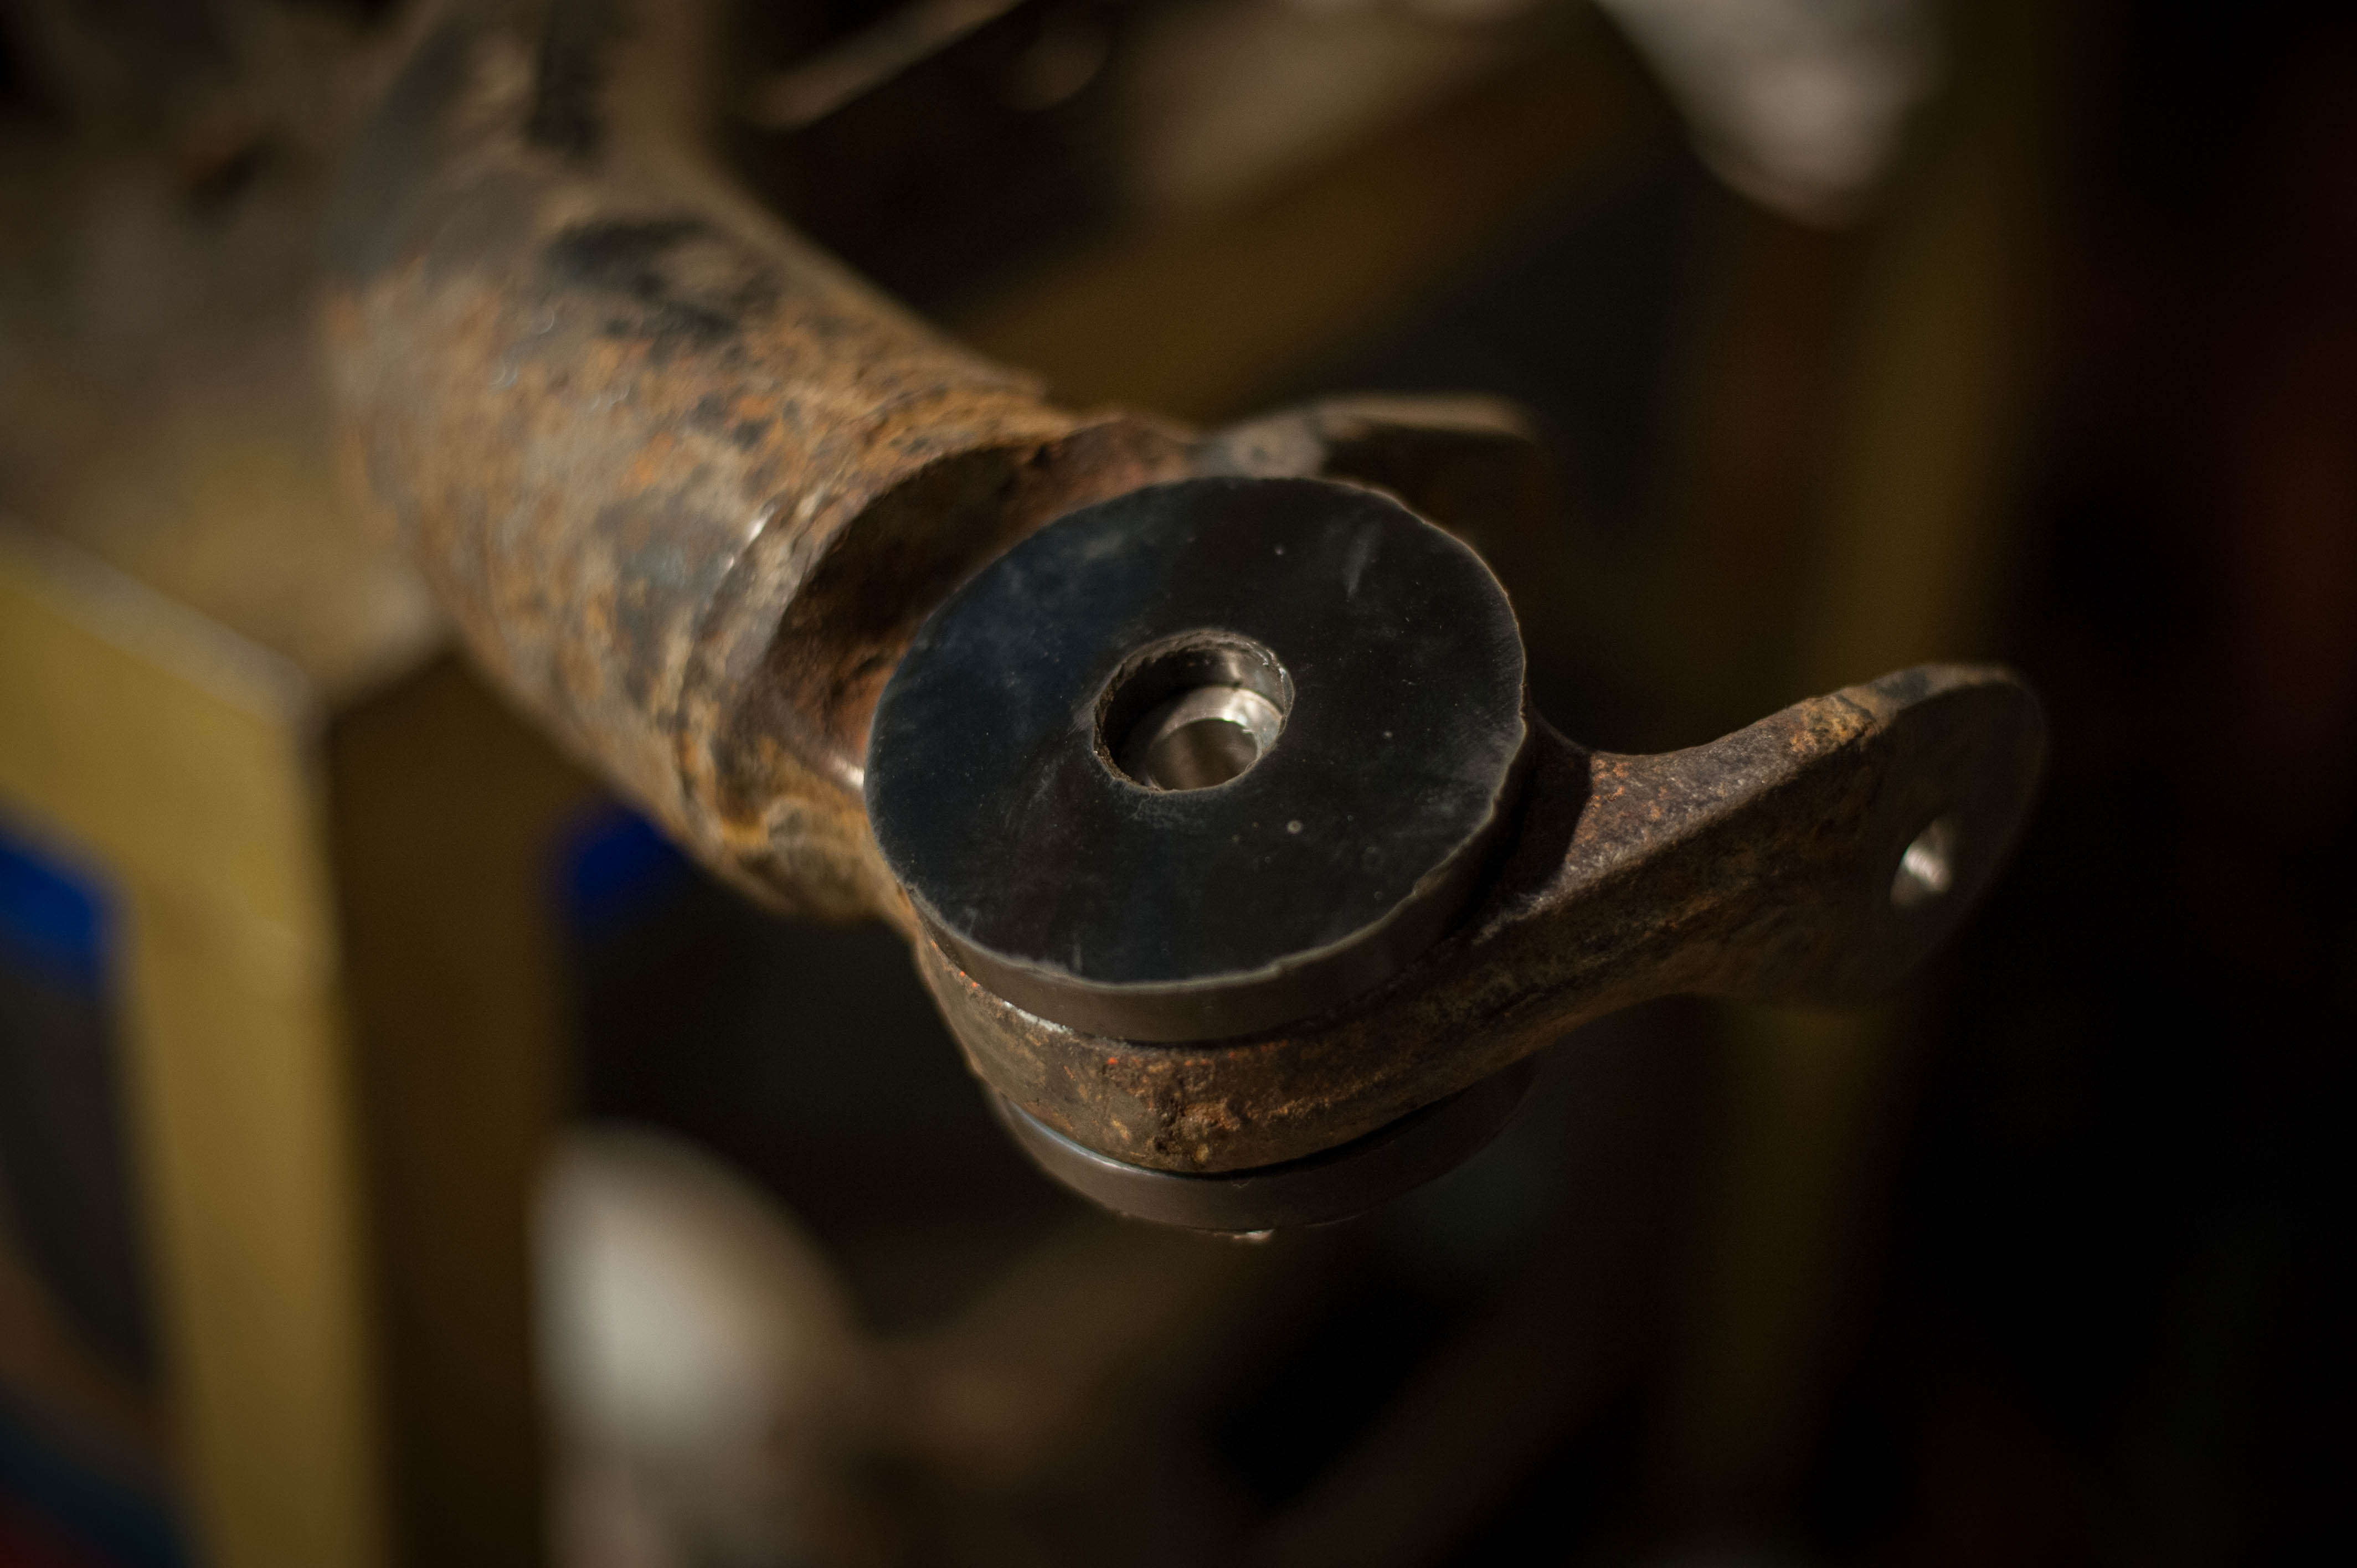
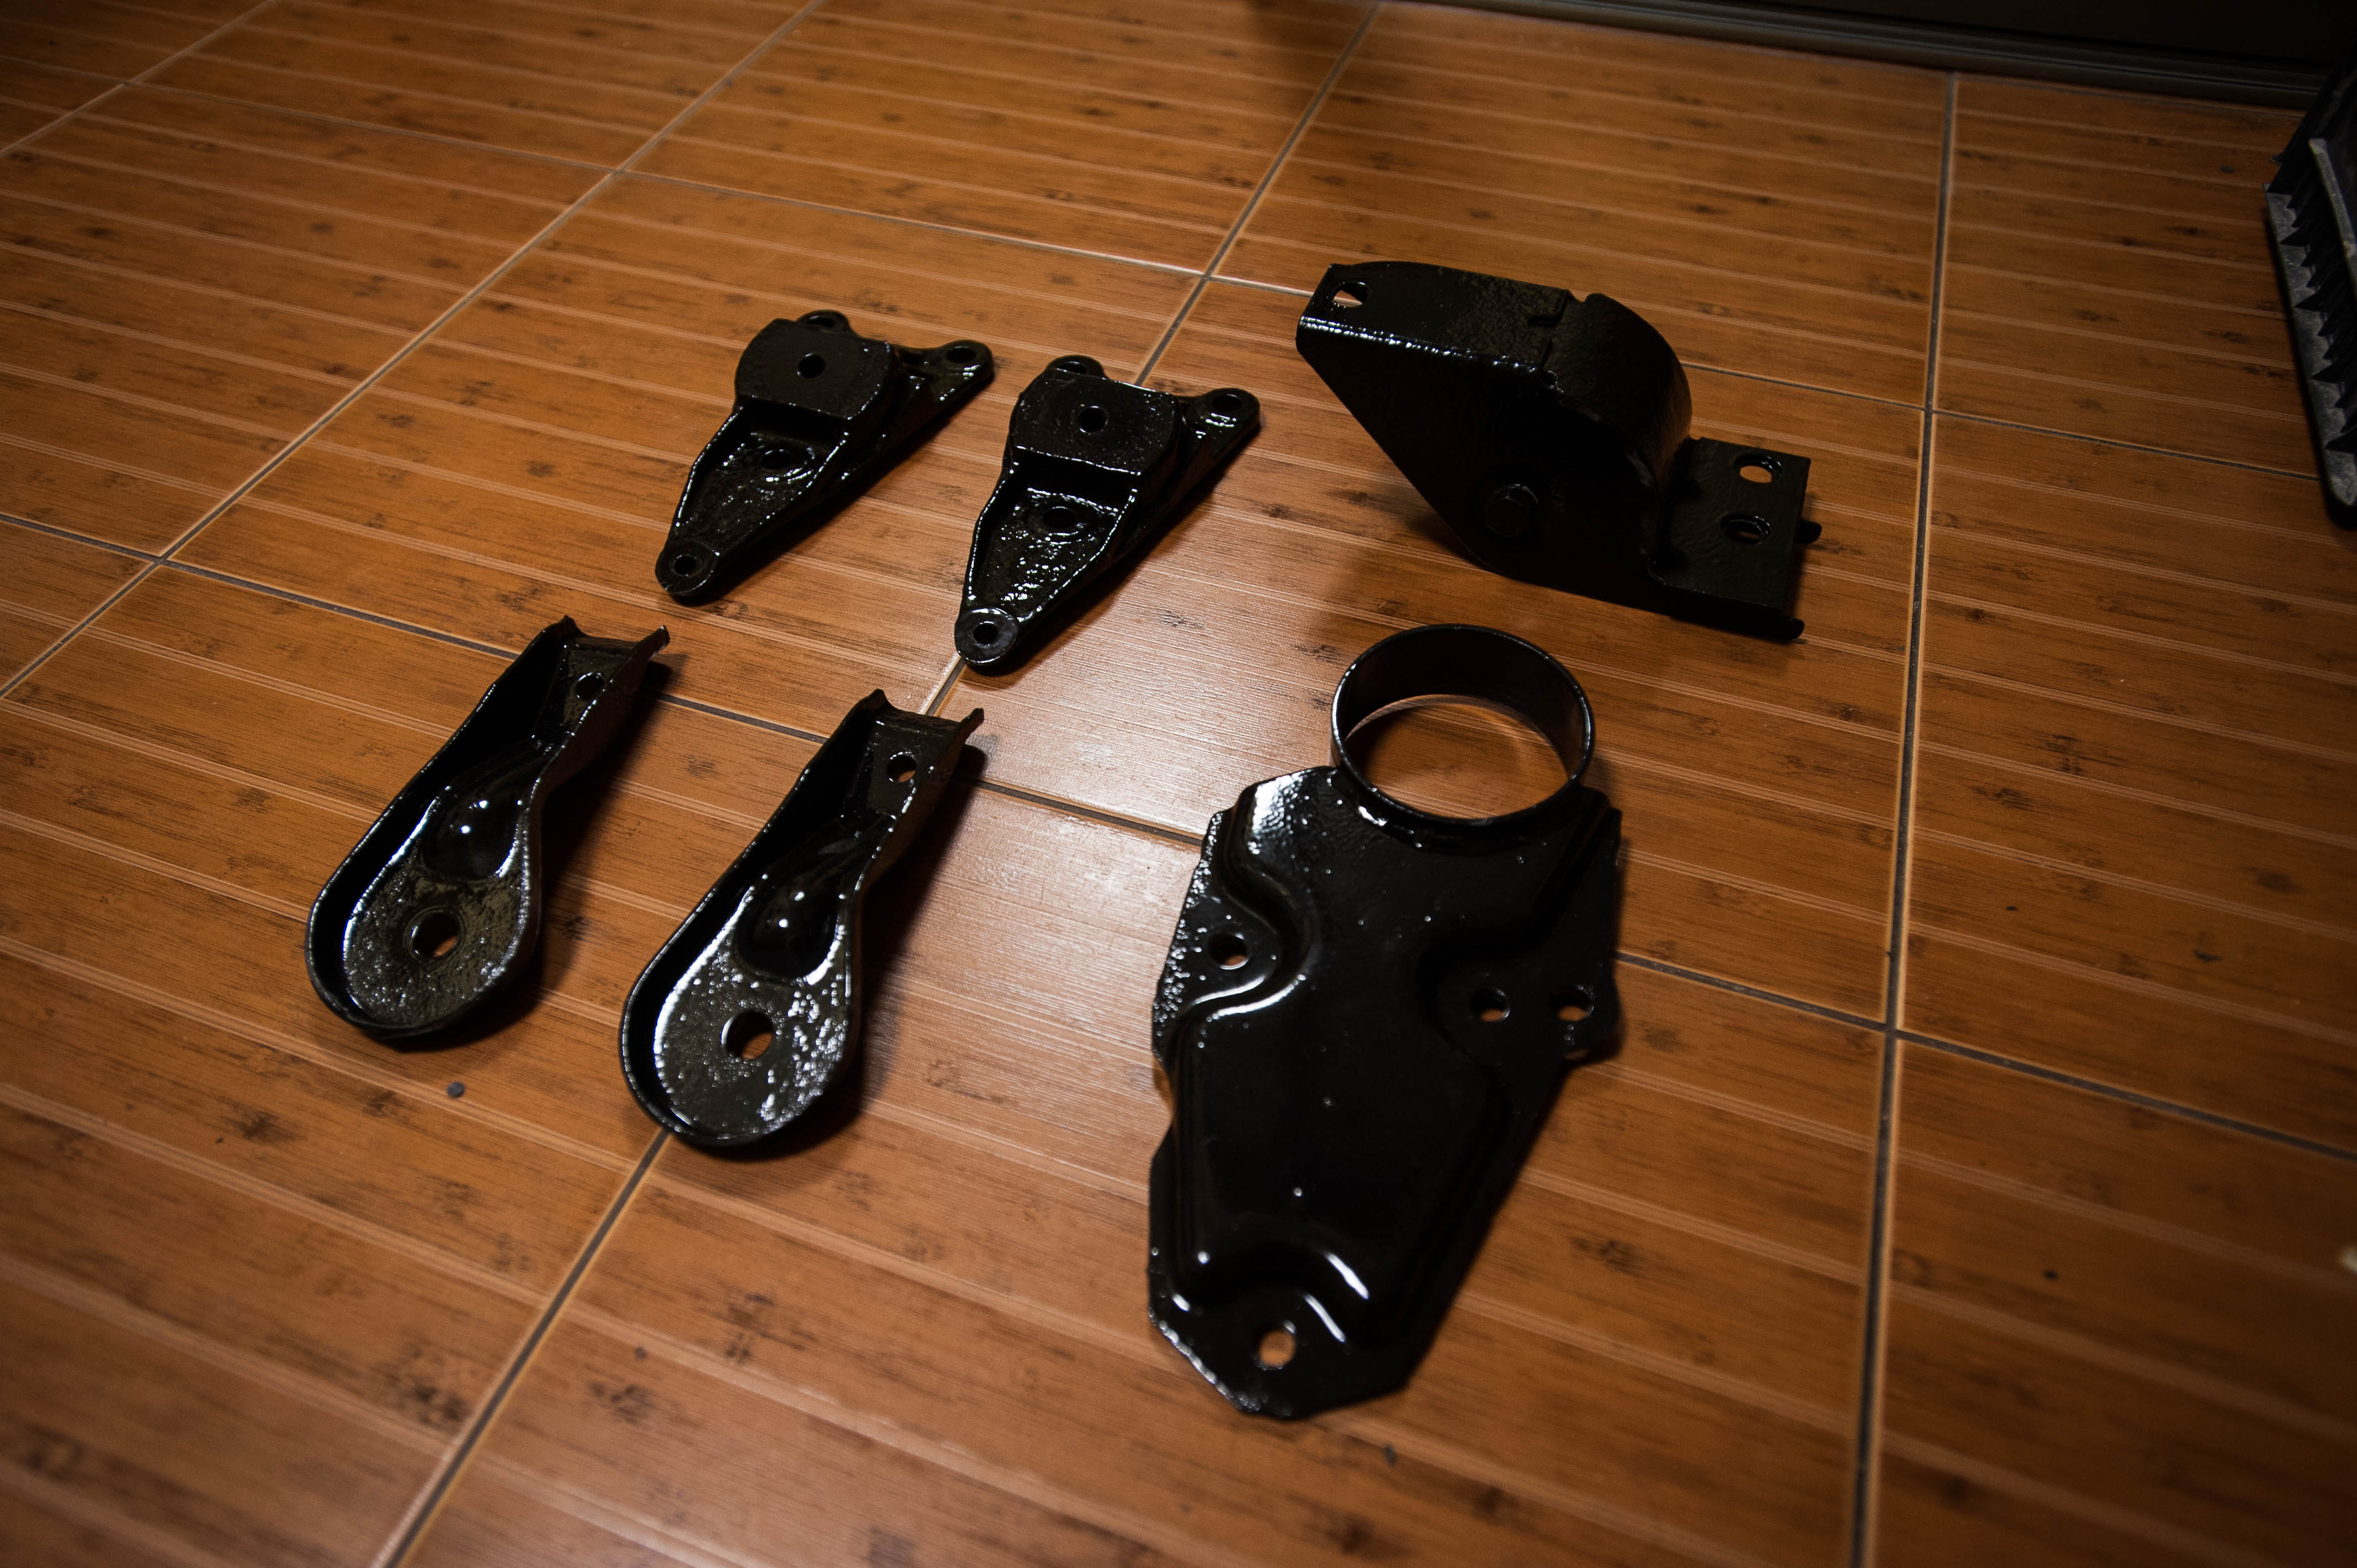
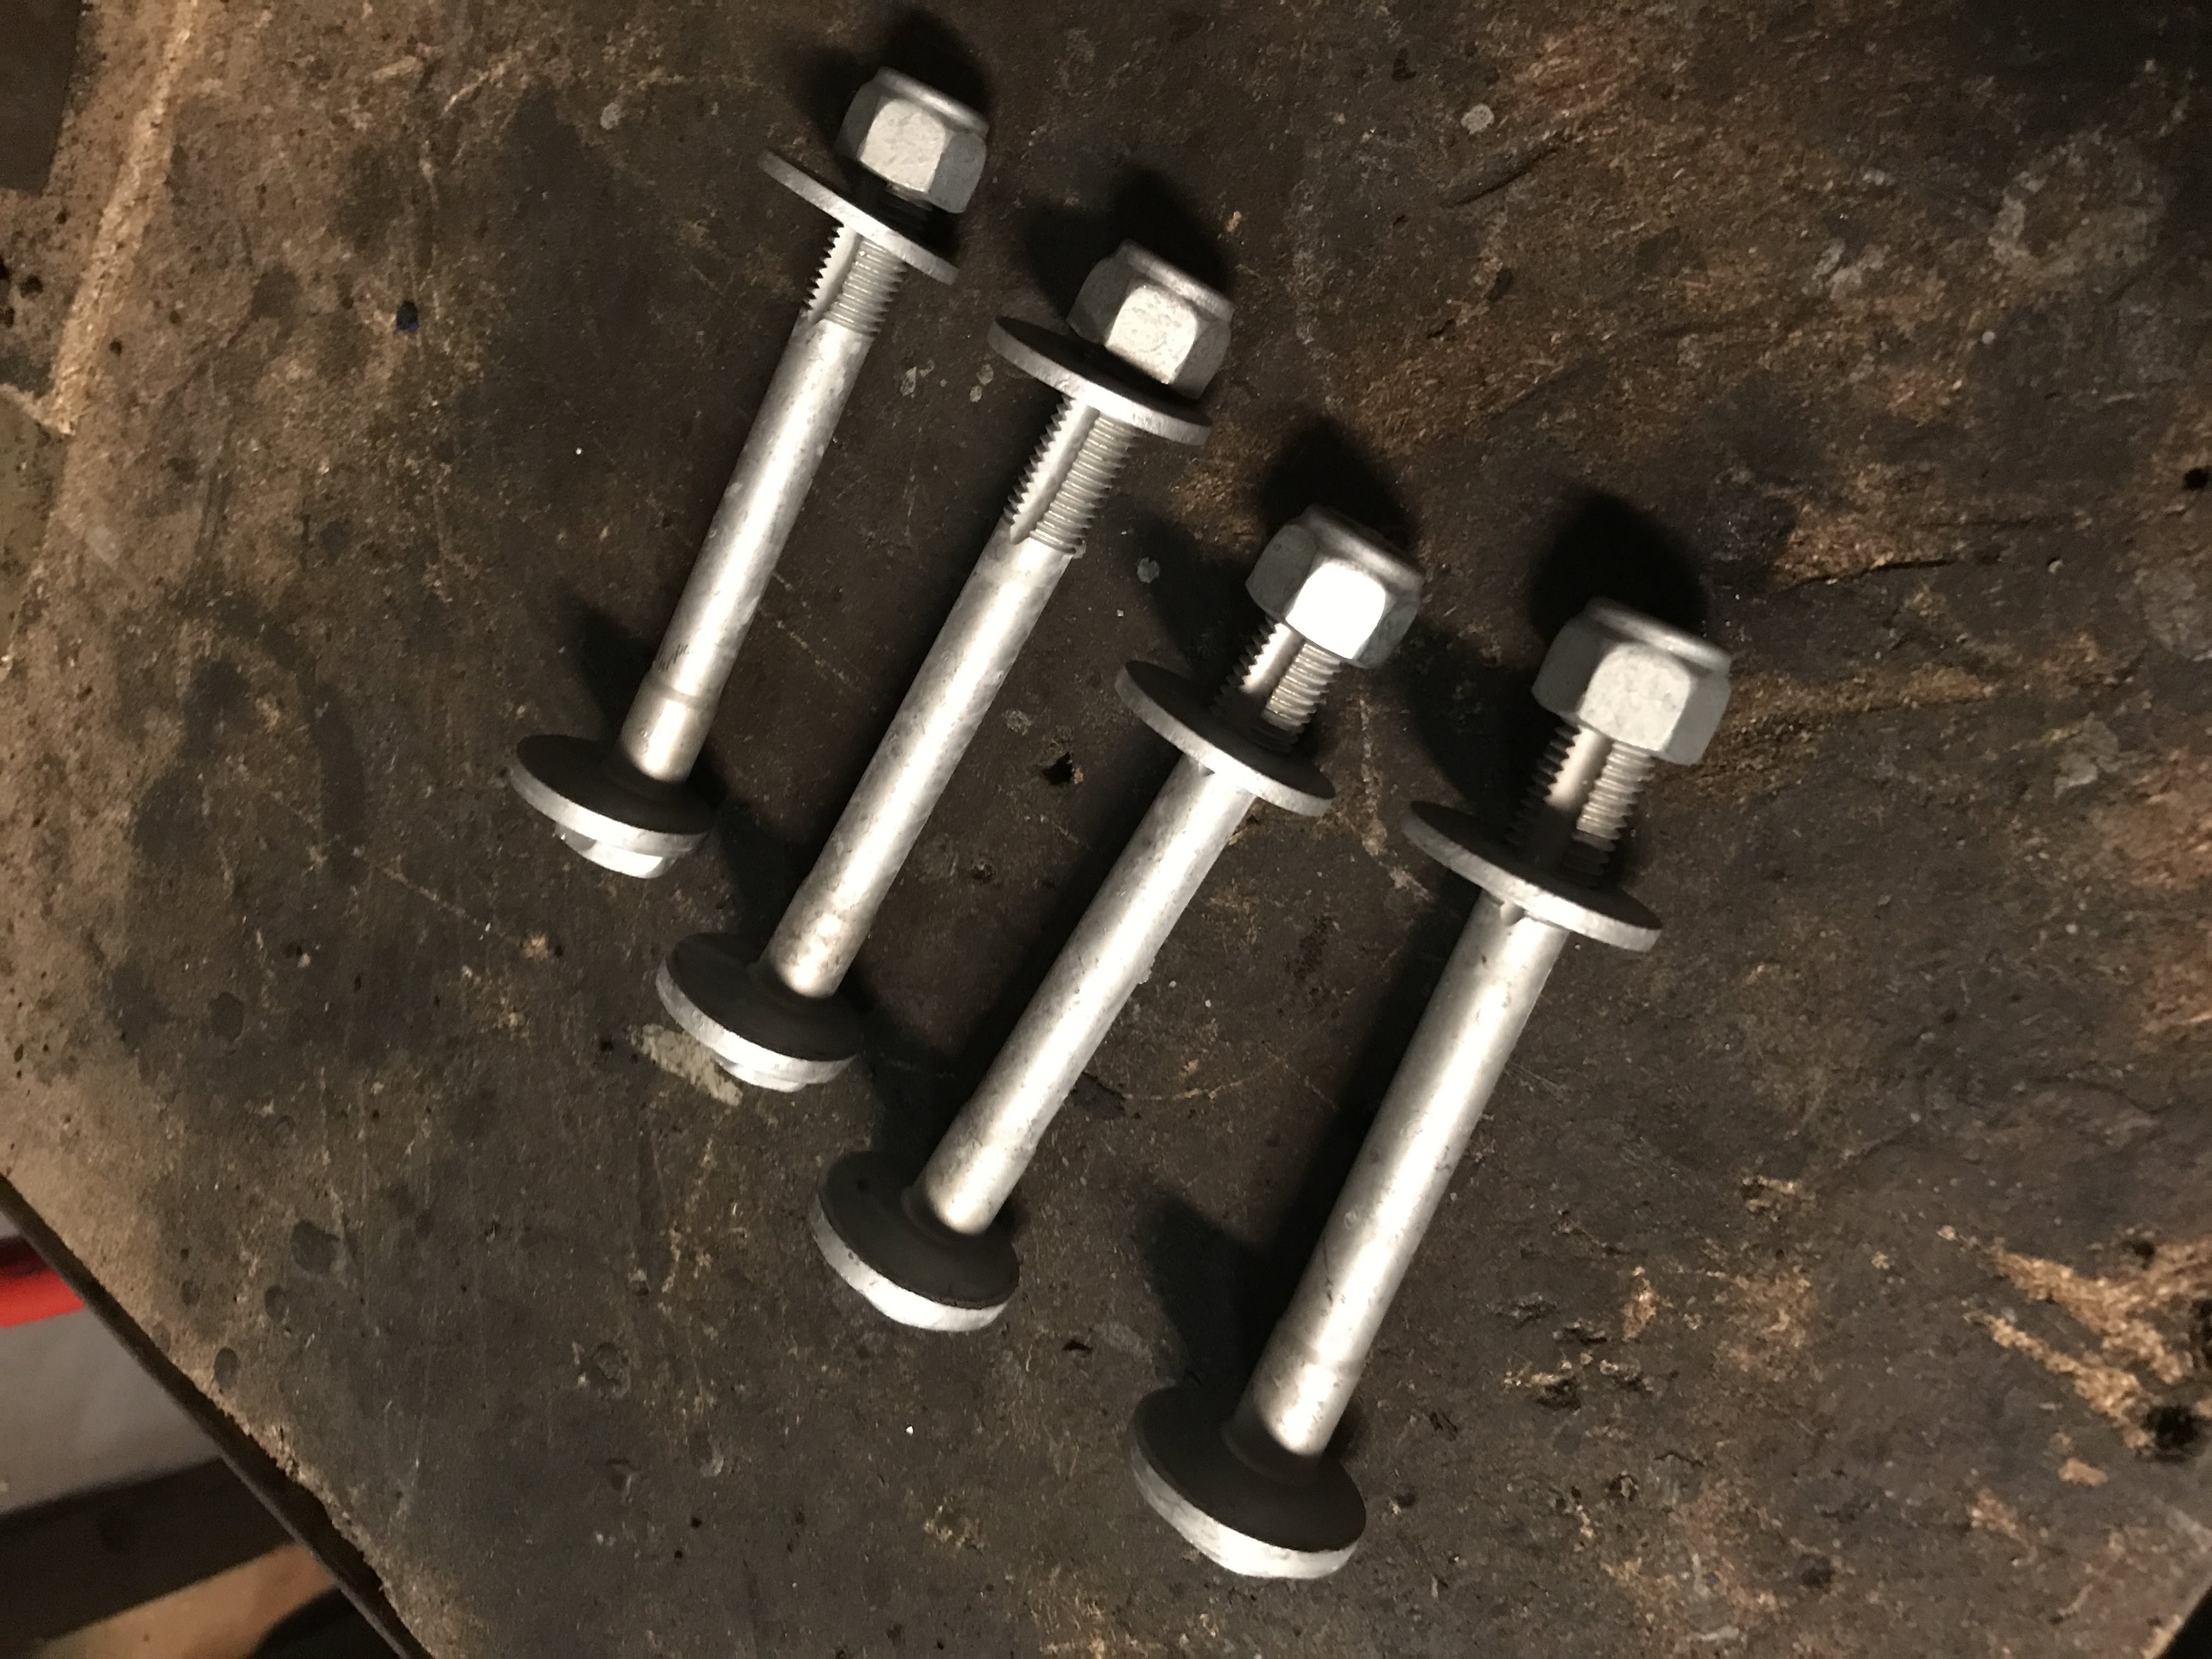
Bushings used before fabricating jig. Later these will be used to attach beam to car body:
Everything sandblasted and powdercoated:
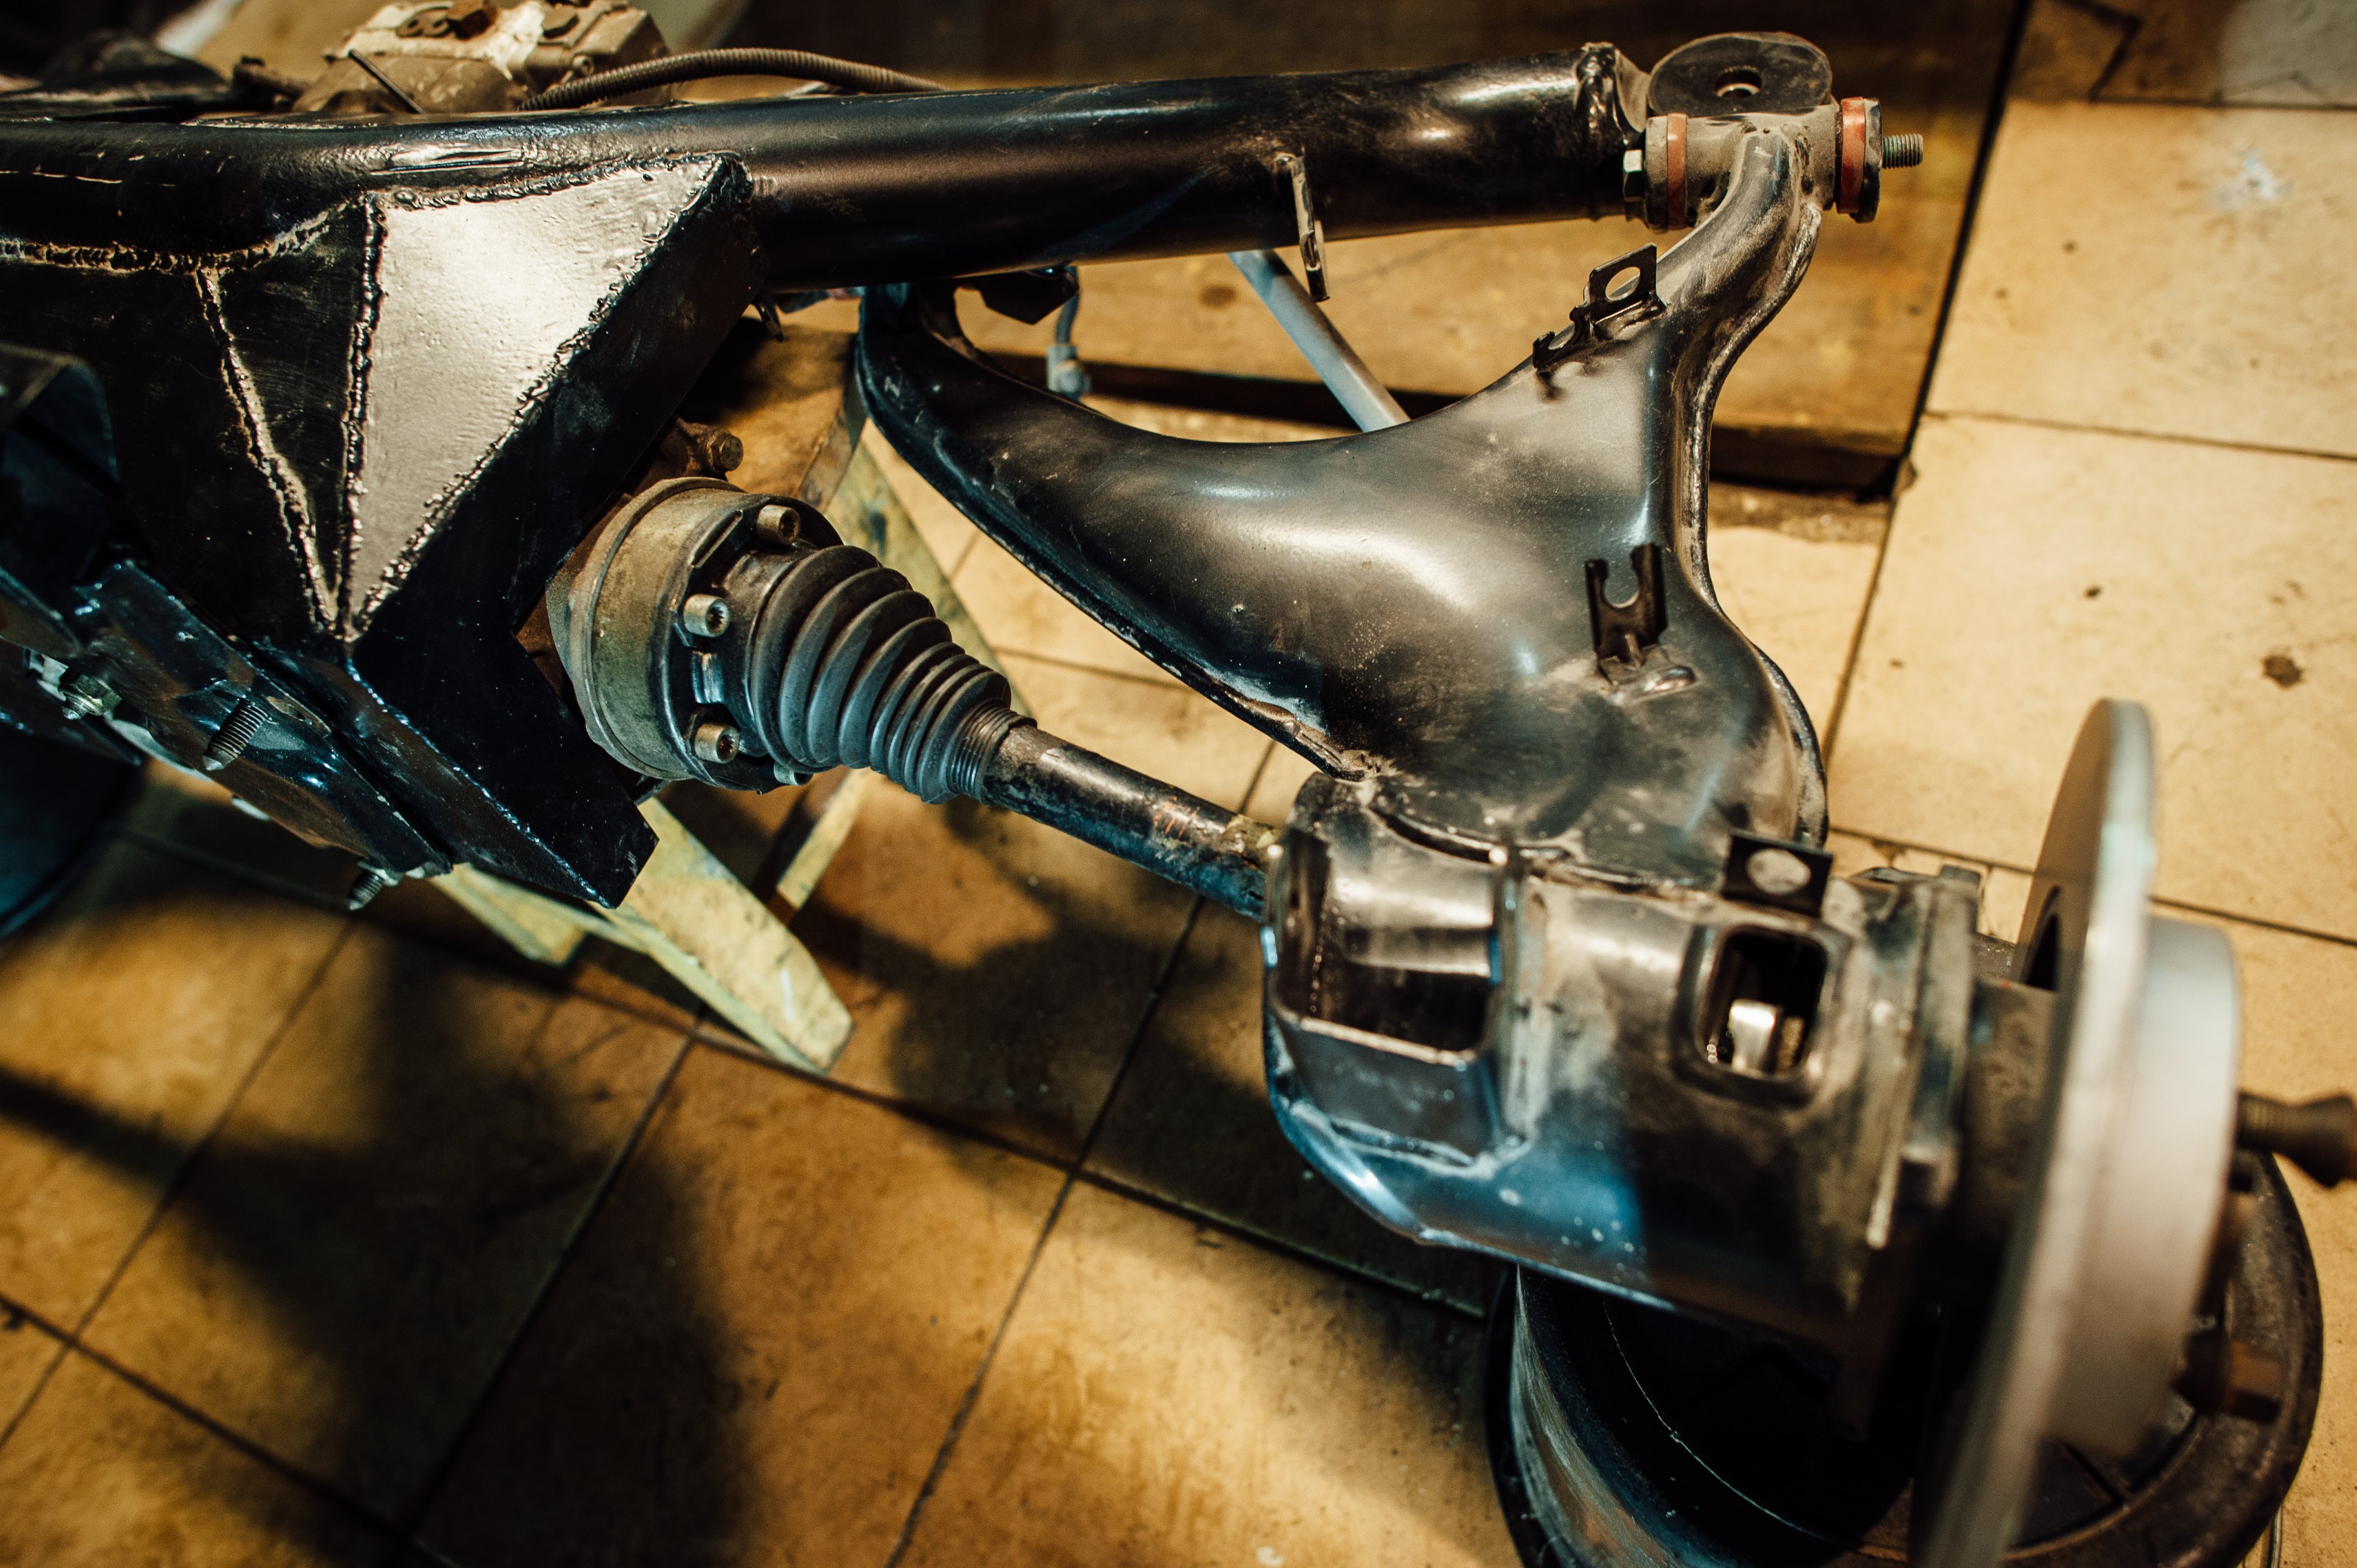
Trial fit:
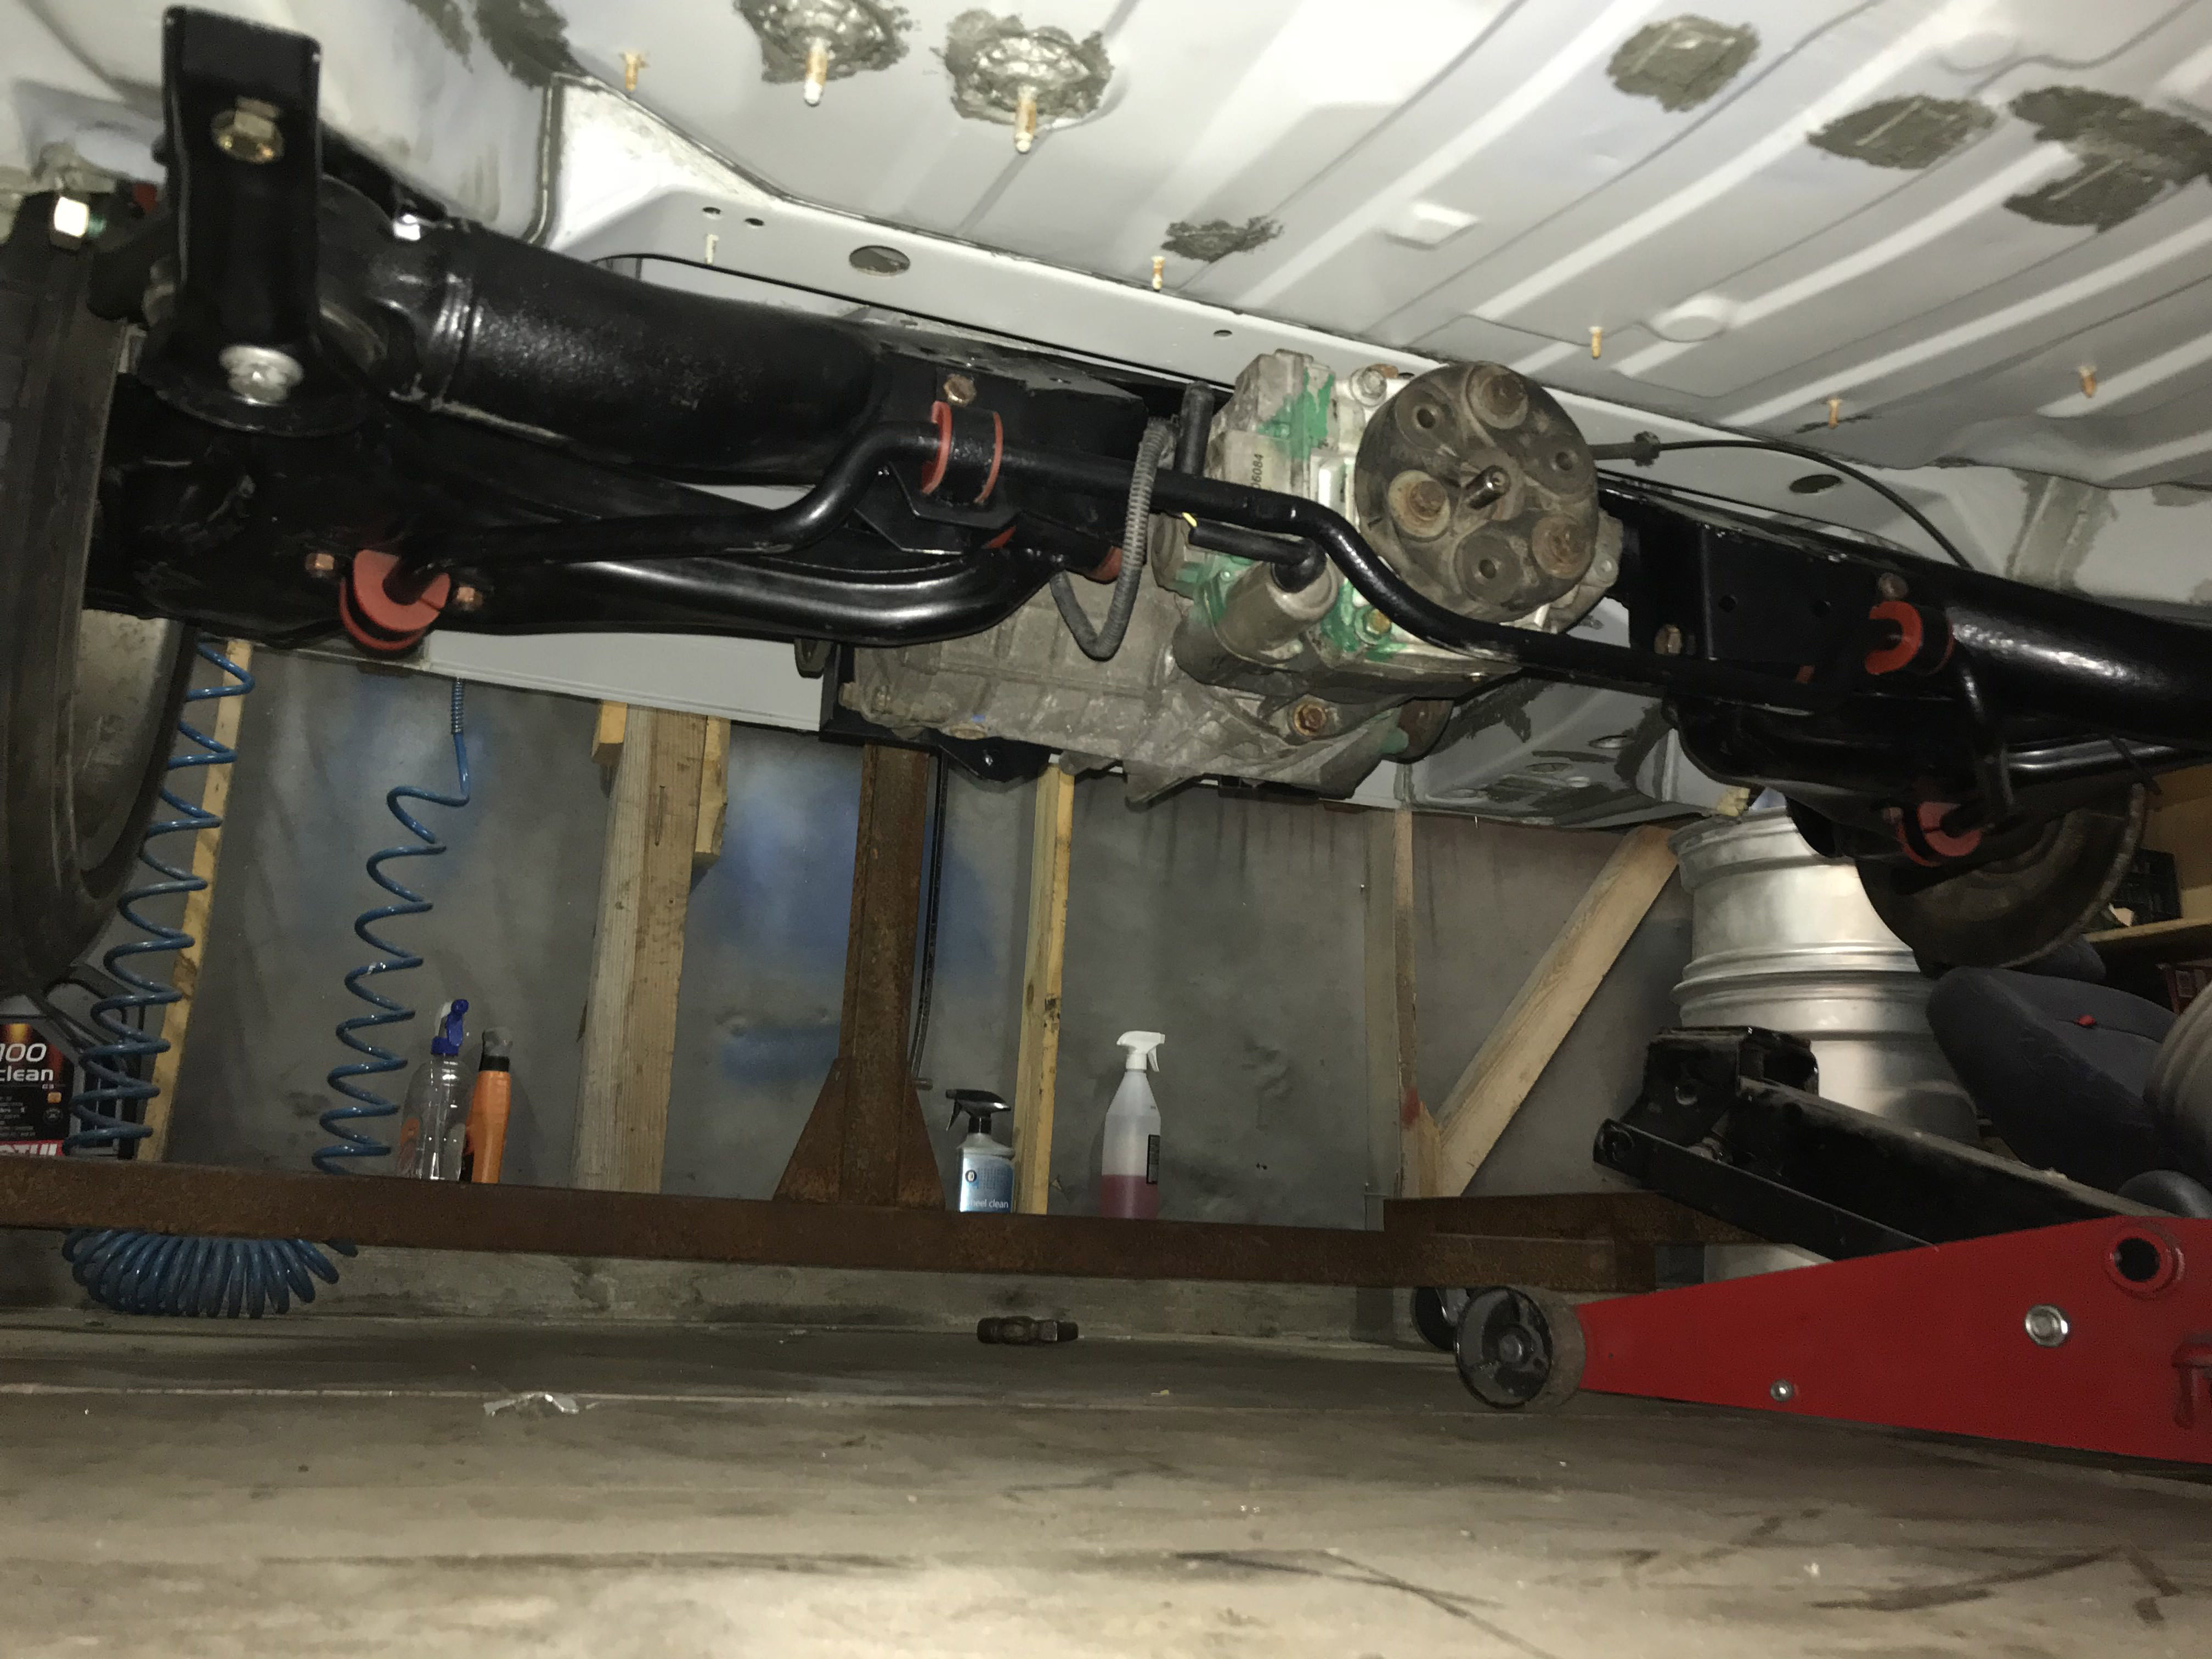
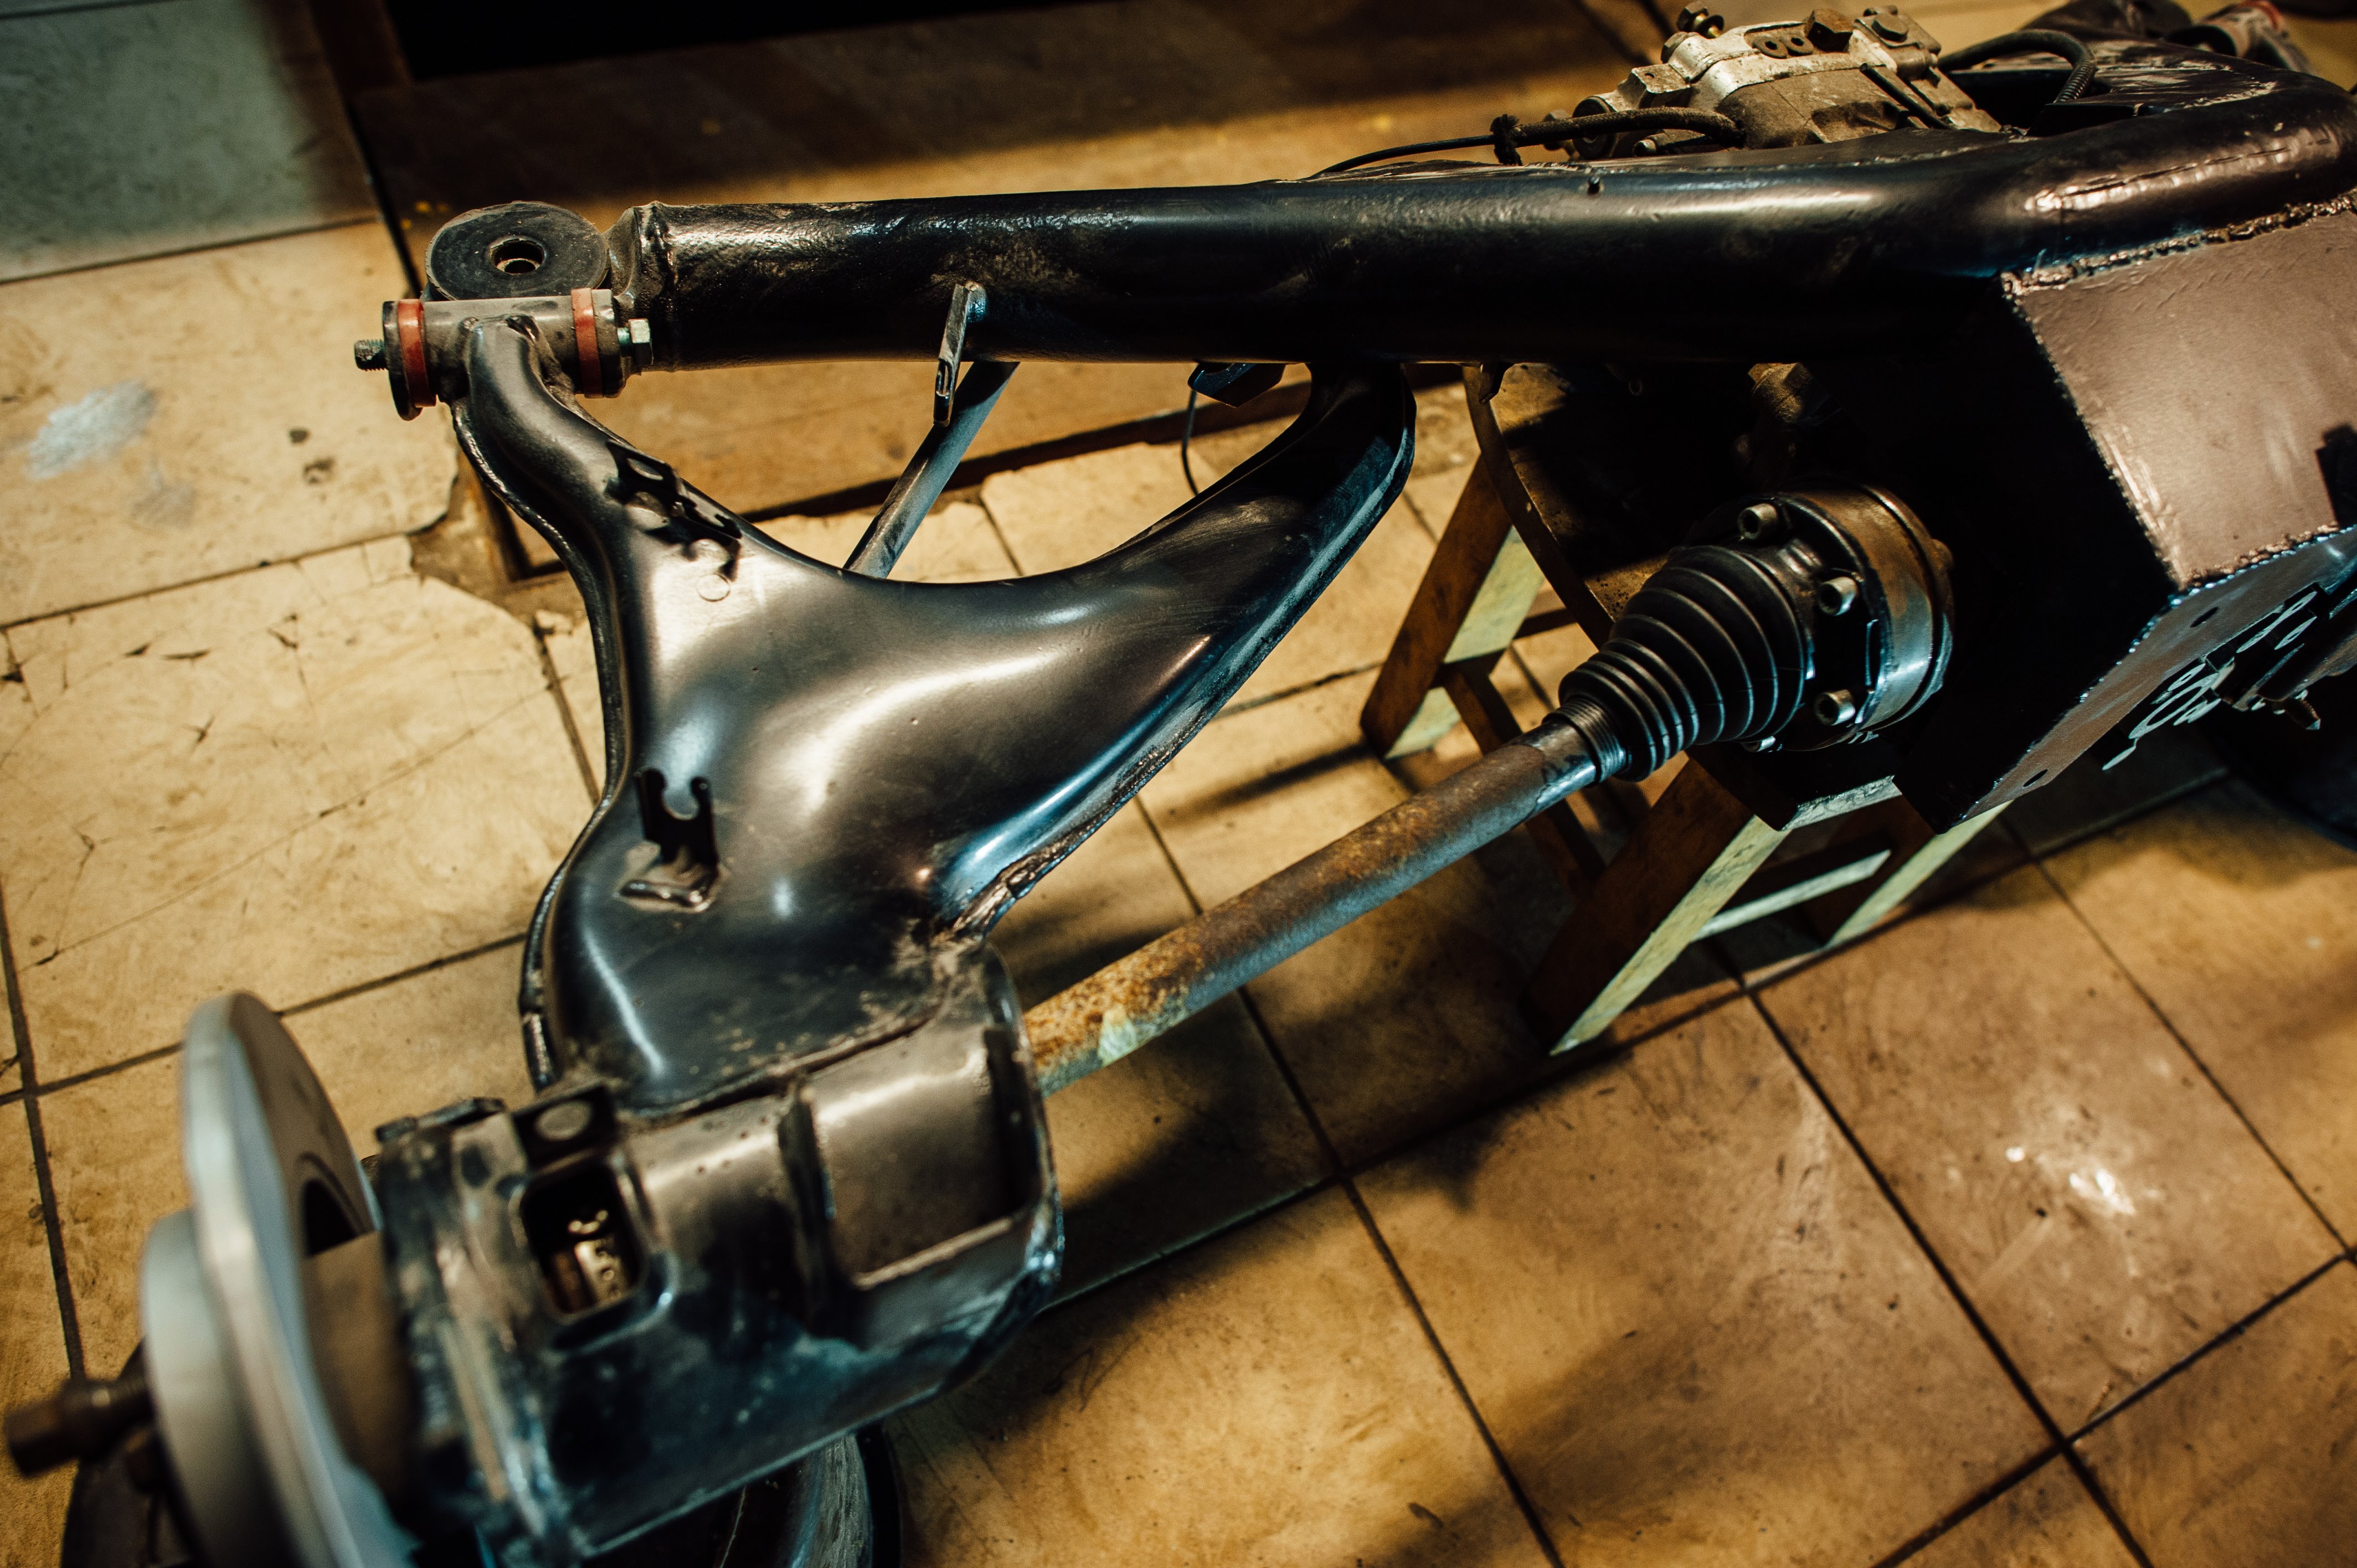
Attached rear trailing arms, antiroll bar and fitted on car:
Originally there's one problem on Syncro beam - you can not adjust camber and toe on rear trailing arms. I have fabricated camber and toe plates in order to use camber bolts:

I'm not sure which rear half-axles should be used but for me VR6 Syncro (Golf mk3/Passat B4) rear ones worked out fine without any shortening of them:
That's how it sits if car is standing on it's own wheels:

Last but not least is how you control Haldex coupling activation. On OE Haldex setup this is controlled by ABS unit. In this case ABS is not planned to be used so possible solutions might be:
- Electronic standalone controller (Dutch build, EMU Haldex controller, etc)
- Mechanical valve
Personally I'm going use electronic standalone because it has lots of features which allows you to have all of the Haldex advantages:
- Controlling coupling activation level via mobile app
- Coupling deactivation depending on boost, gear, vehicle speed. This is great feature to have as it allows you reduce drivetrain losses on high speeds
- Any other communications with standalone ECU via CAN